Introduction
This instruction manual provides essential information for the safe and efficient operation of your ALLVIEW 40ATC6000-F 40-inch Full HD TV. Please read this manual thoroughly before using the television and retain it for future reference. Following these instructions will ensure optimal performance and extend the lifespan of your device.
Important Safety Information
Always observe the following safety precautions to prevent electric shock, fire, or injury:
- Do not expose the TV to rain or moisture.
- Do not open the TV casing; refer all servicing to qualified personnel.
- Ensure proper ventilation; do not block ventilation openings.
- Protect the power cord from being walked on or pinched.
- Unplug the TV during lightning storms or when unused for long periods.
- Keep the TV away from direct sunlight, heat sources, and strong magnetic fields.
Package Contents
Before installation, check that all items listed below are included in your package:
- ALLVIEW 40ATC6000-F 40-inch Full HD TV
- Remote Control
- Power Cord
- TV Stand (2 pieces)
- Screws for TV Stand
- Instruction Manual (this document)
Setup
1. Attaching the TV Stand
- Carefully place the TV face-down on a soft, flat surface to prevent screen damage.
- Align each stand piece with the corresponding screw holes on the bottom of the TV.
- Secure each stand piece using the provided screws. Ensure they are tightened firmly.
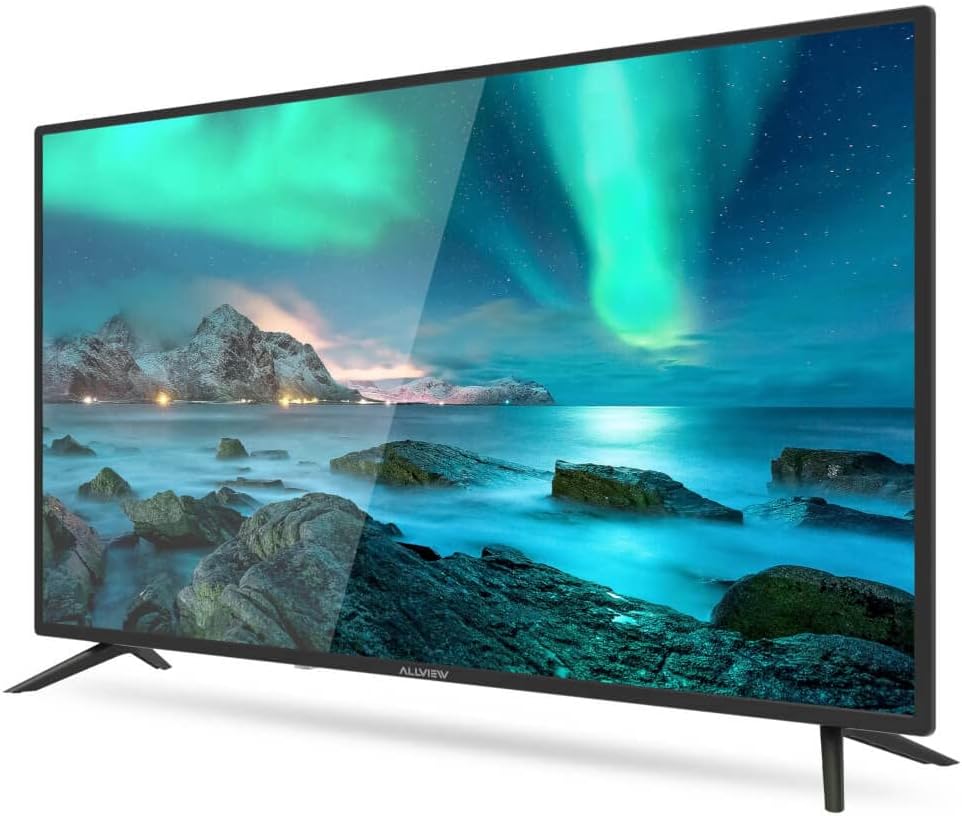
Figure 1: Front view of the ALLVIEW 40ATC6000-F TV with stand.
2. Wall Mounting (Optional)
If you choose to wall mount your TV, remove the stand first. Use a VESA-compatible wall mount kit (not included) that matches the TV's VESA mounting pattern. Consult a professional for wall mounting to ensure safety and proper installation.
3. Connecting External Devices
The rear panel of your TV provides various ports for connecting external devices.

Figure 2: Rear panel connections of the ALLVIEW 40ATC6000-F TV.
- Power: Connect the power cord to the TV's power input and then to a wall outlet.
- HDMI: Use HDMI cables to connect devices like Blu-ray players, game consoles, or set-top boxes.
- Antenna/Cable: Connect an antenna or cable TV feed to the ANT/CABLE input for broadcast channels.
- USB: Insert USB drives for media playback.
- Audio Out: Connect external audio systems or headphones.
4. First-Time Setup Wizard
Upon first power-on, the TV will guide you through an initial setup process. This includes selecting your language, country, time zone, and scanning for available channels. Follow the on-screen prompts to complete the setup.
Operating the TV
1. Remote Control Overview
The remote control allows you to access all TV functions. Insert two AAA batteries (not included) into the remote control, ensuring correct polarity.

Figure 3: ALLVIEW TV Remote Control.
- Power Button (⏻): Turns the TV on or off.
- Volume Up/Down (VOL +/-): Adjusts the sound level.
- Channel Up/Down (CH +/-): Changes TV channels.
- Source Button (SOURCE): Selects input sources (HDMI, AV, TV).
- Menu Button (MENU): Opens the main menu for settings.
- Navigation Buttons (▲ ▼ ◀ ▶): Navigates through menus and options.
- OK/Enter Button: Confirms selections.
- Exit Button (EXIT): Closes the current menu or returns to the previous screen.
2. Basic Functions
- Power On/Off: Press the Power button on the remote or the TV's control panel.
- Volume Adjustment: Use VOL +/- buttons.
- Channel Selection: Use CH +/- buttons or the numeric keypad.
- Input Source Selection: Press the SOURCE button repeatedly to cycle through available inputs, or press it once and use navigation buttons to select.
3. Menu Navigation and Settings
Press the MENU button to access the TV's main settings. Use the navigation buttons to move between categories and options, and the OK button to confirm. Common settings include:
- Picture Settings: Adjust brightness, contrast, color, sharpness, and picture mode (e.g., Standard, Dynamic, Movie).
- Sound Settings: Adjust volume, bass, treble, balance, and sound mode (e.g., Standard, Music, Movie). This model supports Dolby Digital.
- Channel Settings: Scan for channels, edit channel lists.
- Time Settings: Set current time, sleep timer, auto power off.
- System Settings: Language, factory reset, software update.
Maintenance
Cleaning the TV
- Always unplug the TV before cleaning.
- Use a soft, dry, lint-free cloth to wipe the screen and cabinet.
- For stubborn marks, lightly dampen the cloth with water or a specialized screen cleaner. Never spray liquid directly onto the TV.
- Avoid using abrasive cleaners, waxes, or solvents.
Troubleshooting
Before contacting customer support, try the following solutions for common issues:
| Problem | Possible Cause | Solution |
|---|---|---|
| No power | Power cord not connected; outlet not working. | Ensure power cord is securely plugged in. Test the outlet with another device. |
| No picture, but sound is present | Incorrect input source selected; backlight issue. | Press the SOURCE button to select the correct input. Check if the TV is in a power-saving mode. |
| No sound, but picture is present | Volume muted or too low; incorrect audio output settings. | Unmute the TV or increase volume. Check audio settings in the menu. |
| Remote control not working | Batteries depleted or incorrectly inserted; obstruction. | Replace batteries. Ensure correct polarity. Remove any obstructions between remote and TV. |
| Poor picture quality | Weak signal; incorrect picture settings. | Check antenna/cable connection. Adjust picture settings (brightness, contrast, sharpness). |
Specifications
| Feature | Detail |
|---|---|
| Model Number | 40ATC6000-F |
| Screen Size | 40 inches (101 cm) |
| Resolution | Full HD |
| Brand | ALLVIEW |
| Special Feature | Dolby Digital |
| Dimensions (L x W x H) | 24 x 69 x 2.5 centimeters (Note: This dimension seems unusually small for a 40-inch TV, likely referring to a component or packaging. User should refer to actual product for full dimensions.) |
| ASIN | B0BPMKJVTC |
| Manufacturer | Allview |
Warranty and Support
For warranty information, technical support, or service inquiries, please refer to the warranty card included with your product or visit the official ALLVIEW website. Do not attempt to repair the TV yourself, as this may void your warranty and cause further damage.


