
Pasotim 500307123
HD VGA/RBGS -VC9900 Game Conversion Board User Manual
Model: 500307123 | Brand: Pasotim
1. Introduction
This manual provides comprehensive instructions for the installation, operation, and maintenance of the HD VGA/RBGS -VC9900 Game Conversion Board. Please read this manual thoroughly before using the product to ensure proper functionality and to prevent damage.
Product Overview
The HD VGA/RBGS -VC9900 Game Conversion Board is a high-performance video processing card designed to convert low-resolution video signals to high-resolution outputs. It facilitates the integration of classic game machines with modern LCD displays, offering enhanced picture clarity and color reproduction.
- High-performance video processing for low to high resolution conversion.
- Enables connection of classic game machines to LCD displays.
- Strong game compatibility, supporting various low and high-resolution games (e.g., The King of Fighters, PS2).
- Outputs clear, high-resolution images with vibrant colors.
- Supports a wide range of display screens.
2. Package Contents
Upon opening the package, please verify that all components listed below are present and in good condition:
- 1 x HD VGA/RBGS -VC9900 Game Conversion Board
- 1 x Set of Connection Wires

Image: The HD VGA/RBGS -VC9900 Game Conversion Board shown alongside its accompanying set of connection wires.
3. Specifications
| Feature | Detail |
|---|---|
| Product Model | 500307123 |
| Dimensions (L x W x H) | 6.3 x 5.12 x 0.79 inches (16 x 13 x 2 cm) |
| Item Weight | 4 ounces (114 grams) |
| Video Capture Resolution | Up to 1080p |
| Supported Operating Systems | Windows (for connected devices/sources) |
| Material | PCB (Printed Circuit Board) |
4. Setup and Installation
Follow these steps to properly set up and install your conversion board:
- Prepare Your Workspace: Ensure your workspace is clean, well-lit, and free of static electricity. Disconnect power from all devices before beginning installation.
- Identify Ports: Familiarize yourself with the input and output ports on the conversion board.

Image: Detailed view of the conversion board's components and connection points.
- Connect Input Signal: Connect your low-resolution game machine or source device to the appropriate input on the conversion board using the provided or compatible cables. The board supports VGA and RBGS inputs.
- Connect Output Display: Connect the conversion board's output (VGA or HDMI, depending on model and available ports) to your high-resolution LCD display.
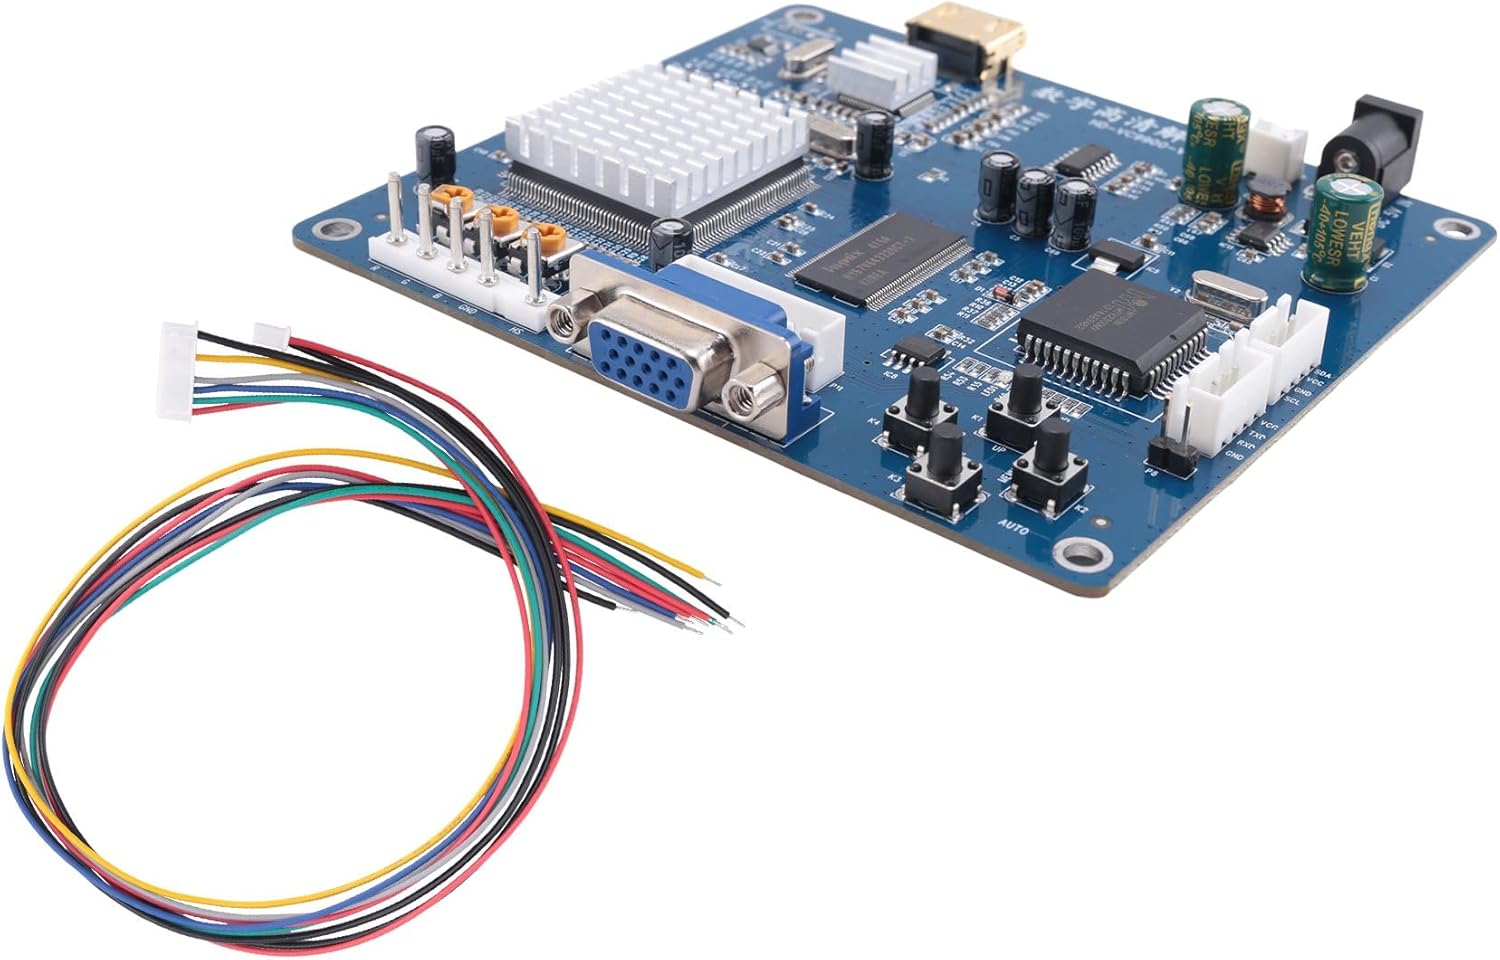
Image: Angled view of the conversion board, showing the VGA output and HDMI port, ready for display connection.
- Power Connection: Connect the power supply to the DC IN port on the conversion board. Ensure the power source matches the board's voltage requirements.
- Wire Connections: Use the included connection wires for specific control signals or additional functionalities as required by your setup. Refer to the pinout diagram (if available in your specific product documentation) for correct wiring.
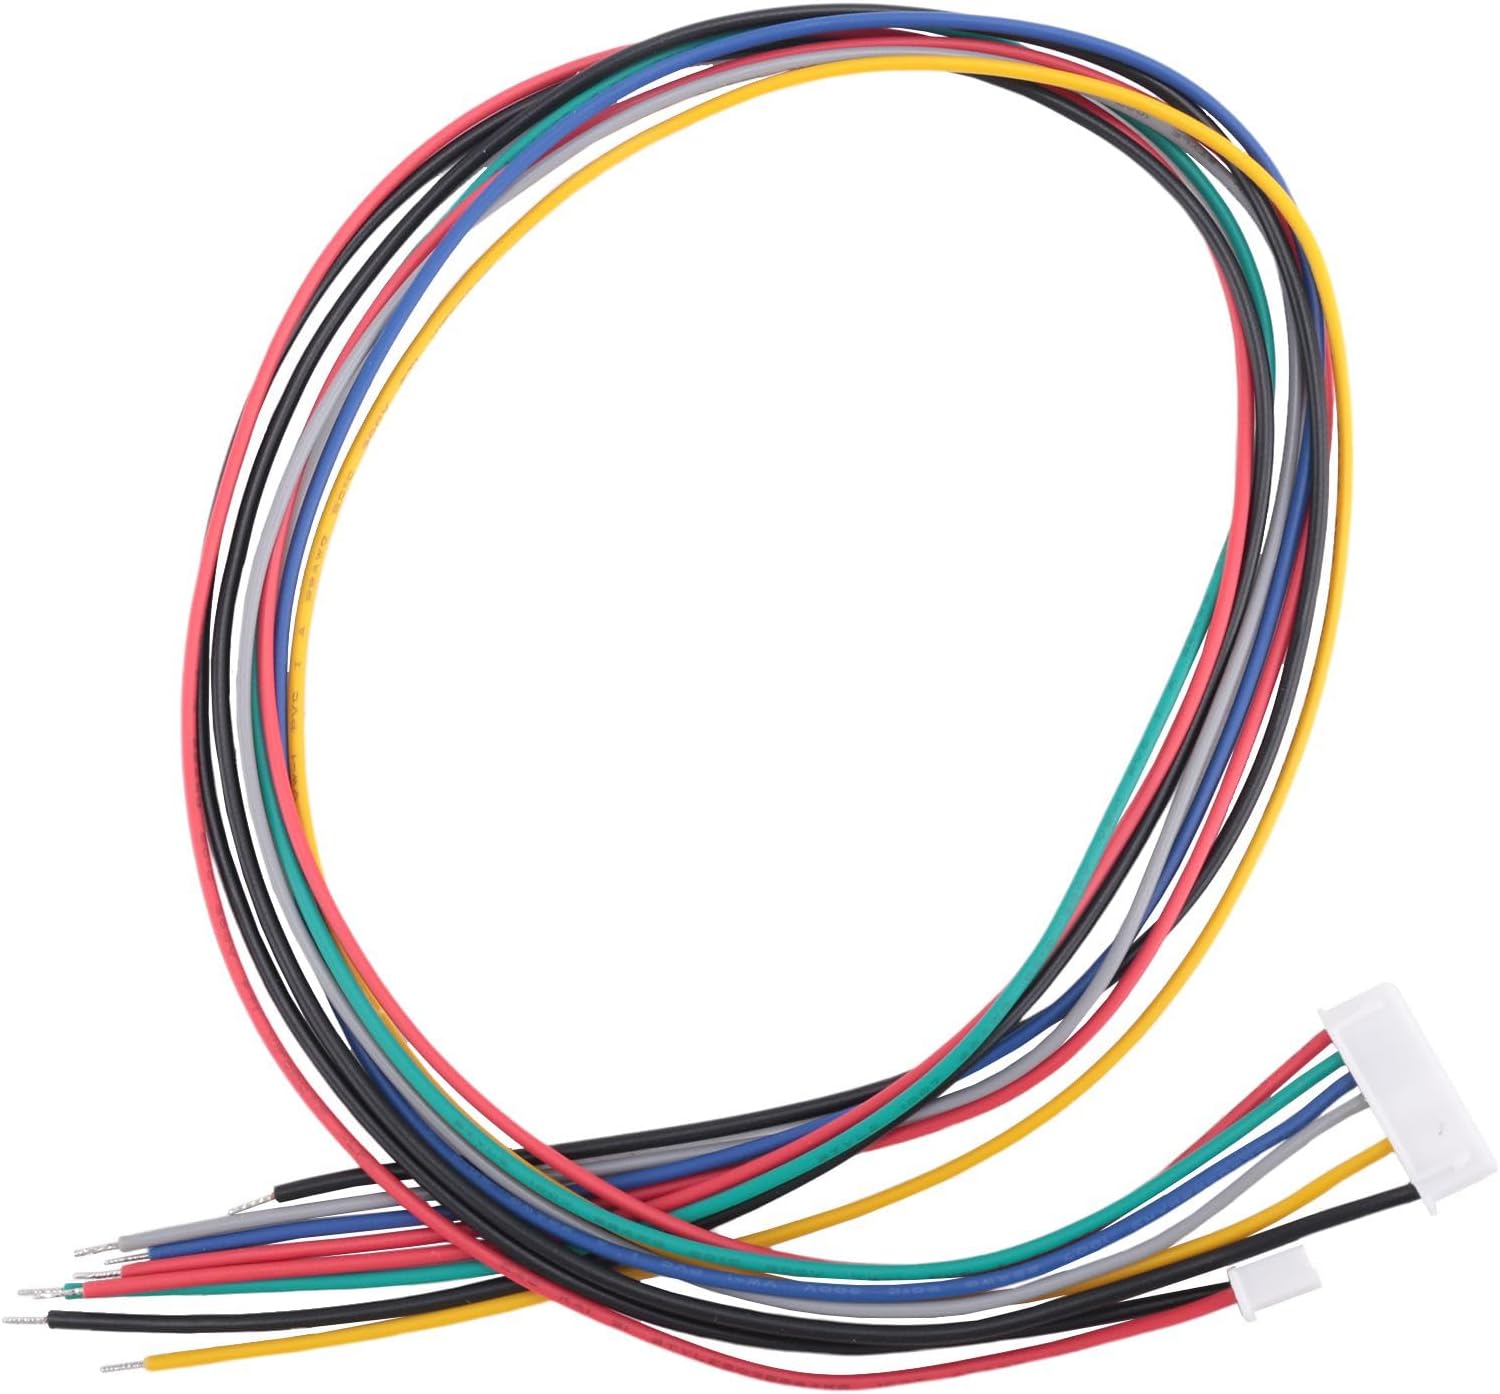
Image: The set of multi-colored connection wires provided with the conversion board.
- Secure Installation: Once all connections are made, ensure the board is securely mounted or placed in a stable position to prevent accidental disconnections or damage.
5. Operating Instructions
After successful installation, follow these steps to operate the conversion board:
- Power On: Turn on the power to the conversion board, followed by your game machine/source device and the display.
- Input Detection: The board should automatically detect the input signal from your game machine.
- Display Adjustment: If the image does not appear correctly, use the controls on the conversion board (e.g., "MENU", "UP", "DOWN", "AUTO" buttons) to adjust the display settings.

Image: The conversion board with visible control buttons for adjusting settings.
- Picture Optimization:
- Use the MENU button to access display options.
- Use UP and DOWN to navigate through options or adjust values.
- The AUTO button can be used for automatic picture calibration, which often resolves common display issues.
- Enjoy Your Game: Once the picture is optimized, you can enjoy your classic games on a modern high-resolution display.
6. Maintenance
To ensure the longevity and optimal performance of your conversion board, follow these maintenance guidelines:
- Cleaning: Gently wipe the board with a soft, dry, anti-static cloth. Do not use liquid cleaners or solvents, as they can damage the electronic components.
- Storage: When not in use for extended periods, store the board in a cool, dry place, away from direct sunlight and extreme temperatures.
- Handling: Always handle the board by its edges to avoid touching the components and connectors, which can cause damage from static electricity or oils from your skin.
- Ventilation: Ensure adequate airflow around the board during operation to prevent overheating.
7. Troubleshooting
If you encounter issues with your conversion board, refer to the following common problems and their solutions:
| Problem | Possible Cause | Solution |
|---|---|---|
| No image on display |
|
|
| Distorted or flickering image |
|
|
| Colors are incorrect |
|
|
8. Warranty and Support
This product is manufactured by Pasotim. For warranty information and technical support, please refer to the seller's policies or contact the manufacturer directly.
For common inquiries, please visit the product page on Amazon or contact your point of purchase.
Manufacturer: Pasotim
Model Number: 500307123
Ask a question about this manual
Ask about setup, troubleshooting, compatibility, parts, safety, or missing instructions. Manuals+ will review the question and use this page’s manual context to help answer it.