1. Introduction
This manual provides detailed instructions for the setup, operation, and maintenance of your DAYTECH CI02-2 DE 10-Channel Wireless Intercom System. Please read this manual thoroughly before using the product to ensure proper function and safety. This wireless intercom system is designed for clear and reliable communication within homes, offices, or other environments, offering a long operational range without requiring internet or phone lines.
2. Product Overview
2.1 Package Contents
The standard package typically includes:
- DAYTECH CI02-2 DE Wireless Intercom Units (quantity may vary based on purchase)
- Power Adapters for each unit
- User Manual (this document)
2.2 Key Features
- 10-Channel Wireless Communication
- Long Range Operation (up to 0.5 kilometers in open areas, 60-100 meters indoors)
- Clear Voice Transmission
- VOX (Voice Operated Exchange) Function for hands-free communication
- Group Call Capability to broadcast messages to multiple units
- Monitor Function for listening to other units
- Simple Setup and Operation (Plug and Play)
- No internet or phone line required
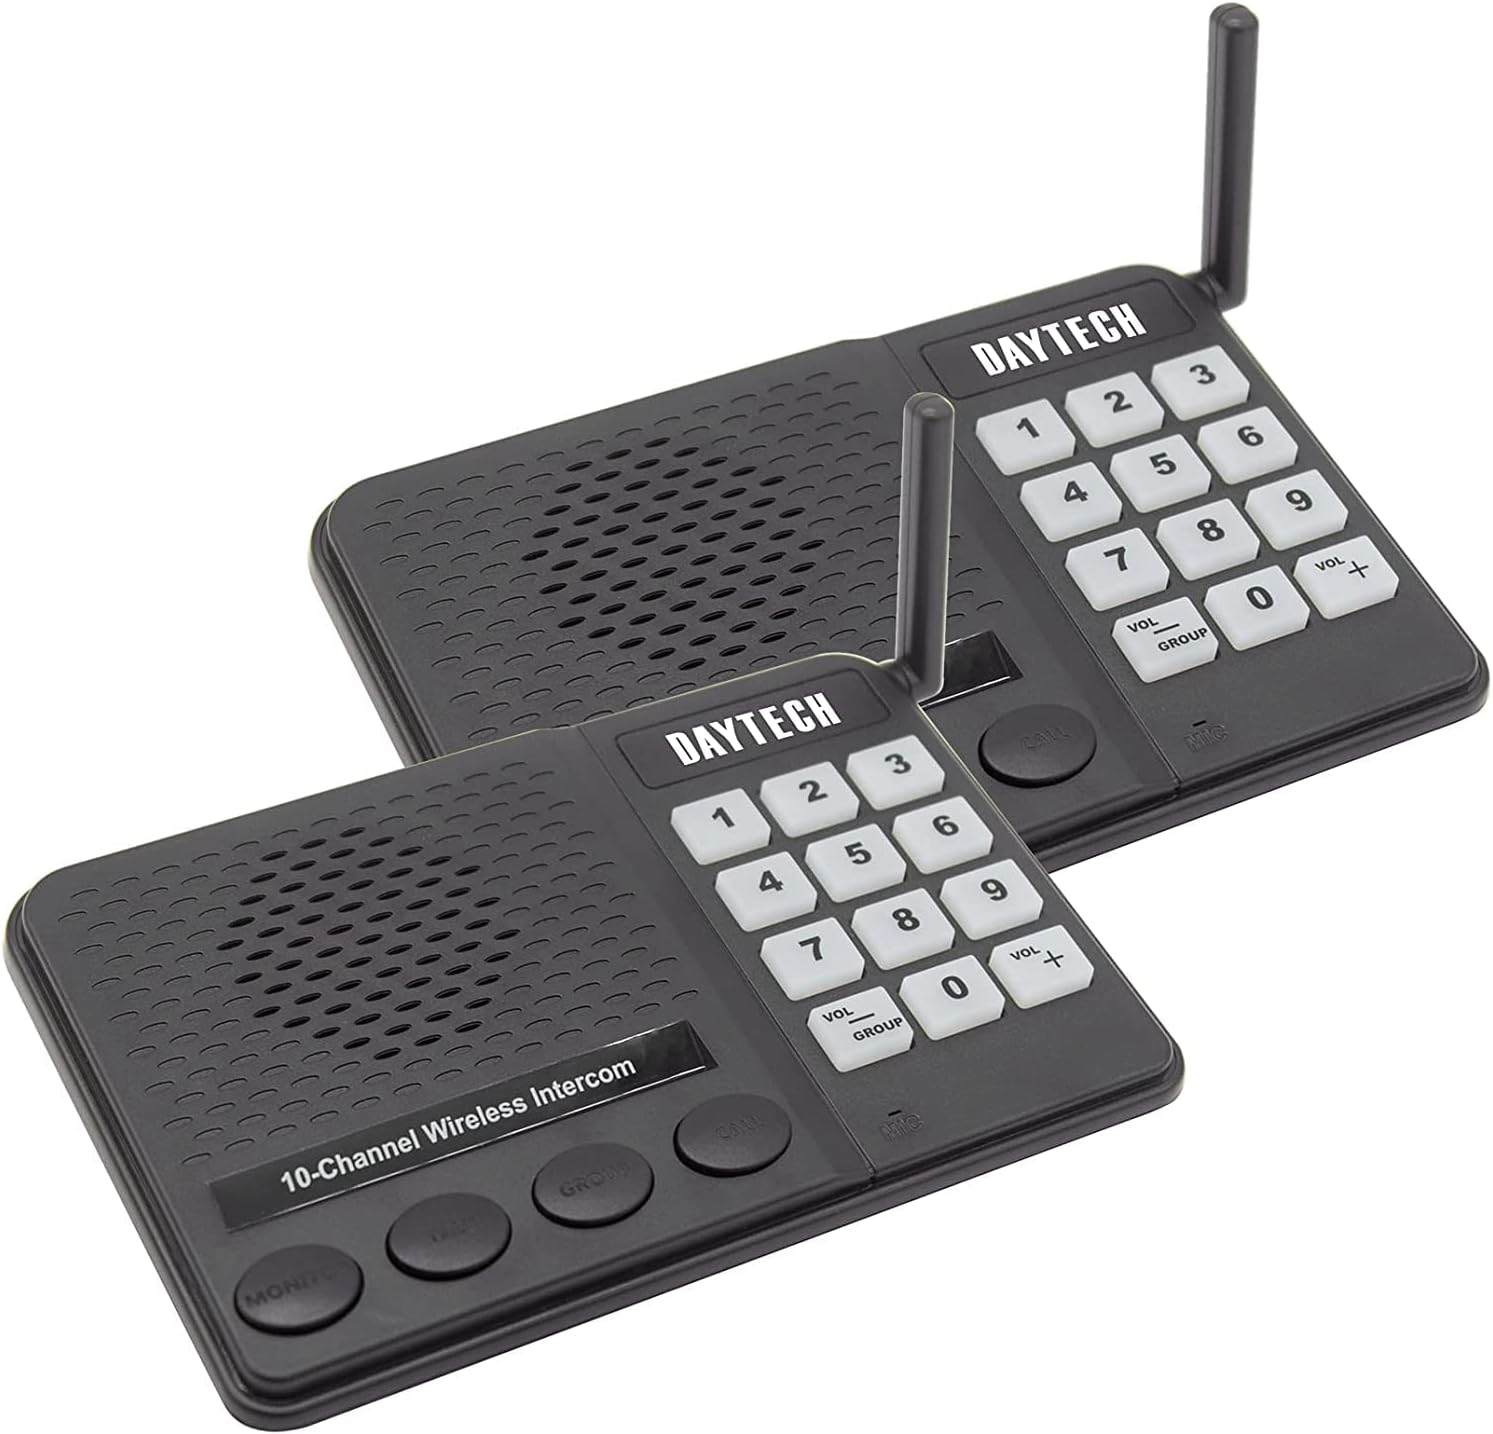
Image 1: Two DAYTECH CI02-2 DE wireless intercom units, showing the keypad, speaker, microphone, and antenna on each device.
3. Controls and Indicators
Each intercom unit features the following controls and indicators:
- Keypad (0-9): Used for selecting channels and codes.
- CALL Button: Initiates a call to a selected channel.
- TALK Button: Press and hold to speak; release to listen.
- MONITOR Button: Activates the monitoring function or VOX mode.
- GROUP Button: Initiates a group call to all units on the same channel.
- VOL+ / VOL- Buttons: Adjusts speaker volume.
- Power Indicator Light: Shows the unit's power status.
- Antenna: For wireless signal transmission and reception.
4. Setup Instructions
4.1 Powering On
- Connect the provided power adapter to the DC IN port on the back of each intercom unit.
- Plug the power adapter into a standard electrical outlet.
- The power indicator light on the unit will illuminate, indicating it is powered on and ready for use.
4.2 Setting Channels and Codes
For communication between units, they must be set to the same channel and code. The system supports 10 channels.
- On each intercom unit, use the keypad to select a desired channel (e.g., press '1' for Channel 1).
- Ensure all units intended to communicate with each other are set to the same channel.
- The system may also support a sub-code feature for privacy; refer to the unit's display or specific instructions for setting codes if available.
4.3 Placement Guidelines
Optimal placement enhances communication range and clarity:
- Place units in central locations within their intended communication area.
- Avoid placing units near large metal objects, thick concrete walls, or other electronic devices that may cause interference.
- Ensure the antenna is upright and unobstructed for best signal reception.
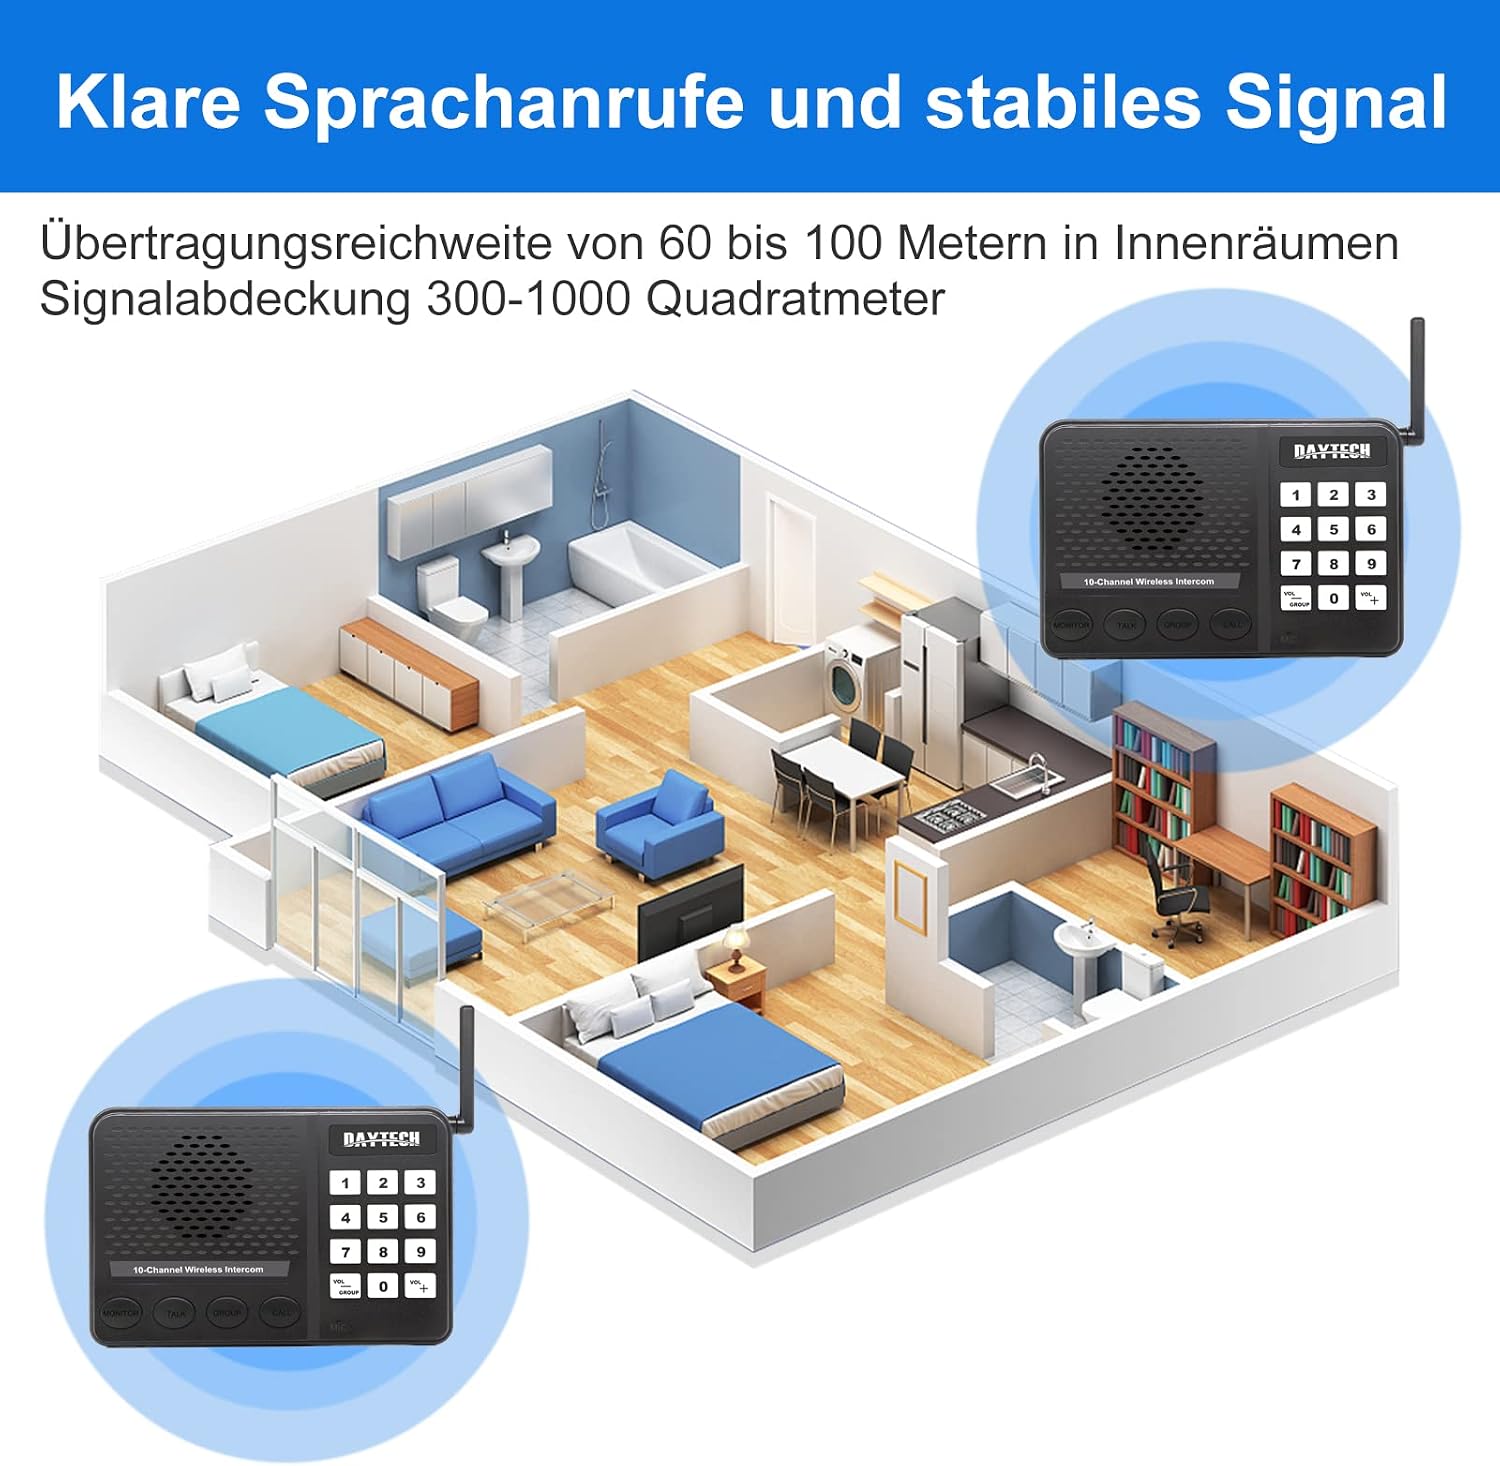
Image 2: Illustration of intercom units placed in different rooms, demonstrating effective indoor communication range (60-100 meters) and signal coverage (300-1000 square meters).
5. Operating Instructions
5.1 Making a Call
- Ensure your unit and the receiving unit are on the same channel.
- Press the CALL button. The receiving unit will ring.
- Once the receiving unit answers (by pressing TALK), you can begin speaking.

Image 3: Depiction of the intercom system in an office environment, highlighting the simplicity of a one-click call without requiring internet or phone connections.
5.2 Receiving a Call
- When your unit rings, press and hold the TALK button to answer.
- Speak clearly into the microphone. Release the TALK button to listen.
5.3 Two-Way Communication (TALK Button)
The TALK button enables two-way communication:
- To speak: Press and hold the TALK button.
- To listen: Release the TALK button.

Image 4: Instructions for using the intercom. To answer a call, hold the "TALK" button. To enter VOX mode (two-way hands-free listening), press the "MONITOR" button.
5.4 Volume Adjustment
Use the VOL+ and VOL- buttons on the keypad to increase or decrease the speaker volume to a comfortable level.
6. Advanced Features
6.1 VOX (Voice Operated Exchange) Function
The VOX function allows for hands-free communication. When activated, the intercom will automatically transmit your voice when you speak, without needing to press the TALK button.
- To activate VOX mode, press the MONITOR button.
- In VOX mode, the unit will automatically transmit when it detects speech.
- To exit VOX mode, press the MONITOR button again.

Image 5: Depiction of the VOX function for internal communication, enhancing office efficiency by allowing hands-free conversations.
6.2 Group Call Function
The Group Call function allows you to broadcast a message to all other intercom units set to the same channel and code simultaneously.
- Press the GROUP button.
- Speak your message. All units on the same channel will receive the broadcast.
- Release the GROUP button when finished speaking.
6.3 Monitoring Function
The Monitor function allows you to listen in on another intercom unit that is set to the same channel and code. This can be useful for monitoring a child's room or an office area.
- Press the MONITOR button.
- Your unit will now receive audio from any other unit on the same channel that is transmitting or in VOX mode.
- To exit monitoring, press the MONITOR button again.

Image 6: Examples of practical applications for the intercom system in various home and office environments, such as a garage, bedroom, living room, dining room, cellar, and secretary's office.
7. Maintenance
- Cleaning: Wipe the units with a soft, dry cloth. Do not use abrasive cleaners or solvents.
- Storage: If storing for an extended period, disconnect from power and store in a cool, dry place.
- Avoid Moisture: Keep the units away from water and high humidity.
8. Troubleshooting
| Problem | Possible Cause | Solution |
|---|---|---|
| No power | Power adapter not connected or faulty outlet. | Check power adapter connection. Try a different outlet. |
| Cannot communicate with another unit | Units on different channels/codes; out of range; interference. | Ensure both units are on the same channel and code. Move units closer. Check for sources of interference. |
| Poor audio quality | Weak signal; interference; volume too low/high. | Adjust volume. Reposition units for better signal. Reduce interference sources. |
| Unit not responding | Temporary software glitch. | Disconnect power, wait 10 seconds, then reconnect power to reset the unit. |
9. Specifications
- Model Number: CI02-2 DE
- Brand: DAYTEE
- Channels: 10
- Wireless Range: Up to 0.5 kilometers (open area), 60-100 meters (indoors)
- Signal Coverage: 300-1000 square meters
- Product Dimensions: 16 x 10 x 3 cm
- Item Weight: 700 g
- Batteries Required: No
- Power Source: AC Power Adapter (included)
10. Safety Information
- Do not disassemble or attempt to repair the unit yourself. Refer all servicing to qualified personnel.
- Keep the unit away from heat sources, direct sunlight, and flammable materials.
- Use only the provided power adapter. Using unauthorized adapters may damage the unit and void the warranty.
- Do not expose the unit to extreme temperatures or humidity.
- Keep out of reach of children.
11. Warranty and Support
For warranty information or technical support, please refer to the documentation provided with your purchase or contact DAYTEE customer service directly. Keep your purchase receipt as proof of purchase.