1. Product Overview
The Septpenta PCIE to Dual PCI Riser Card (Model: PCE2PCI A01) is designed to expand your system's capabilities by converting a single PCIe slot into two functional PCI slots. This allows for the continued use of legacy PCI expansion cards in modern systems that primarily feature PCIe slots. The card boasts a 6Gbps interface rate and features a blue LED power indicator for easy status monitoring. It is compatible with various operating systems, including Windows XP, 7, 8, 10, 11, and Linux.
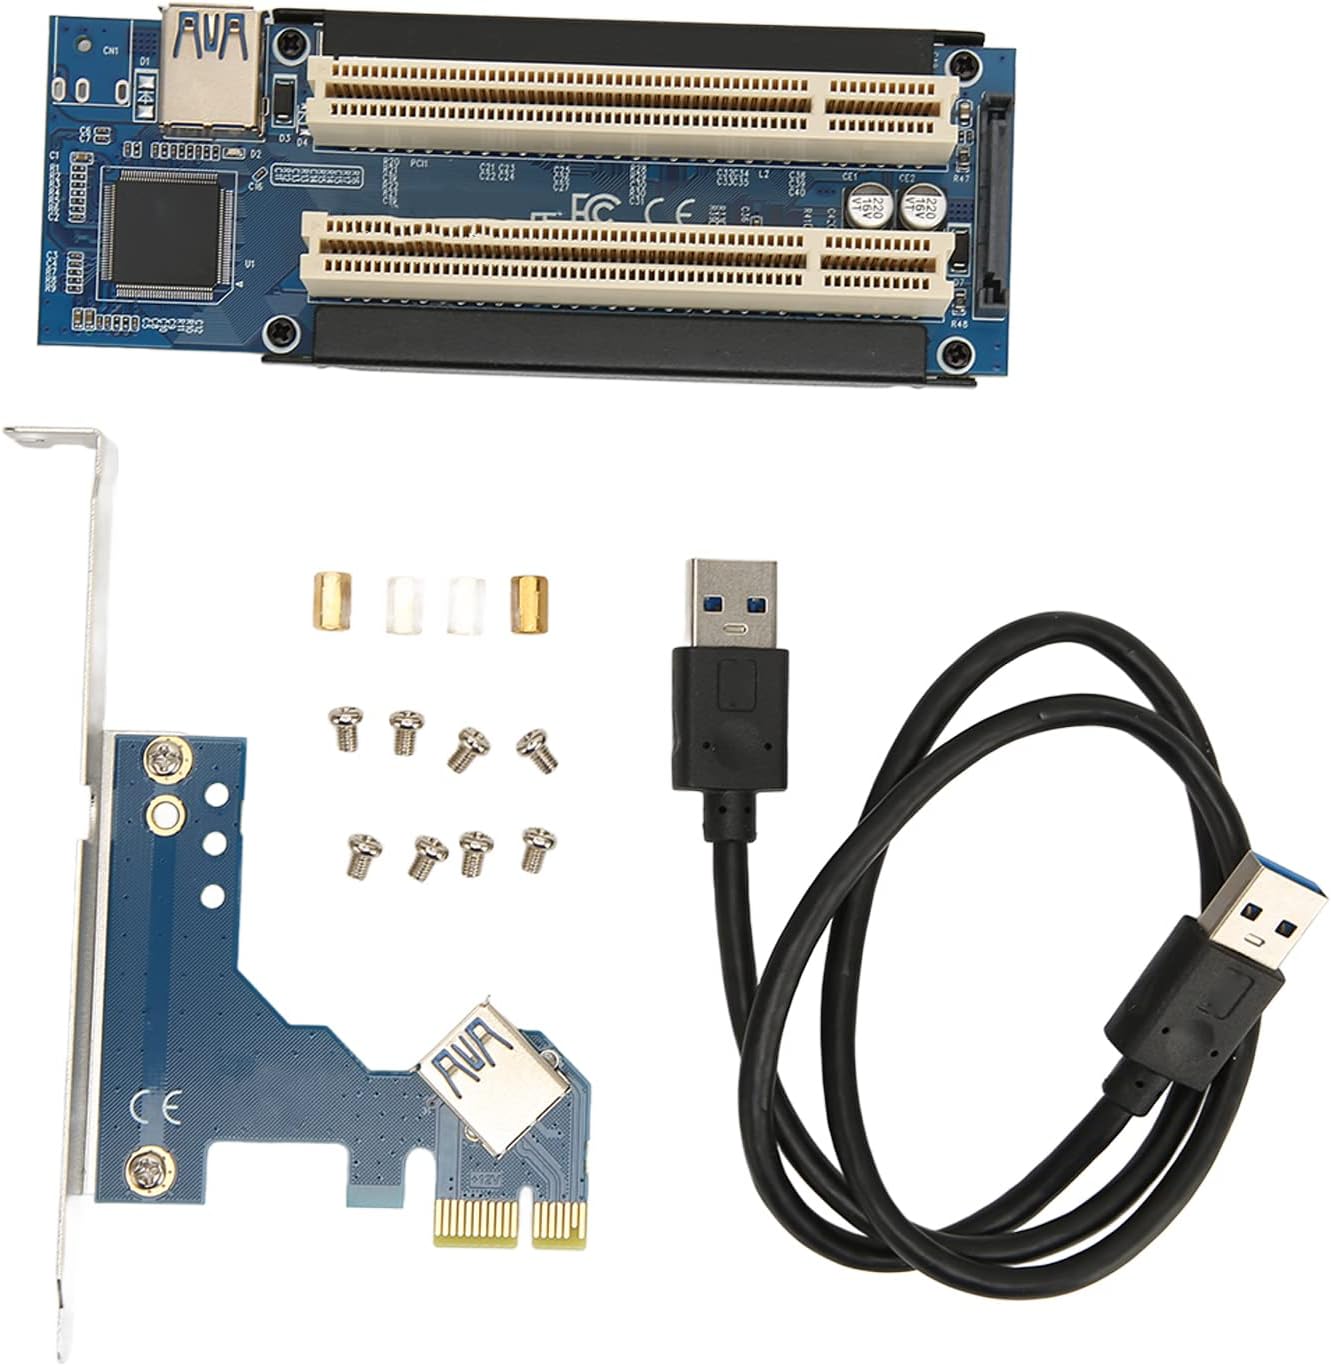
Figure 1: Overview of the PCIE to Dual PCI Riser Card and its components.
2. Package Contents
Please verify that all items listed below are included in your package:
- 2 x Riser Cards (Main PCIE board and PCI slot board)
- 8 x Screws
- 4 x Nuts
- 1 x Adapter Cable (USB 3.0 type A to A cable for connecting the two boards)
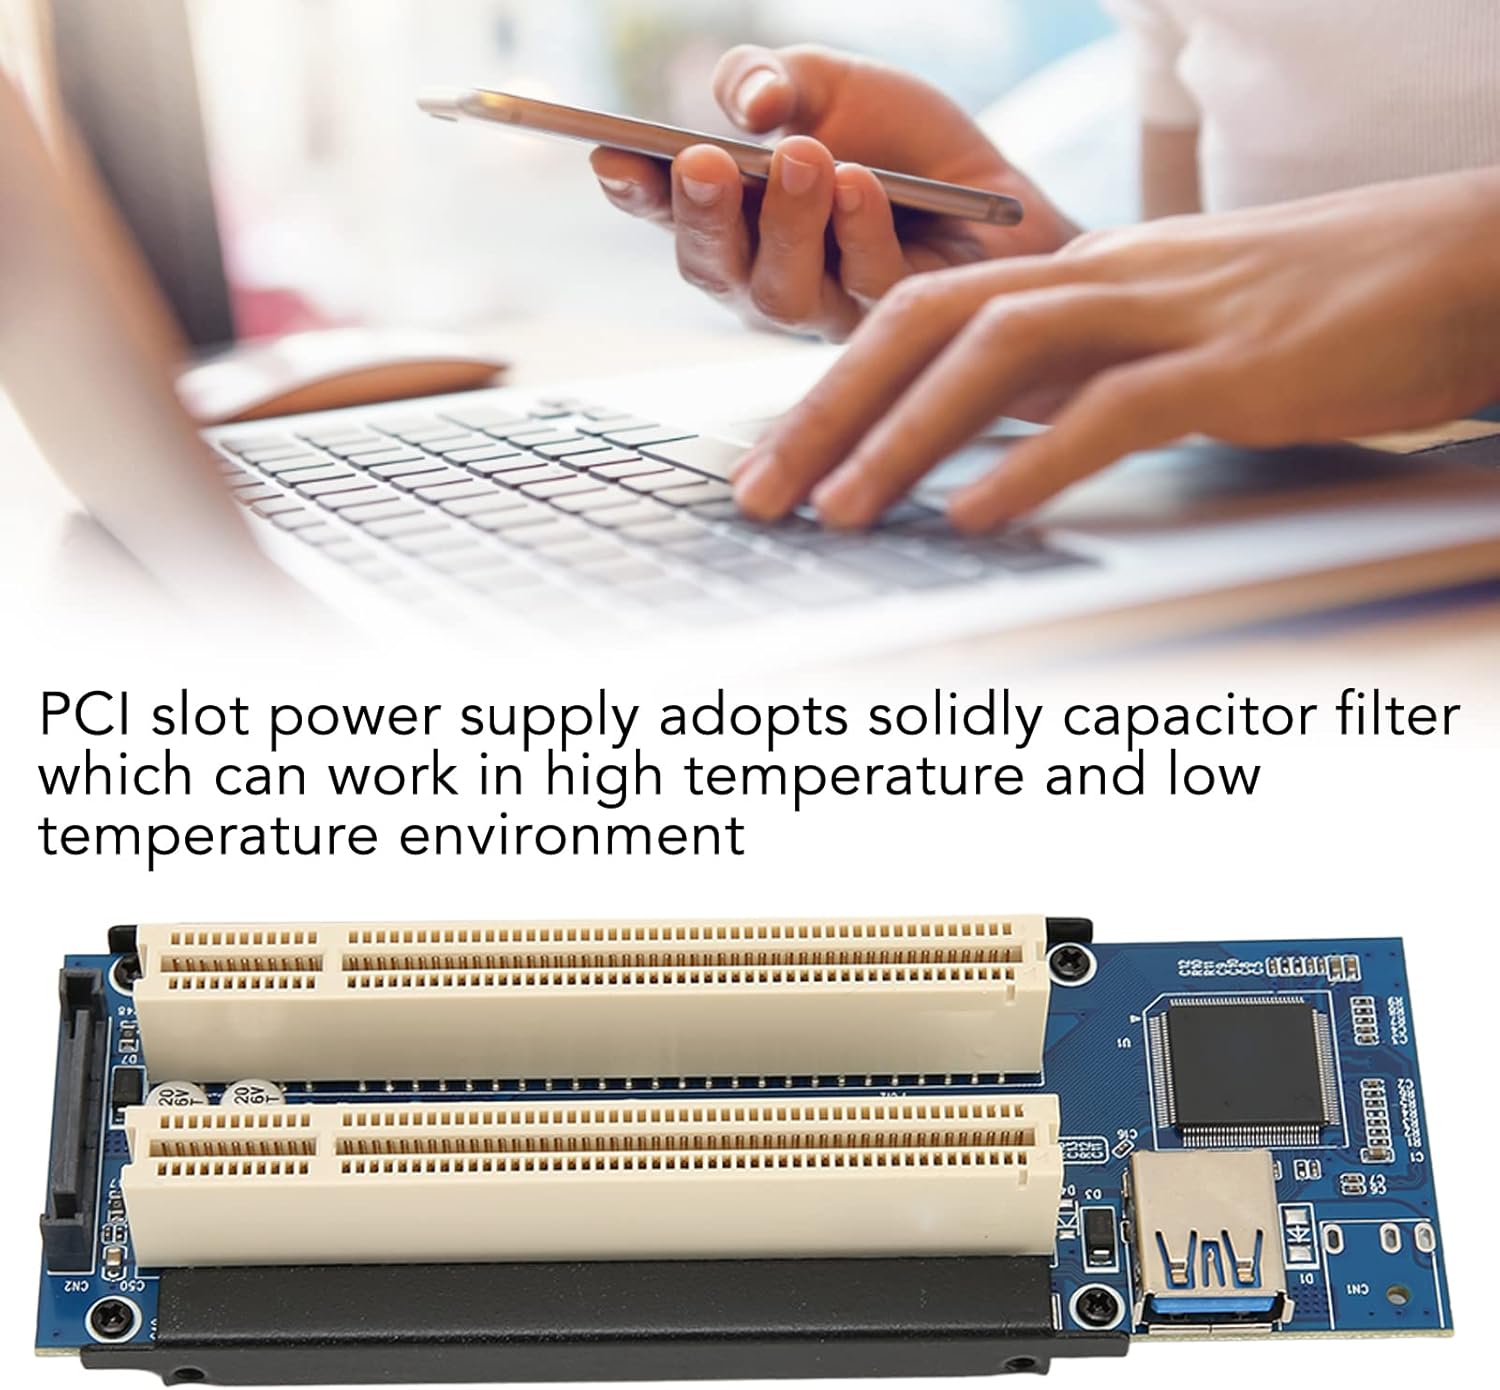
Figure 2: Contents of the product package, including the main riser card, PCI slot board, screws, nuts, and adapter cable.
3. Specifications
| Feature | Description |
|---|---|
| Product Model | PCE2PCI A01 |
| Main Control Chip | ASM1083 |
| Interface (Motherboard Side) | PCIE 1X (Compatible with 1X, 4X, 8X, 16X slots) |
| Interface Rate | 6Gbps |
| Supported Slots | Two PCI slots |
| Power Indicator | Blue LED |
| Power Filtering | Solidly Capacitor Filtering |
| Supported Operating Systems | Windows XP, Windows 7, Windows 8, Windows 10, Windows 11, Linux |
| Item Weight | 6.3 ounces (0.18 Kilograms) |
| Material | Metal, Electronics |
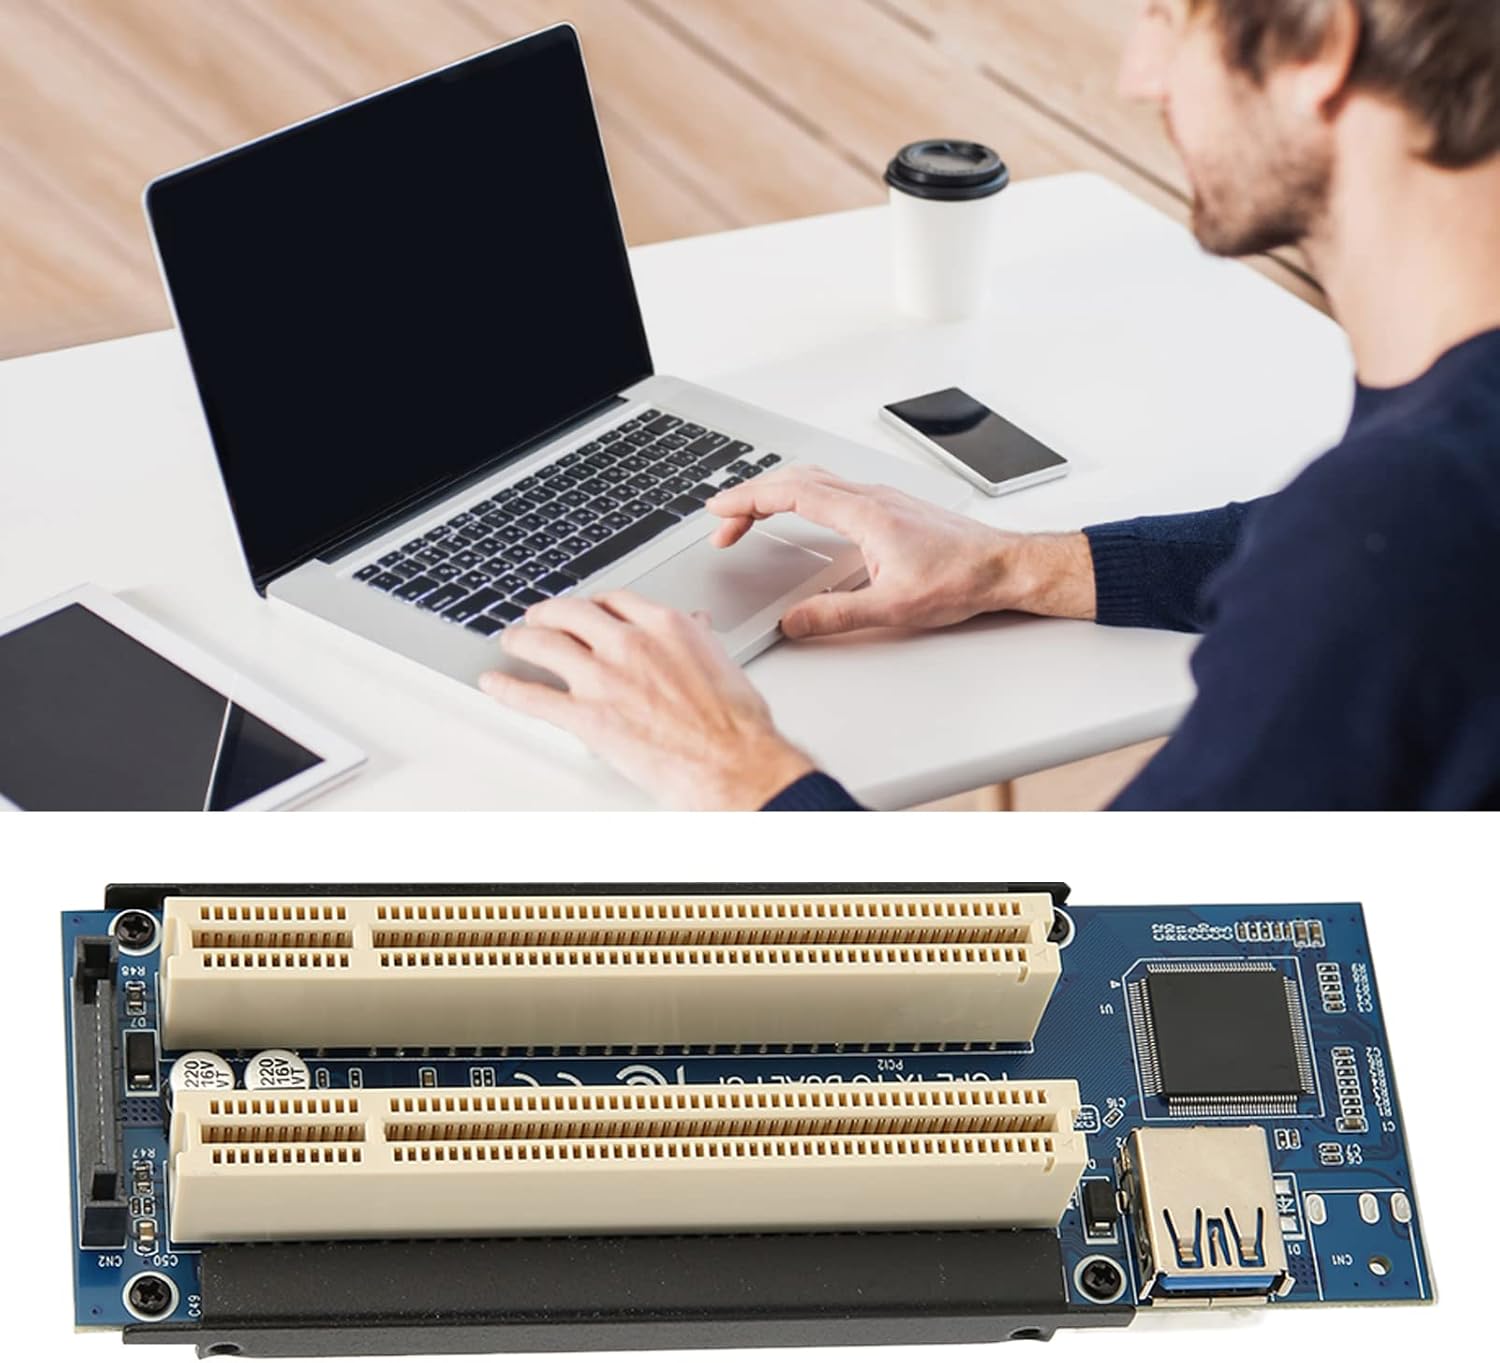
Figure 3: The PCIE 1X interface on the main board, compatible with various PCIe slot sizes.
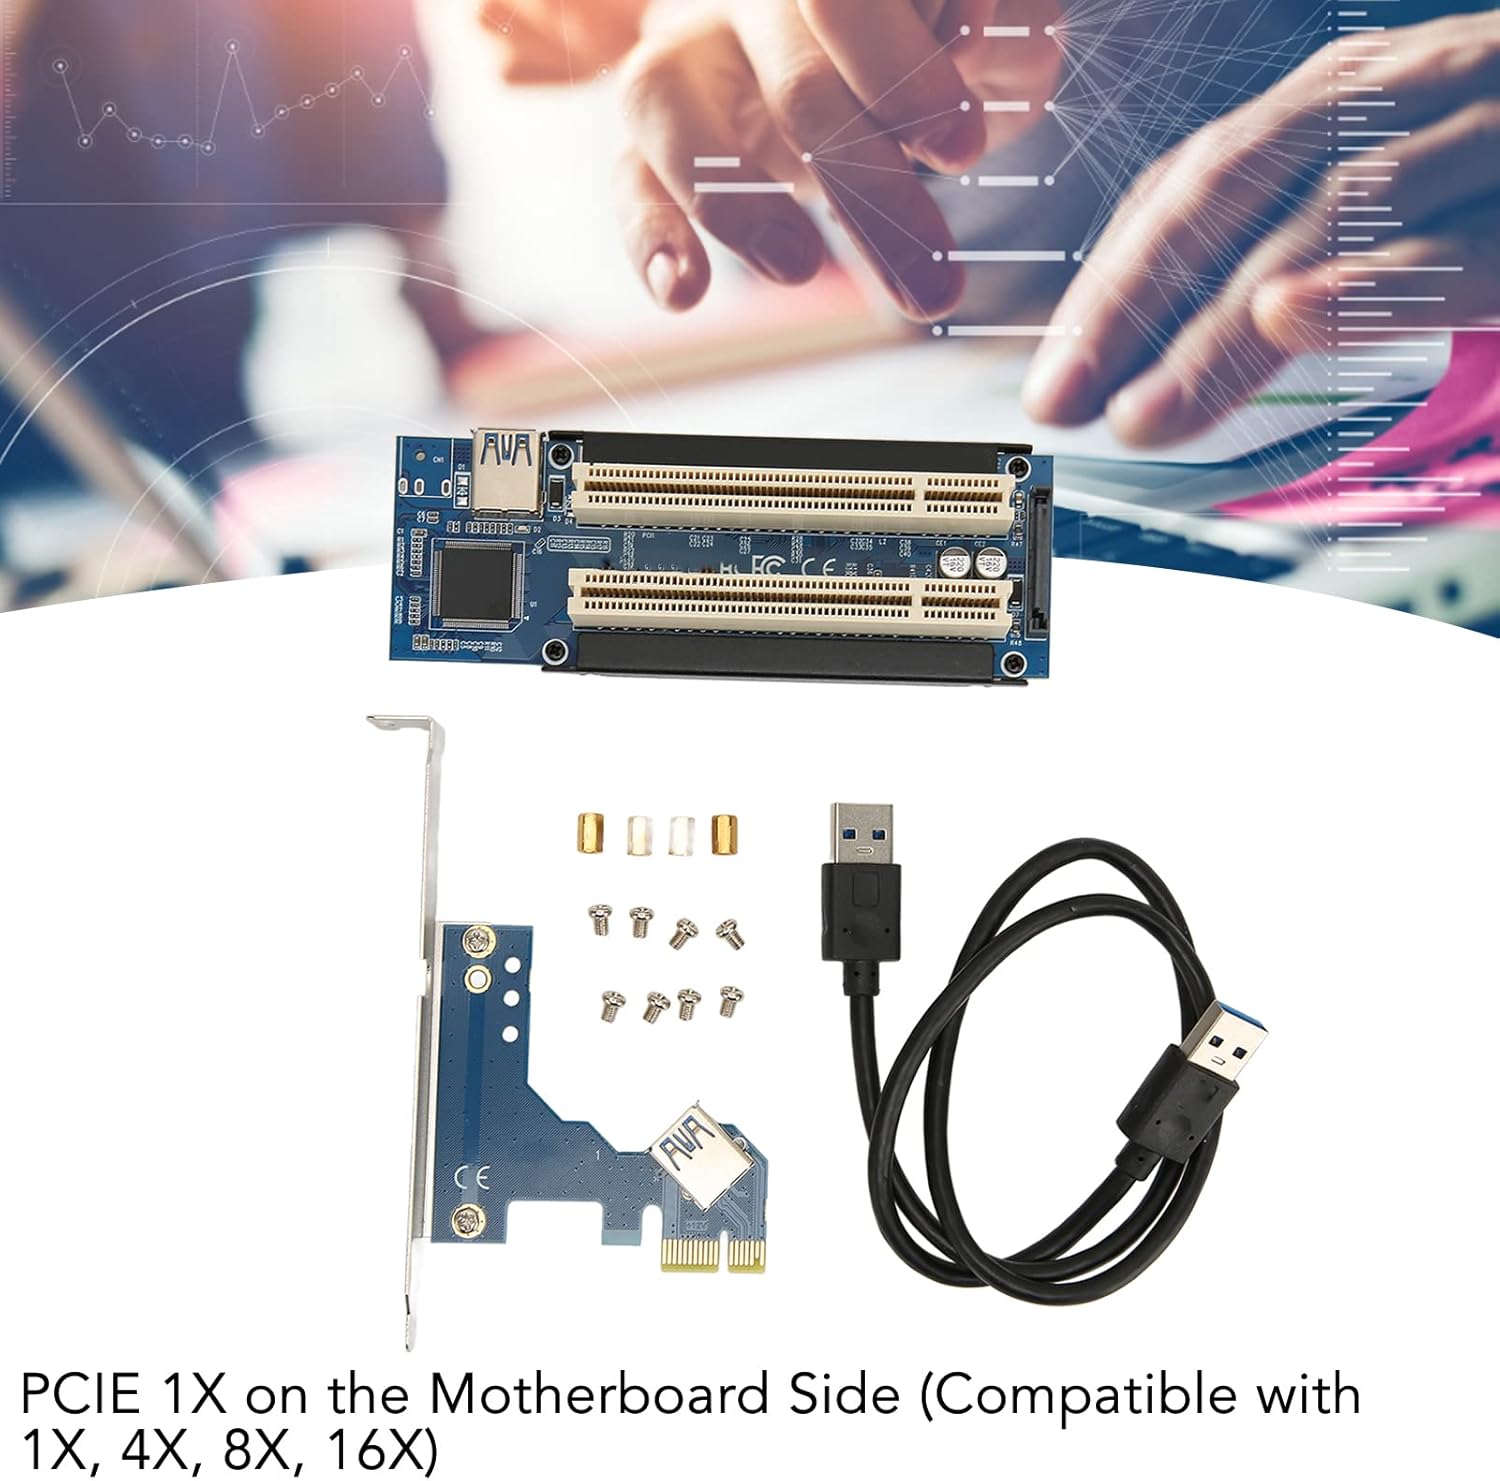
Figure 4: Detail of the PCI slot power supply, featuring solidly capacitor filtering for stable operation.
4. Setup and Installation
Follow these steps to properly install the PCIE to Dual PCI Riser Card into your system:
- Prepare Your System: Power off your computer and disconnect all power cables. Open the computer case to access the motherboard.
- Install the Main PCIE Board: Locate an available PCIE slot (1X, 4X, 8X, or 16X) on your motherboard. Carefully insert the main PCIE board into the slot until it is firmly seated. Secure the board with a screw if your case requires it.
- Connect the PCI Slot Board: Connect the provided adapter cable (USB 3.0 type A to A) between the main PCIE board and the separate PCI slot board. Ensure the connection is secure. Note: This USB interface is specifically for connecting the two boards and should not be connected to a standard USB port on your computer or other USB devices.
- Mount the PCI Slot Board: The PCI slot board can be mounted in an available expansion slot at the rear of your computer case, or placed securely within the chassis, depending on your system's configuration and space availability.
- Install PCI Devices: Insert your desired PCI expansion cards into the two available PCI slots on the PCI slot board. Ensure they are properly seated.
- Power Connection (Optional): For PCI devices requiring more than 16W of power, connect a SATA power cable from your power supply to the SATA enhanced power extraction port on the PCI slot board. This provides additional stability and power.
- Close Case and Power On: Once all connections are secure and components are installed, close your computer case, reconnect power cables, and power on your system.
5. Operating Instructions
Once installed, the PCIE to Dual PCI Riser Card operates automatically. The system should detect the connected PCI devices as if they were directly installed on the motherboard.
- Blue LED Power Indicator: A blue LED on the main PCIE board will illuminate when the card receives power, indicating proper operation.
- Driver Installation: For most modern operating systems (Windows 7/8/10/11, Linux), the card is plug-and-play and should not require additional drivers for the riser functionality itself. However, the specific PCI devices you install may require their own drivers. Refer to the documentation for your PCI devices for driver installation instructions.
6. Maintenance
The PCIE to Dual PCI Riser Card requires minimal maintenance. To ensure optimal performance and longevity:
- Keep Clean: Periodically inspect the card and PCI slots for dust accumulation. Use compressed air to gently remove dust from the components and connectors.
- Ensure Proper Airflow: Ensure your computer case has adequate airflow to prevent overheating, especially if multiple PCI cards are installed.
- Secure Connections: Occasionally check that all cables and cards are securely seated to prevent intermittent issues.
7. Troubleshooting
If you encounter issues with your PCIE to Dual PCI Riser Card, refer to the following common problems and solutions:
| Problem | Possible Cause / Solution |
|---|---|
| No Power / Blue LED Off |
|
| PCI Devices Not Detected |
|
| System Instability / Crashes |
|
| "USB interface can not be connected to the USB cable" error or similar | The adapter cable uses a USB-A connector but is not a standard USB data cable. It is specifically designed to connect the two parts of the riser card. Do not connect this cable to a standard USB port on your computer or any other USB device. It must only be connected between the main PCIE board and the PCI slot board. |
8. Important Notes and Warnings
Please read the following important notes and warnings carefully to ensure correct and safe use of the product:
- This product is designed for internal computer use only.
- Ensure your computer is powered off and unplugged before installation or removal of the card.
- Handle the card by its edges to avoid static discharge damage to electronic components.
- The USB-type cable provided is for internal board-to-board connection only and is not a standard USB data cable. Do not connect it to external USB ports.
- The PCI slot power supply uses solid capacitors, designed for stable operation across various temperatures.
Figure 5: General warning regarding careful reading of product instructions before use.
9. Warranty and Support
For warranty information or technical support, please contact Septpenta customer service or visit the official Septpenta brand store.
- Brand Store: Septpenta Official Store on Amazon
- Please have your product model (PCE2PCI A01) and purchase details ready when contacting support.