1. Introduction
This manual provides detailed instructions and information for the AZ4U 137114000 Dryer Heating Element Assembly. This assembly is designed as a replacement part for various electric dryer models, including those from Frigidaire, Electrolux, Crosley, and Kenmore. It includes the heating element, high limit thermal fuse, and safety thermostat, crucial components for your dryer's heating function. Please read this manual thoroughly before attempting any installation or repair to ensure safety and proper functionality.
2. Product Overview
The AZ4U 137114000 Dryer Heating Element Assembly is a comprehensive kit designed to restore heating functionality to your electric dryer. It comprises three essential components:
- 137114000 Dryer Heating Element: This is the primary component responsible for generating heat. It features 2 5/16 male connectors, operates at 240 volts, and has a power rating of 4700 watts. The heating coil is manufactured from an alloy of nickel and chromium, providing high resistance to prevent breaking and burning out.
- 137032600 High Limit Thermal Fuse: A safety device that trips and cuts off power if the dryer overheats, preventing potential fire hazards.
- 3204267 Safety Thermostat: Works in conjunction with the thermal fuse to regulate the dryer's temperature, ensuring it operates within safe limits.

Figure 1: Complete AZ4U 137114000 Dryer Heating Element Assembly.

Figure 2: Detailed view of the heating element, thermal fuse, and thermostat included in the assembly.
3. Compatibility
This aftermarket part is designed to replace original components in various electric dryer brands. It is compatible with:
- Frigidaire Dryers
- Electrolux Dryers
- Crosley Dryers
- Kenmore Dryers
Specific compatible models include, but are not limited to: FAQE7001LB0, FAQE7001LW0, FAQE7001LW1, FAQE7011KB0, FAQE7011KR0, FAQE7011KW0, FAQE7011LB0, FAQE7011LW0, FAQE7017KA0, FAQE7017KB0, FAQE7017KN0, FAQE7017KR0, FAQE7017KW0, FAQE7021LB0, FAQE7021LW0, FAQE7073KA0, FAQE7073KB0, FAQE7073KN0, FAQE7073KR0, FAQE7073KW0, FAQE7077KA0, FAQE7077KB0, FAQE7077KN0, FAQE7077KR0, FAQE7077KW0, FAQE7111LW0, FAQE7111LW1, EIMED55IIW3, EIMED60JIW6, EIMED60LT4, EIMED6CJIW4, EIMED6CLSS4, EIMED6CLT4, EWMED70JIW4, EWMED70JSS4, EWMED7CJIW4, EWMED7CJSS4, CDE7500KB0, CDE7500KRO, CAQE7001LW0, CAQE7073KW0, FARE1011MW1, LAQE7011KB0, LAQE7011KW0, EFMC417SIW0, EFDC317TIW1, ELFE733CAW0, EFDC317TIW2, EFDC317TIW3.
The heating element replaces part numbers: 134792700, 1482984, AH2349309, AP4456656, EA2349309, PS2349309. The thermal fuse replaces part numbers: 137032600, 1483164, AH2349395, AP4368739, EA2349395, PS2349395, 137060800. The thermostat replaces part numbers: 3204267, AP2131477, 508516, AH446428, EA446428, PS446428, 145160, 73204267.
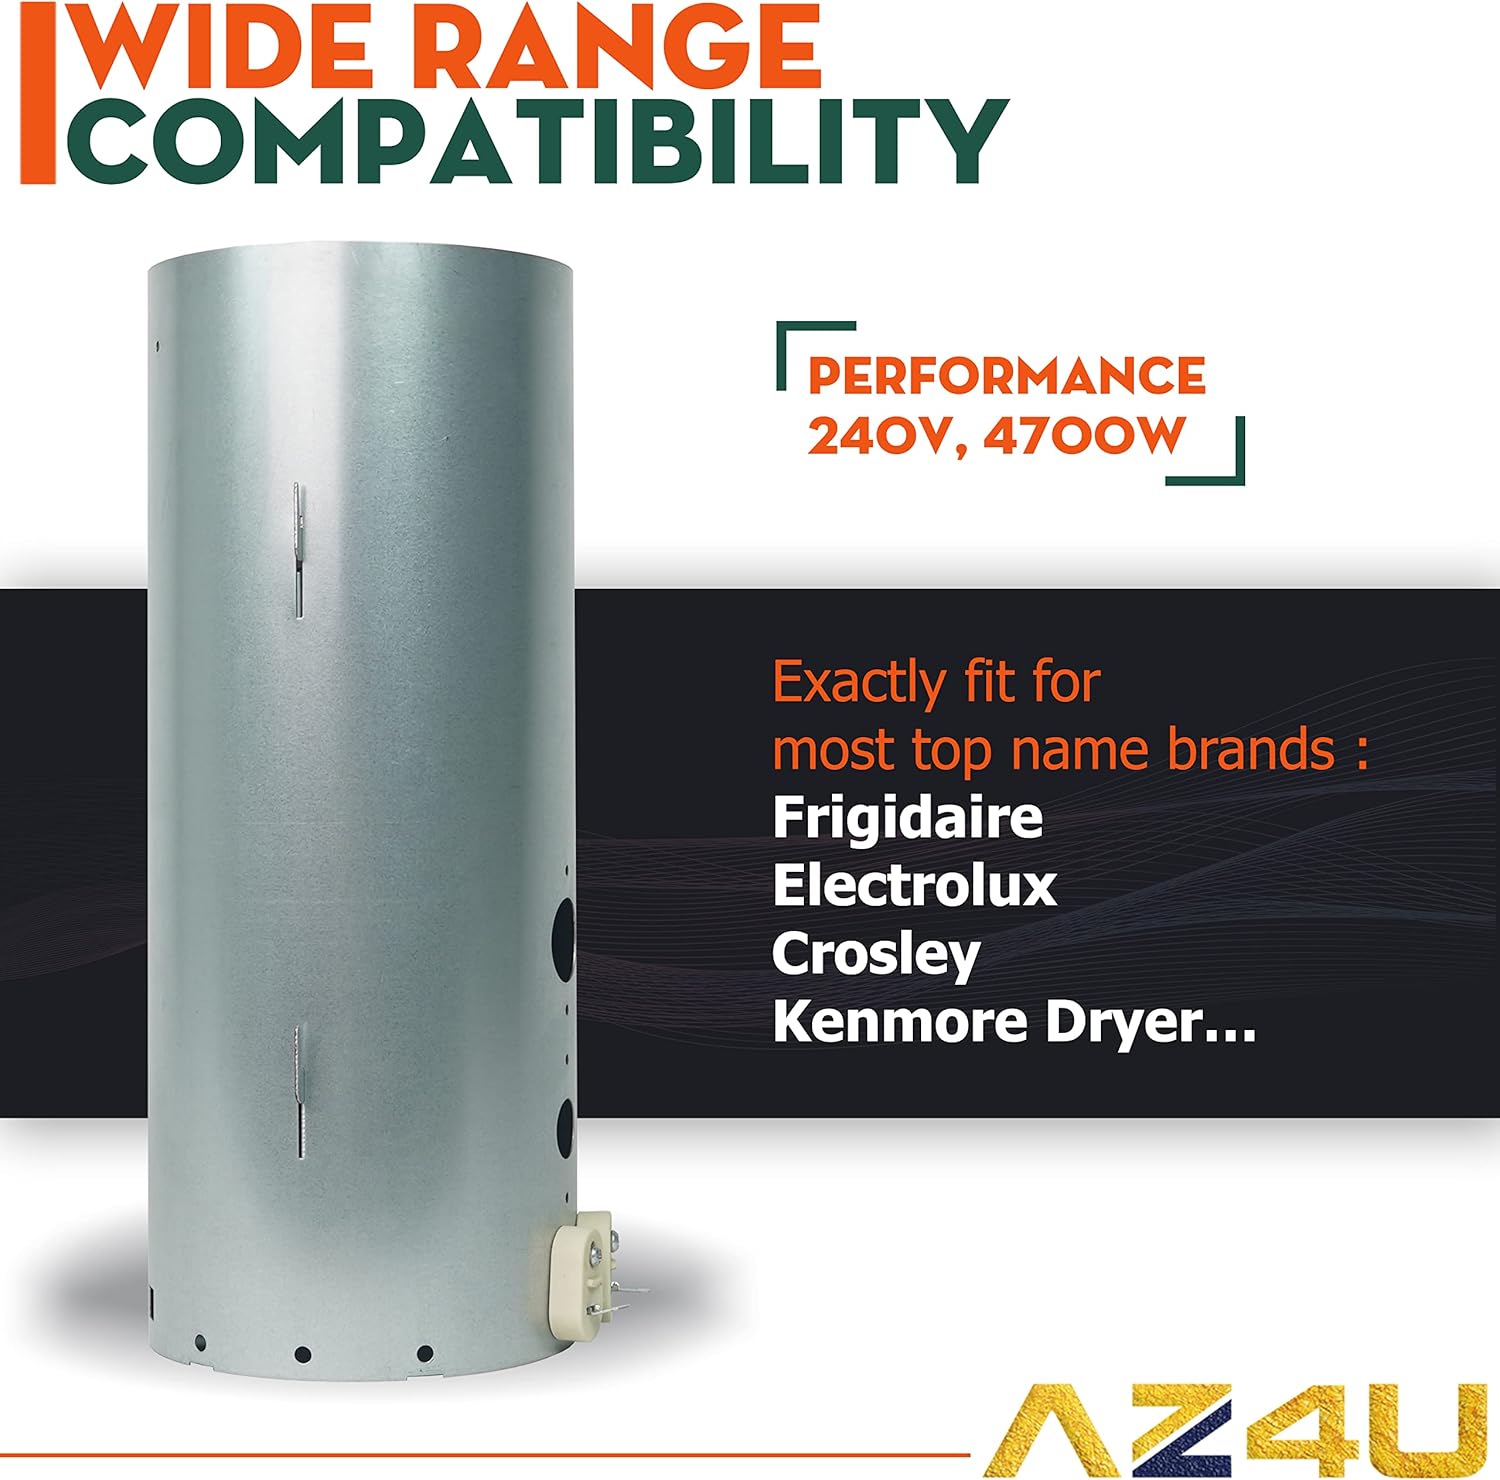
Figure 3: Wide range compatibility for the heating element assembly.

Figure 4: Replacement part numbers for the heating element, thermal fuse, and thermostat.
4. Symptoms Addressed
Replacing your dryer's heating element assembly can resolve several common issues, including:
- No heat or not enough heat during drying cycles.
- Dryer takes too long to dry clothes.
- Dryer shuts off too soon.
- Dryer will not start (in some cases, due to a tripped thermal fuse).
- Dryer becomes too hot.
- Unusual noises (less common for heating element, but can be related to associated components).
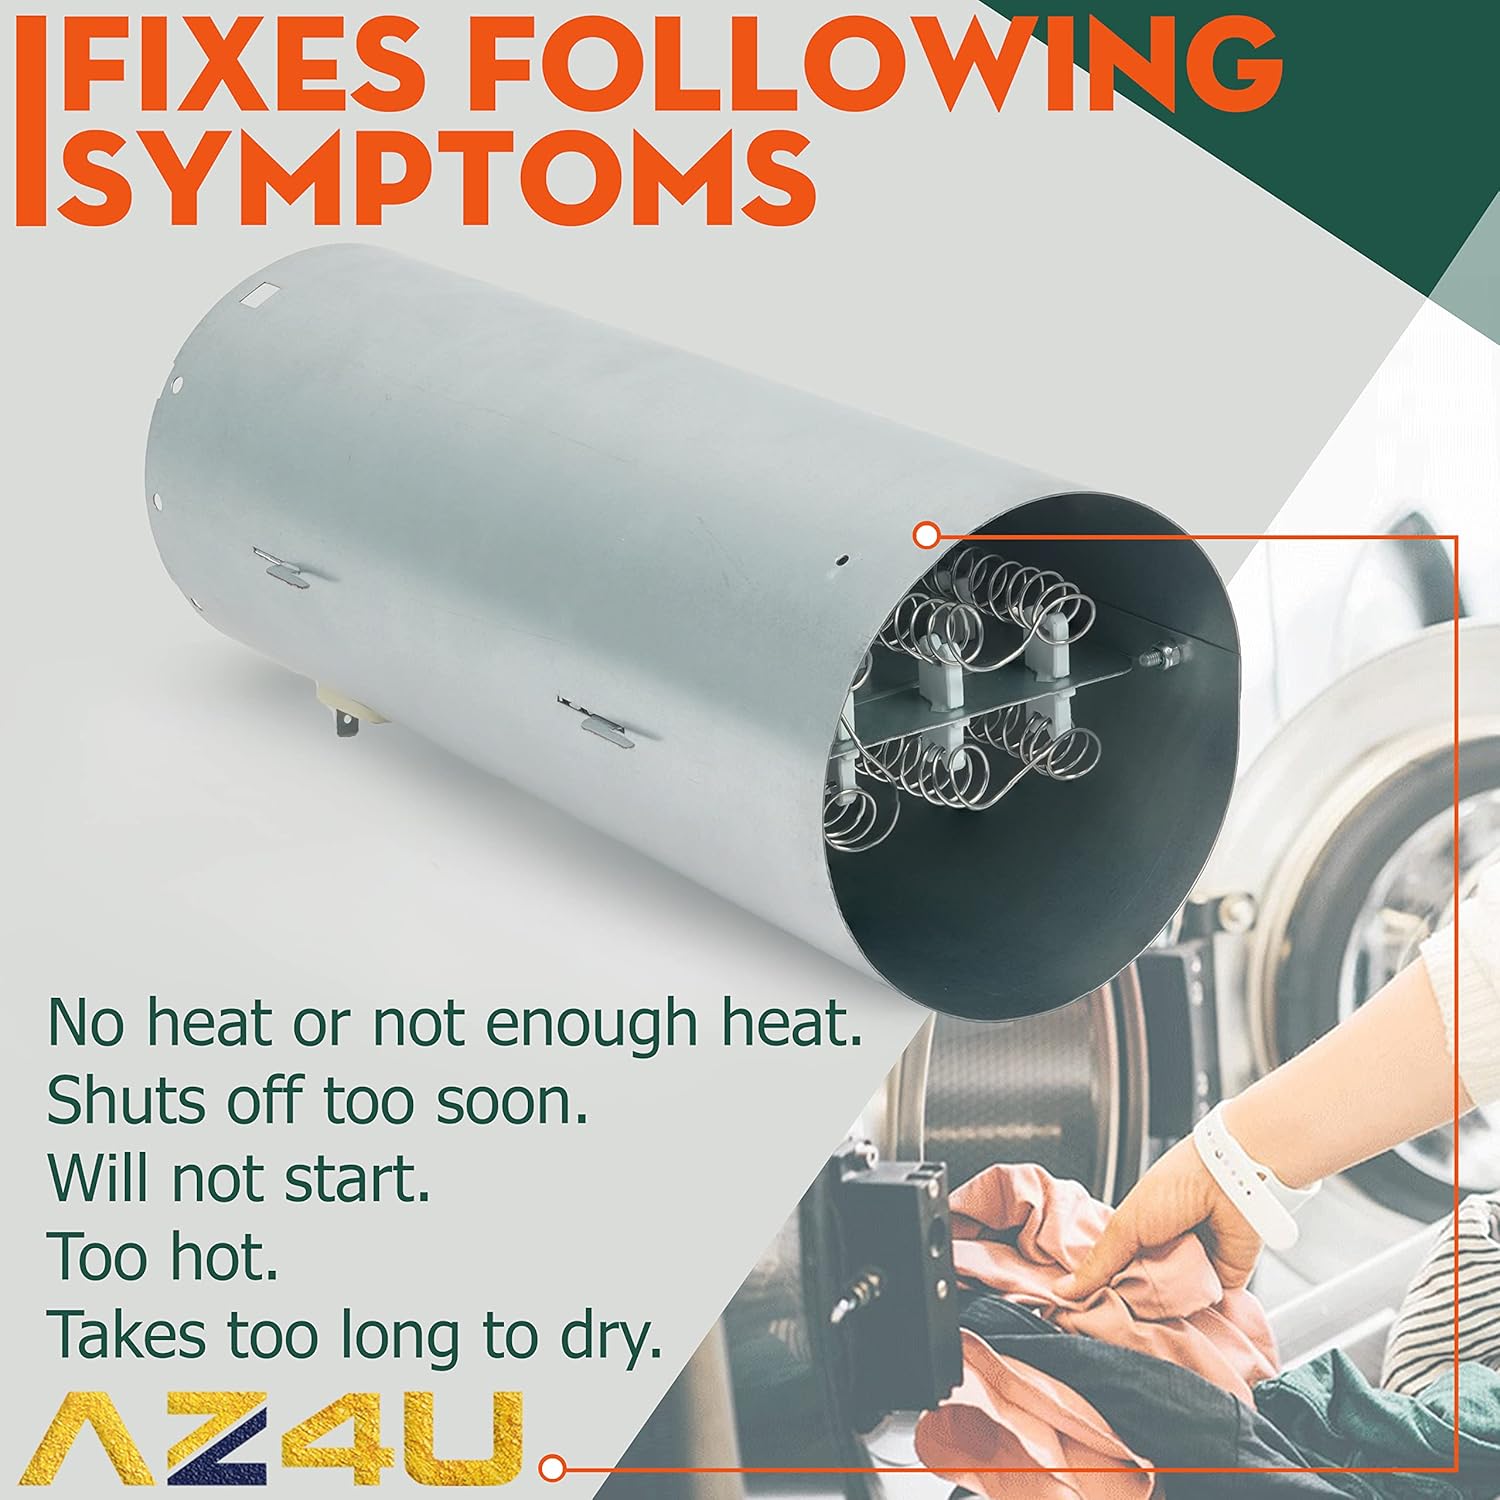
Figure 5: Common dryer symptoms that can be resolved by replacing the heating element assembly.
5. Quality and Features
The AZ4U heating element assembly is manufactured to meet OEM standards, ensuring durability and a long service life. Key features include:
- Premium Quality Materials: Enhanced heating wire (Nickel-Chromium alloy) and metal plate designed for superior heat resistance.
- Durable Construction: Built to withstand the demands of regular dryer operation.
- Exact Fit: Engineered to fit like the original part for seamless replacement.
- Easy to Install: Designed for straightforward installation, making it suitable for DIY repairs.

Figure 6: Premium quality heating coil with high nickel-chromium content for durability.

Figure 7: Comparison illustrating the robust construction and high quality of AZ4U parts.
6. Installation Guide
Safety First: Before beginning any repair, always disconnect your dryer from the power supply by unplugging it or turning off the circuit breaker. Failure to do so can result in serious injury or electrical shock.
Replacing a dryer heating element assembly typically involves disassembling parts of the dryer to access the heating chamber. While specific steps may vary by dryer model, the general process includes:
- Preparation: Gather necessary tools (screwdrivers, nut drivers, pliers, work gloves). Clear a workspace around the dryer.
- Accessing the Heating Element: This usually requires removing the back panel of the dryer. In some models, you may need to remove the top, front, or drum.
- Disconnecting Old Components: Carefully disconnect the wires from the old heating element, thermal fuse, and thermostat. Note their positions or take photos for reassembly.
- Removing the Old Assembly: Unmount the old heating element assembly from its housing.
- Installing the New Assembly: Mount the new AZ4U 137114000 assembly into place. Ensure all components are securely fastened.
- Connecting Wires: Reconnect the wires to the new heating element, thermal fuse, and thermostat. Double-check all connections for tightness and correct placement.
- Reassembly: Reattach any panels or parts that were removed.
- Testing: Plug the dryer back in or restore power. Run a short cycle to ensure the dryer heats properly and functions as expected.
If you are unsure about any step, it is recommended to consult a professional appliance technician or refer to specific repair guides for your dryer model. There are many online resources and videos available that can provide visual guidance for your specific dryer model.
Video 1: An overview of the AZ4U Dryer Heating Element 240V, 4700W, demonstrating its components and general appearance. This video can assist in identifying the part during installation.
7. Operating Principle
The heating element in your dryer works by converting electrical energy into heat. When the dryer is turned on and a heated cycle is selected, electricity flows through the coiled resistance wire of the heating element. This resistance causes the wire to heat up significantly. A fan then draws air over the hot coils, and this heated air is circulated through the dryer drum to evaporate moisture from your clothes. The thermal fuse and thermostat regulate this process, ensuring the temperature remains within safe and effective limits, preventing overheating and potential damage.
8. Maintenance
Proper maintenance of your dryer can extend the life of its components, including the heating element assembly. Consider the following:
- Clean the Lint Filter: Always clean the lint filter before or after every load. A clogged lint filter restricts airflow, causing the dryer to work harder and potentially overheat, stressing the heating element and thermal fuse.
- Inspect the Venting System: Periodically check the dryer's exhaust vent for blockages (lint, debris, bird nests). Ensure the vent hose is not kinked or crushed. Proper venting is crucial for efficient drying and preventing overheating.
- Avoid Overloading: Overloading the dryer can impede airflow and increase drying time, putting extra strain on the heating element.
- Professional Cleaning: Consider professional dryer vent cleaning every 1-2 years, especially if you notice longer drying times or excessive heat.
9. Troubleshooting
If your dryer is still experiencing issues after replacing the heating element assembly, consider these troubleshooting steps:
| Symptom | Possible Cause | Solution |
|---|---|---|
| Dryer runs but no heat | Faulty thermal fuse (new or existing), tripped circuit breaker, broken heating element wire (unlikely if new), faulty thermostat, wiring issue. | Check circuit breaker. Verify all electrical connections to the new assembly are secure. Test thermal fuse and thermostat for continuity with a multimeter. Ensure proper voltage supply. |
| Dryer takes too long to dry | Restricted airflow (clogged lint trap/vent), overloading, low heat setting, faulty moisture sensor. | Clean lint trap and inspect/clean dryer vent. Reduce load size. Ensure correct heat setting is selected. Clean moisture sensor bars. |
| Dryer overheats and shuts off | Restricted airflow, faulty high-limit thermostat, faulty operating thermostat. | Clean lint trap and vent thoroughly. Test both thermostats for proper operation. Ensure the dryer is not overloaded. |
| Dryer not starting | Tripped thermal fuse (if not replaced), door switch issue, faulty start switch, motor issue. | Check if the thermal fuse is tripped (if it wasn't replaced with the assembly). Ensure the dryer door is fully closed. Test the door switch. |
For complex issues or if you are uncomfortable performing electrical tests, it is always best to seek assistance from a qualified appliance repair technician.
10. Specifications
- Part Number: 137114000
- Voltage: 240 Volts
- Wattage: 4700 Watts
- Item Weight: Approximately 2.88 pounds
- Product Dimensions: Approximately 13.66 x 6.5 x 6.1 inches
- Included Components: 1x Dryer Heating Element, 1x High Limit Thermal Fuse (137032600), 1x Safety Thermostat (3204267)
- Material: Enhanced heating wire (Nickel-Chromium alloy) and metal plate.

Figure 8: Approximate dimensions of the heating element assembly and its individual components.
11. Warranty and Support
This product comes with a 2-month warranty from the date of purchase. Additionally, a 90-day money-back guarantee is offered. If you are not satisfied with the product, a refund will be made within 90 days from the date of purchase.
For any questions regarding compatibility, installation, or product performance, please contact AZ4U customer support. We aim to respond to inquiries within 24 hours.

Figure 9: Information on warranty and ease of installation.