Roroom Happy House-d032
Roroom DIY Miniature Dollhouse Kit Instruction Manual
Model: Happy House-d032
Introduction
This manual provides detailed instructions for the assembly, operation, and maintenance of your Roroom DIY Miniature Dollhouse Kit, model Happy House-d032. This kit is designed for individuals aged 14 years and older, offering a rewarding and intricate crafting experience. Please read all instructions carefully before beginning assembly.
Safety Information
Warning: Not suitable for individuals under 14 years of age due to small parts and intricate assembly requirements.
Always handle small components with care. Keep all parts out of reach of young children to prevent choking hazards. Ensure proper ventilation when using adhesives. Dispose of waste materials responsibly.
Package Contents
Your Roroom DIY Miniature Dollhouse Kit includes the following components:
- Pre-cut wooden boards for structural components and furniture.
- Paper cutouts for wallpaper, flooring, and decorative elements.
- Plastic components for windows, small accessories, and details.
- Fabric pieces for soft furnishings.
- LED lighting components (wires, bulbs, battery box).
- Assorted small ornaments and decorative items.
- English instruction manual with step-by-step diagrams and positioning numbers.
Note: Silicone liquid glue and 2 AAA batteries are required for assembly and operation, but are not included in the kit due to shipping regulations. Please prepare these items separately.
Assembly Instructions
Assembly of the Happy House-d032 dollhouse kit requires patience and attention to detail. Follow the included English instruction manual, which provides numbered steps and diagrams for each component.
Step 1: Preparation
Unpack all components and verify against the parts list in your instruction manual. Organize parts by their positioning numbers to facilitate assembly. Ensure you have a clean, well-lit workspace and the necessary tools (e.g., precision tweezers, craft knife, ruler, silicone liquid glue, AAA batteries).

Image: Product information sheet detailing dimensions (3.5 x 2.95 x 3.85 inches) and materials, emphasizing that glue and batteries are not included.
Step 2: Structural Assembly
Begin by assembling the main structural elements of the dollhouse, such as walls, floors, and the roof. Use the provided English instructions to identify each piece by its number and apply glue sparingly to the designated joints. Allow sufficient drying time for each section before proceeding.
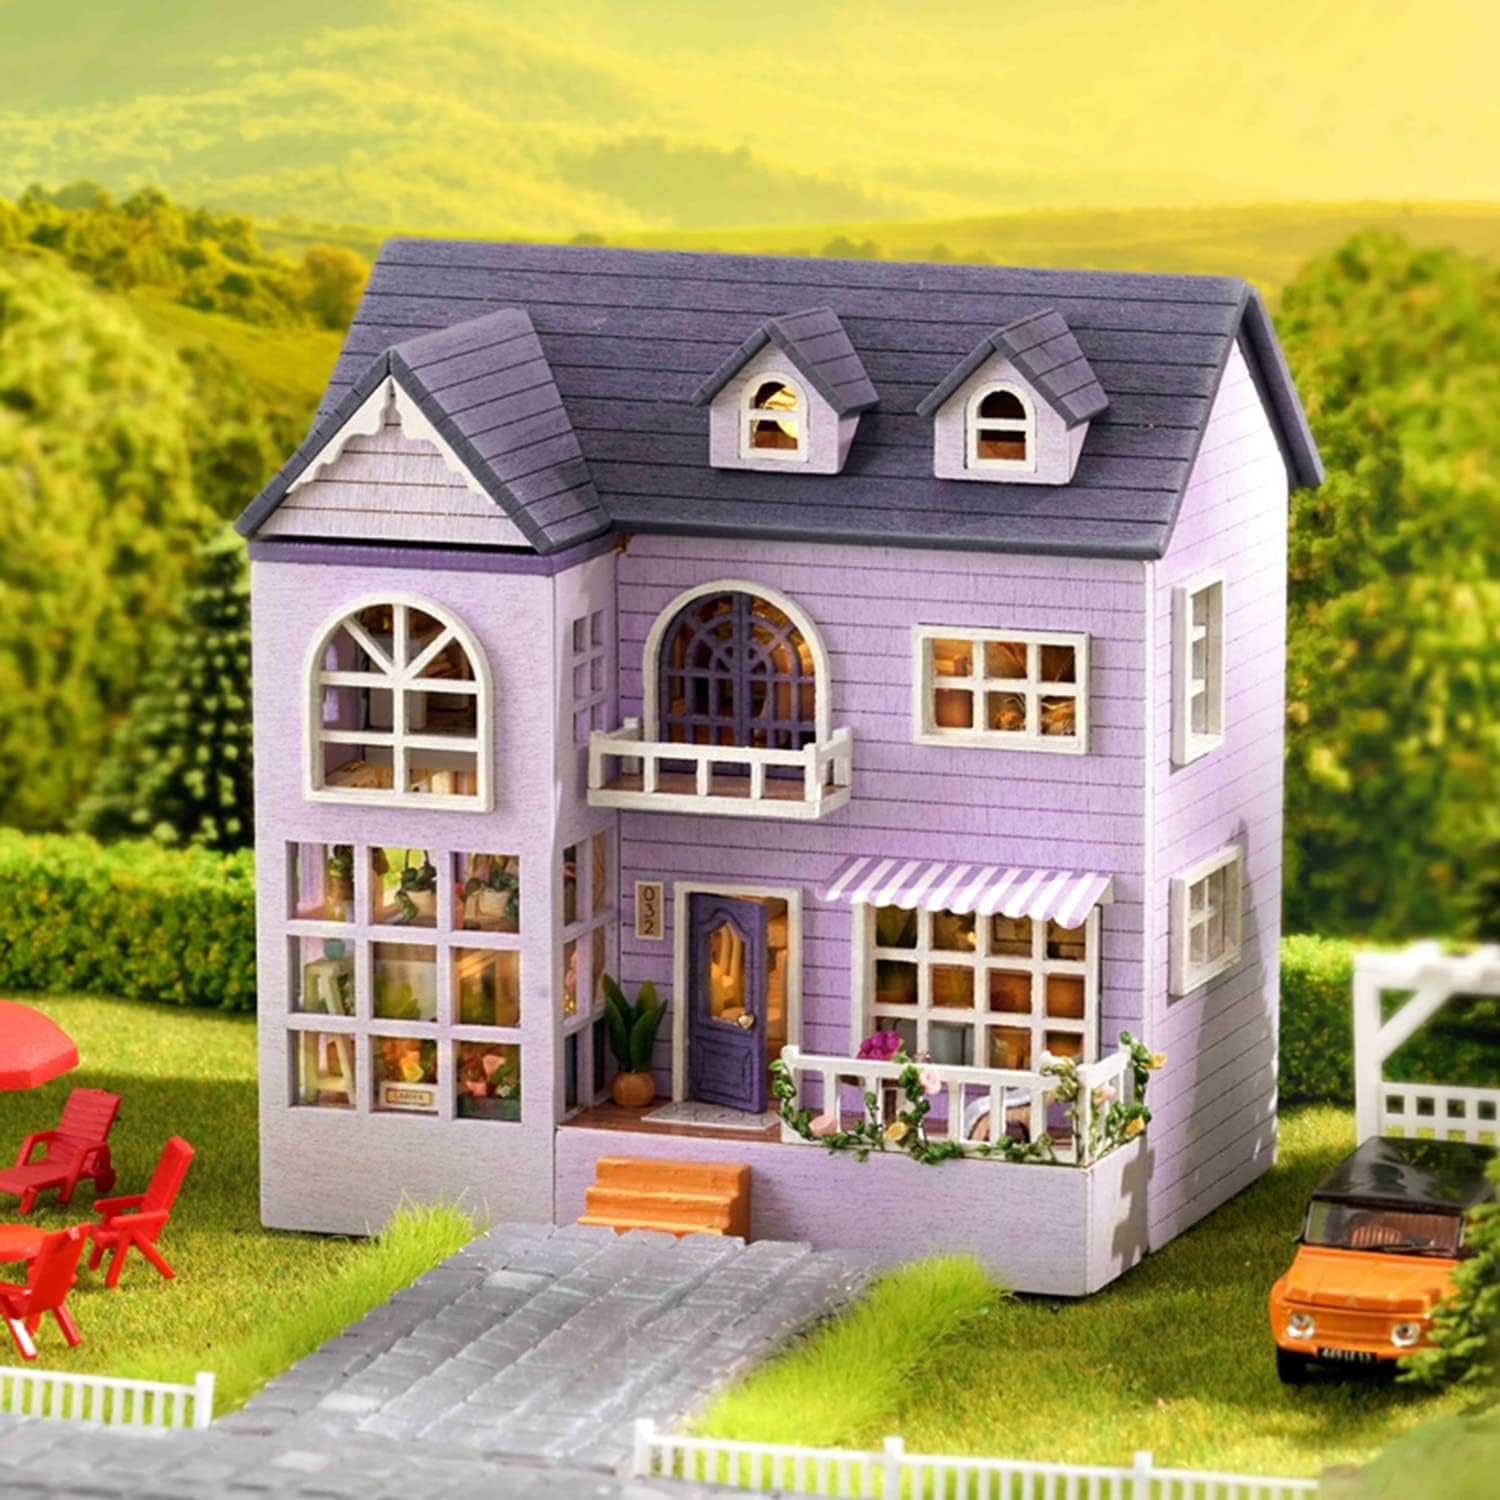
Image: Front exterior view of the assembled Happy House-d032 dollhouse, showcasing its purple siding, white trim, and detailed windows.
Step 3: Interior Furnishing and Decoration
Once the main structure is stable, proceed with assembling the miniature furniture and interior decorations. This includes beds, tables, chairs, cabinets, and various small ornaments. Pay close attention to the details and scale. Apply wallpaper and flooring as indicated in the instructions.

Image: Detailed view of the dollhouse interior, highlighting miniature bedroom furniture (bed, wardrobe), living room setup (sofa, coffee table, TV stand), and dining area (table, chairs, staircase).
Step 4: Electrical Components (LED Lights)
Install the LED lighting system according to the wiring diagrams in your manual. Connect the wires to the battery box and position the lights within the dollhouse rooms. Ensure all connections are secure before inserting batteries.

Image: The assembled dollhouse with its side wall opened, showcasing the fully furnished and illuminated interior, including a bedroom, bathroom, kitchen, and dining area.

Image: Two miniature dollhouses, the purple Happy House-d032 and a blue variant, displayed side-by-side at night with their interior LED lights glowing, demonstrating the lighting effect.
Operating Instructions
The Roroom DIY Miniature Dollhouse Kit features integrated LED lighting to enhance its display. To operate the lights:
- Ensure 2 AAA batteries are correctly inserted into the battery box, observing polarity (+/-).
- Locate the switch on the battery box or designated control point.
- Toggle the switch to the "ON" position to illuminate the dollhouse interior.
- Toggle the switch to the "OFF" position when not in use to conserve battery life.
Maintenance
To ensure the longevity and appearance of your miniature dollhouse, follow these maintenance guidelines:
- Cleaning: Gently dust the dollhouse and its components with a soft, dry cloth or a soft brush. Avoid using liquid cleaners or abrasive materials, as they may damage the wood, paper, or painted surfaces.
- Storage: Store the dollhouse in a dry environment, away from direct sunlight and extreme temperatures, which can cause warping or fading of materials.
- Battery Replacement: If the LED lights dim or stop working, replace the AAA batteries. Always remove depleted batteries promptly to prevent leakage.
- Handling: Handle the assembled dollhouse with care, especially when moving it, to prevent damage to delicate components.
Troubleshooting
| Problem | Possible Cause | Solution |
|---|---|---|
| Missing parts upon unboxing. | Manufacturing or packaging error. | Contact Roroom customer support immediately with your purchase details and a list of missing parts. |
| Difficulty assembling small components. | Intricate design; lack of appropriate tools. | Use precision tweezers for small parts. Ensure glue is applied sparingly and accurately. Refer to the detailed diagrams in the English instruction manual. Patience is key. |
| LED lights do not turn on. | Incorrect battery insertion; dead batteries; loose wiring. | Check battery polarity (+/-). Replace batteries with fresh AAA ones. Verify all wiring connections are secure as per the manual's diagram. |
| Assembled structure is unstable. | Insufficient glue; improper alignment; insufficient drying time. | Ensure adequate glue is applied to all joints. Hold components firmly in place until glue sets. Allow full drying time before handling or adding more weight. |
Specifications
- Product Name: Happy House
- Model Number: D31 (Happy House-d032)
- Brand: Roroom
- Product Dimensions (Assembled): Approximately 3.94 x 2.13 x 4.72 inches (10 x 5.4 x 12 cm)
- Item Weight: Approximately 7.8 ounces (0.22 kg)
- Recommended Age: 14 years and up
- Materials: Wood, Paper, Plastic, Cloth
- Lighting: Integrated LED lights (requires 2 AAA batteries, not included)
- Assembly Time: Varies by individual, typically 1-2 days (as per product information image)
Warranty and Support
Roroom stands behind the quality of its products. While specific warranty details are not provided in this manual, if you encounter any issues with your Roroom DIY Miniature Dollhouse Kit, particularly regarding missing or defective parts, please contact Roroom customer support directly. Refer to the contact information provided with your purchase or visit the official Roroom store on Amazon for assistance.
For further support or inquiries, please visit the Roroom Store on Amazon.