1. Introduction
The Green Blue GB214 is a versatile digital clock designed for both wall mounting and tabletop use. It features a large LCD display for clear visibility, showing time, date, day of the week, and ambient temperature. This manual provides detailed instructions for setting up, operating, and maintaining your GB214 digital clock.

Image 1.1: Front view of the Green Blue GB214 Digital Wall Clock, showing its large display with time, temperature, day, and date.
2. Key Features
- Large LCD Display: Provides clear visibility of time, date, day of the week, and temperature.
- Temperature Sensor: Displays ambient temperature in Celsius (°C) or Fahrenheit (°F).
- Time Formats: Supports 12-hour and 24-hour time display options.
- Daily Alarm Function: Includes a customizable alarm.
- Flexible Placement: Designed for both wall mounting and tabletop use with integrated stand.
- Dual Power Options: Can be powered via the included power adapter or 4x AA batteries (not included).
3. Package Contents
Please check the package for the following items:
- Green Blue GB214 Digital Wall Clock
- Power Adapter
- USB Power Cable
- User Manual (this document)

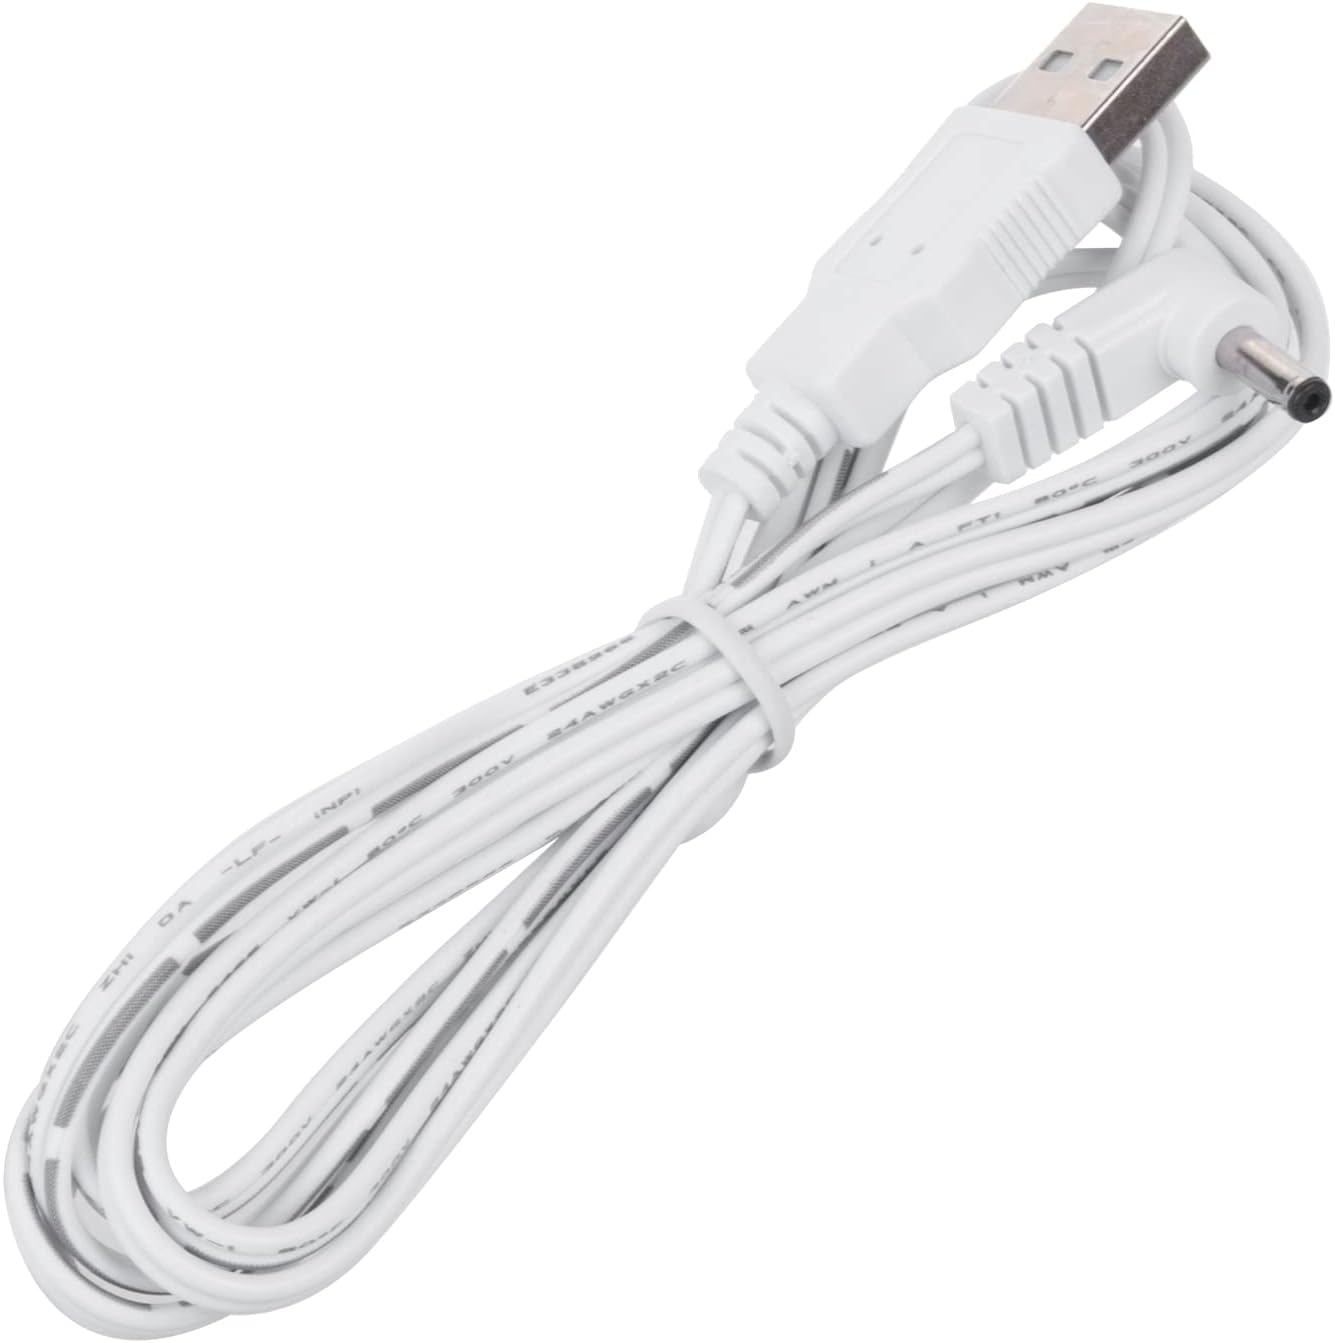
Image 3.1: Included power adapter and USB power cable.
4. Setup
4.1 Powering the Device
The GB214 clock can be powered in two ways:
- Using the Power Adapter: Connect the provided power adapter to the DC input port on the back of the clock and plug it into a standard wall outlet. This is the recommended method for continuous operation.
- Using Batteries: For backup or temporary use, insert 4x AA batteries (not included) into the battery compartment on the back of the clock. Ensure correct polarity (+/-). Note that battery power may limit certain display features or brightness.
4.2 Mounting Options
The clock offers flexible placement:
- Wall Mounting: Use the integrated keyhole slots on the back of the clock to hang it securely on screws or hooks in your desired wall location.
- Tabletop Placement: Extend the built-in stand on the back of the clock to place it on a desk, shelf, or bedside table.
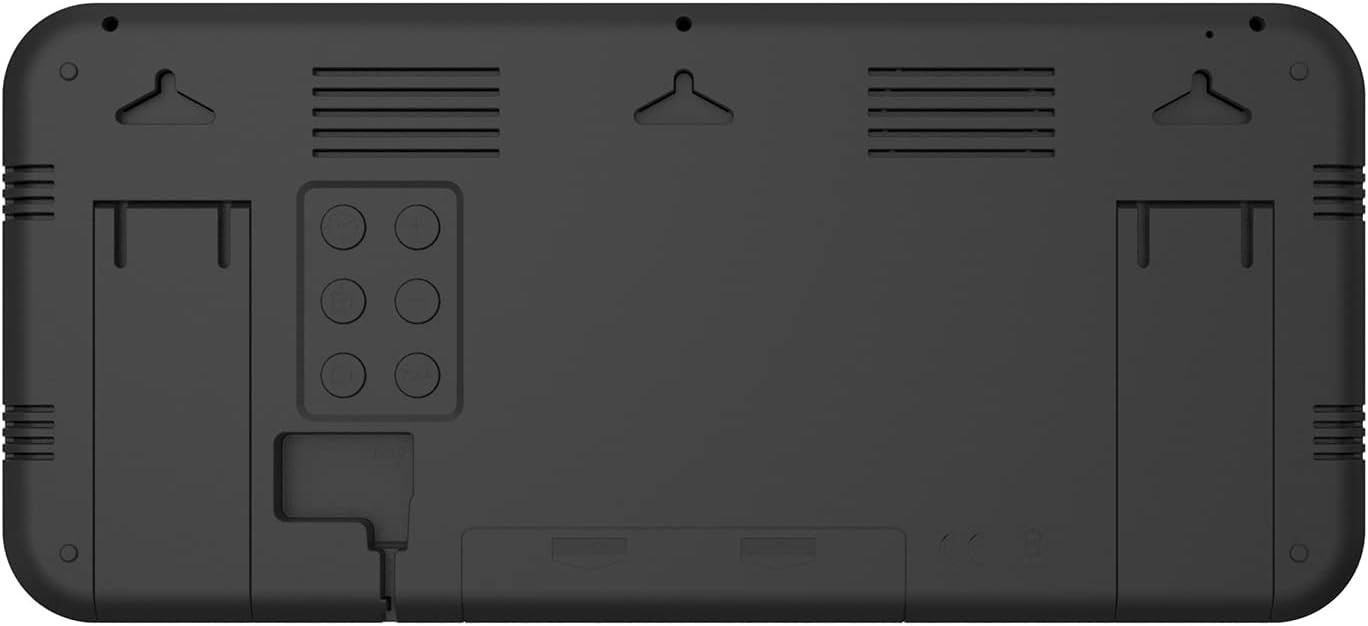
Image 4.1: Rear view of the clock, highlighting wall mounting slots and battery compartment.

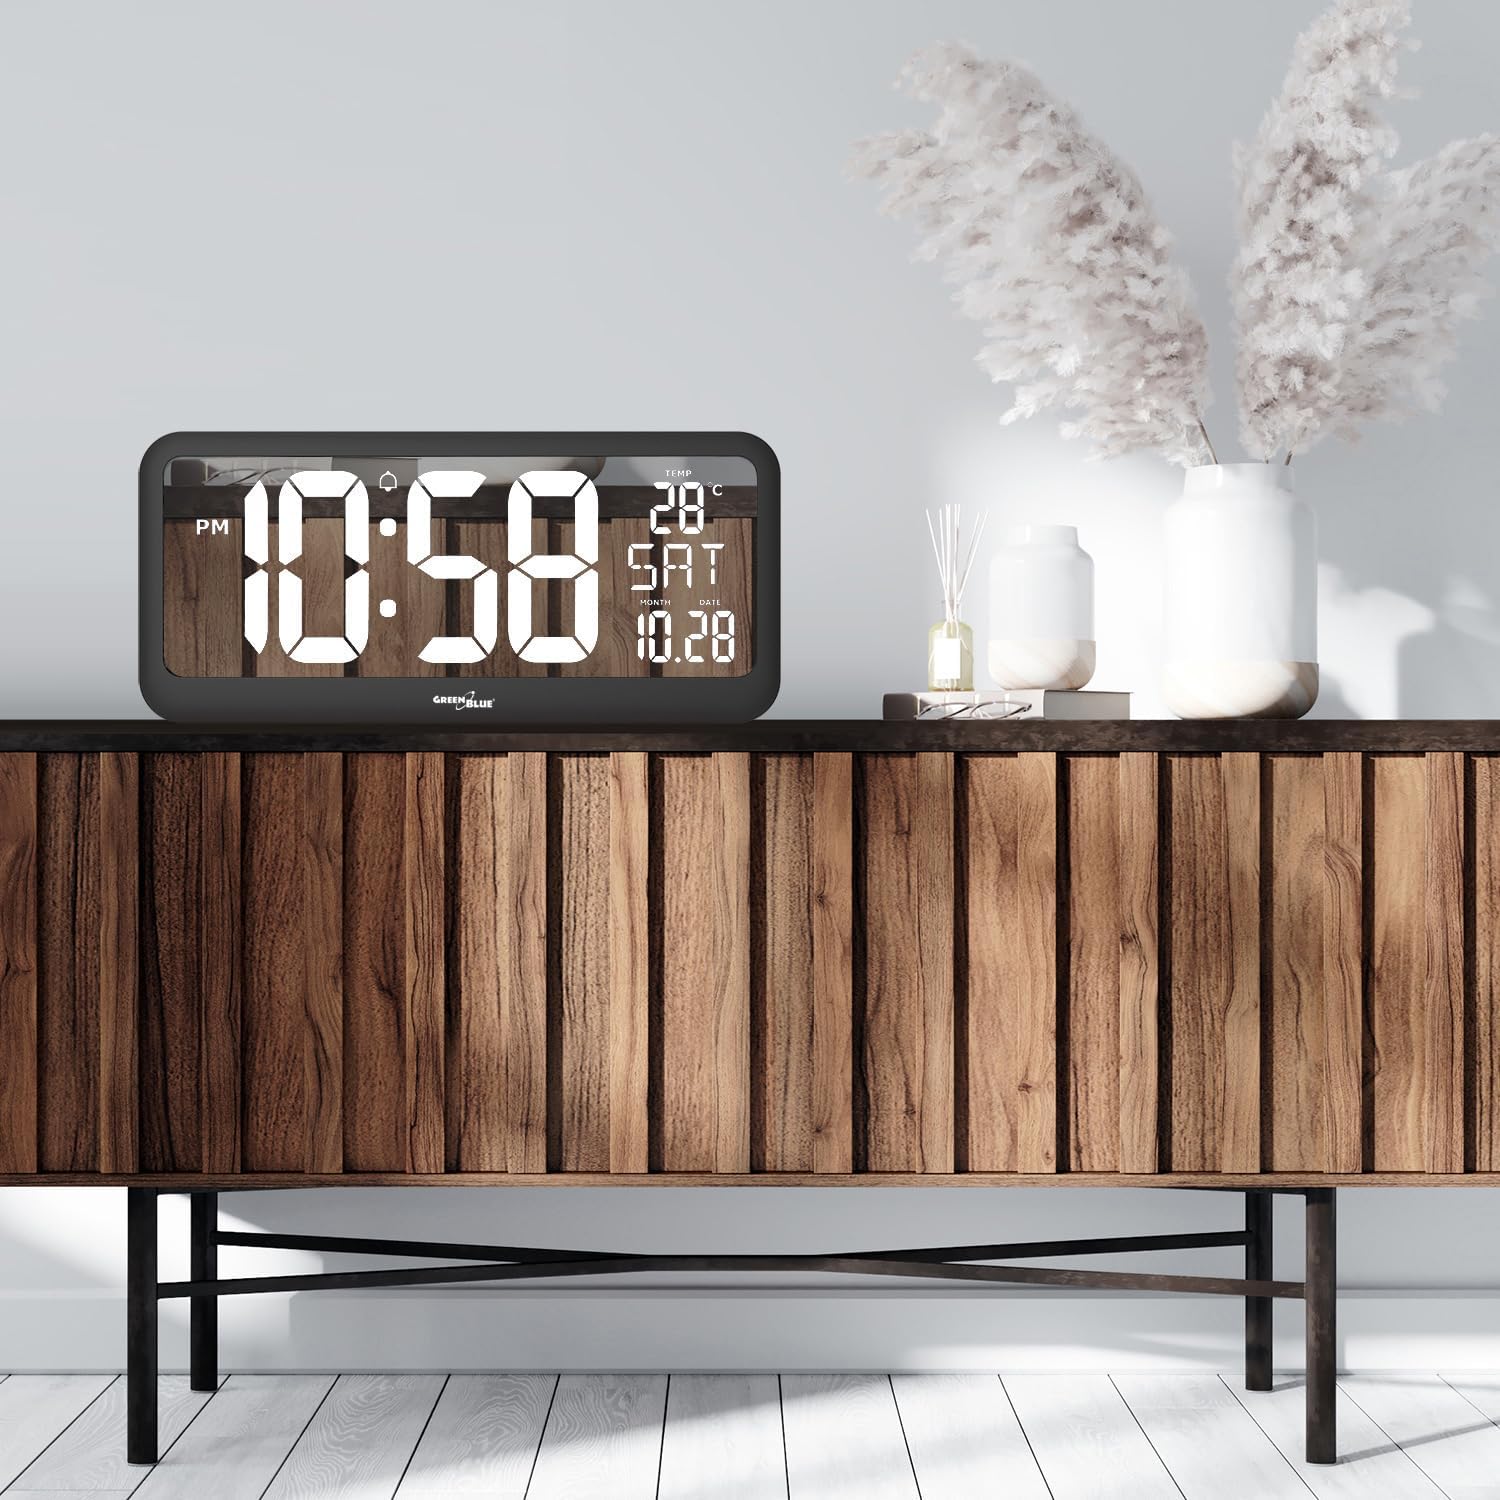
Image 4.2: Examples of wall-mounted and tabletop placement.
5. Operating Instructions
The control buttons are typically located on the back or side of the device. Refer to the specific button labels for precise functions.
5.1 Setting Time and Date
- Press the MODE button to cycle through display modes until the time setting is active (e.g., flashing digits).
- Use the UP or DOWN buttons to adjust the hour.
- Press MODE again to move to minutes, then adjust with UP/DOWN.
- Continue pressing MODE to set the year, month, and date, adjusting each with UP/DOWN.
- Press MODE one last time to confirm and exit setting mode.
5.2 12/24 Hour Format Selection
While in time display mode, press the UP button to toggle between 12-hour (with AM/PM indicator) and 24-hour formats.
5.3 Setting the Alarm
- Press the ALARM button (or MODE until alarm setting is active). The alarm time will flash.
- Use the UP or DOWN buttons to set the desired alarm hour.
- Press ALARM (or MODE) again to move to minutes, then adjust with UP/DOWN.
- Press ALARM (or MODE) to confirm.
- To activate/deactivate the alarm, press the ALARM ON/OFF button (or a dedicated button as per device markings). An alarm icon (e.g., a bell) will appear on the display when active.
5.4 Temperature Unit Selection
While in normal display mode, press the DOWN button to switch the temperature display between Celsius (°C) and Fahrenheit (°F).
6. Maintenance
6.1 Cleaning
To clean the clock, gently wipe the display and casing with a soft, dry cloth. Do not use abrasive cleaners, solvents, or spray directly onto the device, as this may damage the surface or internal components.
6.2 Battery Replacement
If using battery power, replace all 4x AA batteries when the display dims or functions become erratic. Ensure to insert new batteries with correct polarity. Dispose of old batteries responsibly according to local regulations.
7. Troubleshooting
- Display is blank or dim:
- Ensure the power adapter is securely connected and plugged into a working outlet.
- If using batteries, check if they are inserted correctly and replace them if they are depleted.
- Incorrect time or date:
- Follow the instructions in Section 5.1 to reset the time and date.
- Temperature reading is inaccurate:
- Ensure the clock is not placed near heat sources or in direct sunlight, which can affect sensor readings.
- Allow some time for the sensor to stabilize after initial setup or relocation.
- Alarm does not sound:
- Verify that the alarm function is activated (check for the alarm icon on the display).
- Ensure the alarm time is set correctly.
8. Specifications
| Feature | Specification |
|---|---|
| Brand | Green Blue |
| Model Number | GB214 |
| Display Type | LCD |
| Color | Black |
| Product Dimensions (L x W x H) | 37 x 3.81 x 17 cm (14.57 x 1.5 x 6.69 inches) |
| Weight | 890 g (1.96 lbs) |
| Material | Plastic |
| Temperature Measurement Range | -9 °C (16 °F) ~ 50 °C (122 °F) |
| Power Source | Power Adapter (included) / 4x AA Batteries (not included) |
| Special Features | Temperature Display, Alarm |

Image 8.1: Product dimensions diagram.
9. Warranty and Support
Information regarding specific warranty terms and customer support for the Green Blue GB214 is not available in this document. Please refer to the product packaging or the manufacturer's official website for warranty details and contact information for support.