Introduction
This manual provides detailed instructions for the safe and efficient operation and maintenance of your Syvio 6L Cool and Warm Mist Humidifier. Please read thoroughly before first use to ensure optimal performance and longevity of your device.
Important Safety Instructions
To reduce the risk of fire, electric shock, or injury, please observe the following safety precautions:
- Always place the humidifier on a firm, flat, water-resistant surface away from walls and heat sources.
- Do not immerse the base in water or other liquids.
- Unplug the humidifier before filling, cleaning, or moving it.
- Do not add essential oils directly into the water tank; use the designated aroma tray.
- Keep out of reach of children and pets.
- Do not block air vents or mist outlet.
- Use only clean, cool tap water or distilled water.
Product Overview
The Syvio 6L Humidifier is designed to provide both cool and warm mist, featuring a large water tank for extended operation and smart controls for ease of use.

Figure 1: Syvio 6L Cool and Warm Mist Humidifier with remote control and fish filters.
Key Components:
- Water Tank: 6-liter capacity for long run times.
- Control Panel: Digital display with touch controls for various functions.
- Mist Nozzle: Adjustable 360-degree mist output.
- Aroma Tray: Dedicated compartment for essential oils.
- Remote Control: For convenient operation from a distance.
- Fish Filters: Included for water purification.
Setup
Initial Preparation:
- Unpack: Carefully remove all packaging materials. Ensure all components are present.
- Remove Foam: Locate and remove any protective foam from the base of the humidifier, especially around the float mechanism, to prevent leaking.
- Placement: Place the humidifier on a flat, stable surface at least 6 inches away from walls and furniture. Ensure it is not placed on carpet or near heat sources.
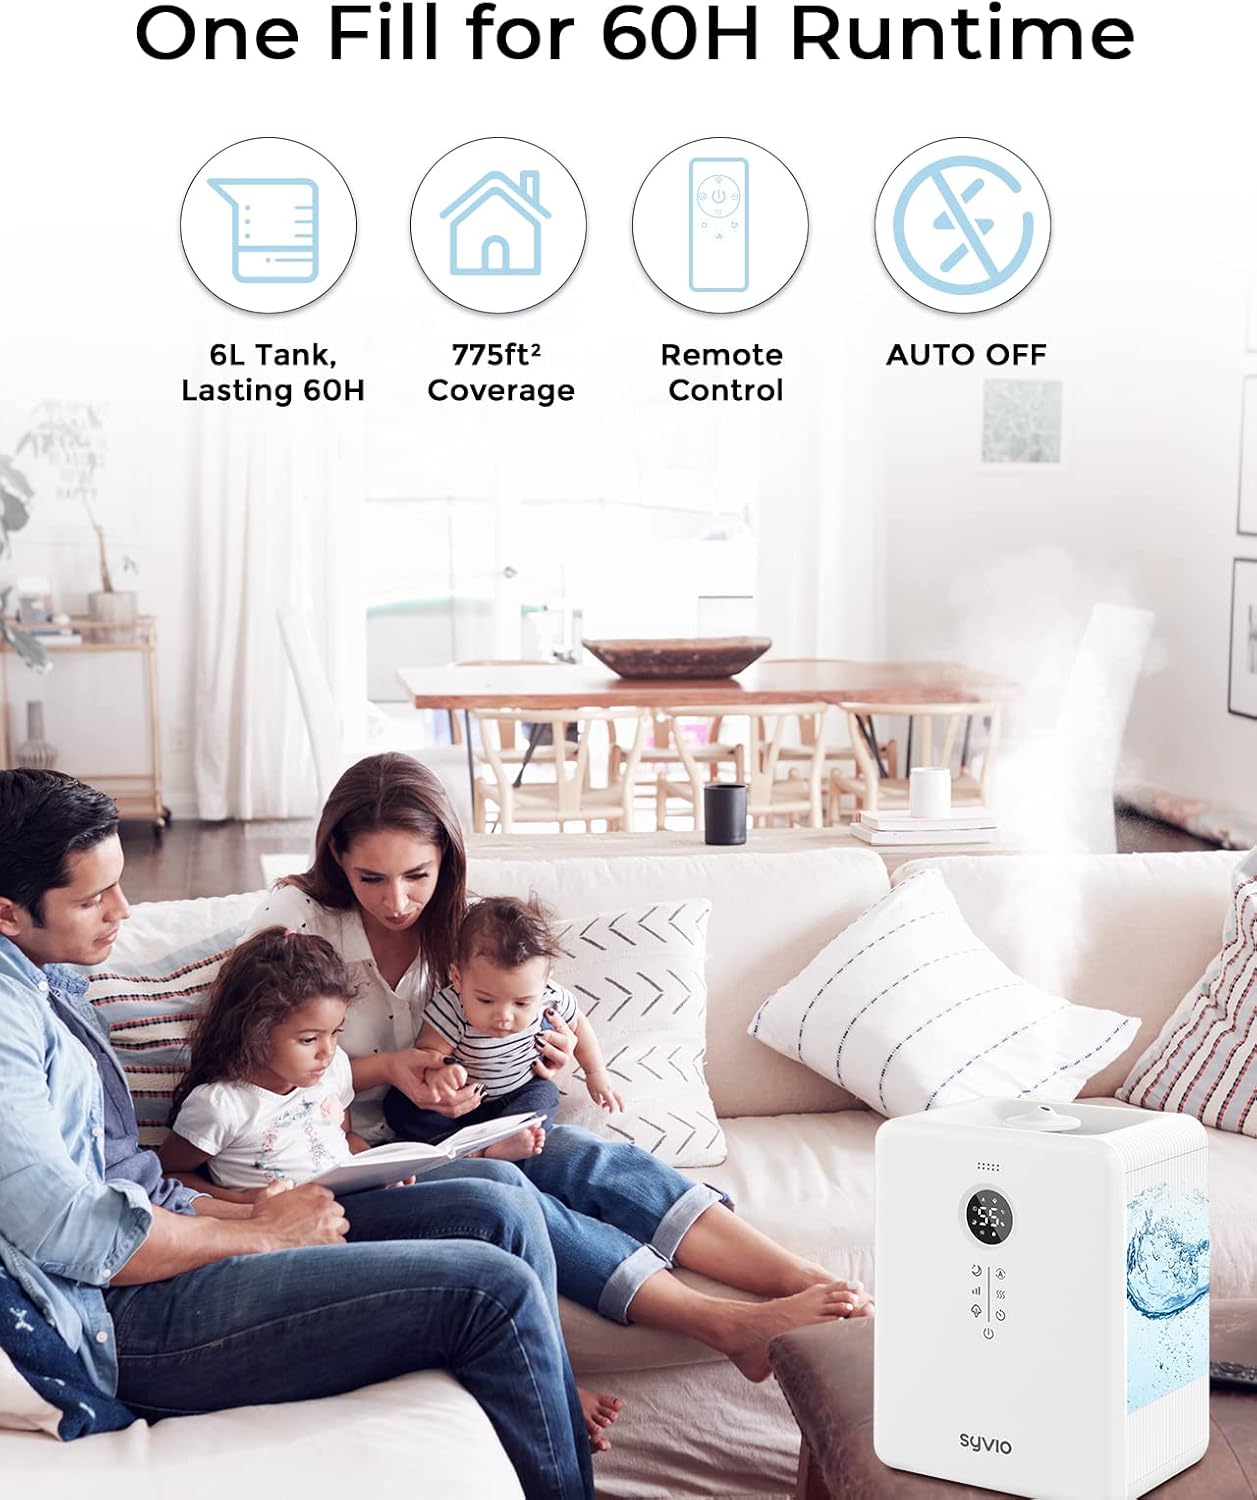
Figure 2: The Syvio humidifier is designed for quiet operation, suitable for various living spaces.
Operating Instructions
Filling the Water Tank:
The Syvio humidifier features a convenient top-fill design.
- Remove the top cover of the humidifier.
- Pour clean, cool tap water directly into the tank. Do not exceed the "Max" water level line to avoid damage. For best results and to extend the humidifier's life, fill to the "Best" line.
- Do not pour water into the central pipe or directly into the base to prevent leakage.
- Replace the top cover securely.

Figure 3: The top-fill design allows for easy and convenient water refilling.
Powering On and Mist Control:
- Plug the power cord into a suitable electrical outlet.
- Press the Power button (①) on the control panel or remote control to turn on the humidifier.
- Adjust the mist output level by pressing the Mist Level button (③). Choose from Low (L), Medium (M), or High (H) mist output.
Warm & Cool Mist Function:
The humidifier offers both warm and cool mist options for year-round comfort.
- Press the Warm Mist button (⑤) to activate warm mist. Warm mist helps to quickly humidify the air and can be soothing in colder months.
- The humidifier defaults to cool mist when first turned on or when the warm mist function is deactivated. Cool mist is ideal for maintaining moisture in warmer seasons and for general use.

Figure 4: The humidifier provides both warm mist for autumn/winter and cool mist for summer/spring.
Smart Auto Constant Humidity Mode:
This feature allows the humidifier to automatically maintain a desired humidity level.
- Press the Auto Mode button (②) repeatedly to set your target humidity (e.g., 50%RH, 60%RH).
- The humidifier will automatically turn on when the ambient humidity drops below your set target and turn off when it reaches the target.
- To disable auto mode and allow continuous humidification, select the "--" setting.

Figure 5: The smart auto constant humidity design prevents over-humidification.
Timer Setting:
- Press the Timer button (⑥) to select a run time from 1 to 12 hours. The humidifier will automatically turn off once the set time expires.
Sleep Mode & Night Light:
For undisturbed rest, activate Sleep Mode.
- Press the Sleep Mode button (⑦) to turn off the display lights and reduce operational noise to below 26dB.
- The optional night light can be controlled separately.

Figure 6: The ultrasonic quiet operation makes it ideal for bedrooms and nurseries.
Essential Oil Diffusion:
Use the built-in aroma tray for essential oil diffusion.
- Locate the aroma tray in the base of the humidifier.
- Add a few drops of your preferred essential oil onto the tray.
- Important: Do not pour essential oils directly into the water tank, as this can damage the unit and void the warranty.
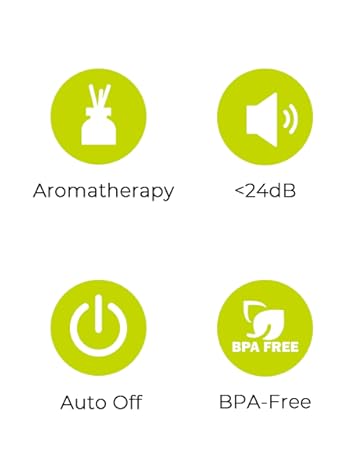
Figure 7: The dedicated essential oil tray allows for safe aromatherapy use.
Remote Control:
The included remote control provides convenient access to all humidifier functions.
- The remote allows you to power on/off, adjust mist levels, switch between warm/cool mist, set the timer, and activate sleep mode without needing to touch the main unit.

Figure 8: The remote control offers convenient operation from a distance.
Maintenance
Regular cleaning is essential to prevent mineral buildup and ensure optimal performance and hygiene of your humidifier. Always unplug the unit before cleaning.
Cleaning Procedure:
Video 1: This video demonstrates the easy cleaning process for the Syvio 6L Humidifier.
- Open and Empty: Open the lid and pour out any remaining water from the tank. Also, pour out water from the bottom groove of the base.
- Protect Components: Before cleaning the base, place the waterproof cover over the delicate components to protect them from water.
- Clean Base: Use the provided brush to clean the bottom groove and any hard-to-reach areas in the base.
- Wipe Down: Use a soft towel to wipe down the inside of the water tank and the bottom groove of the base.
- Remove Cover: Be sure to remove the waterproof cover from the base before using the humidifier again.
Descaling (Mineral Deposit Removal):
If you notice a white powder or film on surfaces, it indicates mineral buildup from hard water. Regular descaling is recommended.
- Mix a solution of equal parts white vinegar and water.
- Pour the solution into the base and water tank, ensuring it covers any mineral deposits. Let it soak for 30 minutes to an hour, or longer for heavy buildup.
- Use a soft brush or cloth to gently scrub away the deposits.
- Rinse thoroughly with clean water until the vinegar smell is gone.
Troubleshooting
Refer to this section for common issues and their solutions.
| Problem | Possible Cause | Solution |
|---|---|---|
| E2 Code Displayed | Water inlet valve stuck or float issue. | First, empty the water tank. Then, gently press the small hole spring at the bottom of the water tank up and down to check if the water inlet valve is stuck. |
| E3 Code Displayed | Humidity sensor malfunction. | While the humidifier may still operate, the humidity sensor function is affected. No specific user fix is provided for this error. Contact customer support if this persists. |
| No Mist or Low Mist Output | Mineral deposits on the transducer/atomizer. / Water level too low. / Float not positioned correctly. | Perform descaling as described in the Maintenance section. Ensure the water tank is filled above the minimum level. Check that the float in the central pipe is not stuck and moves freely. |
| Water Leakage | Protective foam not removed from base. / Water poured into central pipe. | Ensure all protective foam is removed from the base. Always pour water directly into the tank, not the central pipe or base. |
Specifications
| Feature | Detail |
|---|---|
| Brand | syvio |
| Model Name | SY-H001 |
| Water Tank Capacity | 6 Liters |
| Coverage Area | Up to 755 sq.ft (70m²) |
| Mist Output Levels | 3 (L: 160ml/h, M: 330ml/h, H: 500ml/h) |
| Run Time (Low Mist) | Up to 60 hours |
| Noise Level | Below 26dB |
| Operation Mode | Ultrasonic |
| Special Features | Warm & Cool Mist, Auto Humidity Control, Timer (1-12H), Sleep Mode, Night Light, Aroma Tray, Top Fill Design, Fish Filter |
| Product Dimensions | 12.4"D x 9.65"W x 6.78"H |
| Item Weight | 4.2 Pounds |
| Voltage | 45 Volts |
| Control Method | Touch, Remote |
Warranty and Support
Warranty Information:
Syvio products are manufactured to high-quality standards. This product comes with a limited warranty against defects in materials and workmanship. Please refer to the product packaging or contact customer support for specific warranty terms and conditions.
Customer Support:
For any questions, concerns, or technical assistance, please contact Syvio customer support. Our team is dedicated to providing excellent service and support for your product.
- Online Support: Visit the official Syvio website for FAQs and support resources.
- Email Support: Refer to your product packaging or the Syvio website for contact email.


