1. Introduction
This manual provides instructions for the proper setup, operation, and maintenance of your SainSmart Filament Dryer Model 005753520. This device is designed to dry 3D printer filaments, reducing moisture content to improve print quality and prevent common printing issues such as stringing, bubbling, and poor layer adhesion.
Please read this manual thoroughly before using the product and retain it for future reference.

Image 1.1: SainSmart Filament Dryer with a filament spool.
2. Safety Information
Observe the following safety precautions to prevent injury or damage to the device:
- Ensure the power supply voltage matches the specifications indicated on the device.
- Do not operate the device with wet hands or in damp environments.
- Keep the device away from water and other liquids.
- Do not block ventilation openings during operation.
- Unplug the device from the power outlet when not in use or before cleaning.
- Do not attempt to disassemble or repair the device yourself. Contact qualified service personnel.
- Place the device on a stable, heat-resistant surface.
- Keep out of reach of children.
3. Package Contents
Verify that all items are present in the package:
- SainSmart Filament Dryer Unit (Model 005753520)
- Power Adapter
- User Manual
4. Product Overview
The SainSmart Filament Dryer features an advanced heating mechanism and an upgraded fan system to ensure efficient and even drying of 3D printer filaments.
Key Features:
- Fast and Even Heating: Equipped with a Polyimide heater, curved metal plate for heat transfer, and an air circulation fan for uniform heating.
- Reduced Noise Level: Features an upgraded centrifugal fan designed for quieter operation.
- 24-Hour Timer: Allows for continuous drying sessions up to 24 hours.
- Straightforward Temperature Settings: Three preset temperature options for various filament types.
- Wide Filament Compatibility: Supports 1.75mm, 2.85mm, and 3mm filaments, accommodating spools up to Ø200mm x 73mm (H).

Image 4.1: Internal heating mechanism of the SainSmart Filament Dryer.
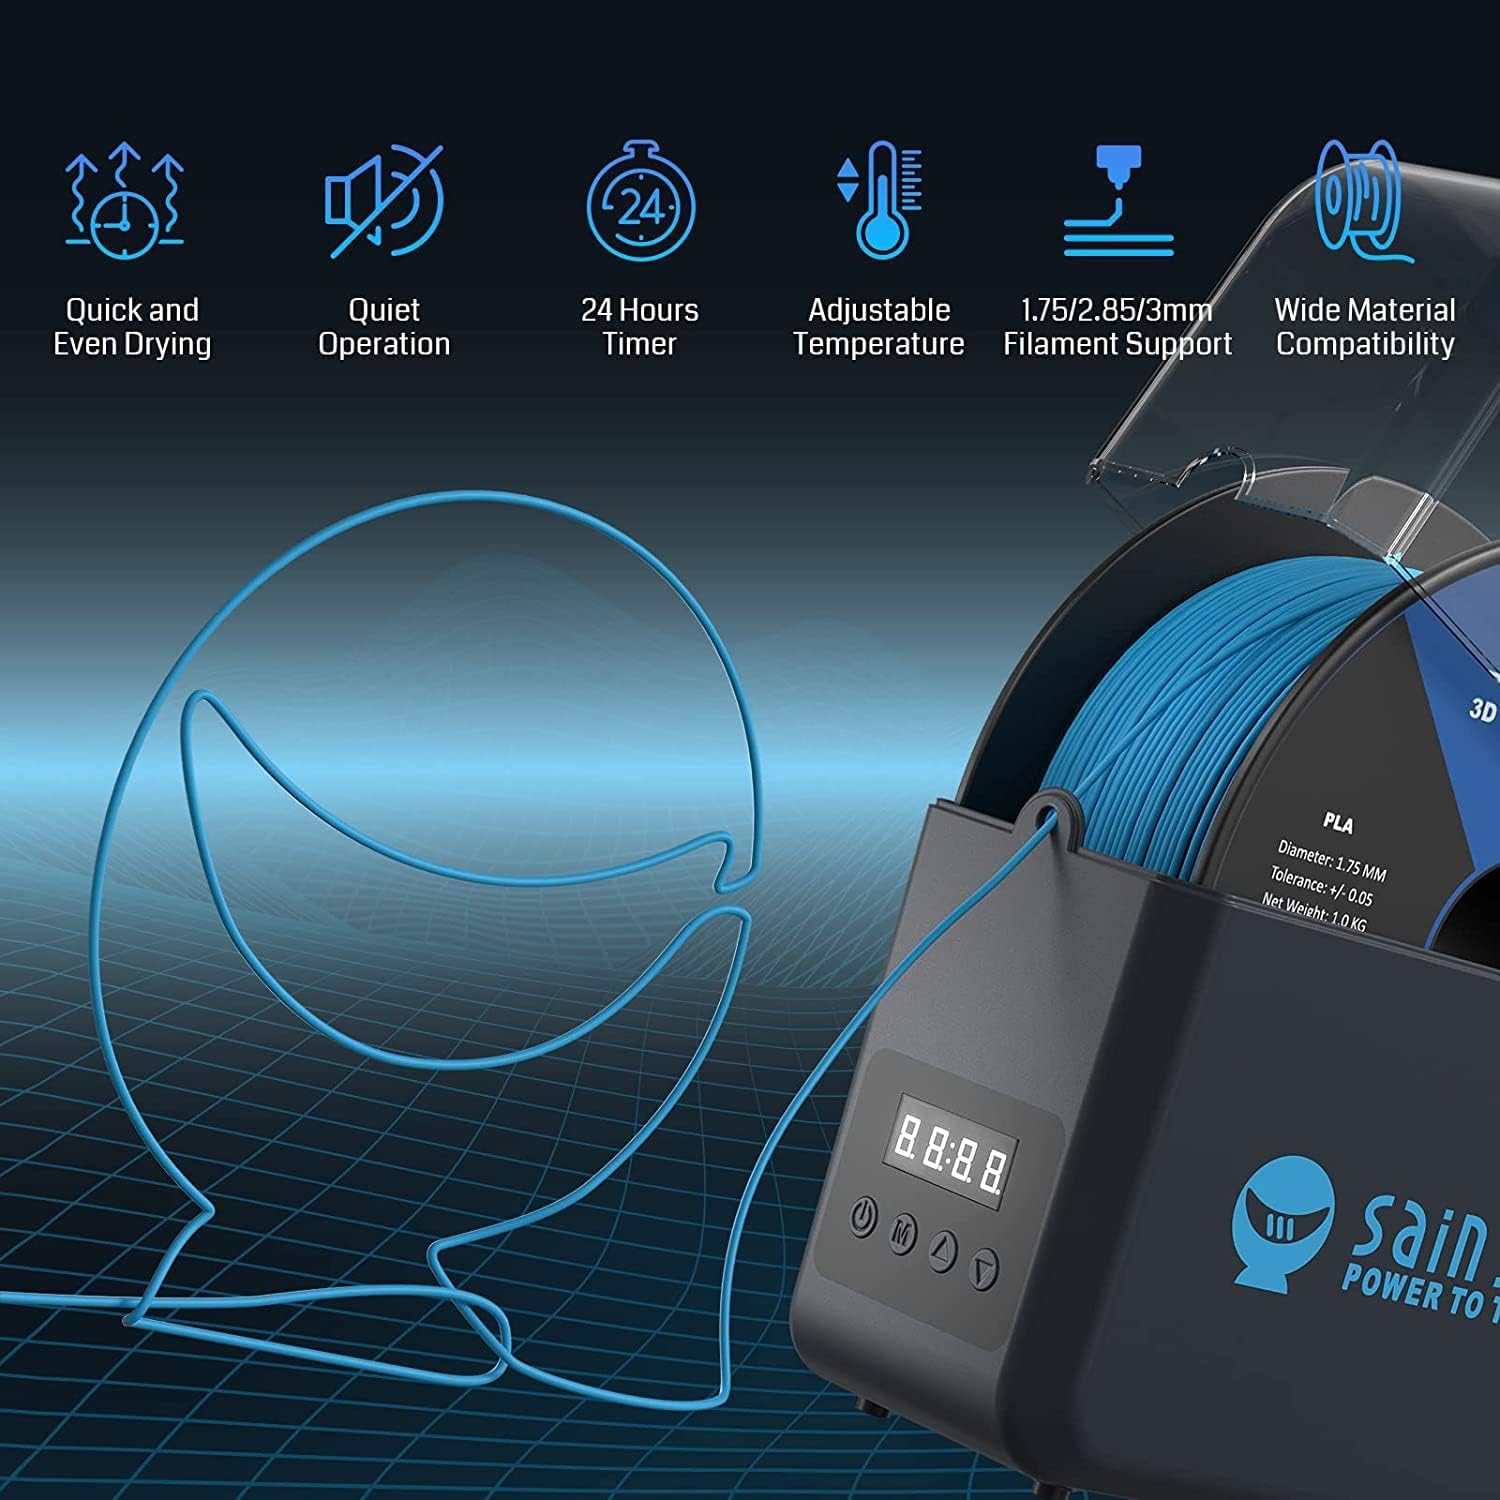
Image 4.2: Overview of key features and filament routing.
5. Setup
- Unpack the Device: Carefully remove the filament dryer and all accessories from the packaging. Inspect for any signs of damage.
- Placement: Place the dryer on a flat, stable, and heat-resistant surface. Ensure there is adequate ventilation around the unit.
- Power Connection: Connect the power adapter to the DC input port on the back of the dryer. Plug the other end of the power adapter into a suitable electrical outlet.
6. Operating Instructions
Control Panel:

Image 6.1: Control Panel layout.
- Power Button: Turns the device on or off.
- Mode Button (M): Switches between temperature setting mode and timer setting mode.
- Up Button (▲): Increases temperature or drying time.
- Down Button (▼): Decreases temperature or drying time.
6.1. Loading Filament
- Open the transparent lid of the filament dryer.
- Place your filament spool inside the dryer. Ensure the spool fits properly and can rotate freely.
- If feeding directly to a 3D printer, guide the filament through the designated outlet hole on the front of the dryer.
- Close the lid securely.
6.2. Setting Temperature
The dryer offers three preset temperature settings for common filament types:

Image 6.2: Preset temperature settings for various filament types.
- Press the Power button to turn on the device.
- Press the Mode (M) button until the temperature indicator is active (usually indicated by a flashing digit or specific display segment).
- Use the Up (▲) or Down (▼) buttons to select the desired temperature preset:
- Setting I (40 ℃): Recommended for PLA and PLA+ filaments.
- Setting II (50 ℃): Recommended for ABS, ABS+, and PETG filaments.
- Setting III (55 ℃): Recommended for TPU, PVA, PC, and Nylon filaments.
- The device will begin heating to the selected temperature.
6.3. Setting Timer
The drying time can be set up to 24 hours.
- After setting the temperature, press the Mode (M) button to switch to timer setting mode. The timer display will become active.
- Use the Up (▲) or Down (▼) buttons to adjust the drying duration in 30-minute intervals.
- Once the desired time is set, the device will automatically start the drying process. The timer will count down, and the heating element will turn off when the time expires.
7. Maintenance
Regular maintenance ensures optimal performance and longevity of your filament dryer.
- Cleaning: Disconnect the power before cleaning. Use a soft, dry cloth to wipe the exterior of the device. Do not use abrasive cleaners or solvents.
- Storage: When not in use, store the dryer in a cool, dry place, away from direct sunlight and excessive dust.
- Inspection: Periodically check the power cord for any damage. If damaged, discontinue use and contact support.
8. Troubleshooting
| Problem | Possible Cause | Solution |
|---|---|---|
| Device does not power on. | No power supply or loose connection. | Ensure the power adapter is securely connected to both the dryer and a working electrical outlet. |
| Filament is not drying effectively. | Incorrect temperature setting or insufficient drying time. | Verify the temperature setting matches the filament type. Increase drying time if necessary (up to 24 hours). |
| Unusual noise during operation. | Obstruction in the fan or internal component issue. | Ensure no foreign objects are obstructing the fan. If the noise persists, discontinue use and contact customer support. |
9. Specifications
| Feature | Detail |
|---|---|
| Model Number | 005753520 |
| Brand | SainSmart |
| Item Weight | 1 Kilogram |
| Filament Diameter Compatibility | 1.75mm, 2.85mm, 3mm |
| Max Spool Dimensions | Ø200mm × 73mm (H) |
| Max Drying Time | 24 Hours |
| Temperature Settings | 40 ℃, 50 ℃, 55 ℃ (Preset for various filament types) |
| Heating Mechanism | Polyimide heater with curved metal plate and air circulation fan |
| Fan Type | Upgraded Centrifugal Fan |
| UPC | 816550026410 |

Image 9.1: Dimensions and filament compatibility.
10. Warranty and Support
Specific warranty details and direct support contact information are not available in the provided product data. For warranty claims or technical assistance, please refer to the official SainSmart website or contact your retailer directly.


