1. Introduction
This manual provides comprehensive instructions for the safe and effective operation and maintenance of your Bonvenon CO2 Blaster Jet Machine (Double Shot). Please read this manual thoroughly before use and retain it for future reference.
2. Safety Information
WARNING: Improper use of this device can result in serious injury or property damage. Always follow safety guidelines.
- Ensure adequate ventilation in the operating area to prevent CO2 accumulation.
- Always wear appropriate personal protective equipment, including eye and ear protection, when operating the machine.
- Maintain a safe distance from the CO2 output nozzle. Do not aim the CO2 blast directly at people or animals.
- Securely connect all hoses and CO2 tanks before operation. Check for leaks.
- Operate the machine only with certified CO2 tanks and appropriate pressure regulators.
- Do not modify the device or use it for purposes other than its intended use.
- Keep the device away from flammable materials.
3. Package Contents
Verify that all items are present in the package:
- CO2 Blaster Jet Machine (Double Shot)
- 6m High-Pressure CO2 Hose
- DMX Cable
- Power Cord
- User Manual (this document)
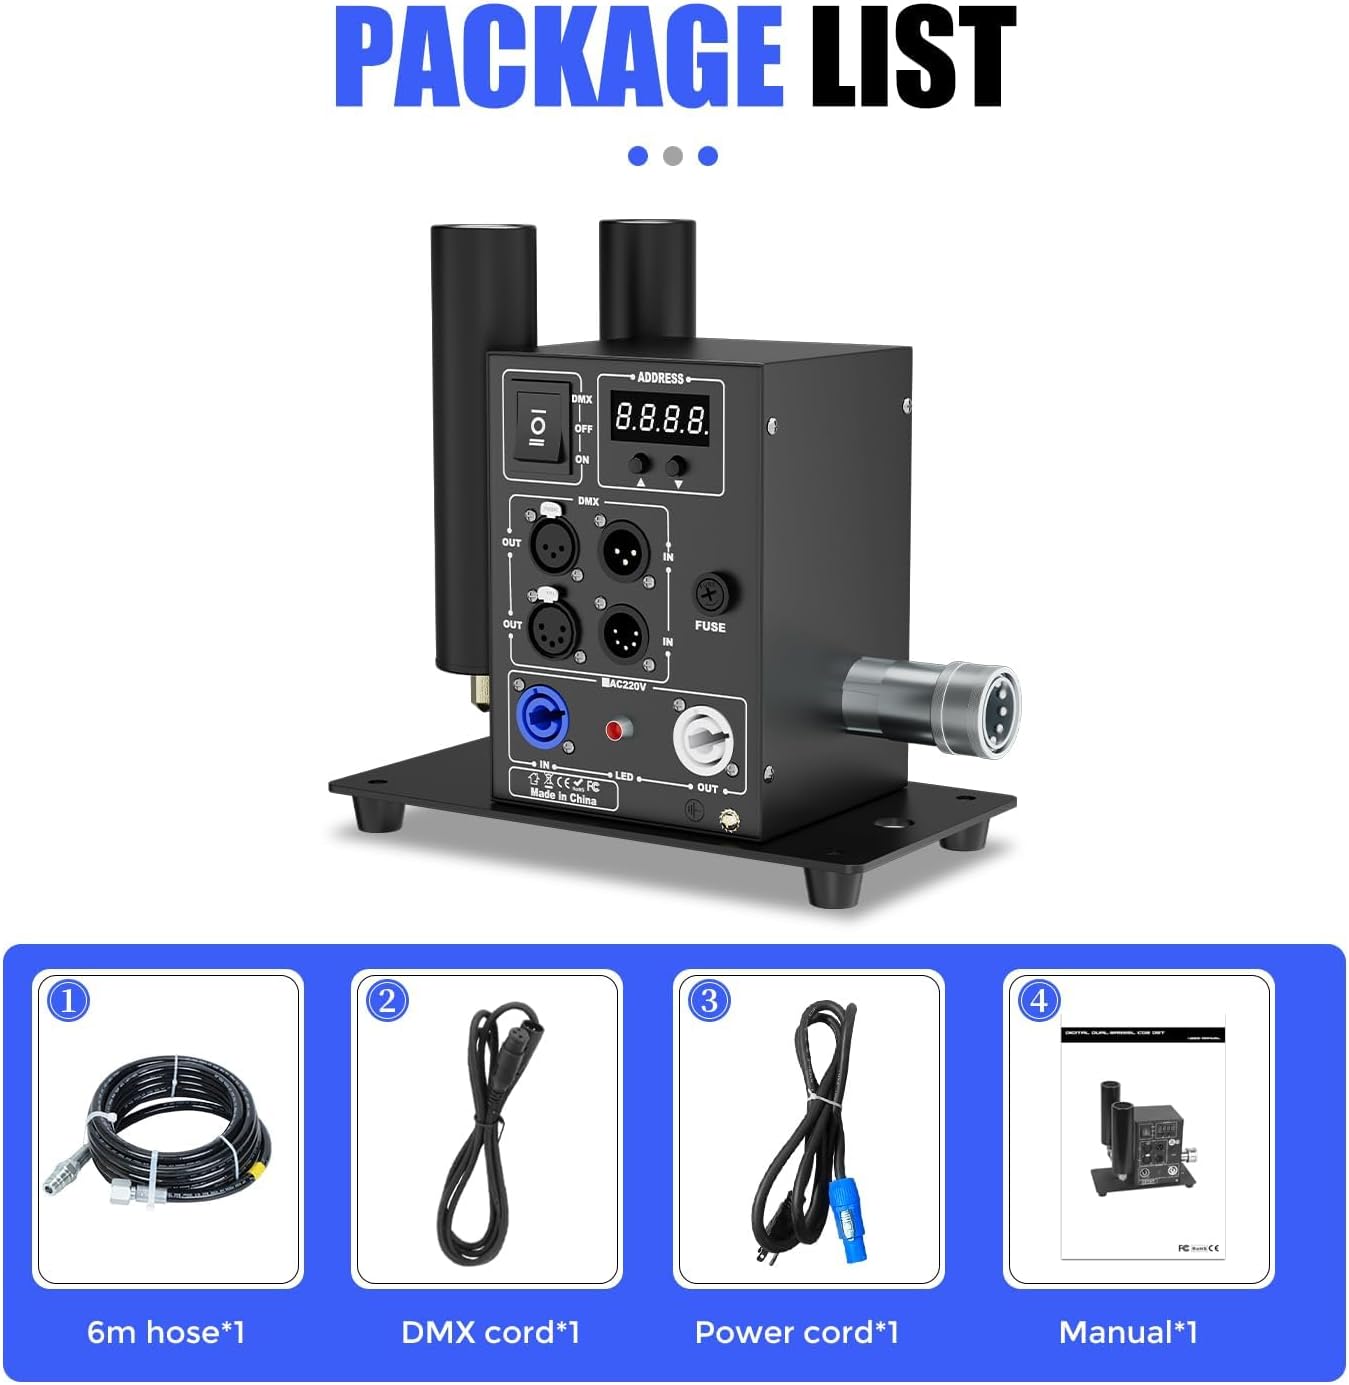
Figure 3.1: Package Contents of the CO2 Blaster Jet Machine.
4. Setup
Follow these steps to set up your CO2 Blaster Jet Machine:
- Placement: Position the CO2 jet machine on a stable surface or truss. Ensure it is securely mounted if elevated. The adjustable angle allows for flexible positioning.
- CO2 Connection: Connect one end of the high-pressure CO2 hose to the CO2 jet machine's quick connector. Connect the other end to your CO2 tank. Ensure all connections are tight to prevent leaks.
- Power Connection: Plug the power cord into the machine and then into a suitable power outlet (220V/50Hz or 110V/60Hz).
- DMX Connection (Optional): For DMX control, connect the DMX cable from your stage lighting controller to the DMX IN port on the CO2 jet machine. Use the DMX OUT port to daisy-chain to other DMX devices.
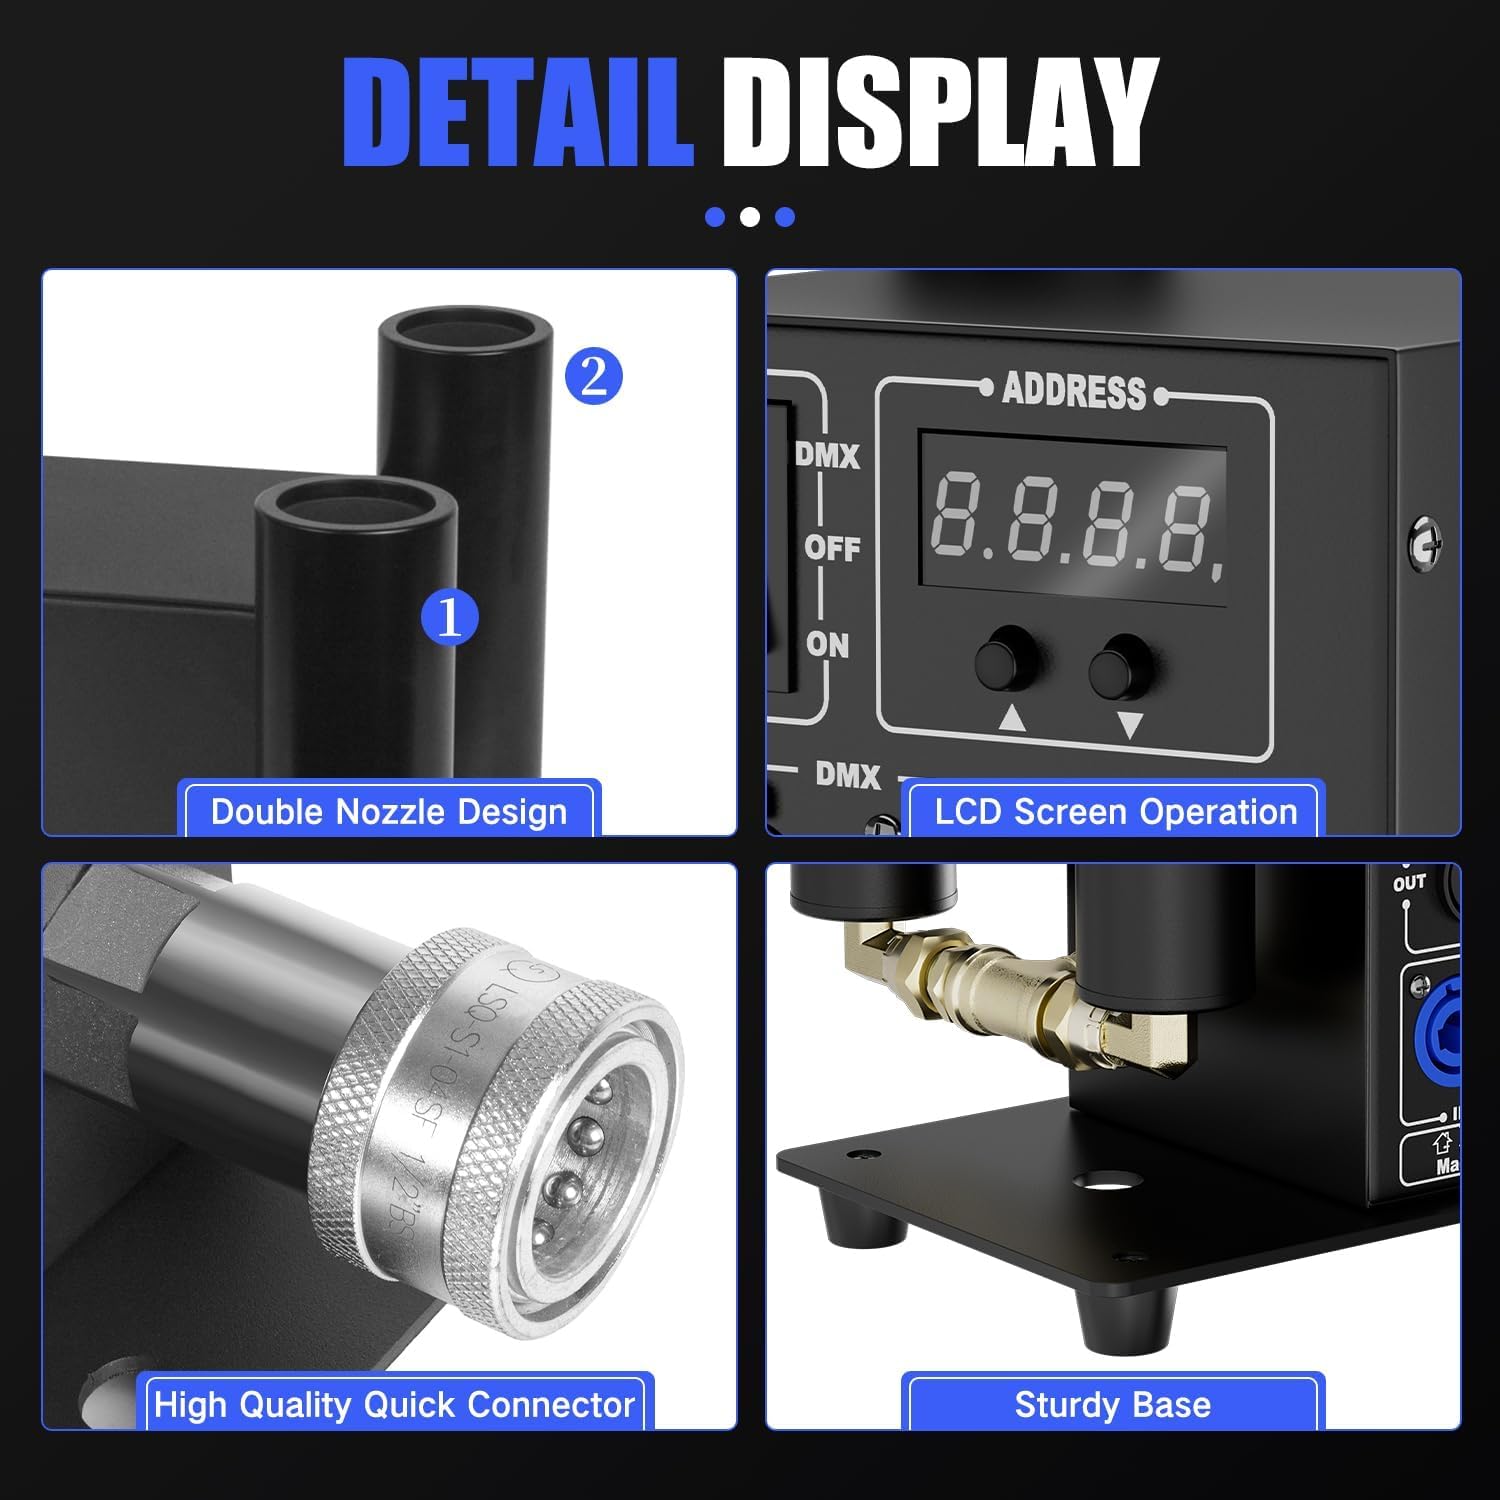
Figure 4.1: Detailed view of the CO2 Blaster Jet Machine's components, including connections and controls.
5. Operating Instructions
The CO2 Blaster Jet Machine can be operated via DMX or standard power on/off control.
- Power On: Flip the power switch to the 'ON' position. The LCD screen will illuminate.
- DMX Address Setting: Use the UP/DOWN/ENTER buttons on the control panel to set the DMX address if using DMX control. Refer to your DMX controller's manual for specific addressing instructions.
- CO2 Tank Valve: Slowly open the valve on your CO2 tank to allow gas flow to the machine.
- Activating CO2 Blast:
- DMX Control: Use your DMX controller to trigger the CO2 blast and control the LED effects.
- Electric Control: The machine may have a direct trigger button or remote for immediate CO2 release.
- Adjusting LED Effects: The machine features integrated LED lights. Use the control panel buttons to cycle through different LED colors and effects.
- Adjusting Angle: The nozzle can be adjusted to direct the CO2 blast as desired.
- Power Off: After use, close the valve on the CO2 tank first, then turn off the machine's power switch.
Video 5.1: Demonstration of the Bonvenon CO2 Blaster Jet Machine's operation, showing CO2 blasts and LED color changes.
6. Features
- DMX Control: Industry-standard DMX CO2 cannon with DMX and standard power on/off capabilities.
- Durable Construction: Made of premium, sturdy, and durable materials. High-pressure resistant smoke pipe designed to withstand low CO2 temperatures and resist rust.
- Easy Installation: Can be installed on a truss or used on the floor. Simple connection process for CO2 hose and DMX cable.
- High-Quality Connectors: Comes standard with high-quality CO2 quick connector and gas hose. Compatible with high and low-pressure CO2 systems.
- Powerful Output: CO2 gas height of 8-10 meters.
- Integrated LEDs: Features LED lights for enhanced visual effects.

Figure 6.1: Key functions of the CO2 Blaster Jet Machine.
Video 6.2: Demonstration of a handheld CO2 smoke machine with LED effects, showcasing its use in a party environment.
7. Maintenance
Regular maintenance ensures optimal performance and longevity of your CO2 Blaster Jet Machine:
- Cleaning: Periodically wipe down the exterior of the machine with a soft, dry cloth. Ensure no dust or debris accumulates around the nozzle or vents.
- Hose Inspection: Regularly inspect the high-pressure CO2 hose for any signs of wear, cracks, or damage. Replace immediately if any damage is found.
- Connector Check: Ensure the quick connectors are clean and free of obstructions. Apply a small amount of silicone grease to O-rings if necessary to maintain a good seal.
- Storage: When not in use, disconnect the CO2 tank and store the machine in a cool, dry place away from direct sunlight and extreme temperatures.
8. Troubleshooting
If you encounter issues with your CO2 Blaster Jet Machine, refer to the following table:
| Problem | Possible Cause | Solution |
|---|---|---|
| No CO2 blast when triggered | CO2 tank valve closed; empty CO2 tank; hose kinked or disconnected; DMX signal issue. | Open CO2 tank valve; replace CO2 tank; check hose connections; verify DMX address and signal. |
| Weak CO2 blast | Low CO2 tank pressure; partial hose obstruction; nozzle partially blocked. | Check CO2 tank pressure; inspect hose for kinks; clean nozzle. |
| LED lights not working | Power issue; LED mode not selected; DMX control issue. | Check power connection; cycle through LED modes on control panel; verify DMX settings. |
| Machine not powering on | No power supply; faulty power cord; internal fuse blown. | Check power outlet and connections; try a different power cord; inspect and replace fuse if necessary. |
9. Specifications
| Specification | Value |
|---|---|
| Voltage Input | 220V/50Hz or 110V/60Hz |
| Control Method | DMX 512 / Electric control |
| Weight | 15.2 pounds (6.9 kg) |
| Power Consumption | 30W |
| Max Pressure | 1400 Psi |
| Spray Height | 8-10 meters |
| Product Dimensions | 10.83 x 6.89 x 9.06 inches |
| DMX Channel | 1 |

Figure 9.1: Detailed product specifications.
10. Warranty and Support
For warranty information and technical support, please refer to the documentation included with your product or contact Bonvenon customer service. Keep your purchase receipt as proof of purchase.