
AUTOSAVER88 CEETSS-3008-A
AUTOSAVER88 Running Boards Installation Manual
For 2019-2023 Dodge Ram 1500 Crew Cab (New Body Style)
1. Introduction
Thank you for choosing AUTOSAVER88 Running Boards. These side steps are designed to provide convenient and safe entry/exit for your vehicle, while also enhancing its appearance. Constructed from durable aluminum with a rust-resistant black powder coating, they offer reliable performance and a sleek look. Please read this manual thoroughly before installation and use to ensure proper fitment and longevity.
2. Vehicle Compatibility
These running boards are compatible with the following vehicle:
- 2019-2023 Dodge Ram 1500 Crew Cab (New Body Style)
Important: These running boards are not compatible with 2019-2023 Dodge Ram 1500 Classic models. Please verify your vehicle's body style before installation.

Image: Compatibility chart illustrating the specific RAM 1500 configurations that are compatible and incompatible with these running boards. It highlights Crew Cab (4 full-size doors) and New Body (6-lug wheel) as compatible, and Quad Cab (2 full-size doors + 2 half-size doors) and Classic (5-lug wheel) as incompatible.
3. Package Contents
Please ensure all components are present before beginning installation:
- 2 x Running Boards
- 6 x Mounting Brackets
- All necessary installation hardware (bolts, washers, nuts)
- Detailed Installation Instructions (this manual)
4. Product Features
- Durable Construction: Made from top-grade anti-corrosion aluminum.
- Protective Finish: Pre-treated with rust-resistant black powder coating for enhanced durability and corrosion resistance.
- Secure Footing: Features a 6-inch wide non-slip injection step pad with a 3D pattern for stable footing and minimal slippage.
- High Weight Capacity: Supports up to 450 lbs.
- Easy Installation: Designed for bolt-on installation with no drilling required, utilizing factory mounting points.

Image: Detailed view of the running board's construction, highlighting the rust-resistant aluminum alloy, E-coating layer, and black powder-coated finish for corrosion protection.

Image: Close-up of the 6-inch wide step bar, emphasizing the non-slip and UV-resistant step pads designed for secure footing and durability.
5. Installation Guide
5.1. Tools Required (Not Included)
- Socket Wrench Set
- Torque Wrench
- Safety Glasses
- Gloves
5.2. Pre-Installation Steps
- Unpack all components and verify against the package contents list.
- Read through all instructions before beginning.
- Park the vehicle on a level surface and engage the parking brake.
- For safety, consider placing wheel chocks.
5.3. Step-by-Step Installation
The installation process is designed for a direct bolt-on fit using existing factory holes. No drilling is required.
Video: A short preview demonstrating the unboxing of the running boards and the initial steps of the installation process, including showing the components and how they fit together.
- Identify Mounting Locations: Locate the factory mounting points along the rocker panel of your vehicle. There are typically three sets of mounting points per side for the brackets.
- Attach Brackets: Secure the mounting brackets to the vehicle's frame using the provided hardware. Ensure the brackets are oriented correctly (front, middle, rear). Do not fully tighten the bolts at this stage.
- Mount Running Boards: Carefully position the running board onto the attached brackets. The running boards feature a slide groove design that allows for adjustment. Align the running board with the brackets and secure it using the remaining hardware.
- Adjust and Align: Adjust the running board's position to your preference, ensuring it is level and evenly spaced from the vehicle body.
- Final Tightening: Once satisfied with the alignment, progressively tighten all bolts for the brackets and running boards. Refer to your vehicle's manual or a professional for recommended torque specifications. Ensure all connections are secure.
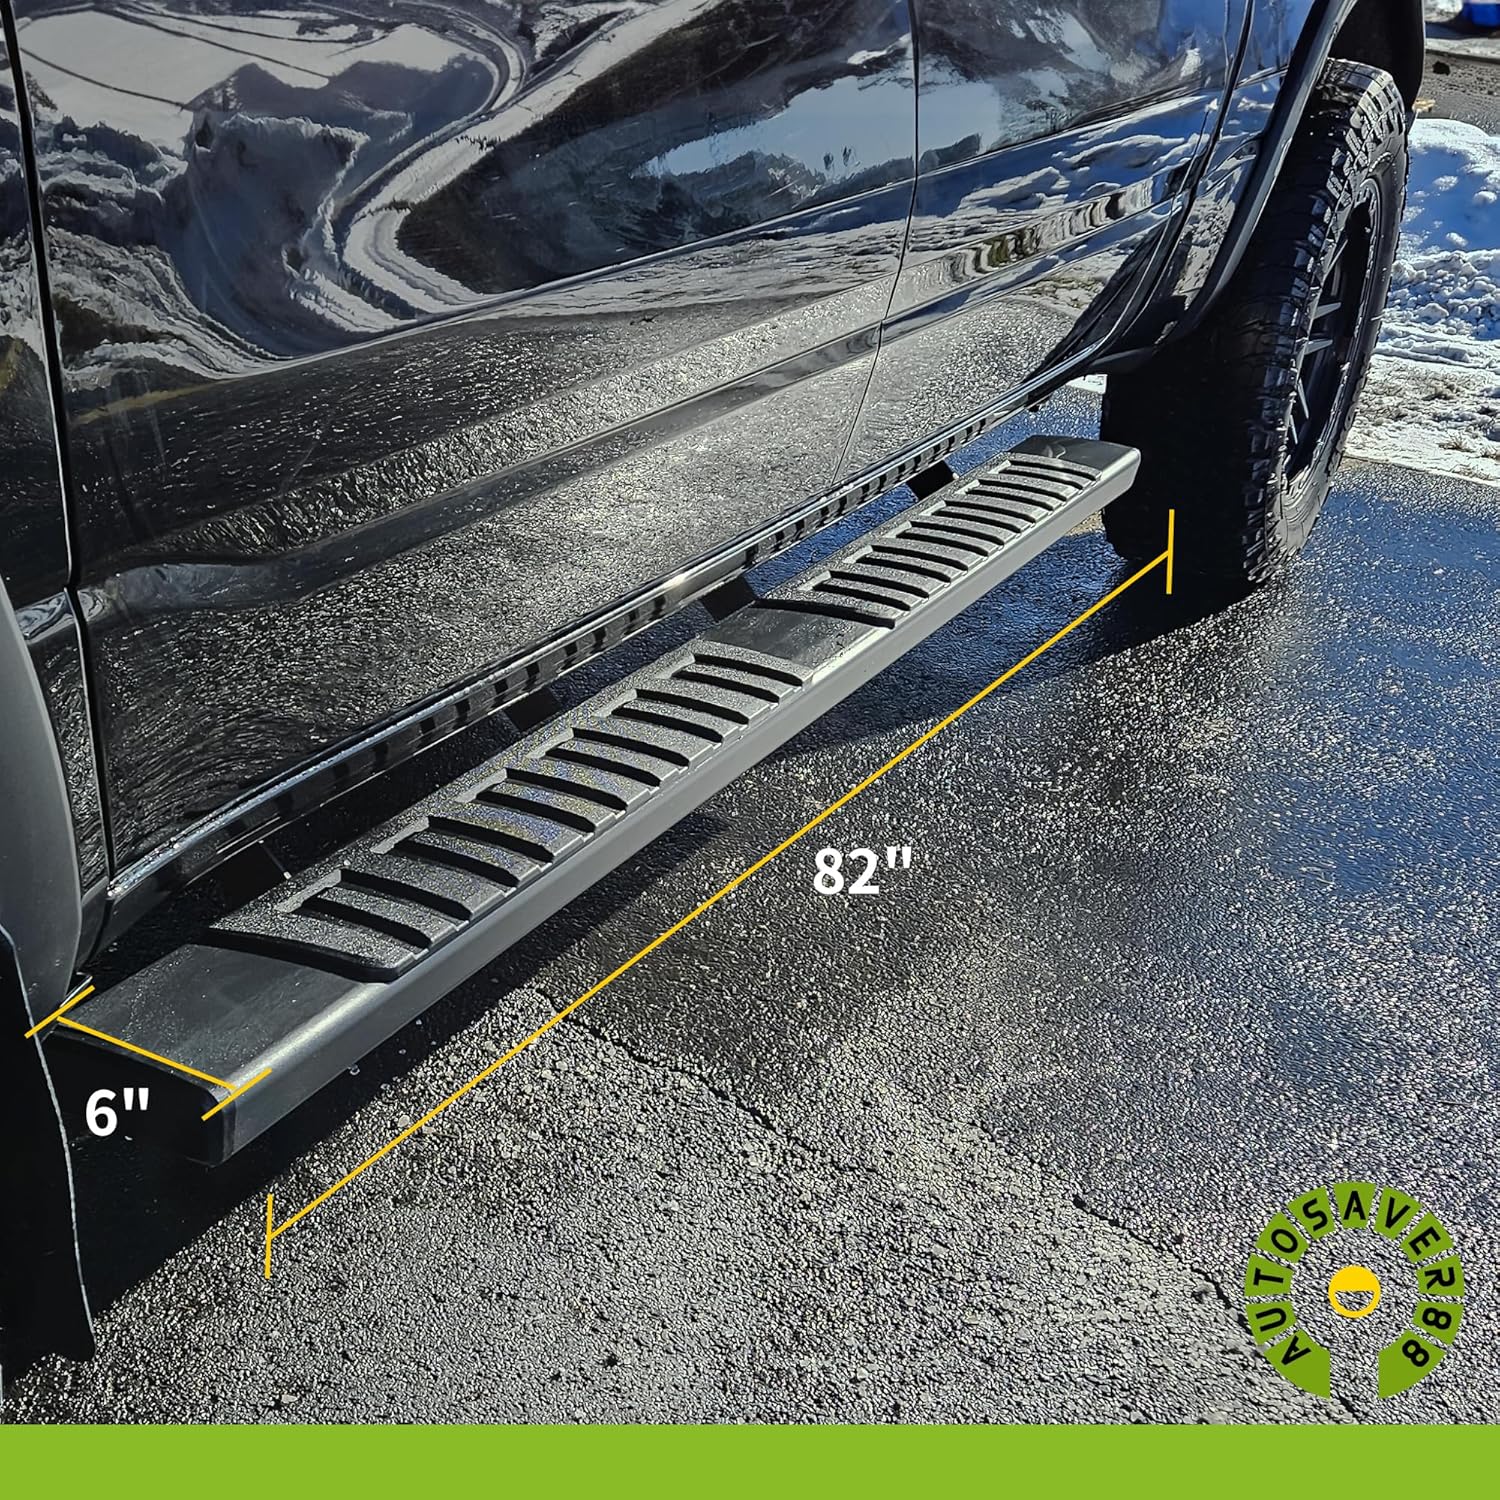
Image: Detailed view of the slide groove design on the running board, illustrating how the aluminum alloy mounting plates and fastening screws integrate for easier and adjustable installation.
Video: A short preview demonstrating the final installation of the running boards onto the vehicle, showing the secure attachment and finished appearance.

Image: The AUTOSAVER88 running board fully installed on a black truck, providing a clear view of its integration with the vehicle's side profile and its overall aesthetic.
6. Operating Instructions
To use the running boards, simply step onto the textured surface when entering or exiting your vehicle. The non-slip step pads are designed to provide secure footing in various weather conditions. Ensure your footwear is clean to maximize grip.
7. Maintenance
- Cleaning: Regularly clean the running boards with mild soap and water to remove dirt, mud, and road grime. Avoid abrasive cleaners or harsh chemicals that could damage the finish.
- Inspection: Periodically inspect all mounting hardware (bolts, nuts, brackets) to ensure they remain tight and secure. Re-tighten if necessary.
- Damage Check: Check for any signs of damage, corrosion, or wear on the running boards and mounting components. Address any issues promptly to maintain safety and product integrity.
8. Troubleshooting
- Loose Running Boards: If the running boards feel loose or unstable, re-check all mounting hardware and tighten to specifications.
- Unusual Noises: Squeaking or rattling may indicate loose hardware or improper installation. Inspect all connection points and ensure they are secure.
- Difficulty Stepping: Ensure the step pads are clean and free of debris. If the issue persists, verify the running board's alignment and stability.
9. Specifications
| Brand | AUTOSAVER88 |
| Model Number | CEETSS-3008-A |
| Material | Aluminum |
| Color | Black |
| Product Dimensions (L x W x H) | 208.99 x 15.24 x 5.08 cm (82.28 x 6 x 2 inches) |
| Item Weight | 15.88 kg (35 lbs) |
| Weight Limit | 450 lbs |
| Vehicle Service Type | Passenger Car (Truck) |

Image: Visual representation of the running board's dimensions, clearly marking its 82-inch length and 6-inch width.
10. Warranty and Support
AUTOSAVER88 products are manufactured to high-quality standards. For specific warranty information or technical support, please refer to the warranty card included with your product or contact AUTOSAVER88 customer service directly. Keep your purchase receipt for warranty claims.
Ask a question about this manual
Ask about setup, troubleshooting, compatibility, parts, safety, or missing instructions. Manuals+ will review the question and use this page’s manual context to help answer it.