
Mingrui test MRFDLEDRCML230W
Mingrui test LED Cab Roof Marker Light Instruction Manual
Model: MRFDLEDRCML230W
For Ford F-250, F-350, F-450, F-550 Super Duty (2017-2022)
1. Introduction
This manual provides comprehensive instructions for the installation, operation, and maintenance of your Mingrui test LED Cab Roof Marker Lights. These lights are designed to enhance the visibility and aesthetic of your Ford F-250, F-350, F-450, F-550 Super Duty truck models from 2017 to 2022.
Package Contents
- 5 x LED Cab Roof Marker Lights (Smoked Lens, White LED)
Note: Please inspect all components upon receipt. If any items are missing or damaged, contact customer support.
2. Specifications
| Brand | Mingrui test |
| Model Number | MRFDLEDRCML230W |
| OEM Part Number | HC3Z-15442-E / HC3Z15442E |
| Lens Color | Smoked |
| Light Color | White |
| Light Source Type | LED |
| Voltage | 12 Volts |
| Material | Plastic |
| Special Feature | Waterproof |
| Vehicle Service Type | Ford F-250, F-350, F-450, F-550 Super Duty (2017-2022) |
| Unit Count | 5.0 Count |
| Item Weight | 7.4 ounces |
| Package Dimensions | 7.87 x 3.66 x 2.24 inches |
3. Installation Instructions
Before beginning installation, ensure your vehicle's ignition is off and the battery is disconnected to prevent electrical shorts or injury. Professional installation is recommended if you are unfamiliar with automotive electrical systems.
Tools and Materials (Not Included):
- Basic hand tools (e.g., screwdriver, trim removal tool)
- Cleaning supplies (e.g., rubbing alcohol, microfiber cloth)
Installation Steps:
- Prepare the Vehicle: Park your vehicle on a level surface. Turn off the engine and disconnect the negative terminal of the battery.
- Remove Existing Lights: Carefully remove the OEM (Original Equipment Manufacturer) cab roof marker lights. Use a trim removal tool if necessary to avoid damaging the vehicle's paint or trim.
- Clean Mounting Surface: Thoroughly clean the area where the new LED lights will be installed. Ensure the surface is free of dirt, dust, and grease for optimal adhesive bonding.
- Prepare New LED Lights: Each LED light features an adhesive backing. Peel off the white protective paper from the back of each new LED light.

Image 3.1: Rear view of the LED light, highlighting the adhesive backing and absorbent sponge for secure mounting.
- Connect Wiring: Connect the wiring of the new LED lights to the vehicle's existing wiring harness. Ensure proper polarity (positive to positive, negative to negative). These lights are designed for direct plug-and-play installation, requiring no computer reprogramming.
- Mount New LED Lights: Carefully align each new LED light with the original mounting location on the cab roof. Press firmly to ensure the adhesive backing creates a secure bond.
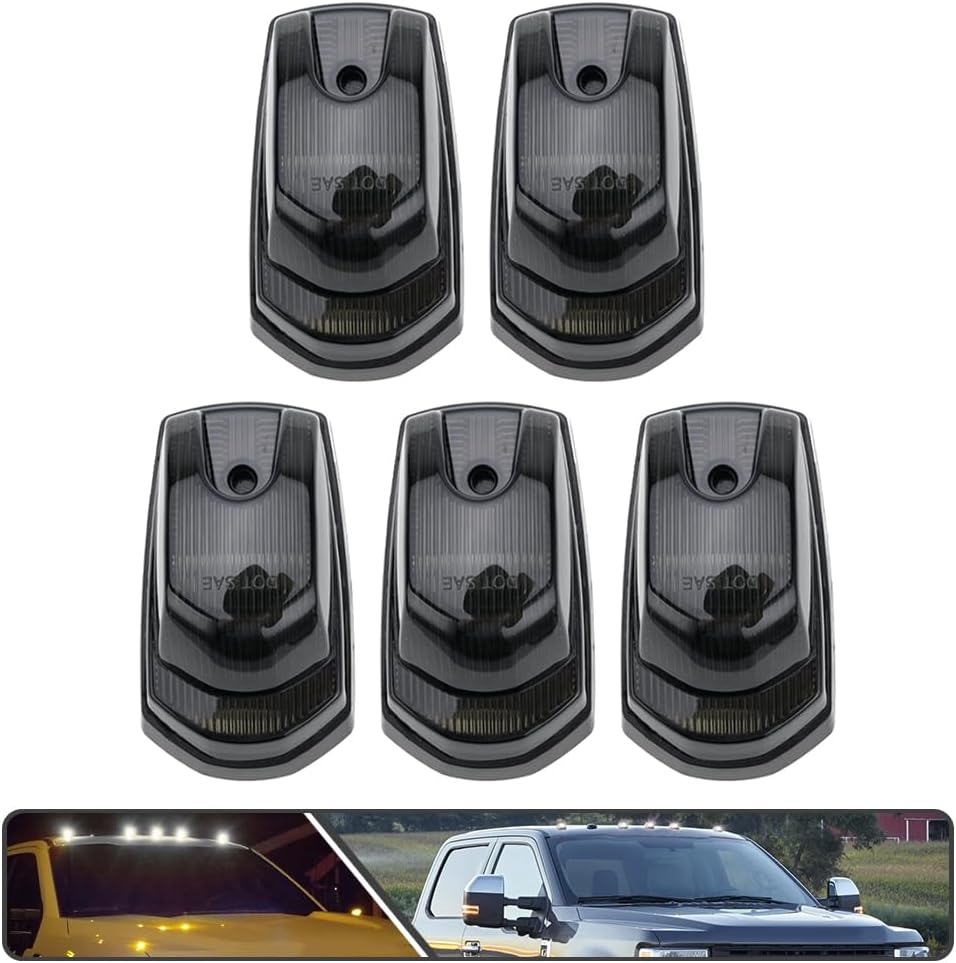
Image 3.2: The set of five LED cab roof marker lights, ready for installation.

Image 3.3: Example of the LED cab roof marker lights installed on a Ford F-Series Super Duty truck.
- Reconnect Battery: Once all lights are securely mounted and wired, reconnect the negative terminal of the battery.
- Test Functionality: Turn on your vehicle's lights to verify that all new LED cab roof marker lights are functioning correctly.
Installation Overview Video
Video 3.1: An overview demonstrating the appearance and illumination of the LED cab roof marker lights.
4. Operation
The Mingrui test LED Cab Roof Marker Lights operate in conjunction with your vehicle's existing lighting system. Once properly installed, they will illuminate when your vehicle's parking lights or headlights are activated.
- Instant Illumination: The LED lights illuminate without delay, providing immediate visibility.
- Low Power Consumption: Designed for energy efficiency, these lights consume minimal power.
- Enhanced Visibility: The high-power white SMD LED diodes provide a super bright lighting output, improving your vehicle's presence on the road.
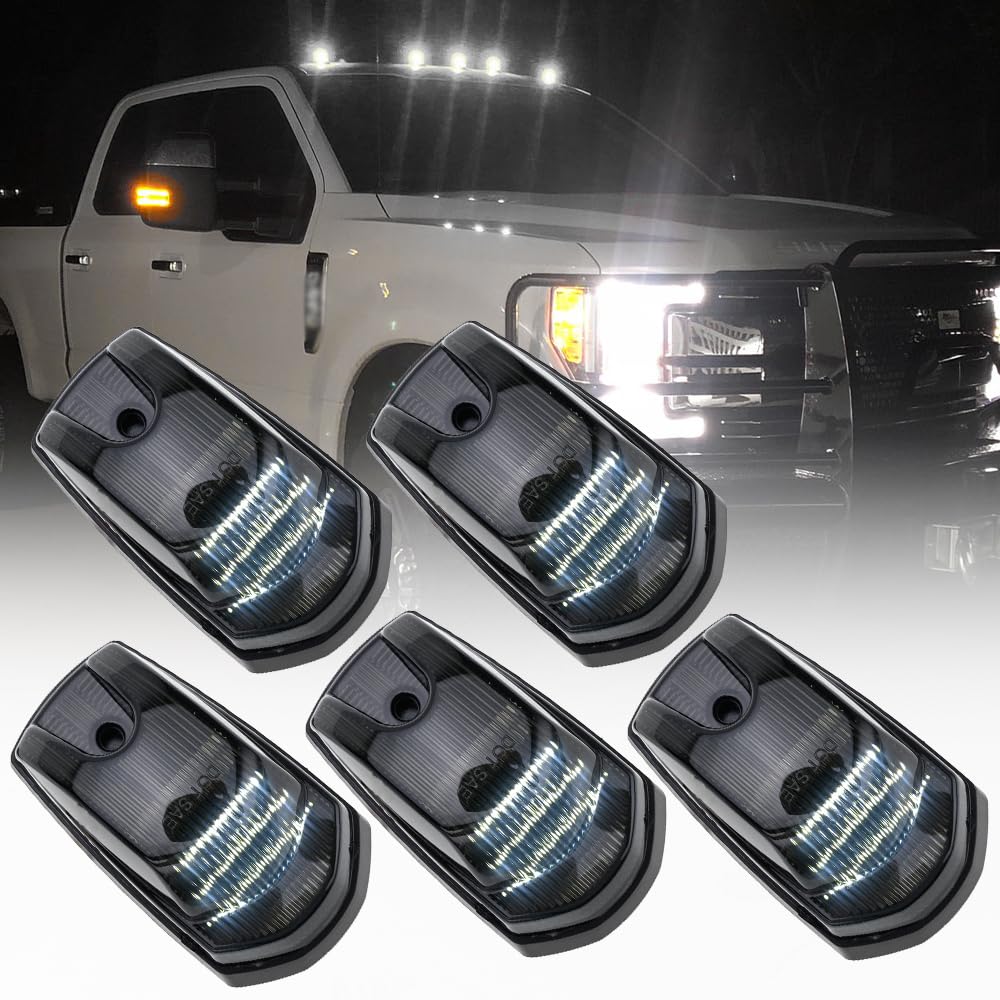
Image 4.1: Close-up of an illuminated LED light, demonstrating its brightness.
5. Maintenance
These LED cab roof marker lights are designed for durability and require minimal maintenance. Follow these guidelines to ensure their longevity and optimal performance:
- Regular Cleaning: Clean the smoked lenses periodically with a soft cloth and mild automotive cleaning solution. Avoid abrasive cleaners or harsh chemicals that could damage the lens material.
- Inspect for Damage: Periodically check the lights for any signs of physical damage, cracks, or loose connections. Although designed to be waterproof, ensure the seals remain intact.
- Wiring Inspection: If you experience any issues, inspect the wiring connections to ensure they are secure and free from corrosion.
6. Troubleshooting
If you encounter issues with your LED Cab Roof Marker Lights, refer to the following troubleshooting guide:
| Problem | Possible Cause | Solution |
|---|---|---|
| Lights do not illuminate |
|
|
| Lights flicker or are dim |
|
|
| Water inside the lens |
|
|
Note: These lights are designed to prevent warning errors or bulb-out messages and do not require computer reprogramming.
7. Warranty and Support
Specific warranty details for the Mingrui test LED Cab Roof Marker Lights are not provided within this manual. For warranty claims, technical support, or replacement parts, please contact the manufacturer or your point of purchase directly.
Please have your product model number (MRFDLEDRCML230W) and purchase information available when contacting support.
Ask a question about this manual
Ask about setup, troubleshooting, compatibility, parts, safety, or missing instructions. Manuals+ will review the question and use this page’s manual context to help answer it.