1. Introduction
Thank you for choosing the Hilitand 50X-1600X USB Digital Microscope. This portable handheld microscope offers magnification from 50x to 1600x, allowing for detailed observation of various objects. Equipped with 8 adjustable LED lights and a versatile connection port (USB and Type-C), it is compatible with computers and Android phones, enabling photo and video storage. This manual provides essential information for proper setup, operation, and maintenance of your digital microscope.

Figure 1: Hilitand 50X-1600X USB Digital Microscope with Stand
2. Package Contents
Please verify that all items listed below are included in your package:
- Digital Microscope (1 unit)
- Adjustable Bracket (1 unit)
- Micrometer Calibration Ruler (1 unit)
- User Manual (1 unit)
- USB to Type-C Adapter (1 unit)

Figure 2: Complete Package Contents
3. Specifications
| Feature | Specification |
|---|---|
| Image Sensor | CMOS |
| Image Resolution | Up to 1920x1080 |
| Magnification | 50x to 1600x |
| Focusing Length Range | 15mm to 40mm |
| Frame Rate | Up to 30 FPS |
| Image Format | BMP, JPG |
| Video Format | AVI |
| Adjustable Lighting | 8 Built-in LED Diodes |
| PC Interface | USB 3.0/2.0/1.1 |
| Power Supply | 5V Direct Current (USB Powered) |
| Compatible OS | Windows 7/10, OS X 10.13+, Android |
| Material | ABS |
| Color | Black |
| Weight | 0.17 Kilograms |
4. Setup
4.1 Assembling the Stand
- Attach the microscope to the adjustable bracket.
- Secure the bracket onto the base. Ensure all connections are firm.
4.2 Software Installation
For optimal functionality, install the appropriate software on your device. Refer to the included User Manual for specific software names and download instructions. Typically, this involves:
- For Android Devices: Search for the recommended application (e.g., "Sup-Anesok" or similar as indicated in your manual) on the Google Play Store.
- For Windows/Mac Computers: Install the driver/software from the provided CD or download it from the manufacturer's website as specified in your manual.
4.3 Connecting to Your Device
The microscope features a 2-in-1 connection port (USB and Type-C adapter) for broad compatibility.
- For Android Phones: Use the provided USB to Type-C adapter if your phone has a Type-C port. Plug the microscope's USB cable into the adapter, then plug the adapter into your phone. Ensure your phone supports OTG functionality.
- For Computers: Plug the microscope's USB cable directly into an available USB 3.0, 2.0, or 1.1 port on your computer.
Video 1: Demonstrates connecting the digital microscope to an Android phone using Micro USB and Type-C adapters, and observing a dandelion fuzz and circuit board.
Video 2: Demonstrates connecting the digital microscope to a laptop via USB and observing a circuit board and plant leaf.
5. Operating Instructions
5.1 Powering On/Off
Once connected to a power source (your phone or computer), the microscope should power on automatically or via a dedicated power button if present (refer to your specific unit for button location).
5.2 Adjusting Magnification
The microscope offers a magnification range from 50x to 1600x. To adjust the magnification, rotate the zoom wheel located on the microscope body. For fine-tuning, adjust the distance between the microscope lens and the object using the stand's adjustment knob.
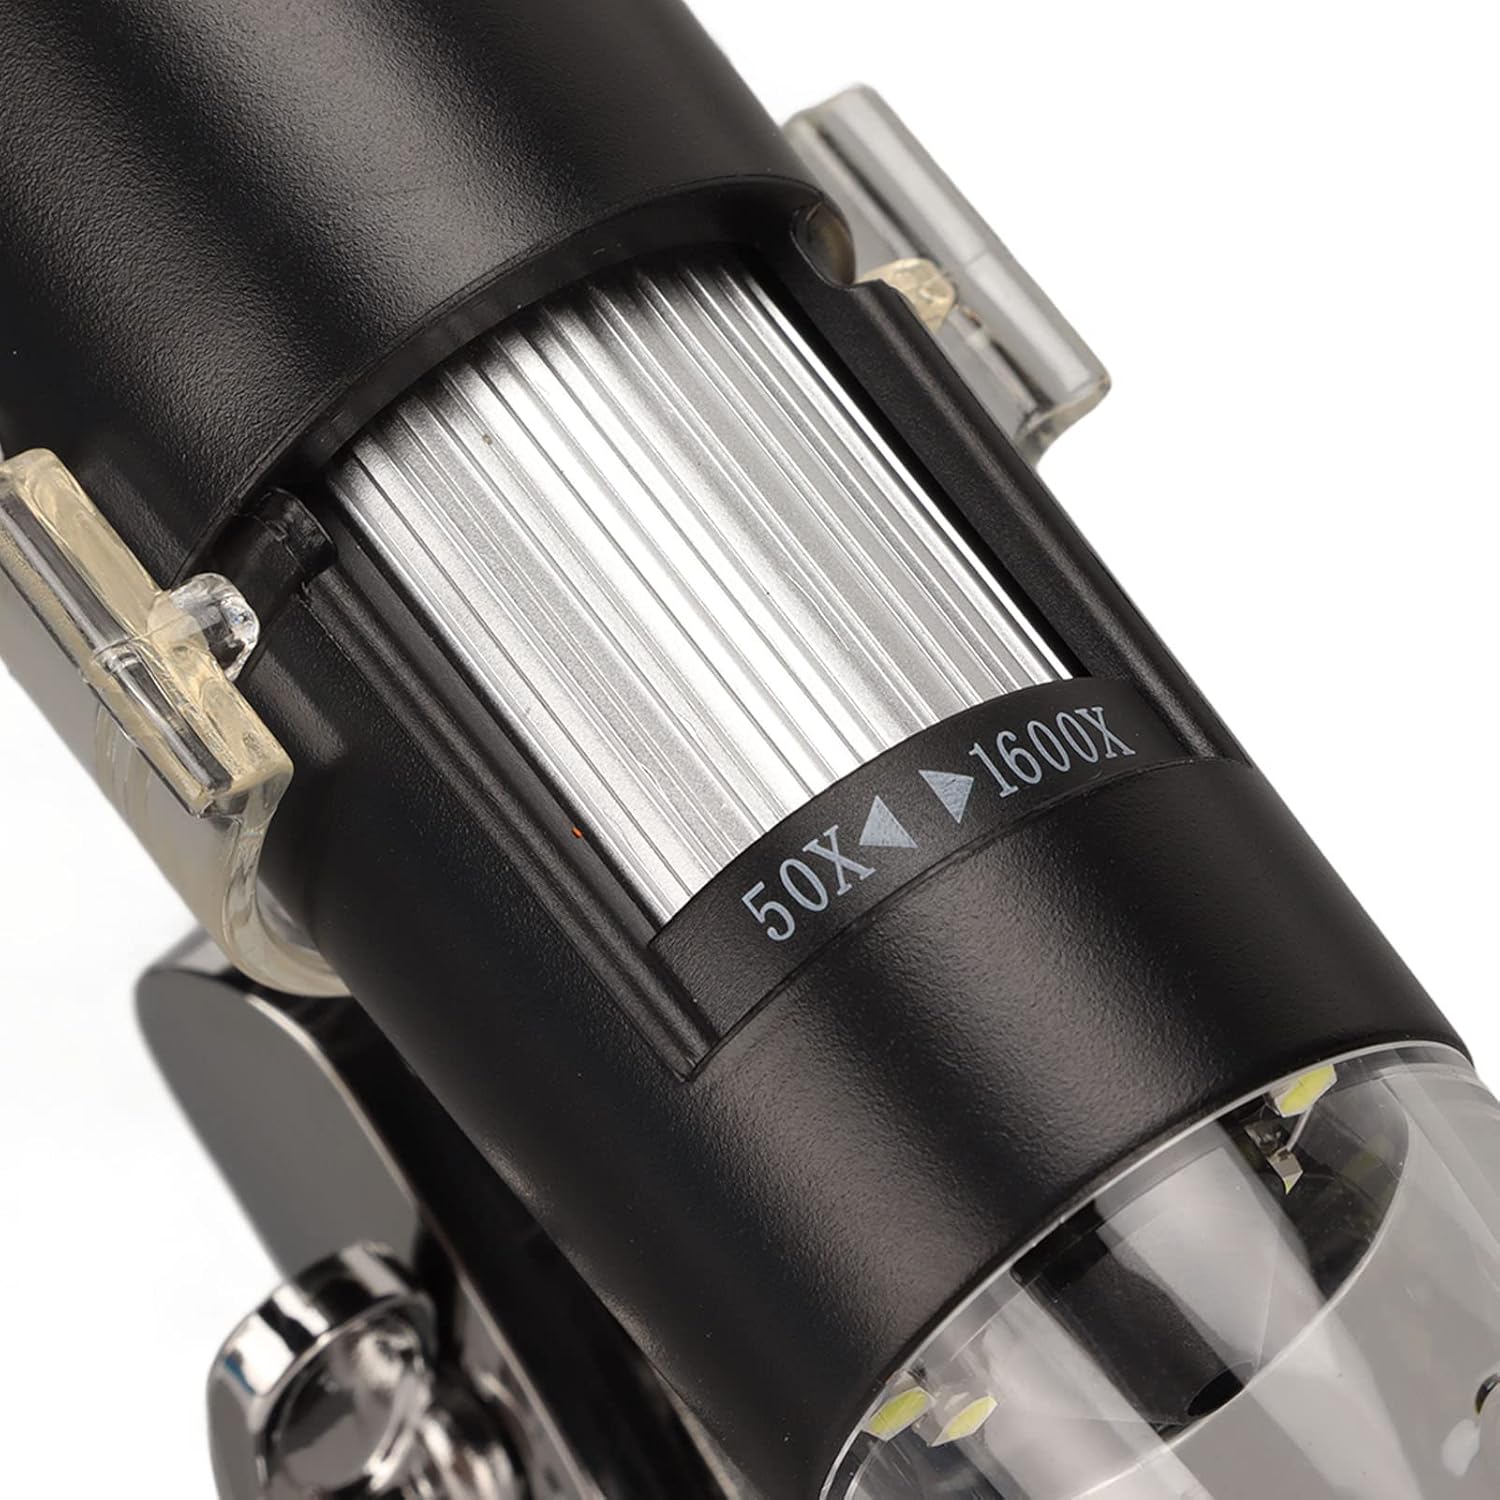
Figure 3: Magnification Adjustment Dial
5.3 Adjusting LED Lighting
The microscope features 8 built-in LED diodes to illuminate your specimen. The brightness can be adjusted using the light control button or dial on the microscope body. Proper illumination is crucial for clear images.

Figure 4: Microscope with LED Lights On

Figure 5: Light Control Button
5.4 Focusing
The focusing length range is 15mm to 40mm. To achieve a clear image, slowly rotate the focus wheel until the image on your device's screen is sharp. Adjusting the height of the microscope on its stand can also help in achieving focus, especially at higher magnifications.
5.5 Capturing Images and Videos
Once the microscope is connected and the software is running, you can capture images (BMP, JPG) and record videos (AVI) directly through the application interface. Look for camera and video icons within the software to initiate capture.
6. Applications
The Hilitand Digital Microscope is a versatile tool suitable for a wide range of applications, including but not limited to:
- Industrial Testing: Inspecting circuit boards, electronic components, and manufacturing defects.
- Telecom Module Testing: Detailed examination of telecommunication equipment.
- Scientific Research: Observing biological specimens, materials science, and educational purposes.
- Skin Testing: Analyzing skin conditions and hair follicles.
- Textile Testing: Examining fabric weaves, fibers, and material quality.
- Jewelry Testing: Inspecting gemstones, metals, and intricate designs.
- Printing Testing: Quality control for printed materials, ink distribution, and paper texture.

Figure 6: Microscope in a laboratory setting

Figure 7: Microscope used for industrial inspection
6.1 Micrometer Calibration Ruler
The included micrometer calibration ruler can be used with the microscope's software to accurately measure objects viewed under magnification. Follow the software's instructions for calibration and measurement.

Figure 8: Micrometer Calibration Ruler
7. Maintenance
- Cleaning: Use a soft, dry cloth to clean the microscope body. For the lens, use a specialized lens cleaning cloth and solution to avoid scratches.
- Storage: Store the microscope in a cool, dry place away from direct sunlight and extreme temperatures. Keep it in its original packaging or a protective case when not in use.
- Handling: Avoid dropping or subjecting the microscope to strong impacts, as this may damage internal components.
8. Troubleshooting
- No Image on Screen:
- Ensure the microscope is properly connected to your device and powered on.
- Verify that the correct software/application is open and selected as the camera input.
- Check the USB/Type-C connection for looseness or damage. Try a different port or adapter.
- Blurry Image:
- Adjust the focus wheel on the microscope body.
- Adjust the height of the microscope on its stand.
- Ensure the specimen is within the 15mm-40mm focusing range.
- Insufficient Lighting:
- Adjust the brightness of the 8 built-in LED lights using the control button/dial.
- Ensure the light is not obstructed.
- Software Not Recognizing Device:
- Restart the software and/or your device.
- Reinstall the software/drivers.
- For Android, confirm OTG functionality is enabled in your phone's settings.
9. Warranty and Support
For warranty information and technical support, please refer to the specific documentation included with your product or contact Hilitand customer service through their official channels. Keep your purchase receipt as proof of purchase.