1. Product Overview
The Cooler Master MM712 30th Anniversary Wireless Gaming Mouse (Model: MM-712-KCOH1) is a high-performance, lightweight gaming mouse designed for precision and comfort. It features a seamless, hole-less chassis, weighing less than 58g, and offers versatile connectivity options including wired, 2.4GHz wireless, and Bluetooth 5.1.
This mouse is equipped with a gaming-grade optical sensor, durable optical micro switches, and pure PTFE feet for an exceptional gaming experience. Its design focuses on responsiveness, agility, and tactile feedback, making it suitable for various grip styles.

Image 1.1: The Cooler Master MM712 30th Anniversary Wireless Gaming Mouse, showcasing its sleek black design with teal scroll wheel and RGB lighting.
2. Key Features
- Hybrid Wireless Technology: Offers flexible connectivity with wired, 2.4GHz wireless, and Bluetooth 5.1 modes to connect to multiple devices.
- Seamless Lightweight Design: Features an ambidextrous, hole-less chassis weighing less than 59g for comfortable and agile handling.
- Gaming-Grade Hardware: Equipped with a pro-grade optical sensor adjustable up to 19,000 DPI and optical micro switches rated for 70 million clicks, ensuring near-instantaneous input.
- Ultraweave Cable: A super lightweight, in-house engineered cable designed to prevent snagging and minimize drag during use.
- Pure PTFE Mouse Feet: New and improved feet made from PTFE material provide low friction and high durability for a smooth, fast glide.
3. Setup Guide
3.1. Package Contents
- Cooler Master MM712 30th Anniversary Wireless Gaming Mouse
- USB-C to USB-A Ultraweave Cable
- 2.4GHz Wireless Dongle
- USB-A to USB-C Adapter (for dongle extension)
3.2. Connecting Your Mouse
The MM712 offers three connection methods:
Wired Connection:
- Connect the USB-C end of the Ultraweave cable to the front port of the MM712 mouse.
- Connect the USB-A end of the cable to an available USB port on your computer.
- The mouse will be automatically detected and ready for use.
2.4GHz Wireless Connection:
- Locate the 2.4GHz wireless dongle. It is typically stored in a compartment on the underside of the mouse.
- Plug the 2.4GHz wireless dongle into an available USB port on your computer. For optimal signal, use the provided USB-A to USB-C adapter with the Ultraweave cable to position the dongle closer to the mouse.
- On the underside of the mouse, slide the switch to the 2.4G position.
- The mouse should automatically connect. If not, press the 'Pair' button on the underside of the mouse.
Bluetooth 5.1 Connection:
- On the underside of the mouse, slide the switch to the BT position.
- Press and hold the 'Pair' button on the underside of the mouse until the LED indicator starts blinking, indicating pairing mode.
- On your computer or device, go to Bluetooth settings and search for new devices.
- Select "Cooler Master MM712" from the list of available devices to complete the pairing process.

Image 3.1: Underside of the MM712 mouse, highlighting the USB-C port for wired connection and the Bluetooth/2.4GHz wireless options.

Image 3.2: The MM712 mouse connected via its flexible Ultraweave cable, designed to minimize drag.
4. Operating Instructions
4.1. DPI Adjustment
The MM712 features an adjustable DPI (Dots Per Inch) sensor, allowing you to change sensitivity on the fly. The mouse supports up to 19,000 DPI. You can cycle through preset DPI levels using the dedicated DPI switch button located on the underside of the mouse or customize them via the Cooler Master software.
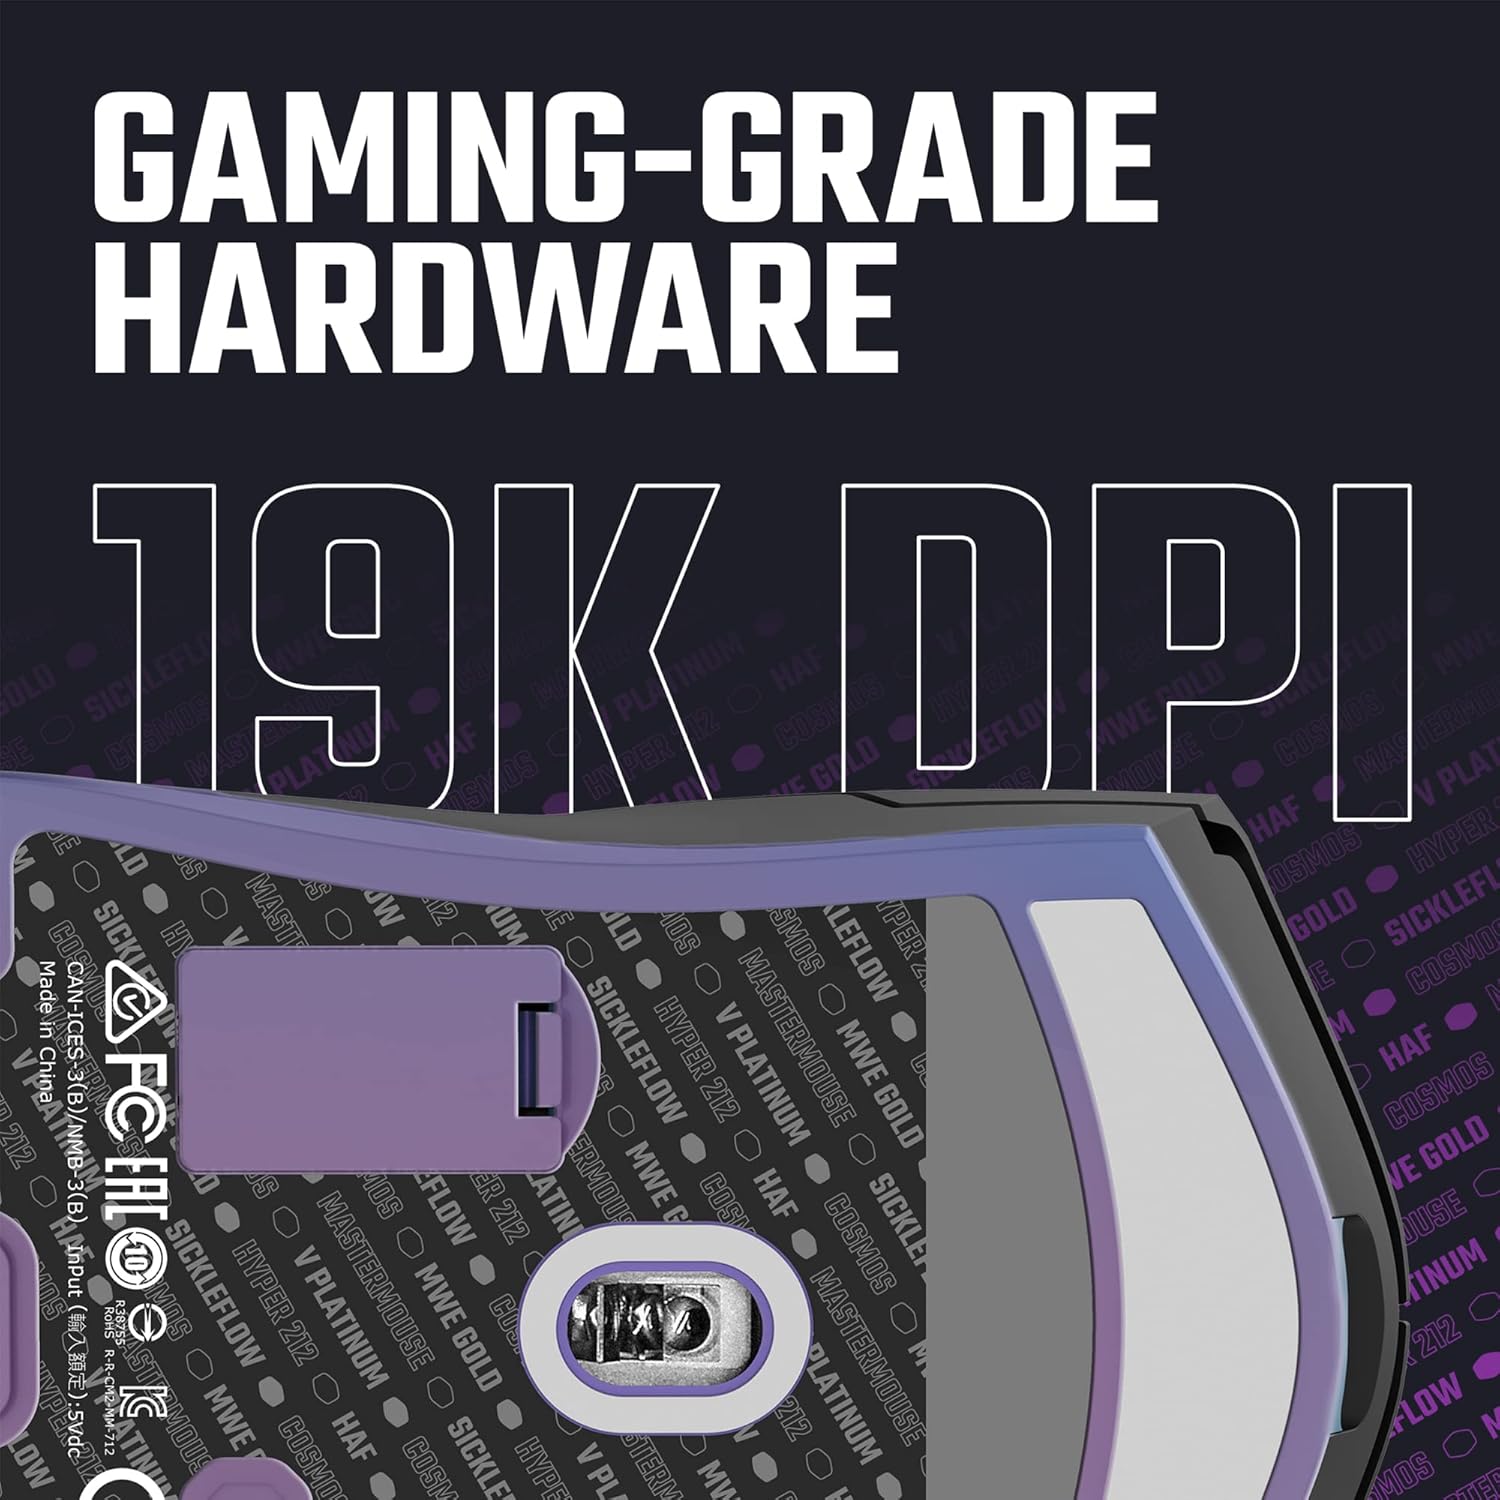
Image 4.1: Close-up of the MM712's underside, featuring the high-precision 19,000 DPI optical sensor.
4.2. Button Functions
The MM712 mouse comes with several programmable buttons:
- Left Click Button: Primary action.
- Right Click Button: Secondary action.
- Scroll Wheel: Scrolls content up/down, and acts as a middle click button.
- Side Buttons (Forward/Backward): Default navigation actions in web browsers and applications.
- DPI Switch Button: Cycles through predefined DPI settings.
4.3. RGB Lighting
The MM712 features customizable RGB lighting. The lighting effects and colors can be adjusted using the Cooler Master software.
4.4. Software Customization
For advanced customization, download the Cooler Master software from the official Cooler Master website. The software allows you to:
- Remap button controls.
- Customize RGB lighting effects and colors.
- Tune DPI levels and create custom profiles.
- Set up macros for complex commands.
5. Maintenance
5.1. Cleaning Your Mouse
To maintain optimal performance and hygiene, clean your MM712 mouse regularly:
- Use a soft, lint-free cloth slightly dampened with water or a mild cleaning solution.
- Wipe down the surface of the mouse, avoiding excessive moisture near buttons or openings.
- For the optical sensor, use a cotton swab or compressed air to gently remove dust or debris.
- Do not use harsh chemicals, abrasive cleaners, or solvents.
5.2. Battery Care
The MM712 is battery-powered for wireless operation. To prolong battery life:
- Charge the mouse when the battery indicator is low.
- Avoid fully discharging the battery frequently.
- If storing the mouse for an extended period, ensure it has a partial charge (around 50%) and turn it off.
5.3. PTFE Feet Care
The pure PTFE feet provide smooth glide. To maintain their performance:
- Keep your mouse pad clean and free of debris.
- Avoid scratching or damaging the PTFE feet.
- Replacement feet may be available from Cooler Master if they become worn.

Image 5.1: The MM712 mouse with its pure PTFE feet, engineered for smooth and effortless glide.
6. Troubleshooting
6.1. Mouse Not Responding
- Check Connection: Ensure the USB cable is securely plugged in, or the wireless dongle is properly inserted. For Bluetooth, ensure it's paired.
- Power Switch: Verify the power switch on the underside of the mouse is in the ON position or the correct wireless mode (2.4G/BT).
- Battery Level: If using wirelessly, ensure the battery is charged. Connect the mouse via USB cable to charge.
- Try Another Port/Device: Test the mouse on a different USB port or another computer to rule out port or system issues.
6.2. Lag or Disconnection in Wireless Mode
- Interference: Move the mouse and dongle away from other wireless devices (Wi-Fi routers, cordless phones) that might cause interference.
- Dongle Placement: Use the USB-A to USB-C adapter and Ultraweave cable to position the 2.4GHz dongle closer to the mouse, reducing signal path obstacles.
- Re-pair: For Bluetooth, try unpairing and re-pairing the mouse. For 2.4GHz, try re-pairing using the button on the underside.
6.3. Tracking Issues
- Clean Sensor: Ensure the optical sensor on the underside of the mouse is clean and free of dust or debris.
- Surface: Use the mouse on a clean, uniform, non-reflective surface or a good quality mouse pad. Avoid glass or highly reflective surfaces.
- DPI Setting: Adjust the DPI setting to a level suitable for your usage.
7. Specifications

Image 7.1: Diagram illustrating the dimensions of the Cooler Master MM712 mouse.
| Feature | Specification |
|---|---|
| Brand | Cooler Master |
| Model Number | MM-712-KCOH1 |
| Connectivity Technology | Wired (USB-C), 2.4GHz Wireless, Bluetooth 5.1 |
| Movement Detection Technology | Optical |
| Max DPI | 19,000 DPI |
| Switches | Optical Micro Switches (70 million clicks) |
| Weight | Less than 59g (approx. 2.15 ounces) |
| Dimensions (LxWxH) | 4.59 x 2.46 x 1.51 inches (116.6 x 62.6 x 38.3 mm) |
| Cable Type | Ultraweave Cable |
| Feet Material | Pure PTFE |
| Operating System Compatibility | Windows, macOS, Android, iOS |
| Color | Black Wireless |

Image 7.2: Detailed view of the MM712 mouse's bottom, showing the power switch, pairing button, and DPI switch.
8. Warranty and Support
Cooler Master products are designed for durability and performance. For information regarding warranty coverage, technical support, and frequently asked questions, please visit the official Cooler Master website or contact their customer service directly.
Keep your proof of purchase for warranty claims.