1. Introduction
Thank you for choosing DD Audio D-C6x9A 6x9 150W Component Speakers. This manual provides essential information for the proper installation, operation, and maintenance of your new audio system. Please read this manual thoroughly before attempting installation or operation to ensure optimal performance and safety.
2. Safety Information
Always observe the following safety precautions during installation and operation:
- Disconnect the vehicle's battery negative terminal before starting any electrical work to prevent short circuits.
- Ensure all wiring is properly insulated and secured to prevent damage from vibration or sharp edges.
- Do not install speakers in locations that obstruct the driver's view or interfere with vehicle safety systems.
- Use appropriate tools and personal protective equipment during installation.
- Avoid prolonged exposure to high volume levels, which can cause hearing damage.
- Ensure the amplifier's power output matches the speaker's RMS power handling to prevent damage.
3. Package Contents
Verify that all items are present in the package:
- 2 x DD Audio 6x9 Component Woofers
- 2 x T2b Tweeters
- 2 x In-line Crossover Networks
- Shallow Mount Woofer Frames (if applicable)
- Wide Array of Tweeter Mounting Hardware

Figure 3.1: Complete D-C6x9A Component Speaker System
This image displays all the components included in the DD Audio D-C6x9A speaker system, providing a visual overview of the woofers, tweeters, and crossover networks.
4. Product Features
The DD Audio D-C6x9A Component Speakers are designed for high-quality audio reproduction in automotive environments. Key features include:
- Y35 Grade Magnet for robust magnetic field.
- Kapton Former CCA Voice Coil for durability and efficient power handling.
- Copper Shorting Cap for reduced distortion.
- 25mm Fabric Dome Tweeter for clear high-frequency reproduction.
- Poly Film Tweeter Crossovers for precise frequency separation.
- Treated Paper Cone for balanced sound.
- Rubber Surround for improved cone excursion and longevity.
- Spider Contoured Tinsel Leads for reliable connection.
5. Setup and Installation
Proper installation is crucial for the performance and longevity of your speakers. If you are unsure about any step, consult a professional installer.
5.1 Woofer Installation
The 6x9 woofers are designed for mounting in standard 6x9 inch openings. Ensure adequate mounting depth and clearance.
- Preparation: Choose a suitable mounting location in your vehicle (e.g., door panels, rear deck) that can accommodate the speaker's dimensions and mounting depth.
- Mounting: Secure the woofer using the provided screws, ensuring a tight fit to prevent vibrations. If using shallow mount frames, install them first.
- Wiring: Connect the woofer's positive (+) and negative (-) terminals to the corresponding output terminals of the crossover network.
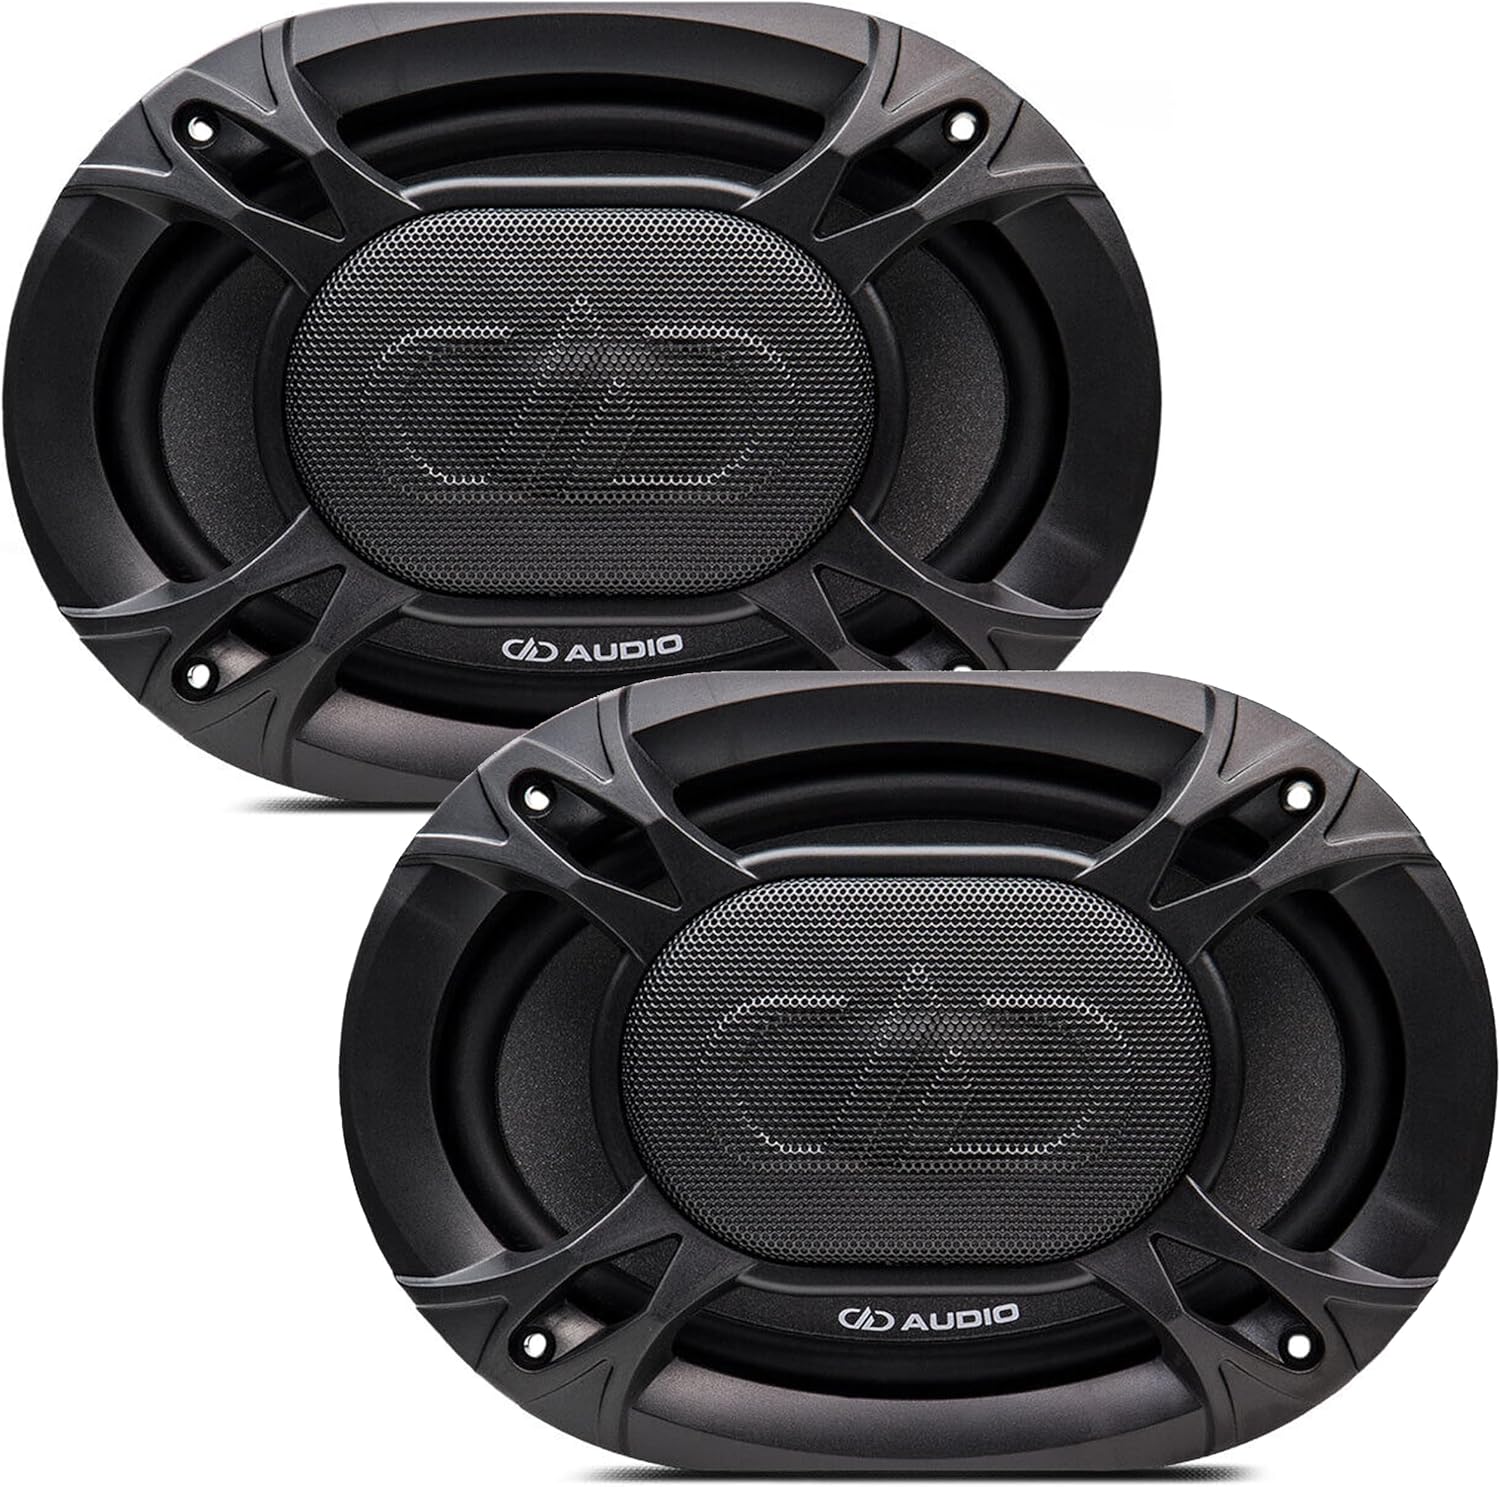
Figure 5.1: Two 6x9 Woofers with Grilles
This image shows a pair of DD Audio 6x9 woofers, each with its protective grille, ready for installation.

Figure 5.2: Single 6x9 Woofer Detail
This image provides a detailed view of a single DD Audio 6x9 woofer, showcasing its cone and surround from the top, and its mounting profile from the side.
5.2 Tweeter Installation
The 25mm fabric dome tweeters offer various mounting options using the included hardware.
- Location: Choose a location that provides optimal sound imaging, typically at ear level or aimed towards the listener. Common locations include A-pillars, dash, or door panels.
- Mounting: Use the appropriate tweeter mounting hardware (e.g., flush mount, surface mount) to secure the tweeter. Ensure a stable and vibration-free installation.
- Wiring: Connect the tweeter's positive (+) and negative (-) terminals to the corresponding tweeter output terminals on the crossover network.

Figure 5.3: Single Tweeter Detail
This image shows a detailed view of a single DD Audio 25mm fabric dome tweeter, highlighting its grille and compact design from both top and side perspectives.

Figure 5.4: Tweeter Rear View
This image displays the rear of two DD Audio tweeters, illustrating their wiring terminals and compact housing, which are important for installation.
5.3 Crossover Network Connection
The in-line crossover networks are essential for directing the correct frequency ranges to the woofers and tweeters.
- Input: Connect the audio signal from your amplifier or head unit to the 'IN' terminals of the crossover network. Ensure correct polarity.
- Woofer Output: Connect the 'WF' or 'WOOFER' terminals of the crossover to the 6x9 woofer.
- Tweeter Output: Connect the 'TW' or 'TWEETER' terminals of the crossover to the 25mm tweeter.
- Placement: Mount the crossover networks in a dry, secure location, away from excessive heat or moisture.

Figure 5.5: Two Crossover Networks
This image shows a pair of DD Audio in-line crossover networks, which are crucial for separating audio frequencies between the woofers and tweeters.

Figure 5.6: Crossover Network Internal View
This image provides a close-up of a DD Audio crossover network, revealing its internal components and the clearly marked input and output terminals for connection.
5.4 General Wiring Diagram (Conceptual)
The general connection flow is as follows:
- Audio Source (Head Unit/Amplifier) Output → Crossover Network Input (IN)
- Crossover Network Woofer Output (WF) → 6x9 Woofer
- Crossover Network Tweeter Output (TW) → 25mm Tweeter
Ensure all connections are secure and observe correct polarity (+ to + and - to -) to avoid phase issues that can negatively impact sound quality.
6. Operating Instructions
Once installed, your DD Audio D-C6x9A speakers are ready for use. Follow these guidelines for optimal performance:
- Initial Power-Up: After installation, turn on your audio system at a low volume level. Gradually increase the volume to ensure all speakers are functioning correctly and without distortion.
- Break-in Period: Allow a break-in period of approximately 10-20 hours of normal listening. This allows the speaker's suspension components to loosen, leading to improved sound quality.
- Volume Control: Avoid driving the speakers into audible distortion. If you hear distortion, reduce the volume immediately to prevent damage.
- Equalization: Adjust your head unit's or amplifier's equalizer settings to fine-tune the sound to your preference. Start with flat settings and make small adjustments.
7. Maintenance
Your DD Audio speakers require minimal maintenance to ensure long-lasting performance:
- Cleaning: Use a soft, dry cloth to wipe down the speaker grilles and surrounds. Avoid using harsh chemicals or abrasive cleaners.
- Inspection: Periodically check speaker connections for tightness and ensure no wires are frayed or exposed.
- Environment: Protect speakers from direct exposure to water, extreme temperatures, and direct sunlight, which can degrade materials over time.
8. Troubleshooting
If you experience issues with your speakers, refer to the following common problems and solutions:
| Problem | Possible Cause | Solution |
|---|---|---|
| No sound from speaker(s) | Loose or incorrect wiring; amplifier off or in protect mode; damaged speaker. | Check all wiring connections and polarity. Verify amplifier is on and not in protect mode. Test speaker with another known good source if possible. |
| Distorted sound | Volume too high; amplifier clipping; incorrect crossover settings; damaged speaker. | Reduce volume. Check amplifier gain settings. Ensure crossover is correctly wired. Inspect speaker for physical damage. |
| Weak or no bass | Incorrect woofer wiring polarity; insufficient power; woofer not sealed properly. | Verify woofer wiring polarity. Ensure amplifier provides adequate power. Check for air leaks around the woofer mounting. |
| No high frequencies (tweeter) | Loose or incorrect tweeter wiring; damaged tweeter; faulty crossover. | Check tweeter wiring and polarity. Inspect tweeter for damage. Verify crossover connections. |
| Intermittent sound | Loose connections; faulty cable. | Inspect all wiring and connections for looseness or corrosion. Replace faulty cables. |
If the problem persists after attempting these solutions, contact DD Audio customer support or a qualified car audio technician.
9. Technical Specifications
Detailed specifications for the DD Audio D-C6x9A Component Speakers:
| Specification | Value |
|---|---|
| Model Name | D-C6x9A |
| Speaker Type | Component |
| Woofer Size | 6x9 Inches |
| Tweeter Size | 25 mm (0.984252 Inches) |
| Watts RMS | 75 Watts |
| Watts Peak | 150 Watts |
| Impedance | 4 Ohm |
| Frequency Response | 40 Hz - 25 kHz |
| dBSPL (Sensitivity) | 90 dB |
| Mounting Diameter (Woofer) | 5 31/32 Inches |
| Mounting Depth (Woofer) | 2 7/16 Inches |
| Magnet Grade | Y35 |
| Voice Coil Material | Kapton Former CCA |
| Cone Material | Treated Paper |
| Surround Material | Rubber |
| Included Components | 2 DD Audio 6x9 component speakers, T2b tweeter, in-line crossovers, shallow mount woofer frames, wide array of tweeter mounting hardware |
| Item Weight | 10 Pounds |
| Connectivity Technology | Auxiliary, RCA, Speaker Wire |
| Mounting Type | Flush Mount |
10. Warranty Information
The DD Audio D-C6x9A Component Speakers come with a limited warranty. For specific details regarding warranty coverage, duration, and claims procedures, please refer to the warranty card included with your product or visit the official DD Audio website. Keep your proof of purchase for warranty validation.
11. Customer Support
For further assistance, technical support, or inquiries regarding your DD Audio D-C6x9A Component Speakers, please contact DD Audio customer service through their official website or the contact information provided on your product packaging. When contacting support, please have your product model number (D-C6x9A) and purchase details ready.