
1. Introduction
This manual provides essential information for the proper installation, operation, and maintenance of your SCREENTRONICS 6.1-inch LCD Touch Screen Replacement. This product is specifically designed for the JVC KW-AVX640 and KWAVX640 2-DIN multimedia CD DVD stereo receivers. It is intended to restore full display clarity and touch responsiveness to units experiencing issues such as cracked glass, unresponsive touch, dim display, dark spots, lines, or a complete loss of image.
2. Safety Information
Please read and understand all safety instructions before attempting installation. Improper installation can lead to damage to the product, the vehicle, or personal injury.
- Always disconnect the vehicle's battery before beginning any electrical work to prevent short circuits and electrical shock.
- Wear appropriate personal protective equipment, such as safety glasses.
- Handle the LCD and touch screen components with care. They are fragile and susceptible to damage from impact or excessive pressure.
- Avoid touching the screen surface directly with bare hands to prevent fingerprints and smudges. Use clean, lint-free gloves if possible.
- If you are unsure about any step of the installation process, consult a qualified professional technician.
3. What's in the Box
Your package should contain the following item:
- 1 x LCD Screen with Touch Screen Assembly
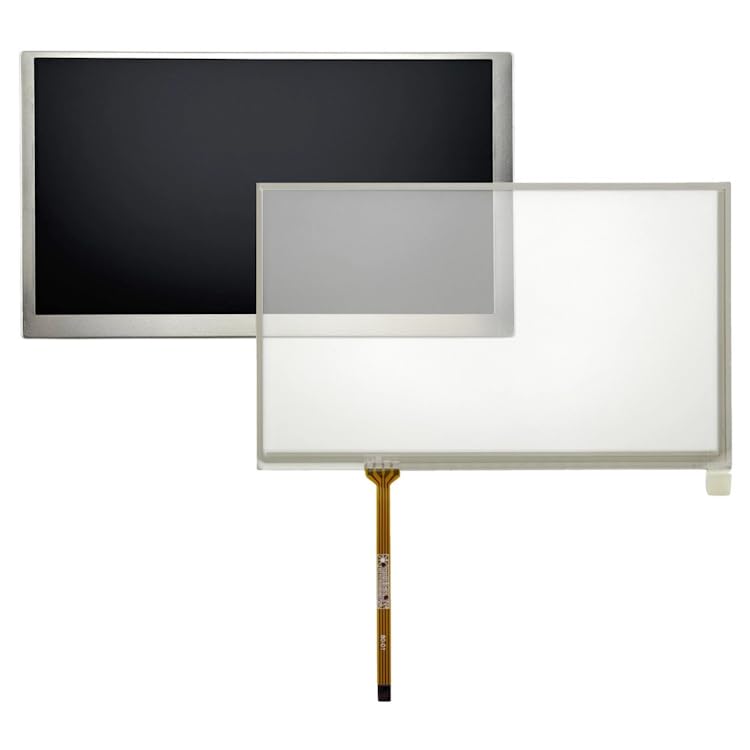
Image 3.1: Complete LCD Screen with Touch Screen Assembly
4. Setup and Installation
This replacement unit is designed for the JVC KW-AVX640 / KWAVX640 multimedia receiver. Installation typically involves disassembling the existing car stereo unit to replace the faulty screen component. Due to the delicate nature of electronic components and the complexity of car stereo disassembly, professional installation is highly recommended.
4.1. Components Overview

Image 4.1.1: LCD Panel Component
This image shows the liquid crystal display panel, responsible for generating the visual output.
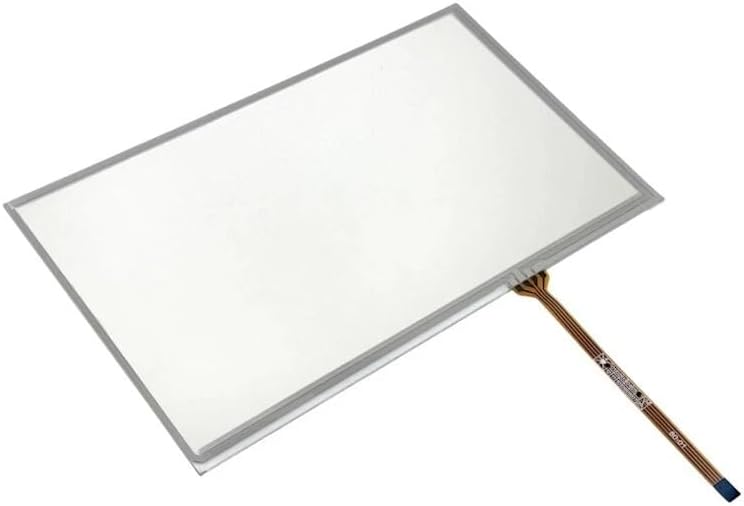
Image 4.1.2: Touch Screen Digitizer Component
This image displays the touch screen digitizer, which registers touch inputs and sends them to the receiver's processor via the attached ribbon cable.
4.2. General Installation Steps (Professional Installation Recommended)
- Preparation: Ensure the vehicle's power is off and the battery is disconnected. Gather necessary tools (e.g., plastic pry tools, screwdrivers).
- Remove Car Stereo: Carefully remove the JVC KW-AVX640 unit from the vehicle's dashboard. Refer to your vehicle's service manual for specific removal instructions.
- Disassemble Stereo Unit: Open the JVC KW-AVX640 casing to access the internal components. Locate the existing LCD and touch screen assembly.
- Disconnect Old Screen: Gently disconnect the ribbon cables and any other connectors attached to the old screen assembly. Be extremely careful not to damage the connectors on the main board.
- Remove Old Screen: Carefully remove the old, damaged screen assembly from its housing.
- Install New Screen: Position the new SCREENTRONICS LCD Touch Screen Replacement into the housing. Ensure it fits securely and correctly.
- Connect New Screen: Reconnect the ribbon cables and other connectors from the new screen assembly to the main board. Ensure all connections are firm and properly seated.
- Test Functionality: Before fully reassembling, temporarily reconnect the car stereo to the vehicle's power (reconnect battery) and test the screen's display and touch functions. Verify that there are no dark spots, lines, or unresponsive areas.
- Reassemble and Reinstall: If the test is successful, carefully reassemble the car stereo unit and reinstall it into the vehicle's dashboard.
5. Operating Instructions
The SCREENTRONICS LCD Touch Screen Replacement restores the original functionality of your JVC KW-AVX640 receiver. Operation of the unit remains consistent with the original manufacturer's design.
- Touch Accuracy: The replacement screen provides smooth and precise touch response for all on-screen controls, allowing you to interact with your car stereo as intended.
- Visual Output: Expect crisp image quality with stable backlight performance, ensuring a bright and clear display.
- For detailed instructions on specific features and functions of your JVC KW-AVX640 multimedia receiver, please refer to the original JVC owner's manual.
6. Maintenance
Proper care will extend the life and maintain the performance of your new screen.
- Cleaning: To clean the screen, gently wipe it with a soft, lint-free cloth. For stubborn smudges, slightly dampen the cloth with water or a screen-specific cleaning solution.
- Avoid Chemicals: Do not use harsh chemicals, abrasive cleaners, or solvents (e.g., alcohol, ammonia-based cleaners) as they can damage the screen surface.
- Protection: Avoid placing heavy objects on the screen or applying excessive pressure, which can cause cracks or internal damage.
7. Troubleshooting
If you encounter issues after installation, consider the following troubleshooting steps:
| Problem | Possible Cause | Solution |
|---|---|---|
| No display / Dim display / Dark spots / Lines | Loose or improperly connected ribbon cable; Damaged LCD panel; Power issue with the stereo unit. | Check all ribbon cable connections to ensure they are securely seated. Disconnect and reconnect the vehicle's battery to reset the unit. If the problem persists, professional inspection may be required. |
| Unresponsive touch / Ghost touches | Loose or improperly connected touch screen digitizer cable; Damaged touch screen digitizer; Software glitch in the stereo unit. | Verify the touch screen digitizer's ribbon cable connection. Restart the car stereo unit. Ensure the screen surface is clean and free of debris. |
| Flickering display | Loose connection; Faulty backlight; Power fluctuation. | Check all connections. Ensure stable power supply to the car stereo. If flickering continues, the LCD panel or its backlight driver may be faulty. |
If these steps do not resolve the issue, it is recommended to seek assistance from a qualified car audio technician.
8. Specifications
| Feature | Detail |
|---|---|
| Product Type | LCD Screen with Touch Screen Replacement |
| Compatibility | JVC KW-AVX640 / KWAVX640 Multimedia Receiver |
| Screen Size | 6.1 inches |
| Control Method | Touch |
| Audio Output Mode | Stereo (function of the receiver, not the screen) |
| Brand | SCREENTRONICS |
| UPC | 685674929378 |
9. Support
Your satisfaction is important to us. If you have any questions, concerns, or require assistance with your SCREENTRONICS LCD Touch Screen Replacement, please do not hesitate to contact us. We are committed to providing quality products and support.
Please refer to your purchase documentation or the retailer's website for specific contact information.