ASONPAO O3T-BX O3T-A
User Manual for ASONPAO O3T-BX/O3T-A Garage Door Opener Remote
Model: O3T-BX/O3T-A
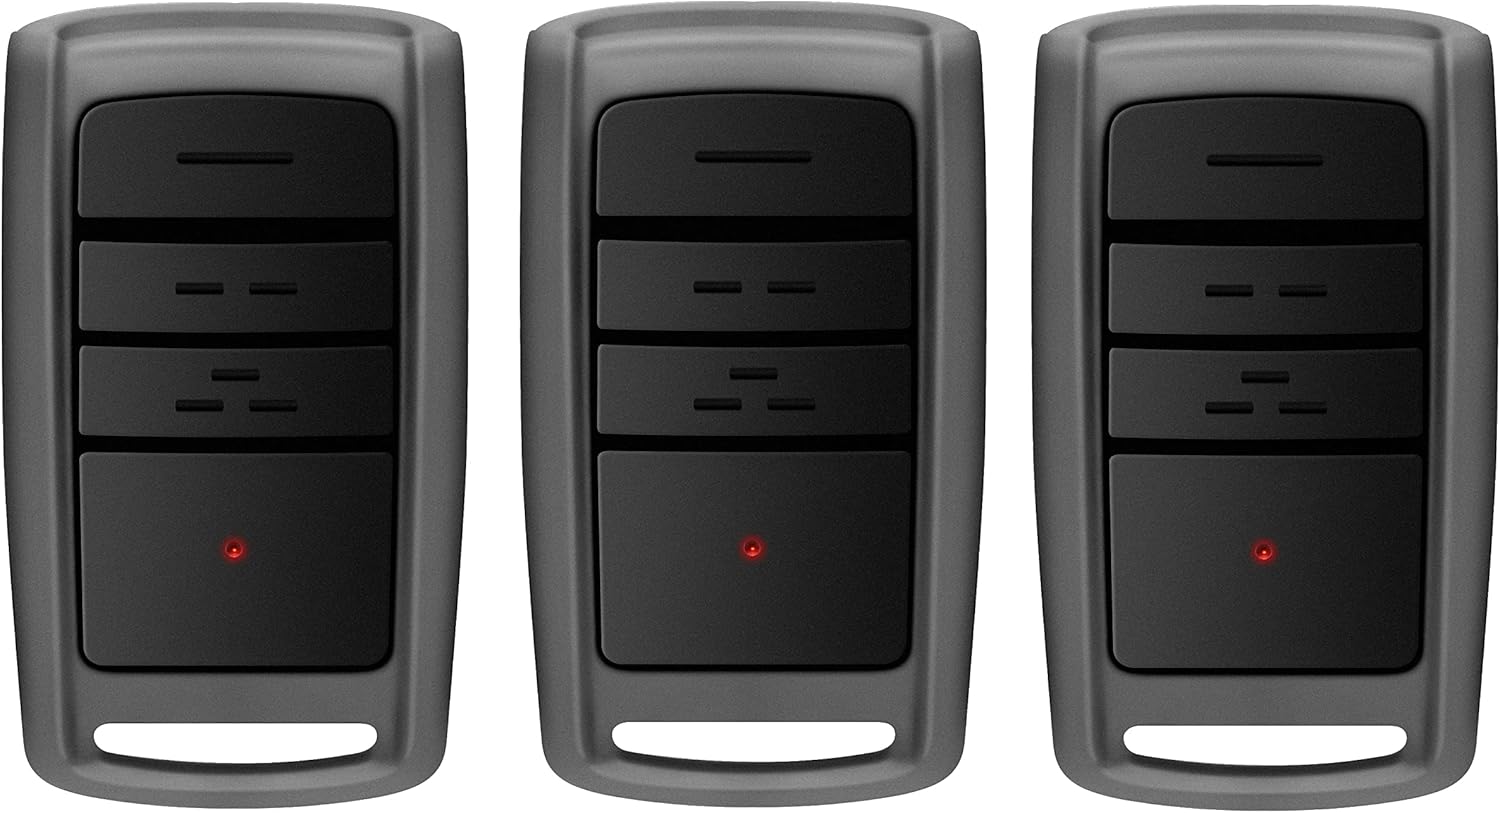
Image: A set of three ASONPAO O3T-BX/O3T-A garage door opener remotes.
Introduction
This manual provides comprehensive instructions for the setup, operation, maintenance, and troubleshooting of your ASONPAO O3T-BX/O3T-A Garage Door Opener Remote. Please read this manual carefully before use to ensure proper functionality and safety.
Compatibility
The ASONPAO O3T-BX/O3T-A remote is compatible with 1997 to Present Overhead Door Legacy Python Garage Door Openers. It is designed as a replacement for various models including O3T-A, O3T-BX, O1T-BX, O1T-A, ACSR10, 37219R, GITR-3, OCDTR-3, OCDT-1, OCDT-2, OCDT-3, GITR-3, GIT-1, GIT-2, GIT-3, G3T-BX, G3T-R, G3T-A, G1T-BX, G1T-A.
Important Note: This remote is NOT compatible with garage door openers that use DIP switches.

Image: Compatibility chart illustrating compatible remote models from 1997 to present, and explicitly showing that remotes with DIP switches are not supported.
Setup and Programming
Battery Installation
Your remote comes with a pre-installed 3V CR2032 Lithium battery. If replacement is needed, ensure correct polarity.

Image: Internal view of the remote control, highlighting the 240MAH Lithium battery and the durable ABS alloy casing.
Programming Instructions
Follow these steps to program your ASONPAO remote to your garage door opener. It is recommended to perform these steps within approximately 30 seconds once programming mode is initiated.
- Putting Opener into Programming Mode (New Openers):
- Press and hold the program button on your garage door opener until the round LED turns blue, then release.
- The round LED will go out and the long LED will begin flashing purple.
- Proceed to step 2.
- Putting Opener into Programming Mode (Genie® Openers and External Receivers Manufactured between 1995 to 2011):
- Press and Release the Learn Code button once. The red LED will begin to flash.
- Proceed to step 2.
- Programming a Remote to Your Opener:
- Slowly press and release the remote button of your choice two times. The opener LEDs will flash and go off, indicating you have successfully programmed your remote.
- Press and release the same button a third time and the door will open or close. If the LEDs do not go OFF, press the remote button several more times to achieve confirmation.

Image: Step-by-step visual guide for programming the remote control with different types of garage door openers.
Operation
Once programmed, your ASONPAO remote is ready for use. Simply press the programmed button to open or close your garage door.
- Control Range: The remote offers an extended control range of up to 164 feet (50 meters), allowing convenient operation from a distance.
- Security: Equipped with advanced Rolling Code Technology, the remote provides enhanced security, changing the code each time it's used to prevent unauthorized access.
- Portability: The compact design allows for easy attachment to your car's sun visor using the included clip, or it can be carried conveniently in a pocket.

Image: Demonstration of the remote's 164-foot operating range, showing a user opening a garage door from inside a car.

Image: Examples of how the remote can be easily carried, either clipped to a car's sun visor or stored in a pocket.
Maintenance
Battery Replacement
The remote is equipped with a 240MAH Lithium battery designed for extended life. When the remote's range decreases significantly or the LED indicator fails to light up, it may be time to replace the battery. Use a CR2032 battery for replacement, ensuring correct polarity during installation.
Care and Storage
- Keep the remote dry and away from extreme temperatures.
- Avoid dropping the remote or subjecting it to strong impacts, as it features a robust ABS alloy case for durability.
- Clean the remote with a soft, dry cloth. Do not use harsh chemicals or abrasive cleaners.
Troubleshooting
| Problem | Possible Cause | Solution |
|---|---|---|
| Remote not working after programming. | Incorrect programming steps, remote not compatible, or battery low. | Review programming instructions carefully. Ensure your opener is compatible (not DIP switch). Replace battery if needed. Try reprogramming. |
| Reduced operating range. | Low battery, interference, or obstruction. | Replace battery. Ensure clear line of sight to the opener. Check for sources of radio interference. |
| Garage door opens/closes unexpectedly. | Interference or remote button accidentally pressed. | Ensure remote is stored securely. Check for other devices causing interference. Consider erasing all remotes and reprogramming. |
| Lost or stolen remote. | Security concern. | To erase all remotes from your opener: For New Openers, press and hold the Learn Code button until the LED stops blinking. For Genie® Openers and External Receivers Manufactured between 1995 to 2011, press and hold the Dot (+) Down (-) buttons on the control head until the both LEDs flash blue and go off. This will erase all previously programmed remotes. Then, reprogram your existing remotes. |
Product Specifications
| Model: | O3T-BX/O3T-A |
| Working Range: | 164 Feet (approx. 50 meters) |
| Working Voltage: | DC3V |
| Frequency: | 315/390MHZ (Auto-Seek Intellicode) |
| Channel: | 3 |
| Battery Model: | 3V CR2032 (included) |
| Shell Material: | ABS Alloy |
| Product Dimensions: | 2.55 x 1.37 x 0.59 inches (approx. 6.2 x 3.9 x 0.7 inches) |
| Product Weight: | 0.066 LBS (approx. 3.52 ounces) |
| Color: | Gray |
| Code Type: | Intellicode/Codedodger (Rolling Code Technology) |

Image: Detailed product specifications including model, dimensions, and other technical parameters.
Warranty and Support
ASONPAO provides a 3-year warranty for this product, ensuring quality and reliability. We are committed to your satisfaction and offer continuous technical support.
- Technical Support: Enjoy 24-hour, 7-day technical support through Amazon.
- Warranty Claims: For any queries or warranty claims, please contact us through our store homepage "Ask a question" or via support email. We aim to respond within 24 hours.
- FCC Certification: The product is FCC certified, ensuring compliance with regulatory standards.

Image: Visual representation of ASONPAO's customer support, highlighting 24/7 technical assistance, 3-year warranty, and FCC certification.
Ask a question about this manual
Ask about setup, troubleshooting, compatibility, parts, safety, or missing instructions. Manuals+ will review the question and use this page’s manual context to help answer it.