1. Introduction
This manual provides detailed instructions for the setup, operation, maintenance, and troubleshooting of your KODAK 11.6-inch WiFi Digital Picture Frame. Please read this manual thoroughly before using the product to ensure proper function and longevity.
The KODAK RWF-116 is designed to display your cherished photos and videos with its 11.6-inch 1920x1080 IPS FHD touchscreen. Featuring 32GB of internal storage and WiFi connectivity, it allows for easy sharing of media from anywhere using the dedicated KODAK app for iOS and Android devices.
2. What's in the Box
Upon opening the package, verify that all the following items are included:
- KODAK 11.6-inch WiFi Digital Picture Frame (Model RWF-116)
- Power Adapter
- USB Cable
- Stand/Bracket
- User Manual

Figure 2.1: Included items in the KODAK RWF-116 package.
3. Product Overview
3.1. Front View

Figure 3.1: Front view of the digital picture frame and app interface.
The front of the frame features an 11.6-inch IPS FHD touchscreen display, offering a clear and vibrant viewing experience for your photos and videos. The touch interface allows for intuitive navigation and control.
3.2. Rear View and Ports

Figure 3.2: Rear view with port and button labels.
- Volume Buttons (V+/V-): Adjust the audio output level.
- Power Button: Press to turn the device on/off or put it into standby mode.
- SD Card Slot: Insert an SD card for additional storage or media import.
- USB Port: Connect a USB drive for media import or export.
- Mini USB Port: Connect to a computer for file transfer.
- DC-IN: Power input port for the included adapter.
- Bracket Holes: For attaching the included stand or mounting accessories.
- Speakers: Integrated speakers for audio playback.
4. Setup
4.1. Initial Power-On and Basic Settings
- Connect Power: Plug the power adapter into the DC-IN port on the back of the frame and then into a wall outlet. The frame will automatically power on.
- Attach Stand: Secure the included stand to the bracket holes on the back of the frame for stable placement.
- Select Language: On the touchscreen, select your preferred language.
- Set Time Zone: Choose your local time zone.
- Connect to WiFi:
- Select your WiFi network from the list.
- Enter your WiFi password using the on-screen keyboard.
- Confirm the connection. A "Connection Succeeded" message will appear.
- System Update: If prompted, allow the frame to perform any available system updates. This ensures optimal performance and access to the latest features.
Video 4.1: A demonstration of the initial setup process, including power connection, language selection, time zone setting, and WiFi connection. This video also shows the physical ports on the back of the frame.
4.2. KODAK App Installation and Pairing
The KODAK app allows you to easily send photos and videos to your frame from your smartphone.
- Download the App: Search for "KODAK" in the Apple App Store (for iOS devices) or Google Play Store (for Android devices) and install the official KODAK app.
- Create an Account: Open the app and follow the on-screen instructions to create a new user account or log in if you already have one.
- Pair with Frame:
- On your KODAK Digital Picture Frame, navigate to the "Settings" menu.
- Locate the option to "Add Device" or "Pair with App". This will display a QR code and a unique device ID.
- In the KODAK app on your smartphone, select the option to "Scan QR Code" or "Enter Device ID".
- Scan the QR code displayed on your frame or manually enter the device ID.
- Once paired, your frame will be listed in the app, ready to receive media.

Figure 4.2: Wireless sharing via the KODAK app.
5. Operating Instructions
5.1. Uploading Photos and Videos
There are multiple ways to upload media to your KODAK Digital Picture Frame:
- Via KODAK App:
- Open the KODAK app on your paired smartphone.
- Select the photos or videos (up to 15 seconds in length) you wish to upload.
- Tap "Send" or "Upload". The media will be transferred to your frame via WiFi.
- Via SD Card:
- Insert an SD card containing your media into the SD card slot on the frame.
- Navigate to the "Album" or "Files" section on the frame's touchscreen.
- Select the media you wish to import to the frame's internal storage.
- Via USB Drive:
- Connect a USB drive containing your media to the USB port on the frame.
- Navigate to the "Album" or "Files" section on the frame's touchscreen.
- Select the media you wish to import to the frame's internal storage.

Figure 5.1: The frame offers 32GB of internal storage for approximately 80,000 photos.
5.2. Navigating the Interface
The frame features a user-friendly touchscreen interface. Tap icons to access different functions:
- Photo: View your uploaded photos in a slideshow.
- Video: Play uploaded video clips.
- Music: Play background music during slideshows.
- Calendar: Display the current date and time.
- Weather: View local weather forecasts (requires internet connection).
- Settings: Adjust various frame settings (WiFi, display, time, etc.).
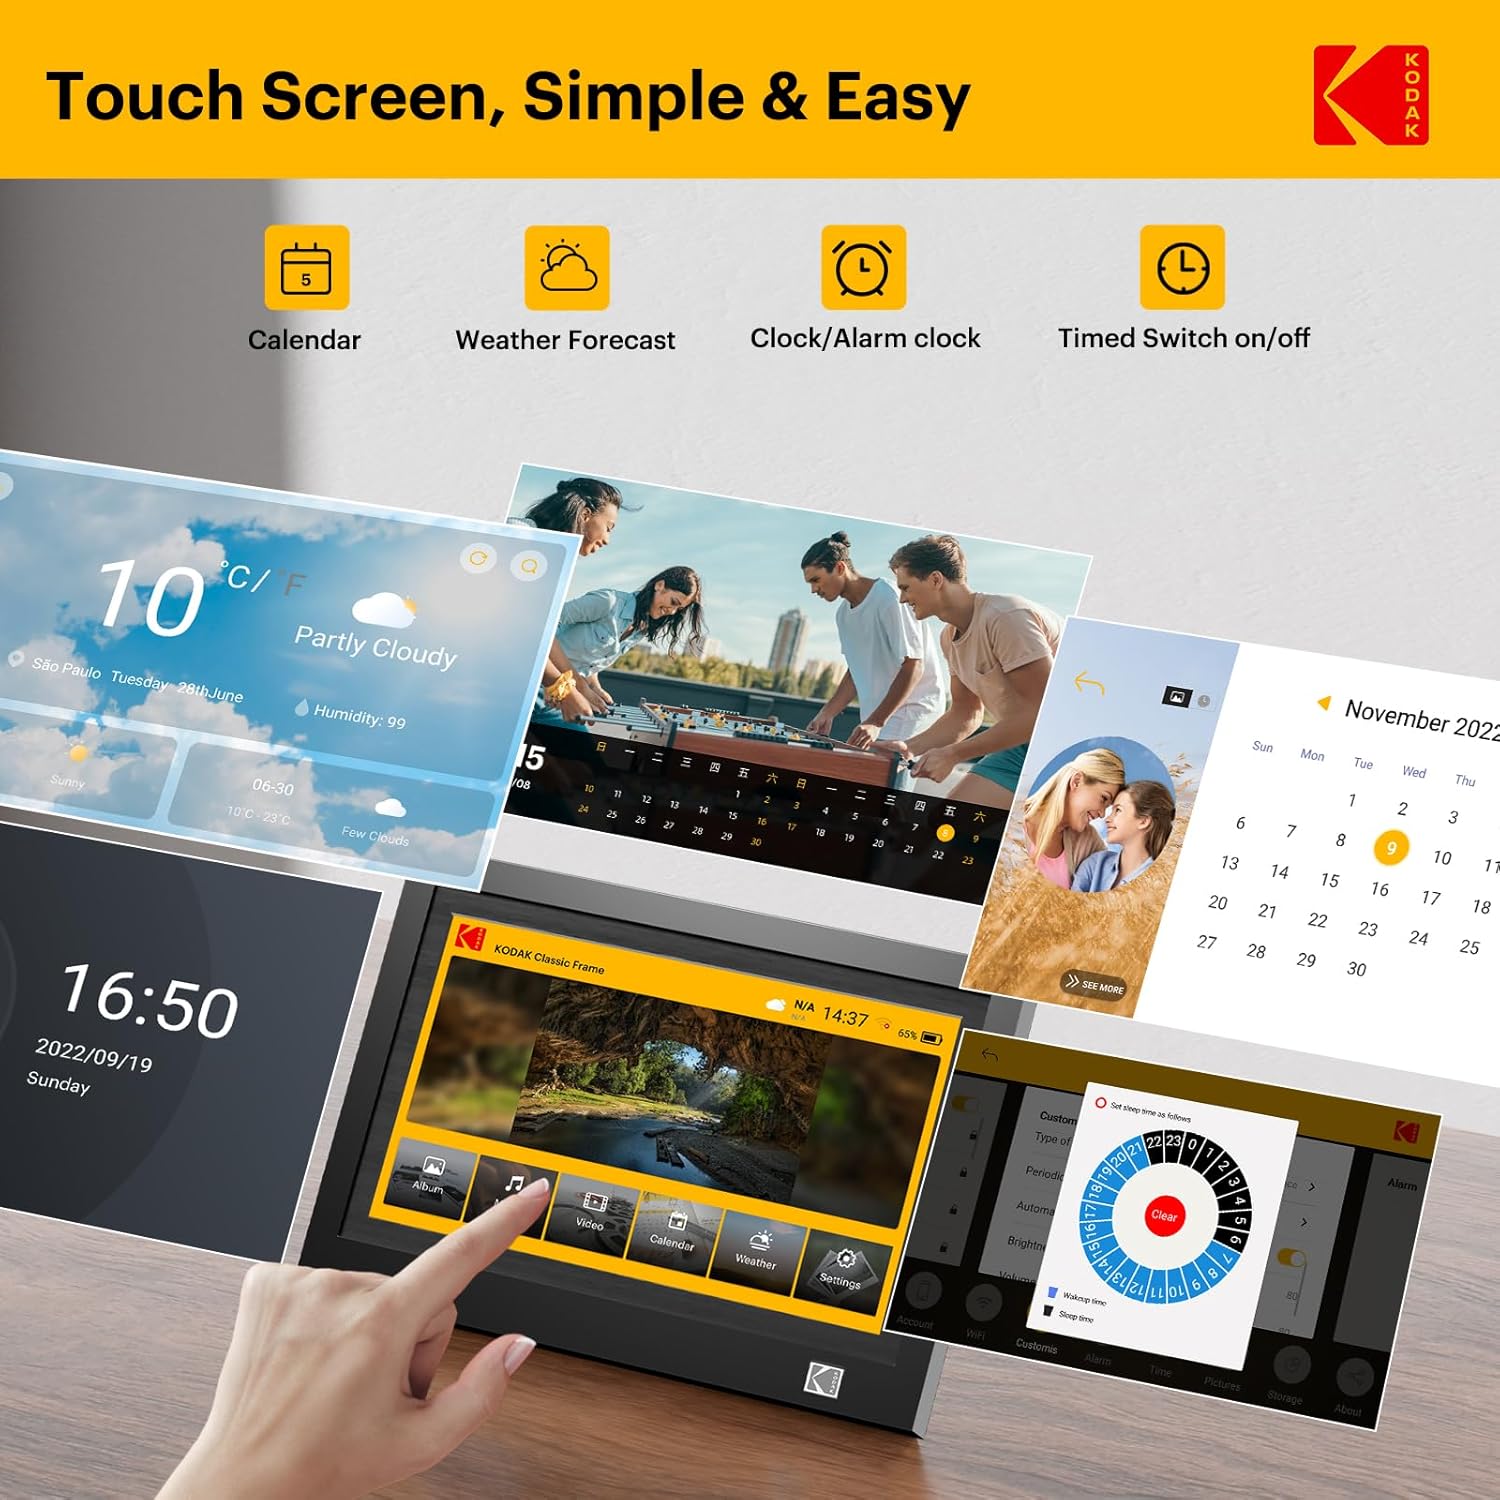
Figure 5.2: Touchscreen interface with various functions.
5.3. Key Features
- Auto-Rotation: The frame automatically adjusts the display orientation (portrait or landscape) based on its physical position.
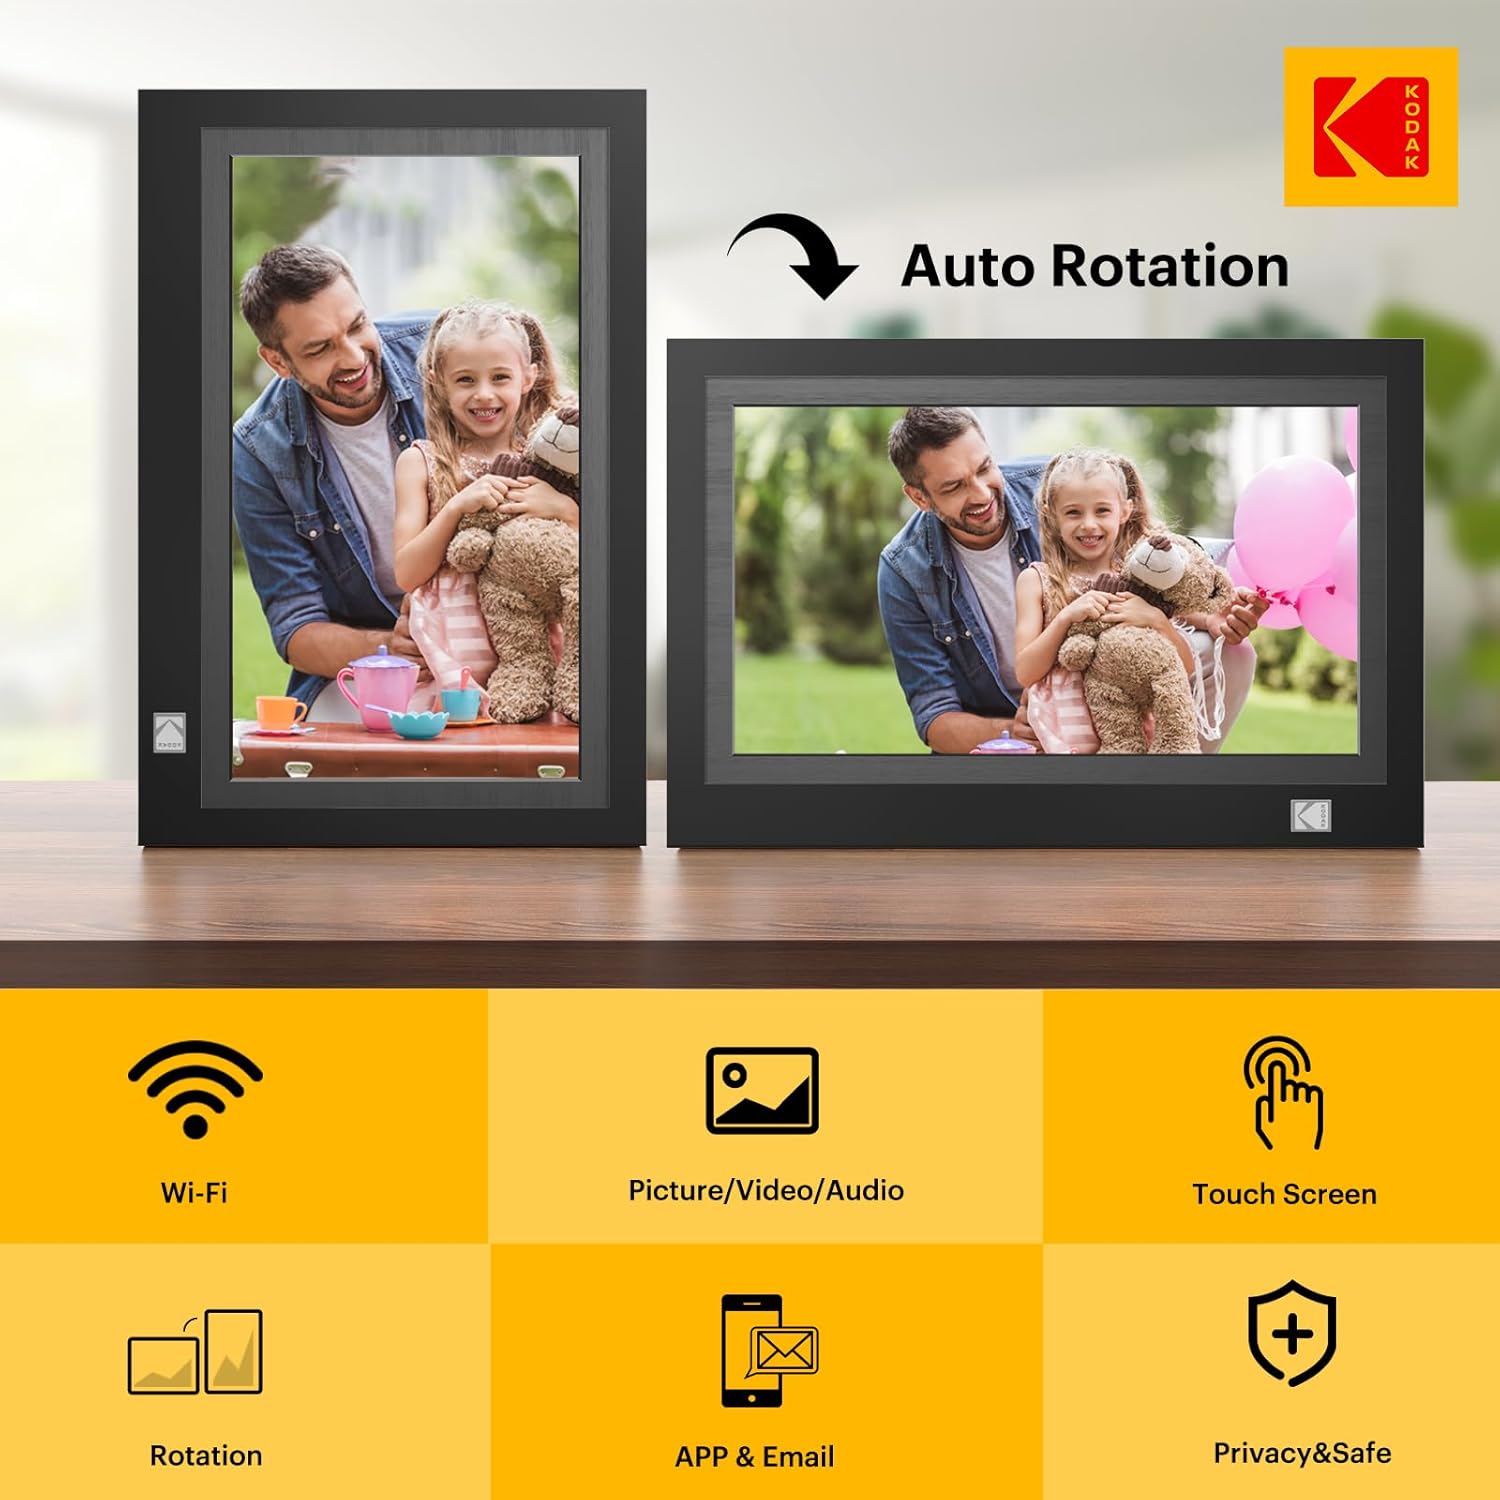
Figure 5.3: Auto-rotation feature.
- Media Compatibility: Supports various image, video, and audio formats.
- Photo: JPEG, JPG, PNG, BMP
- Video: MP4, AVI, MOV, MPG, 3GP, WMV, MKV (Max. 15 seconds for app uploads)
- Audio: MP3, WMA, OGG, WAV, AAC

Figure 5.4: Supported media formats.
- Adjustable Brightness: Customize screen brightness for optimal viewing in different lighting conditions.
- Slideshow Effects: Choose from various transition effects for your photo slideshows.
- Timed On/Off: Schedule the frame to turn on and off automatically.
6. Maintenance
- Cleaning the Screen: Use a soft, lint-free cloth to gently wipe the touchscreen. For stubborn smudges, slightly dampen the cloth with water or a screen-safe cleaner. Avoid harsh chemicals.
- General Cleaning: Wipe the frame's exterior with a dry, soft cloth. Do not use abrasive cleaners.
- Software Updates: Regularly check for and install software updates to ensure the frame operates with the latest features and security enhancements.
- Data Backup: Periodically back up important photos and videos from the frame to an external storage device (SD card or USB drive) to prevent data loss.
7. Troubleshooting
| Problem | Possible Cause | Solution |
|---|---|---|
| Frame does not power on. | Power adapter not connected or faulty. | Ensure the power adapter is securely plugged into the frame and a working power outlet. Try a different outlet. |
| Cannot connect to WiFi. | Incorrect password, weak signal, or network issue. | Verify the WiFi password. Move the frame closer to the router. Restart your router and the frame. |
| Photos/Videos not appearing. | Incorrect file format, corrupted files, or not properly imported. | Check supported file formats (JPEG, MP4, etc.). Ensure files are not corrupted. Re-import media from the app, SD card, or USB drive. |
| Touchscreen unresponsive. | Temporary software glitch. | Restart the frame by holding down the power button. If the issue persists, perform a factory reset (refer to settings menu). |
8. Specifications
- Model: RWF-116
- Screen Size: 11.6 Inches
- Resolution: 1920 x 1080 pixels (FHD)
- Display Type: IPS Touchscreen
- Internal Storage: 32GB (approx. 80,000 photos at 600KB/pc)
- Connectivity: WiFi (2.4GHz)
- Compatible Devices: Android, iOS (via KODAK app)
- Supported External Storage: SD Card, USB Drive
- Product Dimensions: 12.32 x 8.31 x 0.99 inches
- Item Weight: 3.12 pounds
- Manufacturer: Maxtalent Manufacturer for KODAK

Figure 8.1: Key display specifications.
9. Warranty and Support
For warranty information and customer support, please refer to the official KODAK website or contact the seller directly. Professional customer service is available to assist with any product-related inquiries.
Seller: NUOWEI STORE
For additional assistance, please visit the KODAK Store on Amazon.


