Introduction
Thank you for choosing the Mebus Digital Alarm Clock, Model 25739. This device features an extra-large display for optimal readability, an integrated thermometer for indoor temperature, an alarm with snooze function, and a unique backlight activation via acoustic signals. This manual provides detailed instructions for setup, operation, maintenance, and troubleshooting to ensure you get the most out of your alarm clock.
Safety Information
- Keep the device away from water and moisture.
- Avoid exposing the device to extreme temperatures, direct sunlight, or strong vibrations.
- Do not attempt to disassemble or repair the device yourself. Refer all servicing to qualified personnel.
- Dispose of used batteries responsibly according to local regulations.
- Keep batteries out of reach of children.
Package Contents
- Mebus Digital Alarm Clock (Model 25739)
- Instruction Manual
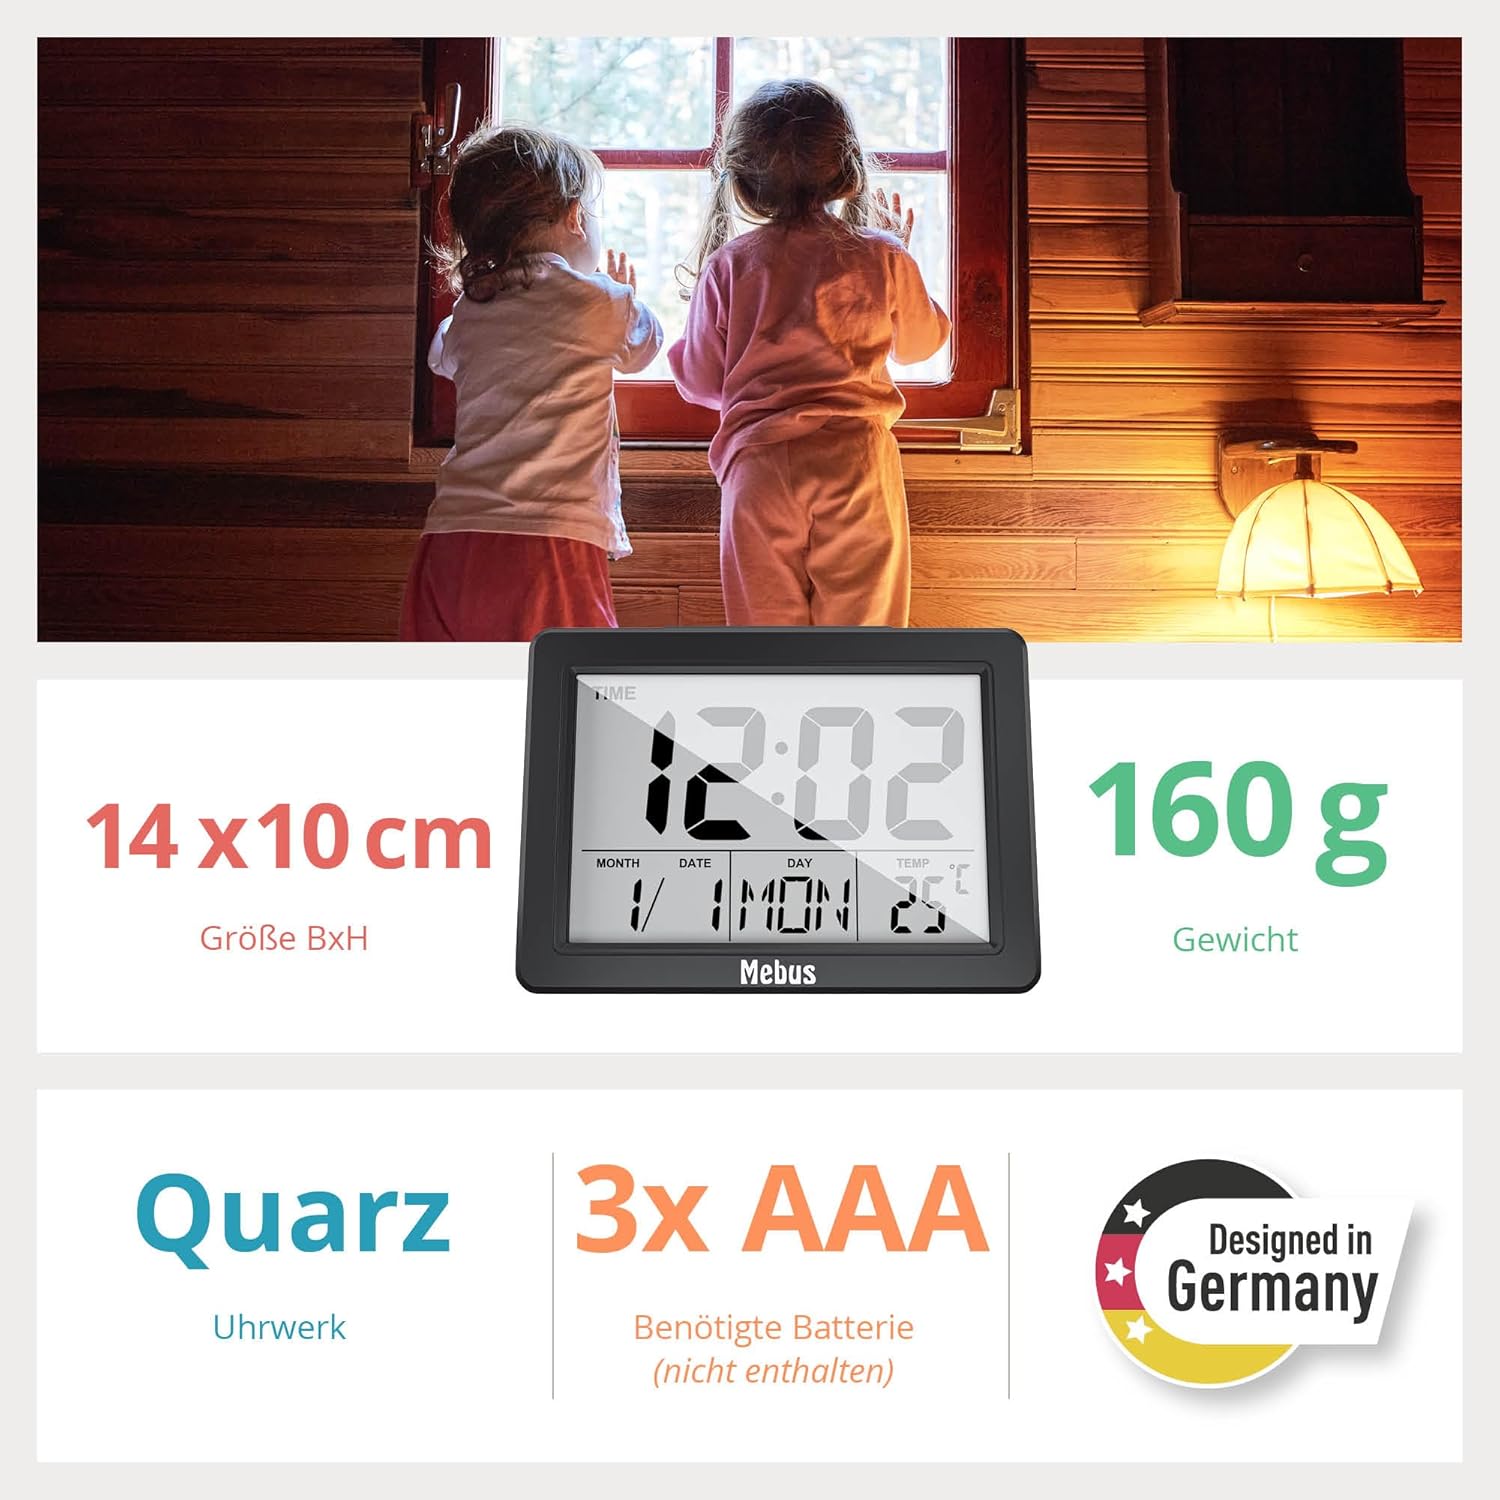
Note: 3x AAA batteries are required and are not included in the package.
Product Overview
The Mebus Digital Alarm Clock features a clear, large display and intuitive controls. Familiarize yourself with the main components:
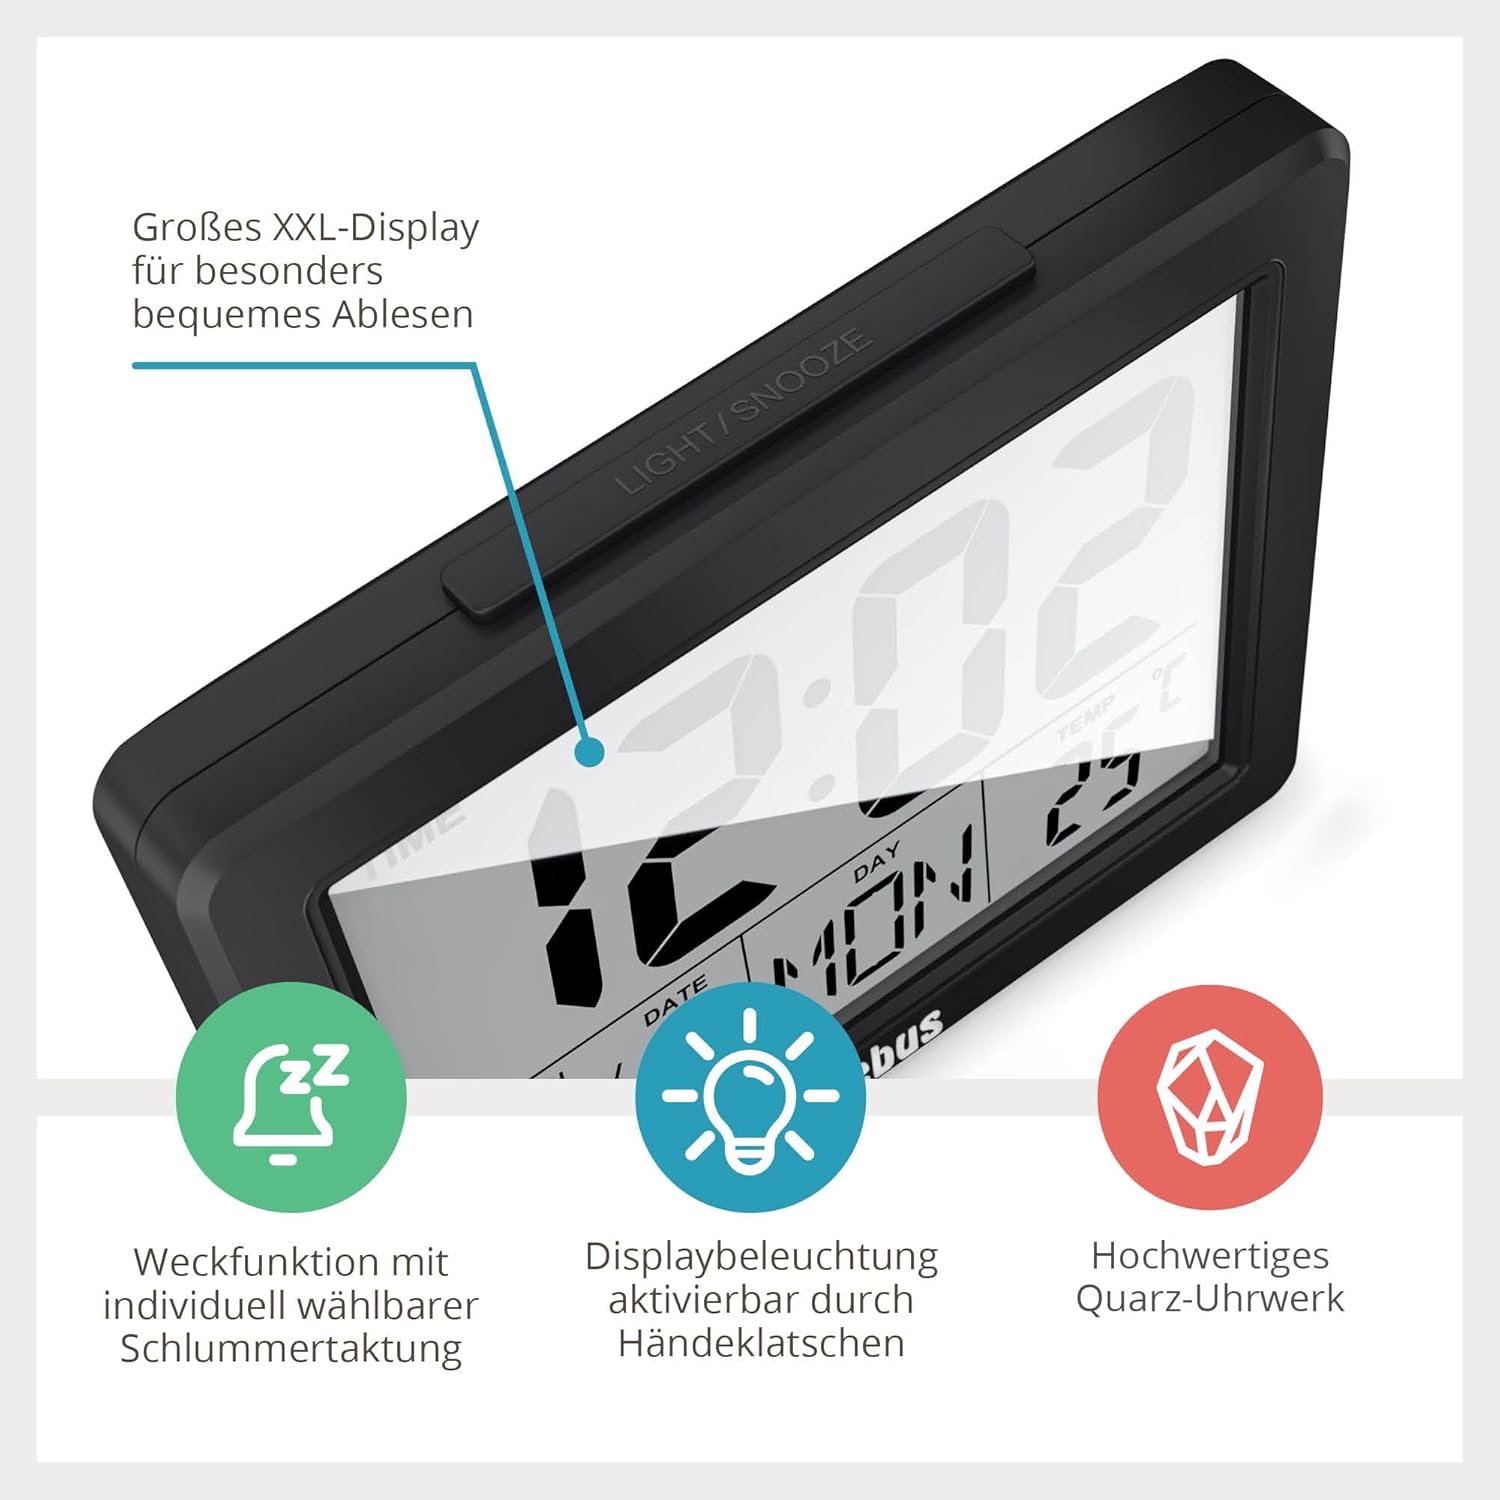
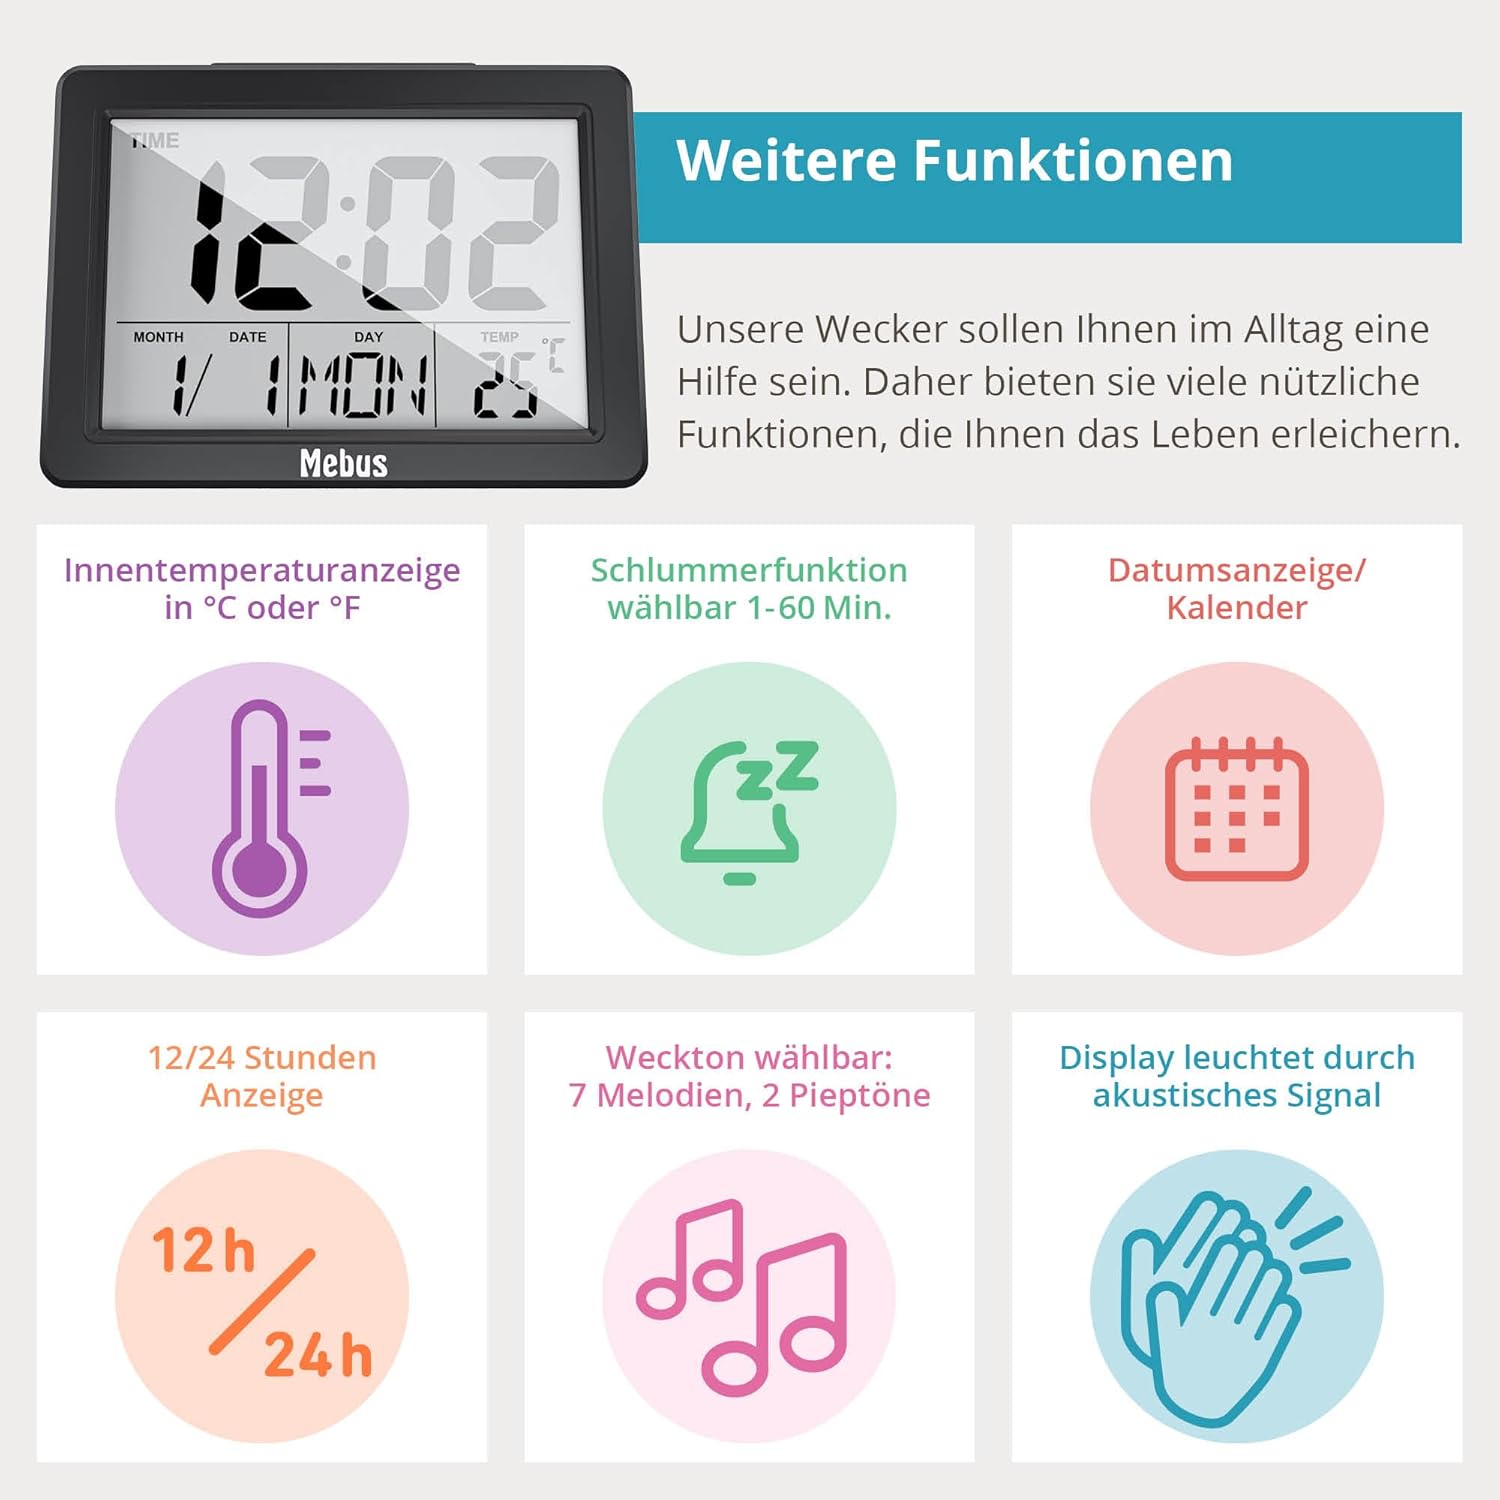
- XXL Display: Shows time, date, day of the week, and indoor temperature.
- LIGHT/SNOOZE Button: Located on top, activates backlight and snooze function.
- Control Buttons (Rear/Side): Typically include MODE, SET, UP (or +), DOWN (or -) for adjustments.

Setup
1. Battery Installation
- Open the battery compartment cover on the back of the alarm clock.
- Insert 3x AAA batteries, ensuring correct polarity (+ and -).
- Close the battery compartment cover securely.
2. Initial Time and Date Setting
Upon first power-on or after battery replacement, the display may show default values or be blank. You will need to set the current time and date.
- Press and hold the MODE button (or a dedicated SET button) for a few seconds until the time display starts flashing.
- Use the UP (+) or DOWN (-) buttons to adjust the hour. Press MODE (or SET) to confirm and move to the next setting.
- Adjust the minutes, then confirm.
- Continue to set the year, month, and day in the same manner.
- You may also be prompted to select 12-hour or 24-hour format and the temperature unit (°C or °F). Use UP/DOWN to select and MODE/SET to confirm.
- Once all settings are confirmed, the display will stop flashing and show the current time and date.
Operating Instructions
1. Setting the Alarm
- Press the MODE button repeatedly until the alarm time is displayed (often indicated by an alarm icon).
- Press and hold the MODE button (or a dedicated ALARM SET button) until the alarm hour starts flashing.
- Use the UP (+) or DOWN (-) buttons to adjust the alarm hour, then press MODE (or ALARM SET) to confirm.
- Adjust the alarm minutes and confirm.
- Some models allow selection of alarm melodies or tones. Use UP/DOWN to cycle through options and confirm.
2. Activating/Deactivating the Alarm
While in normal time display mode, press the UP (+) or DOWN (-) button (or a dedicated ALARM ON/OFF button) to toggle the alarm on or off. An alarm icon on the display indicates that the alarm is active.
3. Snooze Function
When the alarm sounds, press the large LIGHT/SNOOZE button on top of the clock. The alarm will temporarily stop and sound again after a few minutes (typically 5-10 minutes). You can repeat this process.
4. Display Backlight
- Manual Activation: Press the LIGHT/SNOOZE button on top. The display will illuminate for approximately 5 seconds.
- Acoustic Activation: The backlight can also be activated by an acoustic signal, such as clapping your hands, snapping your fingers, or whistling. This allows for hands-free illumination in the dark.

5. Viewing Date and Day of Week
The current date and abbreviated day of the week are continuously displayed on the screen below the time.
6. Viewing Indoor Temperature
The current indoor temperature is continuously displayed on the screen, typically in the upper right corner. You can switch between Celsius (°C) and Fahrenheit (°F) during the initial setup or by pressing a dedicated button (refer to specific model instructions if available).
Maintenance
1. Cleaning
Wipe the device with a soft, dry cloth. Do not use abrasive cleaners or solvents, as these can damage the casing and display.
2. Battery Replacement
When the display dims or functions become erratic, it is time to replace the batteries. Follow the battery installation steps in the Setup section. Remember that you may need to reset the time and date after replacing batteries.
Troubleshooting
| Problem | Possible Cause | Solution |
|---|---|---|
| Display is blank or dim. | Batteries are low or incorrectly inserted. | Replace batteries with new 3x AAA batteries, ensuring correct polarity. |
| Alarm does not sound. | Alarm is not activated or set incorrectly. | Ensure the alarm is turned ON (alarm icon visible) and the alarm time is set correctly. |
| Backlight does not activate. | Batteries are low; acoustic signal not strong enough. | Replace batteries. Ensure acoustic signal (clapping, snapping) is clear and close enough to the device. |
| Incorrect time or date. | Time/date was not set correctly or reset after battery change. | Follow the 'Initial Time and Date Setting' instructions to reset. |
Specifications
- Model: 25739
- Dimensions: 13.8 cm (Width) x 10.2 cm (Height) x 3.81 cm (Depth)
- Weight: 170 g
- Power Source: 3x AAA Batteries (not included)
- Display Type: Digital LCD, XXL size
- Special Functions: Alarm, Snooze, Illuminated Display (button/acoustic activation), Temperature Indicator (°C/°F), Large Display, Calendar Display (Date, Day of Week), 12/24 Hour Format.
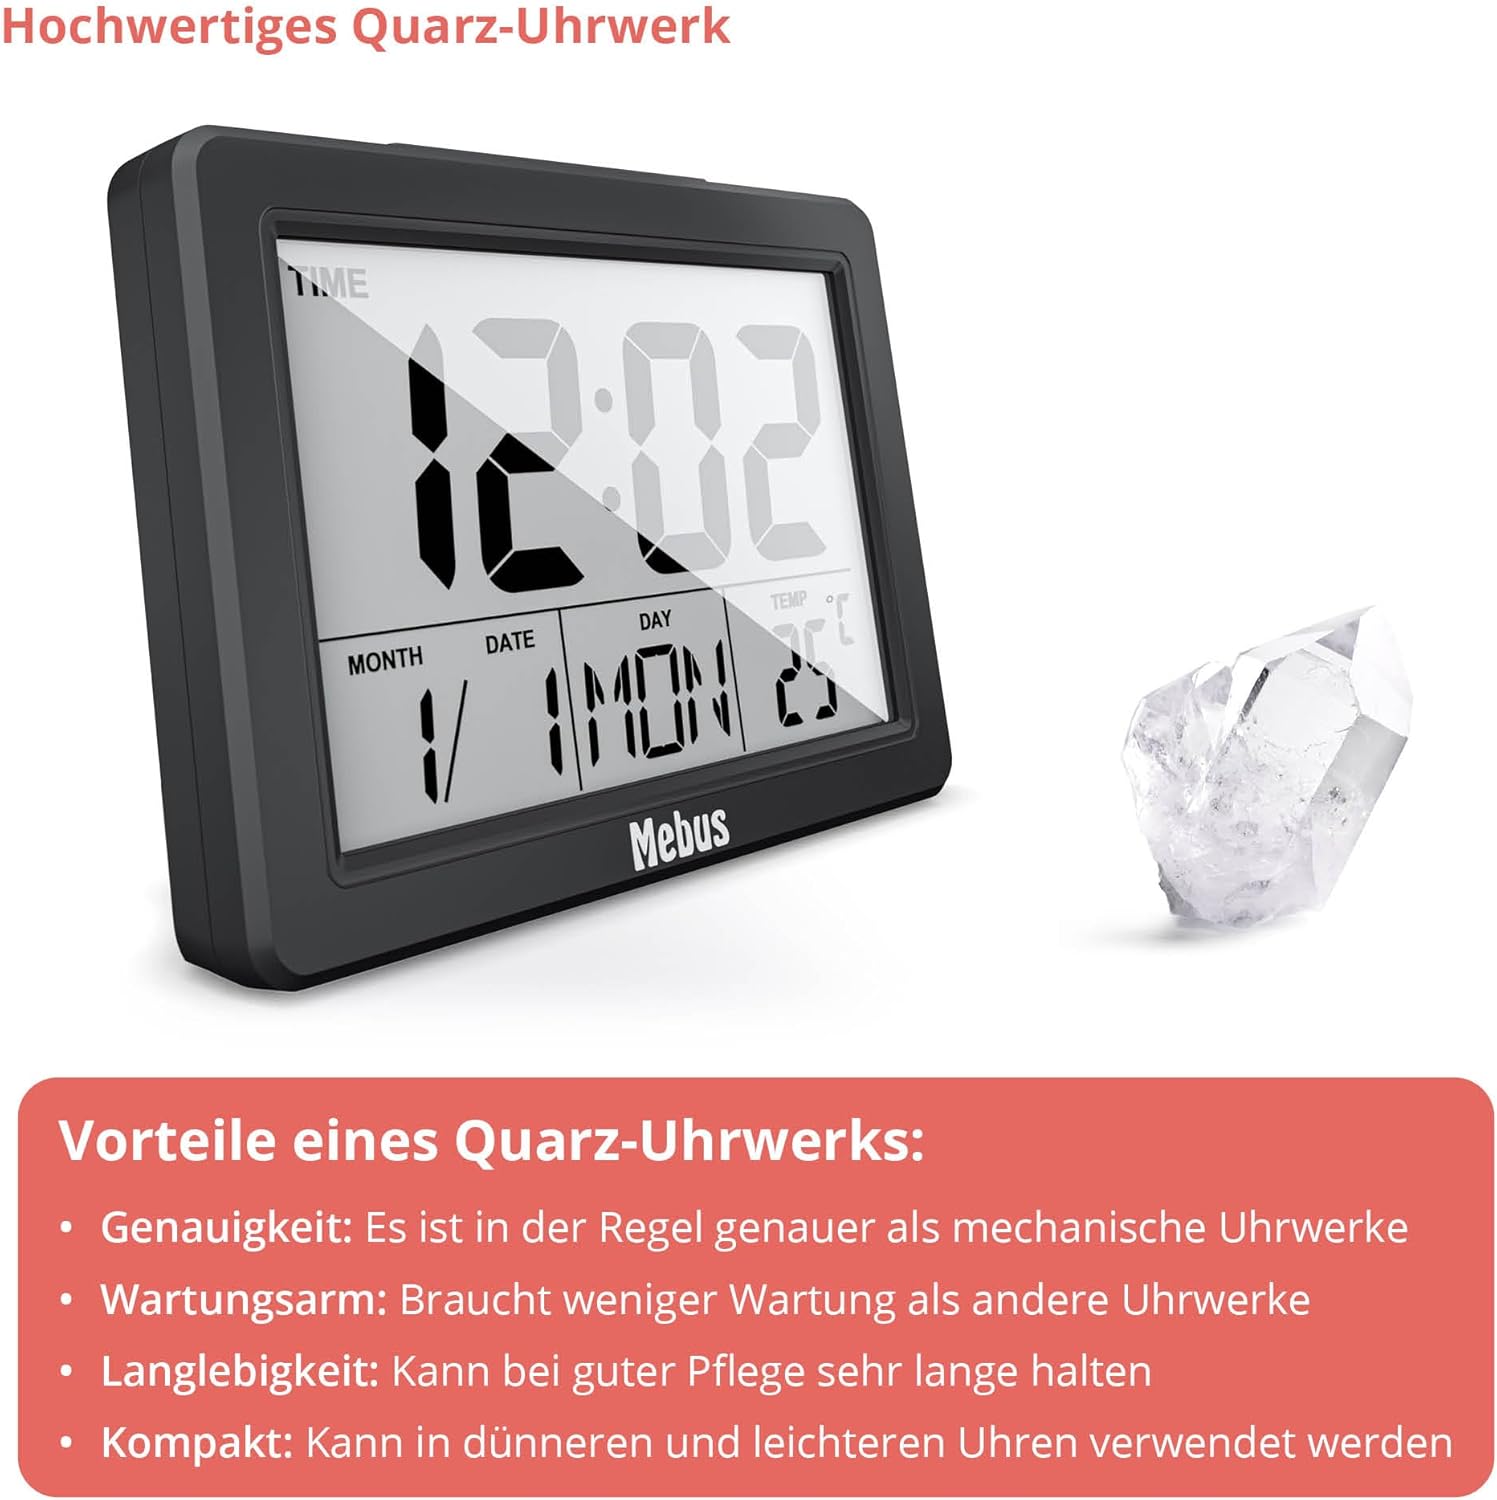
- Movement: Quartz

Warranty
This Mebus product is covered by a limited manufacturer's warranty against defects in materials and workmanship for a period of one year from the original date of purchase. This warranty does not cover damage caused by misuse, accident, unauthorized modification, or normal wear and tear. Please retain your proof of purchase for warranty claims.
Support
For further assistance, technical support, or warranty inquiries, please contact Mebus customer service. Contact details can typically be found on the manufacturer's website or on the product packaging.
Website: www.mebus.de (Example, please refer to actual manufacturer website)