1. Product Overview
This manual provides essential instructions for the proper installation, operation, and maintenance of your META Hardware Trailer Hitch Lock. This robust hitch lock is designed to secure your trailer, truck, car, bike, or boat to a towing vehicle, offering enhanced security. It features a 5/8-inch diameter pin, suitable for most Class III and IV 2-inch hitch receivers.
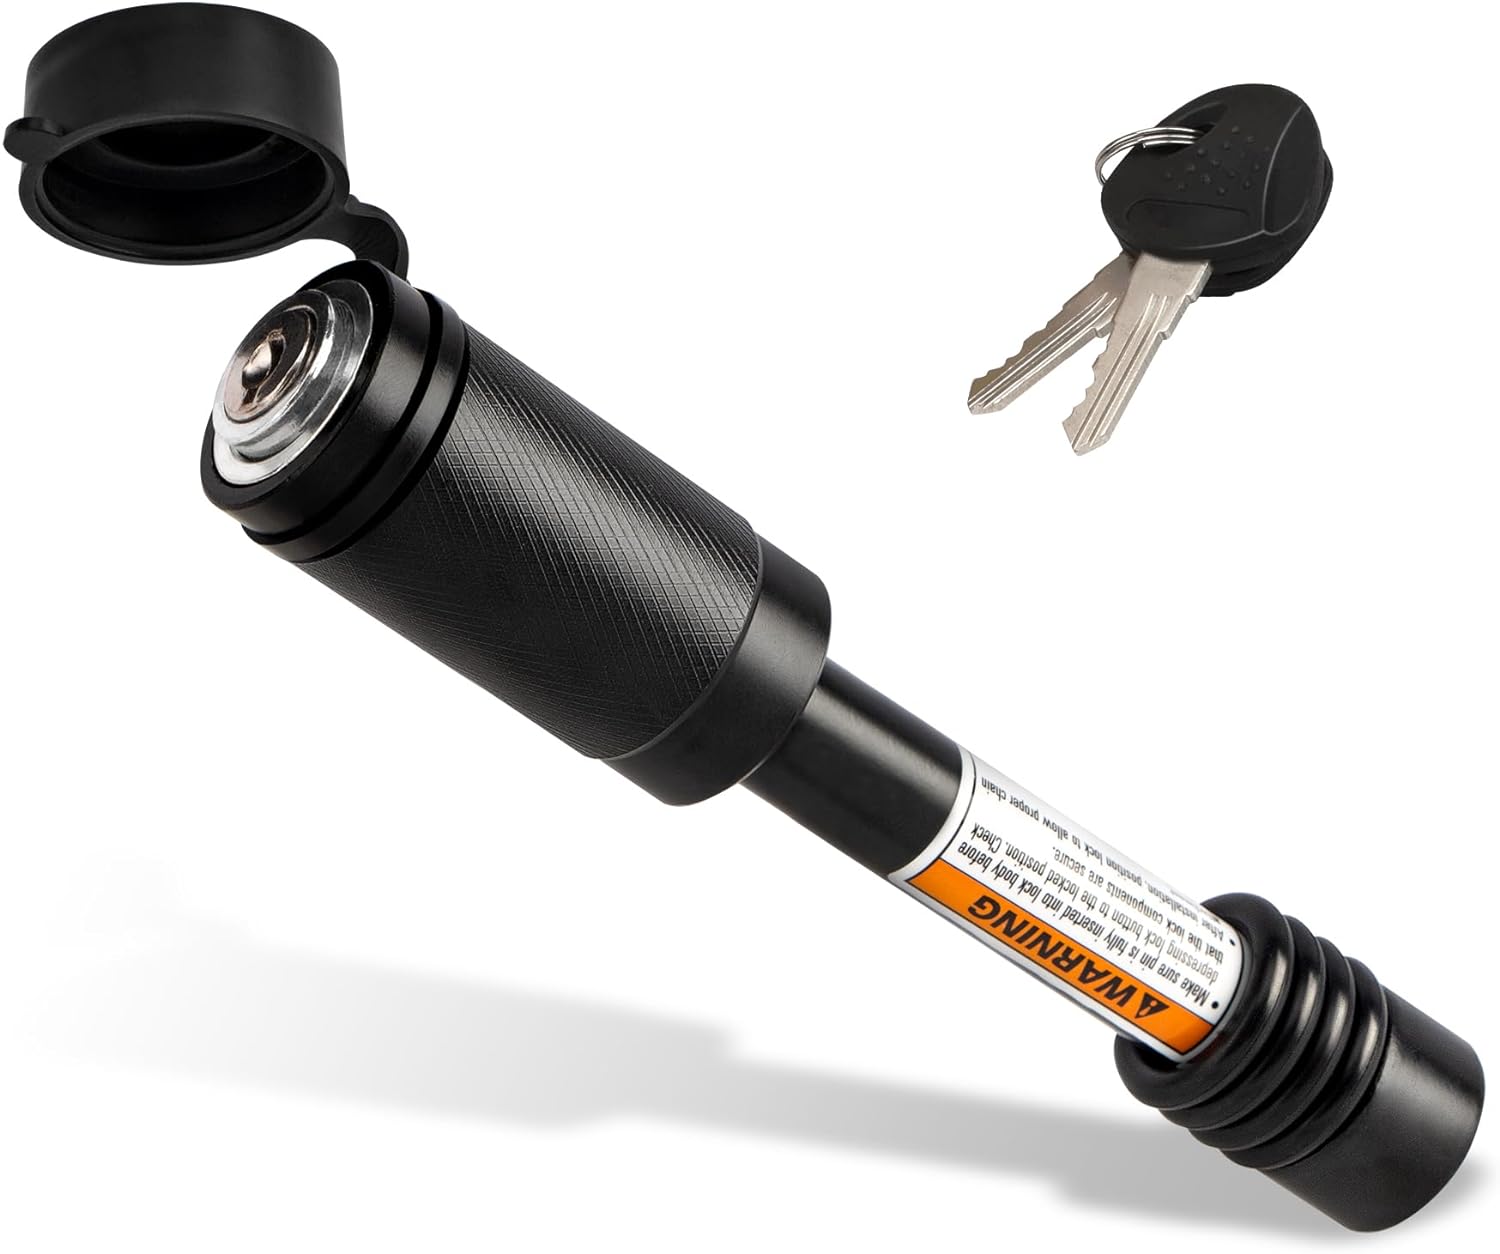
Image 1.1: The META Hardware Trailer Hitch Lock, showing the main body, 5/8-inch pin, dust cap, and two keys.
The lock incorporates a push-to-lock mechanism for ease of use and is constructed from solid steel with a black electrophoretic paint finish for durability and rust resistance. The core of the lock is made from a premium zinc alloy tubular design.
2. Package Contents
Please verify that all items listed below are included in your package. If any components are missing or damaged, contact customer support.
- 1 x Upgrade Button Lock Head (Push-to-lock mechanism)
- 1 x 5/8" Diameter Lock Pin (2-3/4" long, fits 2" receiver tubes)
- 2 x Alike Bass Keys
- 4 x Rubber O-Rings (To prevent rattling noise)

Image 2.1: Visual representation of the hitch lock's structure, including the lock head, pin, keys, and O-rings.
3. Specifications
| Model Number | 41027 |
| Pin Diameter | 5/8 inches |
| Usable Pin Length | 2-3/4 inches |
| Compatibility | Class III and IV 2-inch hitch receivers |
| Material | Solid Steel (pin), Zinc Alloy (lock core) |
| Finish | Black Electrophoretic Paint |
| Weight | Approximately 14.9 ounces |
| Dimensions (Package) | 7.24 x 2.91 x 1.65 inches |

Image 3.1: Detailed dimensions of the hitch lock pin, indicating 5/8" diameter and 2-3/4" length.
4. Compatibility
The META Hardware Trailer Hitch Lock is designed for universal compatibility with most Class III and Class IV 2-inch hitch receivers. The 5/8-inch diameter pin is standard for these receiver types. This lock can be used for various towing applications, including trailers, trucks, cars, bikes, and boats.
Important Note: This hitch lock is not compatible with double-walled receiver tubes. Always verify the dimensions of your hitch receiver and ensure the 2-3/4 inch usable pin length is appropriate for your application before use.
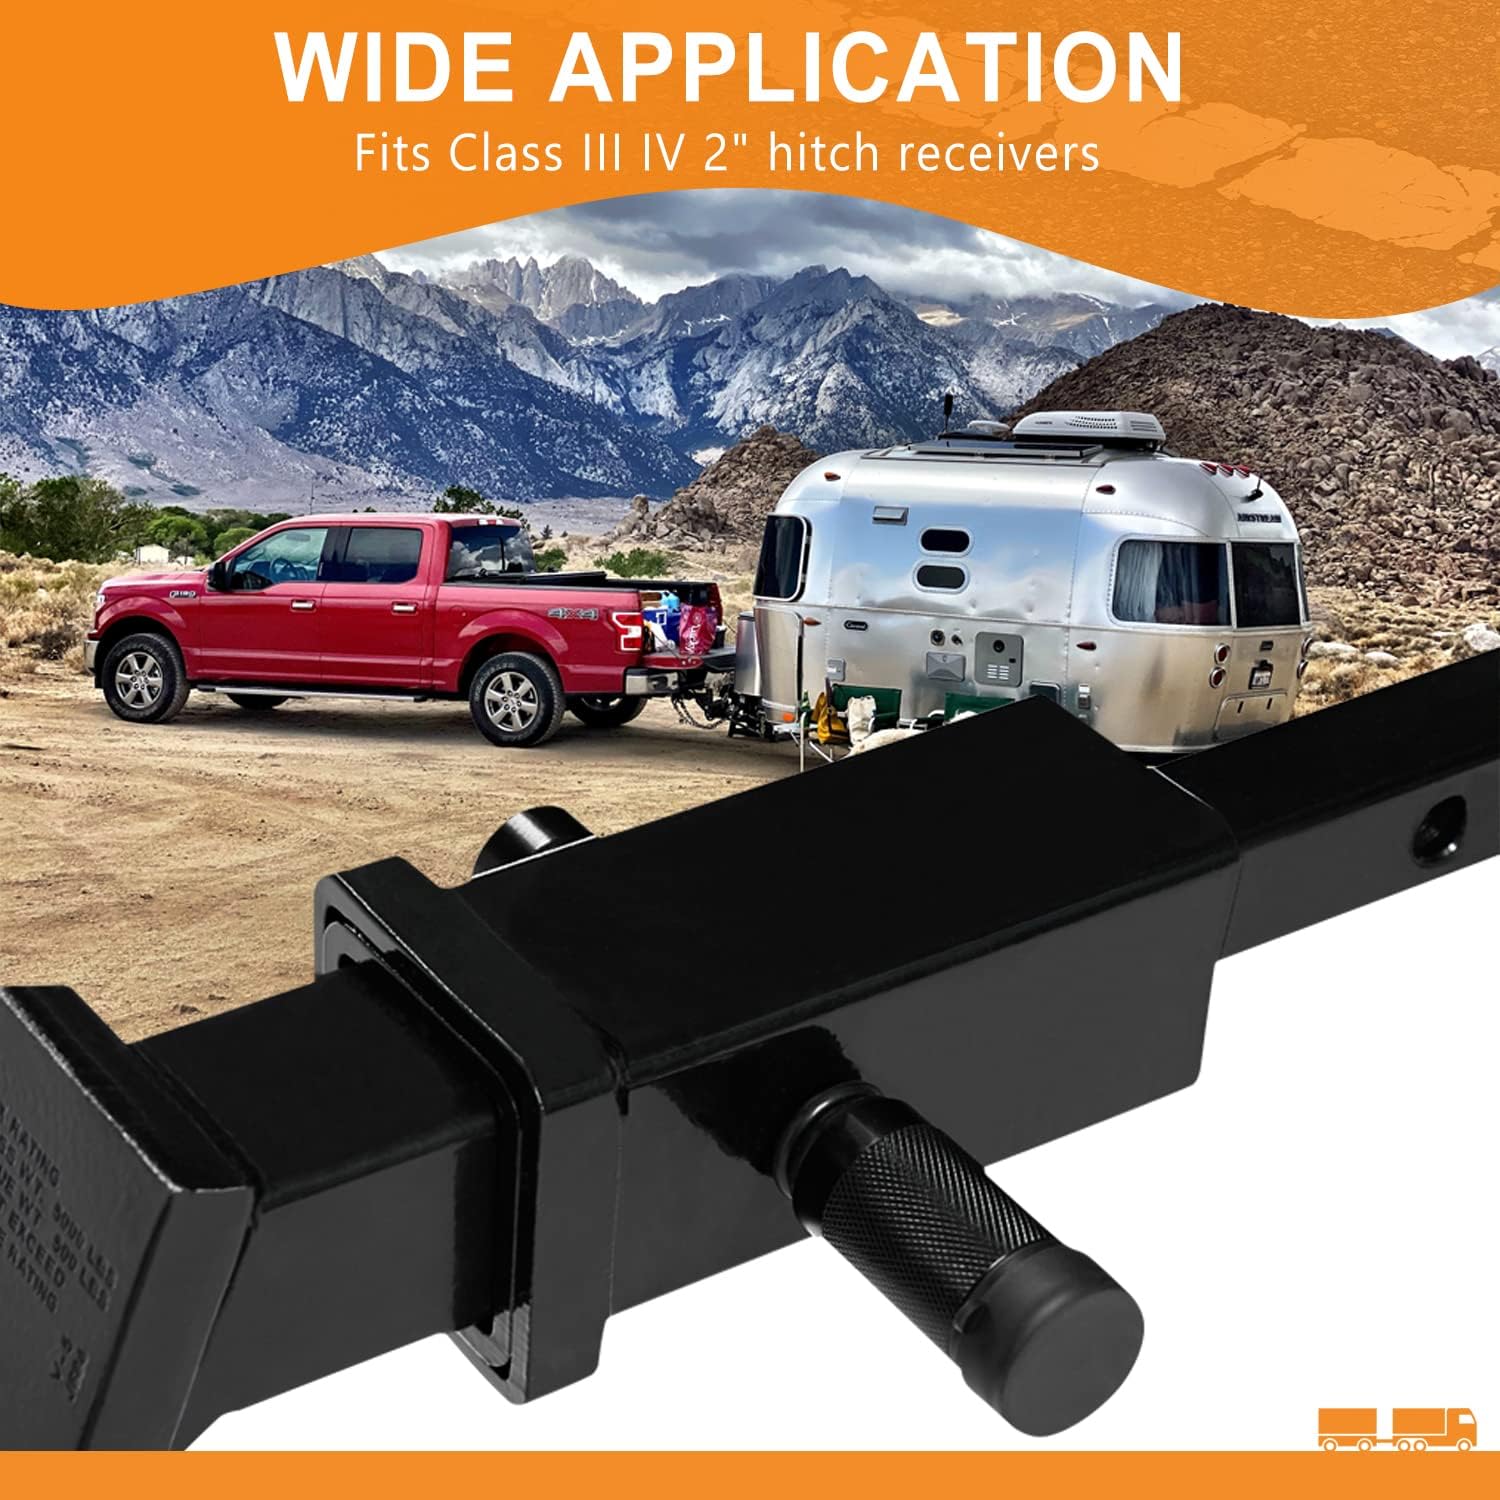
Image 4.1: A truck towing a trailer, demonstrating the wide application of the hitch lock.
5. Setup and Installation
Follow these steps to properly install your META Hardware Trailer Hitch Lock:
- Prepare the Hitch Receiver: Ensure your vehicle's hitch receiver and the trailer's coupler are properly aligned and ready for connection.
- Insert the Hitch Pin: Slide the 5/8" diameter lock pin through the aligned holes of your hitch receiver and the trailer's coupler.
- Add O-Rings (Optional but Recommended): Place the rubber O-rings onto the pin on either side of the hitch receiver. These O-rings help to reduce rattling and provide a snug fit. Use as many O-rings as necessary to minimize movement.
- Attach the Lock Head: Align the lock head with the end of the pin. Push the lock head firmly onto the pin until it clicks into place. The "push-to-lock" design allows for locking without the key.
- Verify Security: Gently pull on the lock head to ensure it is securely fastened and cannot be removed without the key.
- Cover the Keyhole: Close the water and dust cap over the keyhole to protect the locking mechanism from environmental elements.
Image 5.1: Illustration of the hitch lock's structure, including the push-to-lock head, solid keys, water dust cap, rust-free surface, and rubber O-rings.
6. Operating Instructions
6.1 Locking the Hitch Pin
After inserting the pin through the hitch receiver and coupler, simply push the lock head onto the end of the pin. It will click into place, indicating it is locked. No key is required for locking.
6.2 Unlocking the Hitch Pin
To unlock, insert one of the provided keys into the keyhole. Turn the key slightly, and the locking hitch pin mechanism will release, allowing you to pull the lock head off the pin.
7. Maintenance
- Keep Clean: Regularly wipe down the hitch lock with a damp cloth to remove dirt, dust, and road grime.
- Lubrication: Periodically apply a small amount of graphite lubricant or a silicone-based spray to the keyhole and locking mechanism to ensure smooth operation, especially in harsh weather conditions.
- Protect from Elements: Always keep the water and dust cap closed over the keyhole when the lock is installed or stored to prevent moisture and debris from entering the mechanism.
- O-Ring Inspection: Inspect the rubber O-rings periodically for wear or damage. Replace them if they appear cracked or degraded to maintain anti-rattle effectiveness.
8. Troubleshooting
| Problem | Possible Cause | Solution |
|---|---|---|
| Lock head does not attach securely. | Pin not fully inserted; debris in mechanism; incorrect pin size. | Ensure pin is fully through the receiver and coupler. Clean the lock mechanism. Verify pin diameter (5/8") and length (2-3/4") are correct for your receiver. |
| Key is difficult to turn or unlock. | Debris in keyhole; lack of lubrication; worn key. | Clean keyhole with compressed air. Apply graphite or silicone lubricant. Try the spare key. If issues persist, contact support. |
| Rattling noise during towing. | Insufficient O-rings; worn O-rings; loose fit. | Add more rubber O-rings to fill the gap between the receiver and the lock head/pin. Replace worn O-rings. Ensure the lock is fully engaged. |

Image 8.1: Illustration showing how rubber O-rings effectively prevent rattling noise when the hitch lock is installed.
9. Safety Information
- Always ensure the hitch lock is fully engaged and secure before towing.
- Regularly inspect the hitch lock for any signs of wear, damage, or corrosion. Do not use if damaged.
- Do not exceed the towing capacity of your vehicle or trailer hitch. This lock is designed to secure the connection, not to increase towing capacity.
- Keep keys in a safe and accessible location, separate from the vehicle keys.
- Keep the lock and keys out of reach of children.
- This product is intended for its specified use as a trailer hitch lock. Any other use may result in damage or injury.
10. Warranty and Support
For warranty information or technical support regarding your META Hardware Trailer Hitch Lock, please refer to the documentation included with your purchase or contact META Hardware customer service directly.
You can visit the official META Hardware store for more information: META Hardware Store.


