1. Product Overview
This manual provides instructions for the AmeriLite SwitchBack+Sequential LED DRL Black Projector Headlights, designed for the 2005-2013 Chevrolet Corvette C6. This set includes both driver and passenger side headlight assemblies.
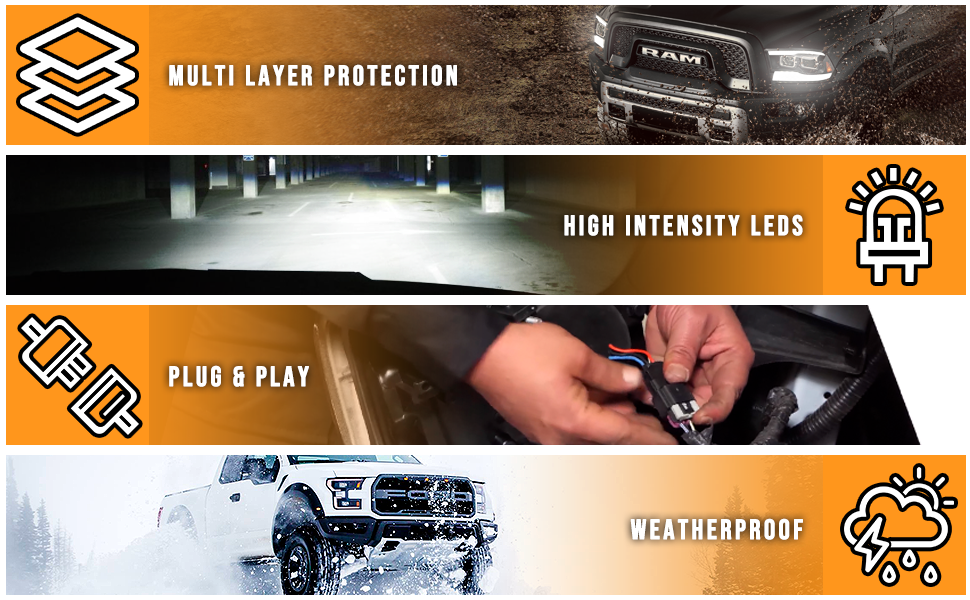
Key Features:
- SwitchBack LED Tube: Provides white Daytime Running Lights (DRL) and amber Sequential Turn Signals.
- Projector Beam: Enhances light output and beam pattern for low beam functionality.
- DOT/SAE Compliant: Meets or exceeds all regulatory standards in the U.S. and Canada.
- Direct OEM Replacement: Designed for straightforward installation without modifications.
- Durable Construction: Features a black housing, clear polycarbonate lens, and waterproof design.


2. Compatibility
These headlights are compatible with Chevrolet Corvette C6 models from 2005 to 2013.
Important Note for 2005 Models:
For 2005 Corvette C6 models, an upgrade to the bulb ballast and harness to match 2006 model specifications is required for proper functionality. You will need to reuse your stock D1S HID bulb for the low beam.
3. Installation Instructions
Installation of the AmeriLite headlights is designed to be a direct OEM replacement. However, professional installation is recommended. If performing self-installation, ensure you have the necessary tools and refer to a vehicle-specific service manual for detailed removal and reinstallation procedures of the bumper and existing headlight assemblies.
- Preparation: Park the vehicle on a level surface, engage the parking brake, and disconnect the negative terminal of the car battery.
- Bumper Removal: Carefully remove the front bumper cover according to your vehicle's service manual. This step is typically required to access the headlight mounting bolts.
- Old Headlight Removal: Disconnect all wiring harnesses from the existing headlight assemblies. Unbolt and remove the old headlights.
- Component Transfer (2005 Models): For 2005 models, transfer your existing D1S HID low beam bulb, ballast, and harness to the new AmeriLite headlight assembly. Ensure all connections are secure. For 2006-2013 models, the new headlights are designed to integrate with your existing components.
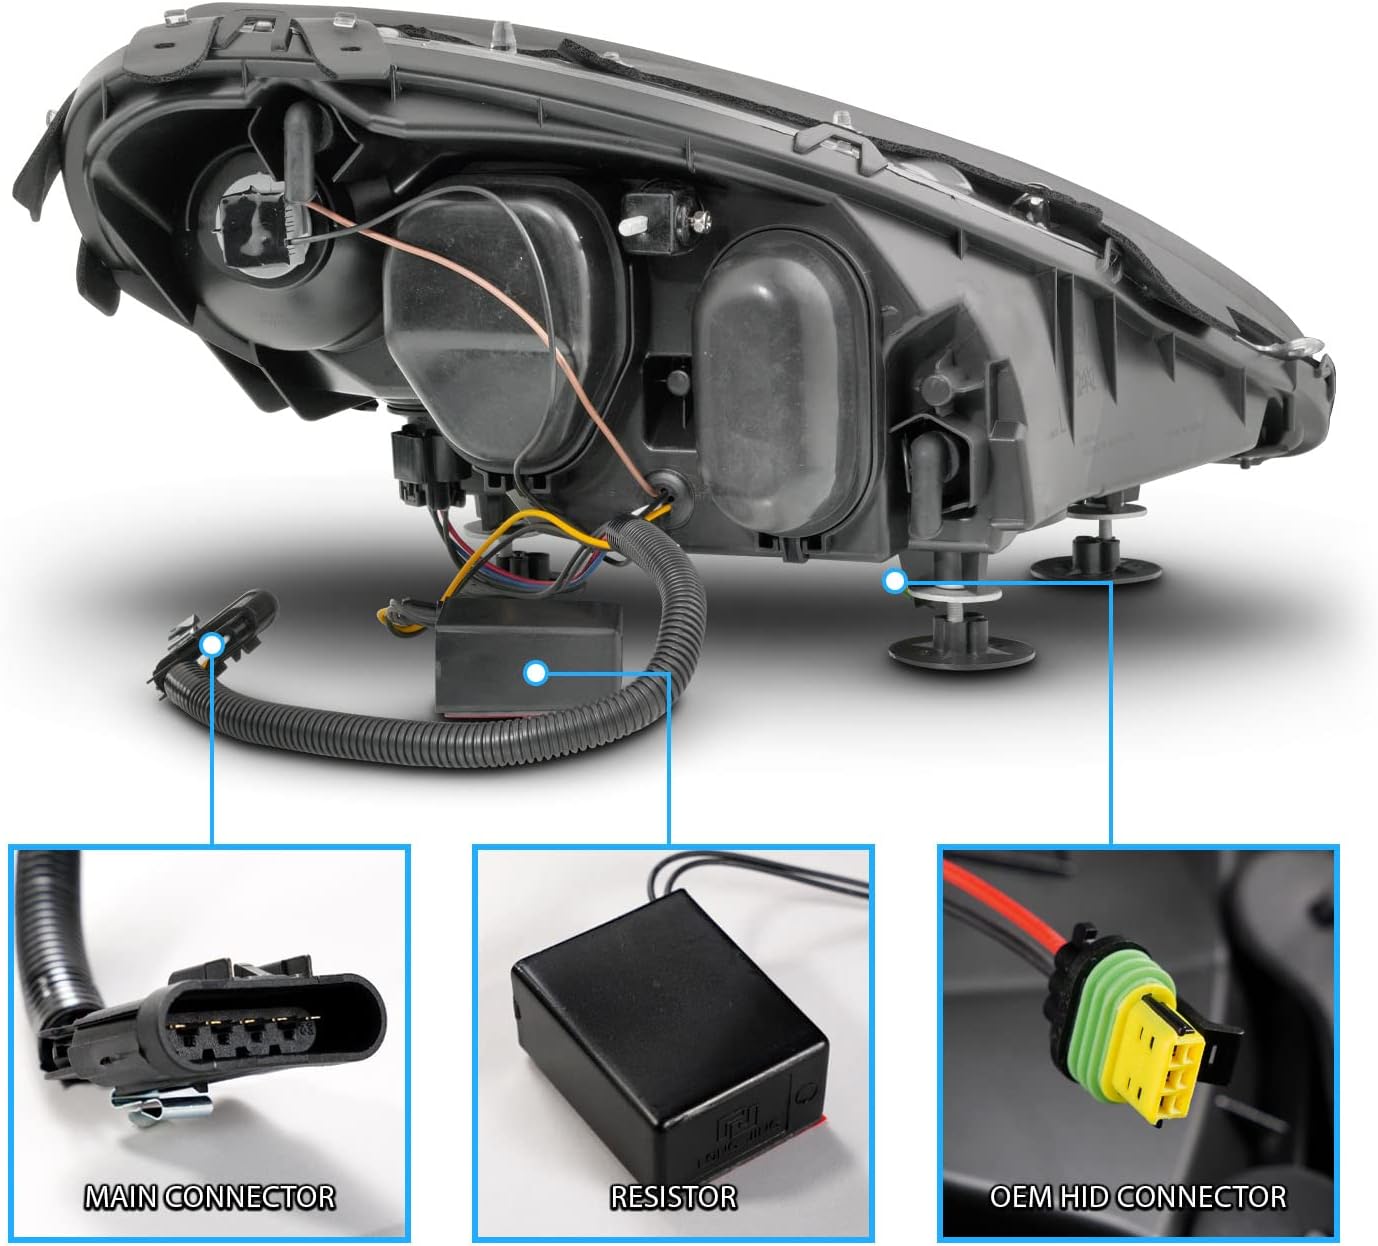
- New Headlight Installation:
- Connect the main connector, resistor, and OEM HID connector (if applicable) to the new AmeriLite headlight assembly. Ensure all connections are firmly seated.
- Carefully position the new headlight assembly into the vehicle's headlight housing.
- Secure the headlight with the appropriate mounting bolts. Do not overtighten.
- Ensure any visible wires are neatly secured and out of the way to prevent damage or interference.
- Initial Testing: Before reinstalling the bumper, reconnect the car battery. Test all headlight functions: low beam, high beam, DRL, and sequential turn signals.
- Headlight Aiming: Adjust the headlight aim to ensure proper illumination and to avoid blinding oncoming traffic. The adjustment screws are typically accessible through specific holes in the headlight housing. An inspection scope or a long Philips screwdriver may be helpful for reaching the adjustment screws.
- Bumper Reinstallation: Once all functions are verified and the aim is set, reinstall the front bumper cover.
- Final Check: Perform a final visual inspection and functional test of all lighting.

4. Operation
The AmeriLite headlights integrate multiple lighting functions into a single assembly:
- Daytime Running Lights (DRL): The integrated LED tube illuminates in white when the vehicle is running, enhancing visibility during daylight hours.
- Sequential Turn Signals: When the turn signal is activated, the LED tube switches from white DRL to an amber sequential pattern, indicating the direction of turn.
- Low Beam: The projector lens provides a focused beam for standard nighttime driving.
- High Beam: The dedicated high beam bulb provides additional illumination for maximum visibility.


5. Maintenance
To ensure optimal performance and longevity of your AmeriLite headlights, follow these maintenance guidelines:
- Cleaning: Regularly clean the clear polycarbonate lens with a soft cloth and mild automotive soap or a dedicated plastic cleaner. Avoid abrasive cleaners or harsh chemicals that can damage the lens.
- Inspection: Periodically inspect the headlight assemblies for any signs of damage, loose connections, or moisture intrusion.
- Bulb Replacement: If a bulb (high beam or turn signal) fails, replace it with the correct specification bulb (H7 for high beam, 3157 amber for turn signal).
6. Troubleshooting
If you encounter issues with your AmeriLite headlights, consider the following troubleshooting steps:
- Lights Not Functioning:
- Check all electrical connections to ensure they are secure and properly seated.
- Verify that the vehicle's fuses related to lighting are intact.
- For 2005 models, confirm that the upgraded ballast and harness are correctly installed and functioning.
- Improper Light Aim:
- Locate the headlight adjustment screws on the back of the assembly.
- Use a Philips screwdriver to adjust the beam vertically and horizontally. It may require a longer screwdriver or an inspection scope to properly align the tool with the screw.
- Visible Wires/Gasket Issues:
- Ensure all wiring is neatly tucked away and secured with zip ties if necessary.
- If the gasket appears oversized or misaligned, gently adjust it to sit flush with the vehicle body or tuck it underneath the fender using a plastic trim tool.
If problems persist, contact AmeriLite customer support or consult a qualified automotive technician.
7. Specifications
| Attribute | Detail |
|---|---|
| Brand | AmeriLite |
| Model | Corvette C6 |
| Manufacturer Part Number | 02-AZ-CCV05-PBC-P-SS-A |
| Set Name | SwitchBack+Sequential |
| Color | Black Housing, Clear Lens |
| Lens Material | Polycarbonate |
| Auto Part Position | Front |
| Special Features | DOT/SAE Compliant, Sequential Turn Signal, Switchback LED Tube, Waterproof |
| Safety Rating | DOT Compliant |
| Item Weight | 22.5 pounds (set) |
| Package Dimensions | 26.5 x 23.4 x 16.6 inches |
| OEM Part Numbers (Reference) | 15876060, 15876061, 20789677, 20789678, 20789679, 20789680, 20789681, 20789682 |
| ABPA Partslink Number | GM2502320, GM2502333 |
8. Warranty and Support
AmeriLite provides a 90-day limited warranty on this product, covering manufacturing defects. Additionally, a 30-day money-back guarantee is offered. For warranty claims, technical assistance, or support, please contact AmeriLite customer service directly.
For more information, visit the official AmeriLite store or contact their support channels.