
1. Introduction
This manual provides detailed instructions for the assembly, operation, and maintenance of your VEIKOU 10'x15' Heavy Duty Carport. Please read all instructions carefully before beginning assembly and retain this manual for future reference. This carport is designed to provide reliable shelter for vehicles and outdoor equipment, featuring a galvanized steel frame and a thickened steel roof for enhanced durability and weather resistance.
2. Safety Information
WARNING: Please wear gloves during installation to protect yourself from injury caused by screws and sharp metal panel edges.
- Ensure stability during installation.
- Do not exceed weight limits for snow or wind.
- Secure the shelter to a stable foundation using the provided anchoring kit.
- Exercise caution during assembly or disassembly.
- Always install the carport on a level surface.
3. Package Contents
Before beginning assembly, verify that all parts listed in the packing list are present and undamaged. If any parts are missing or damaged, please contact customer support.
The package includes:
- Galvanized steel frame components (square metal pipes).
- Thickened steel roof panels.
- Adaptive threaded pipe frame connectors.
- Anchoring kit for ground fixation.
- All necessary screws, bolts, and nuts.
- Weatherstrip tape for roof panel sealing.
4. Setup and Assembly
Assembly requires a minimum of 2-3 people. Follow these steps carefully:
4.1. Assemble the Base Frame
- Connect the bottom steel pipes (e.g., E1, E2, F2) using the provided bolts (J3). Ensure all connections are secure.
- Assemble the arched roof frame sections (e.g., C1, C2, F1) by connecting the curved pipes with bolts.
- Attach the vertical support posts (e.g., E3) to the base frame and the arched roof frame sections. Secure with bolts.

Figure 1: Innovative Adaptive-Screw Tube Frame design for simplified assembly.
4.2. Install Roof Panels
- Apply the weatherstrip tape (H) along the edges of the roof panels (A1, A2) to ensure waterproofing.
- Carefully place the steel roof panels onto the assembled frame. Ensure proper overlap and alignment.
- Fix the roof panels to the frame using the self-drilling screws (F).

Figure 2: Sloped roof design with high-density weatherstrip tape for water resistance.
4.3. Secure the Carport
- Install the anti-scratch iron strips (B4, B6) along the edges of the roof panels and frame as indicated in the diagrams.
- Attach the anti-scratch corners (G) to the bottom edges of the frame posts.
- Use the provided anchoring kit to firmly secure the carport to the ground. This is crucial for stability against wind and snow.
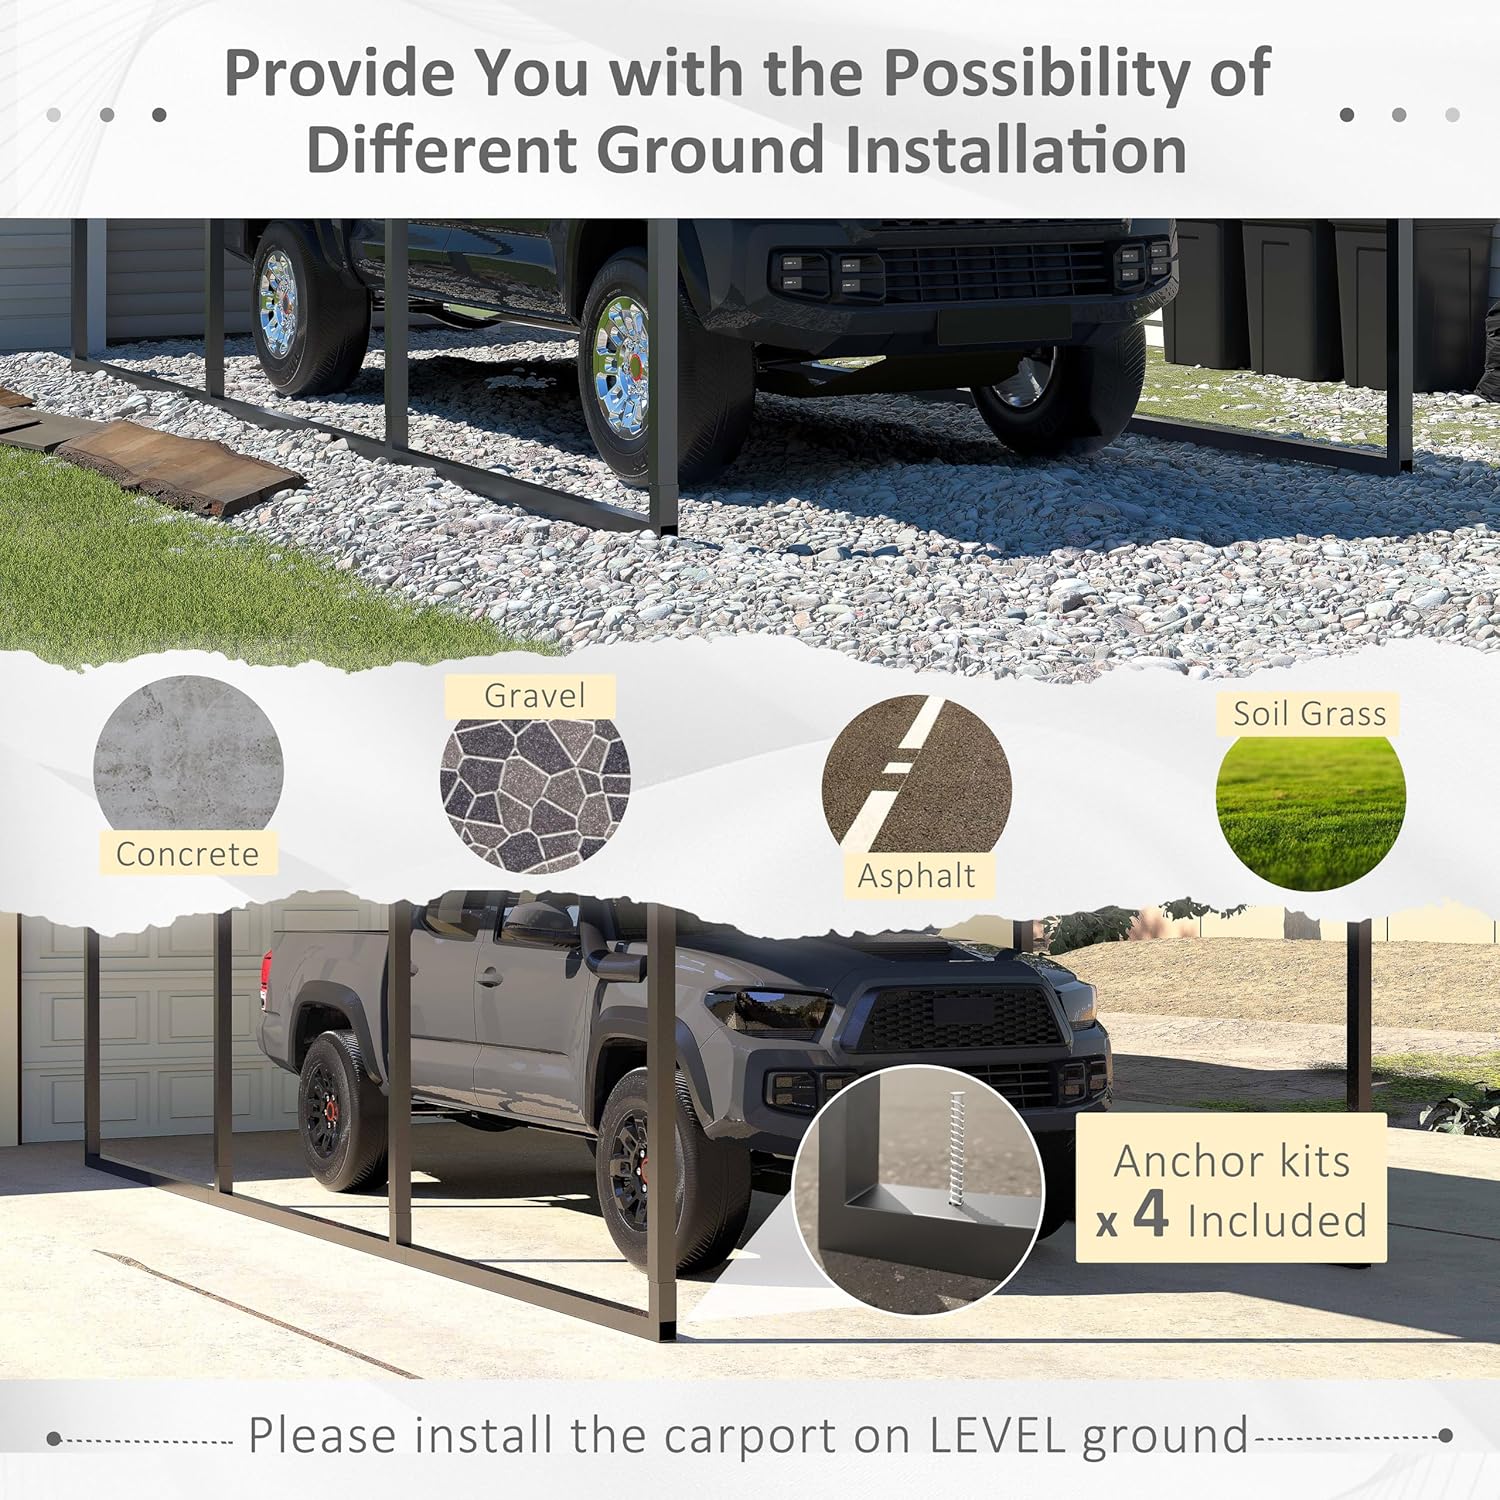
Figure 3: Carport installed on various surfaces using anchor kits.
4.4. Assembly Videos
VEIKOU 10x15 FT Galvanized Steel Carport Install Guide
This video provides a step-by-step visual guide for the installation of the VEIKOU 10x15 FT Galvanized Steel Carport.
10x15ft metal carport Assembly
Watch this video for a detailed assembly process of the 10x15ft metal carport.
5. Usage and Operation
The VEIKOU Heavy Duty Carport is a versatile outdoor shelter suitable for various uses:
- Vehicle Protection: Ideal for parking cars, trucks, boats, or motorcycles to shield them from sun, rain, and snow.
- Outdoor Activities: Can be utilized as a shaded area for outdoor parties, workshops, or barbecues.
- Storage: Provides ample space for storing farm tools, sundries, and other outdoor equipment.

Figure 4: The VEIKOU carport providing shelter for a vehicle.

Figure 5: The 10x15FT metal carport in an outdoor setting.
10x15ft metal carport display
A brief display of the 10x15ft metal carport's features and uses.
6. Maintenance
Regular maintenance will extend the lifespan of your carport:
- Cleaning: Periodically clean the roof panels and frame with mild soap and water to remove dirt, debris, and prevent corrosion. Avoid abrasive cleaners.
- Fastener Check: Annually inspect all bolts, screws, and connections to ensure they are tight. Re-tighten if necessary.
- Snow Removal: In areas with heavy snowfall, regularly remove accumulated snow from the roof to prevent excessive load and potential damage. The carport is rated for a snow level of 35 PSF.
- Anchoring Check: Periodically check the ground anchors for security, especially after strong winds or heavy rain.
7. Troubleshooting
Here are solutions to common issues:
- Roof Leaks: If roof leaks occur, inspect the weatherstrip tape and the tightness of the roof panel screws. Apply additional silicone sealant if needed, particularly at panel overlaps.
- Parts Not Lining Up: During assembly, if pre-drilled holes do not align perfectly, ensure all frame sections are correctly oriented and not overtightened prematurely. Slight adjustments may be needed before final tightening.
- Carport Instability: Ensure the carport is installed on a level surface and all anchor kits are properly secured into the ground. For added stability in high-wind areas, consider additional bracing or stronger anchoring methods.
- Damaged Parts: If any parts arrive damaged or become damaged during assembly, contact customer support for replacements.
8. Specifications
| Feature | Detail |
|---|---|
| Brand | VEIKOU |
| Model Number | 10' x 15' x 8.5' |
| Material | Alloy Steel |
| Color | Gray |
| Product Dimensions | 179.1"L x 120"W x 102.4"H |
| Item Weight | 302 pounds |
| Total Storage Area | 141.17 sq.ft |
| Wind Resistance | Up to 100 MPH |
| Snow Load Capacity | Up to 35 PSF |
| Water Resistance Level | Waterproof |
| UV Protection | Yes |
9. Warranty and Support
For any questions, missing parts, or assistance with assembly, please contact VEIKOU customer support. The product typically comes with a 30-day return policy. For specific warranty details, please refer to your purchase documentation or contact the seller directly.
Customer Support: Contact Seller