Important Safety Instructions
Please read all instructions carefully before using the DiDimo Rapid Egg Cooker. Failure to follow these instructions may result in electric shock, fire, or serious injury.
- Do not immerse the base unit, cord, or plug in water or other liquids.
- Close supervision is necessary when any appliance is used by or near children.
- Unplug from outlet when not in use and before cleaning. Allow to cool before putting on or taking off parts.
- Do not operate any appliance with a damaged cord or plug, or after the appliance malfunctions or has been damaged in any manner.
- The use of accessory attachments not recommended by the appliance manufacturer may cause injuries.
- Do not use outdoors.
- Do not let the cord hang over the edge of a table or counter, or touch hot surfaces.
- Do not place on or near a hot gas or electric burner, or in a heated oven.
- Extreme caution must be used when moving an appliance containing hot oil or other hot liquids.
- Always attach plug to appliance first, then plug cord into the wall outlet. To disconnect, turn any control to 'off', then remove plug from wall outlet.
- Do not use appliance for other than intended use.
- Avoid contact with moving parts.
- This appliance has a polarized plug (one blade is wider than the other). To reduce the risk of electric shock, this plug is intended to fit into a polarized outlet only one way. If the plug does not fit fully into the outlet, reverse the plug. If it still does not fit, contact a qualified electrician. Do not attempt to modify the plug in any way.
Product Overview
The DiDimo Rapid Egg Cooker is designed for efficient and versatile cooking, allowing you to prepare eggs, vegetables, and other small items with ease. It features a compact design and an automatic shut-off function for convenience.

Figure 1: Exploded View of Components. This image displays the individual parts of the DiDimo Rapid Egg Cooker, including the cover, 7-egg top tray, transparent riser, 7-egg bottom tray, and the base unit with the power button. A measuring cup is also shown.
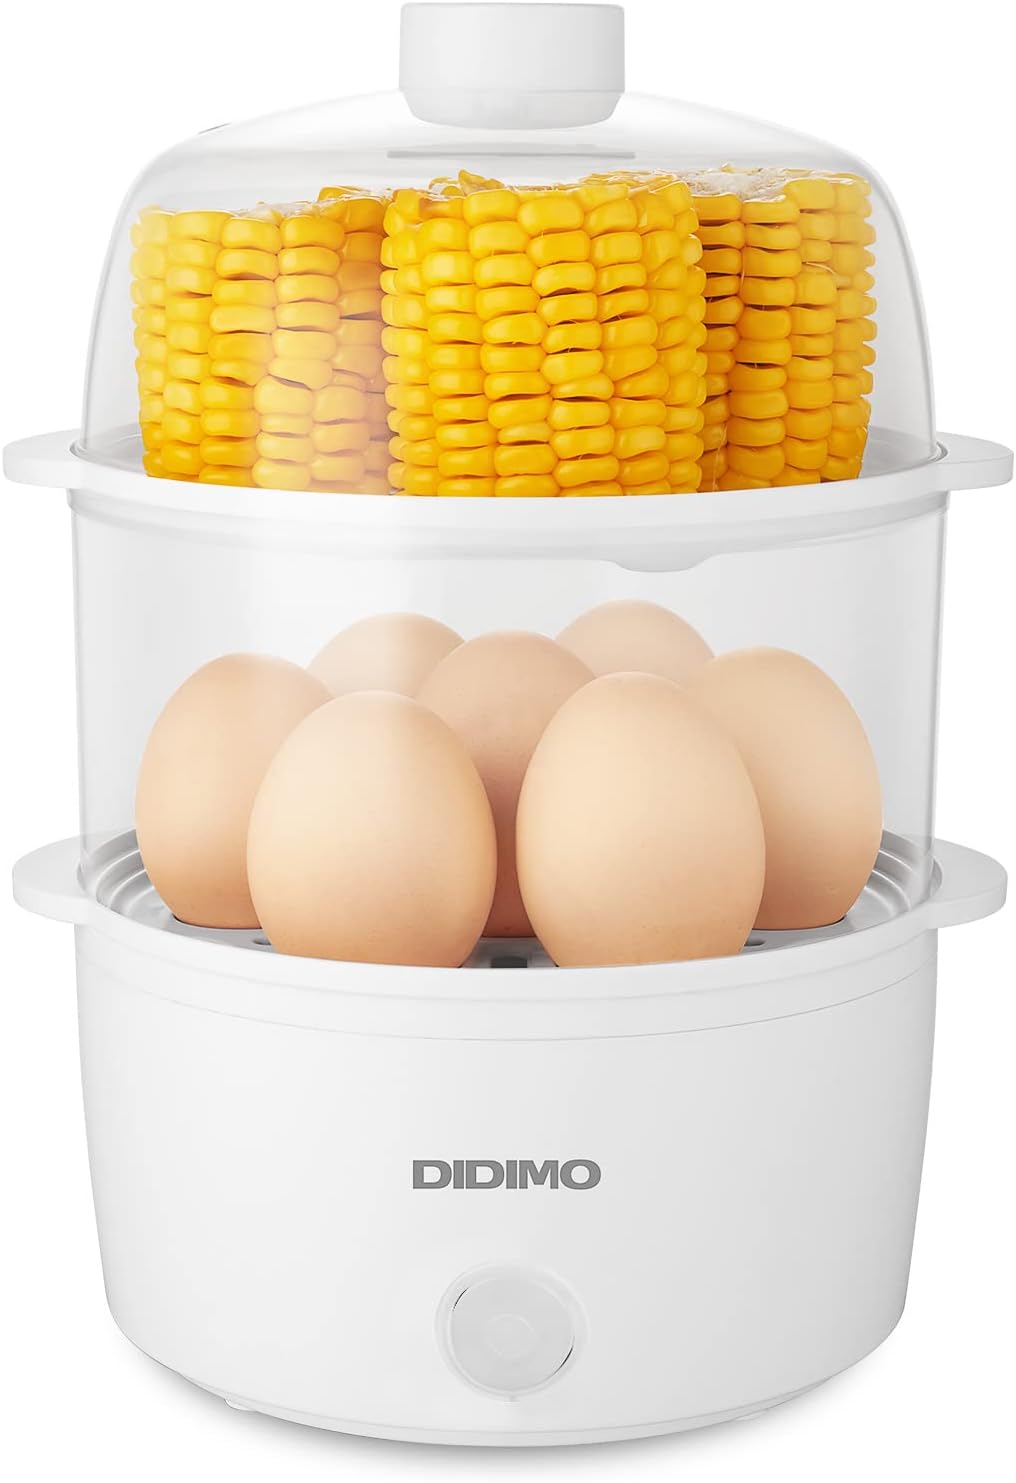
Figure 2: Assembled DiDimo Rapid Egg Cooker. The cooker is shown assembled with eggs in the lower tray and corn in the upper tray, demonstrating its dual-layer capacity.

Figure 3: Double Layer Conversion. This image illustrates the flexibility of the cooker, showing it configured for single-layer use (left) and double-layer use (right) to accommodate different cooking needs.
Components:
- Base Unit: Contains the heating element and power button.
- 7-Egg Bottom Tray: For cooking up to 7 eggs on the lower level.
- Transparent Riser: Allows for stacking of a second tray or steaming larger items.
- 7-Egg Top Tray: For cooking up to 7 eggs on the upper level, or other foods.
- Cover: Transparent lid to contain steam.
- Measuring Cup with Piercing Pin: Used to measure water and pierce eggs to prevent cracking.

Figure 4: Product Dimensions. The cooker measures approximately 7.5 inches in length, 5.9 inches in width, and 6.7 inches in height (single layer) or 9.4 inches (double layer).
Setup
Before first use, wash all non-electrical parts (trays, riser, cover, measuring cup) in warm, soapy water. Rinse thoroughly and dry. Wipe the base unit with a damp cloth.
Assembly:
- Place the base unit on a stable, flat, heat-resistant surface.
- If cooking eggs, place the 7-egg bottom tray onto the base.
- For double-layer cooking or steaming taller items, place the transparent riser on top of the bottom tray, then add the 7-egg top tray.
- Ensure all components are securely seated.
Operating Instructions
Follow these steps for general operation of your DiDimo Rapid Egg Cooker.

Figure 5: Three-Step Steaming Process. This visual guide shows the steps: 1. Fill the measuring cup and pour water onto the heating plate. 2. Place the poaching tray on top of the egg rack. 3. Place the cover and press the on button.
Cooking Eggs:
- Using the provided measuring cup, fill with water to the desired level (Soft, Medium, Hard) based on your preference and the number of eggs. For precise results, always use cold water.
- Pour the measured water directly onto the heating plate in the base unit.
- Carefully pierce the large end of each egg with the piercing pin located at the bottom of the measuring cup. This helps prevent cracking during cooking.
- Place the pierced eggs onto the egg trays, ensuring they are stable. You can use one or both trays.
- Place the cover securely over the top tray.
- Plug the power cord into a standard electrical outlet.
- Press the power button. The indicator light will illuminate, signaling that the cooker is operating.
- The cooker will automatically shut off when all the water has evaporated, and the indicator light will turn off.
- Unplug the cooker immediately after the light turns off.
- Carefully remove the cover (use oven mitts as steam will be hot) and then the egg trays. For best results with hard-boiled eggs, immediately rinse them under cold water or place them in an ice bath to stop the cooking process and make peeling easier.
Steaming Other Foods (Vegetables, Dumplings, etc.):
- Add water to the heating plate using the measuring cup. The amount of water will depend on the food and desired steaming time. More water equals longer steaming.
- Place your desired food items (e.g., chopped vegetables, dumplings) onto the egg trays. You may use a small heat-safe dish on the tray for smaller items or sauces.
- Assemble the cooker with the transparent riser and cover.
- Plug in and press the power button.
- Monitor the food. The cooker will shut off when the water evaporates. If more steaming time is needed, add more water and restart.
- Carefully remove steamed food.
Cooking Guide
The cooking time for eggs is determined by the amount of water added to the heating plate. The measuring cup has markings to guide you for different doneness levels.

Figure 6: Egg Doneness Guide. This image shows the visual difference between a well-cooked (hard-boiled) egg, a half-cooked (medium-boiled) egg, and a soft-boiled egg, corresponding to different water levels.
Approximate Water Levels for Eggs (using provided measuring cup):
| Doneness | Water Level Mark | Approximate Time (7 eggs) |
|---|---|---|
| Soft Boiled | WEICH (Soft) | ~6-8 minutes |
| Medium Boiled | MITTEL (Medium) | ~9-11 minutes |
| Hard Boiled | HART (Hard) | ~12-14 minutes |
Note: Cooking times may vary slightly based on egg size, initial water temperature, and altitude. Adjust water levels as needed for desired results.
Other Steamed Foods:
- Corn: Place corn cobs or kernels on the tray. Use water level for 'Hard' eggs or slightly more for longer steaming.
- Dumplings/Buns: Arrange on the tray, ensuring space for steam circulation. Use water level for 'Hard' eggs.
- Vegetables: Cut vegetables into uniform pieces. Place on trays. Adjust water for desired tenderness.

Figure 7: Steaming Corn. This image shows corn cobs placed on the egg tray, ready for steaming.

Figure 8: Steaming Dumplings. This image shows dumplings arranged on the egg tray, indicating the cooker's versatility beyond just eggs.
Cleaning and Maintenance
Regular cleaning ensures optimal performance and longevity of your egg cooker.
Cleaning Steps:
- Always unplug the appliance and allow it to cool completely before cleaning.
- The egg trays, transparent riser, cover, and measuring cup are dishwasher safe. Alternatively, wash them in warm, soapy water, rinse, and dry thoroughly.
- Wipe the exterior of the base unit with a damp cloth. Do not immerse the base unit in water or any other liquid.
- If mineral deposits (scale) build up on the heating plate, you can remove them by adding a mixture of 1 part white vinegar to 2 parts water to the heating plate. Let it sit for 10-15 minutes, then scrub gently with a non-abrasive sponge. Rinse with a damp cloth. Do not use abrasive cleaners or scouring pads.

Figure 9: Easy Clean Up. This image shows the removable parts of the egg cooker, such as the trays and cover, placed in a dishwasher rack, indicating they are dishwasher safe.
Troubleshooting
If you encounter issues with your DiDimo Rapid Egg Cooker, please refer to the following common problems and solutions.
| Problem | Possible Cause | Solution |
|---|---|---|
| Cooker does not turn on / No indicator light. | Not plugged in; Power outlet issue; Unit malfunction. | Ensure the unit is securely plugged into a working electrical outlet. Test the outlet with another appliance. If still not working, contact customer support. |
| Eggs are not cooked to desired doneness (e.g., too soft). | Insufficient water; Incorrect water level for desired doneness; Too many eggs for water amount. | Ensure you are using the correct water level from the measuring cup for your desired doneness. Use cold water. For harder eggs, add slightly more water. Ensure eggs are pierced. |
| Eggs crack during cooking. | Eggs not pierced; Eggs too cold (straight from fridge to hot steam). | Always pierce the large end of each egg with the piercing pin on the measuring cup before cooking. Allow eggs to sit at room temperature for a few minutes before cooking, if possible. |
| White residue on heating plate. | Mineral deposits from water. | Clean the heating plate with a vinegar and water solution as described in the Cleaning and Maintenance section. |
| Food not steaming properly or taking too long. | Insufficient water; Cover not sealed properly. | Ensure enough water is added for the desired steaming time. Check that the cover is securely placed on the unit to prevent steam from escaping. |
Specifications
- Model Number: PA-613
- Brand: DiDimo
- Capacity: Up to 14 eggs (7 per tray)
- Product Dimensions: 7.5"L x 5.9"W x 6.7"H (single layer) / 9.4"H (double layer)
- Item Weight: Approximately 3.84 ounces
- Color: White
- Power: Electric (details not specified, assume standard household power)
Warranty and Support
DiDimo offers a 30-day money-back service and a one-year after-sales guarantee for this product. For any questions, concerns, or warranty claims, please contact DiDimo customer support.
You can visit the official DiDimo store for more information: DiDimo Store on Amazon


