1. Product Overview
This document provides essential information for the safe and effective use of your Generic 12V 3A 36W laptop charger, model BY36W. Please read this manual thoroughly before use.

Image 1.1: The 12V 3A 36W laptop charger and its accompanying power cord.
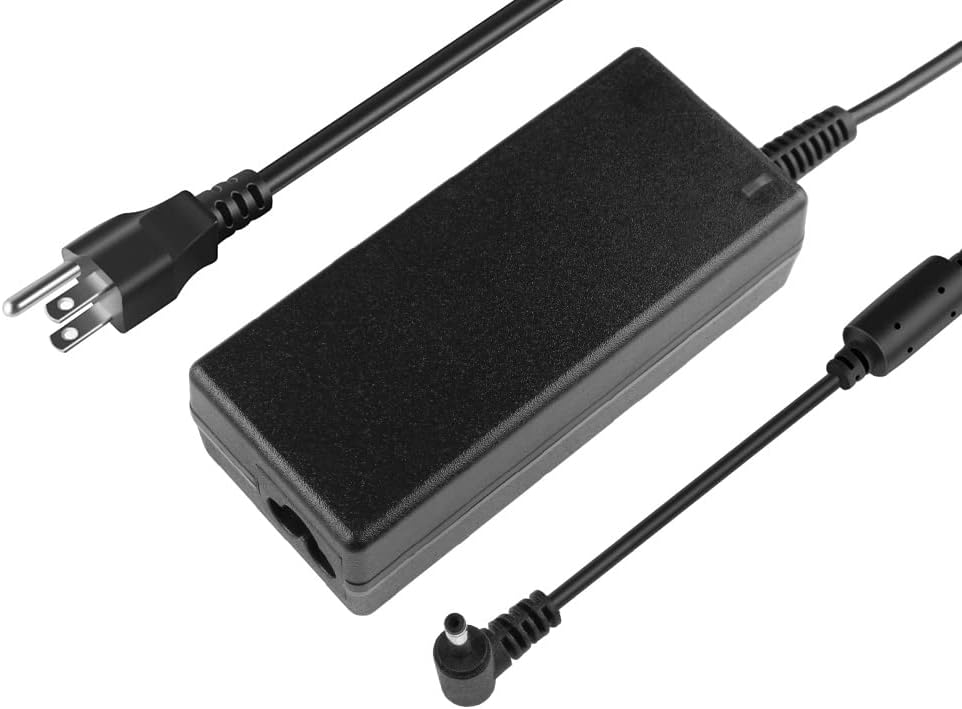
Image 1.2: A top-down view of the charger unit, showing the input and output cables.
2. Safety Information
- Do not expose the charger to liquids or excessive moisture.
- Avoid extreme temperatures.
- Do not disassemble or attempt to repair the charger.
- Ensure the charger is used with compatible devices only.
- Unplug the charger during lightning storms or when unused for long periods.
3. Setup and Compatibility
Before connecting the charger, verify that your device requires a 12V output and that the connector tip matches your device's input port. This charger is compatible with 12V 2A (24W) and 12V 3A (36W) devices. It is not compatible with Gateway 19V devices.
3.1. Compatible Models
This charger is designed for various Medion and Gateway laptop models, including but not limited to:
- Medion: 40057296, 40054523, 40063294, 40068954, 40070427, 40074734, A241-1202000E, AD24BGH120200, ADP-36CH B, CYSE20-120200E, EE-1202000E, EE-1203000108E, FSP036-RHBN3-M, JHD-AP024E-120200BA-B, KSA-36W-120300HE, KSASB0241200200VE, SAW30-120-2000G.
- Medion Akoya: E11201, E11202, E2211T, E2213, E2214, E2291, E2292, E2293, E229, E3221, E3222, E4251, E4251S, E4271, S17405, S4403.
- Gateway: GWTC116-1, GWTC116-1BK, GWTC116-1BL, GWTC116-1GR, GWTC116-1PR, GWTC116-2, GWTC116-2BK, GWTN116-1, GWTN116-1BK, GWTN141-1, GWTN141-1BK, GWTN141-1BL, GWTN141-1PR, GWTN141-5, GWTN141-5BK, GWTN141-5BL, GWTN141-5GR, GWTN141-5PR, GWTN156-11, GWTN156-11BK, GWTN-156-11W, Gateway Ultra Slim GWTN141-1, GWTN141-1GR, GWTN141-5, LB.9ESAG.241.
3.2. Connector Size Verification
The charger features a 3.5mm x 1.35mm barrel connector. It is crucial to confirm that this matches your device's power input port to ensure proper connection and prevent damage.

Image 3.1: Visual guide for verifying the correct connector size (3.5mm x 1.35mm).
3.3. Connection Steps
- Connect the power cord to the charger unit.
- Plug the power cord into a standard 100-240V AC wall outlet.
- Insert the charger's barrel connector into your laptop's power input port.
4. Operating Instructions
Once connected, the charger will automatically begin supplying power to your laptop and charging its battery. The charger is equipped with multiple protection features to ensure safe operation.

Image 4.1: A laptop connected to the charger and receiving power.
4.1. Protection Features
The charger incorporates seven protection mechanisms for enhanced safety and device longevity:
- Fast charging: Optimized power delivery.
- Magnetic field protection: Shields against electromagnetic interference.
- Charging protection: Safeguards the battery during charging cycles.
- Overcharge protection: Prevents battery damage from excessive charging.
- Overvoltage protection: Protects against input voltage surges.
- Cycle charge: Manages battery charging cycles efficiently.
- Temperature protection: Prevents overheating of the charger and device.

Image 4.2: Visual representation of the charger's integrated safety protections.
5. Maintenance
- Keep the charger clean and free from dust. Use a dry, soft cloth for cleaning.
- Store the charger in a cool, dry place when not in use.
- Avoid wrapping the cable too tightly around the adapter to prevent wire damage.
- Regularly inspect the cable and connector for any signs of wear or damage.
6. Troubleshooting
- Charger not powering device:
- Ensure the wall outlet is functional.
- Verify all connections are secure between the power cord, charger, and laptop.
- Confirm the charger's specifications (12V, 3A) match your laptop's requirements.
- Check for any visible damage to the charger or cables.
- Device not charging:
- The laptop's battery may be fully charged or faulty.
- Ensure the laptop's charging port is clean and undamaged.
- Charger overheating:
- Ensure adequate ventilation around the charger.
- Avoid placing the charger on soft surfaces that can block airflow.
- If overheating persists, discontinue use and contact support.
7. Specifications
| Feature | Detail |
|---|---|
| Model Number | BY36W |
| Input Voltage | 100-240V AC, 50/60Hz |
| Output Voltage | 12V DC |
| Output Current | 3A |
| Output Wattage | 36W (compatible with 24W) |
| Connector Type | Barrel Connector (3.5mm x 1.35mm) |
| Power Plug Type | US Plug |
| Item Weight | 11.2 ounces |
| Certifications | CE, FCC, UL |
| Included Components | 1 x AC Adapter, 1 x Power Cord |
7.1. Adapter Dimensions

Image 7.1: Physical dimensions of the charger unit.
8. Warranty Information
Specific warranty details are not provided in the product information. Please refer to your purchase receipt or contact the seller directly for warranty terms and conditions.
9. Customer Support
For further assistance, technical support, or inquiries regarding this product, please contact the seller through the platform where the purchase was made.