1. Product Overview
This manual provides instructions for the installation, operation, and maintenance of the xamily 1623828 Clean Tank with Cap. This component is a direct replacement part designed for specific Bissell Lightweight Pet Carpet Cleaner models.
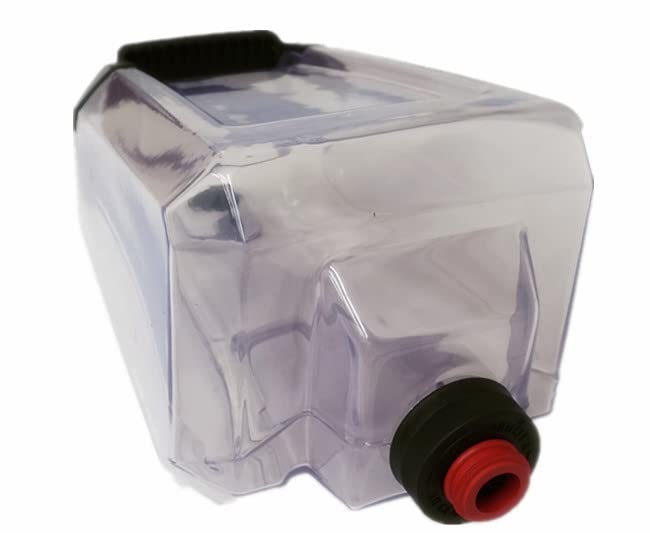
Image 1.1: The xamily 1623828 Clean Tank with Cap. This image displays the transparent plastic clean tank, featuring a black handle and a cap. It is designed as a replacement part for compatible Bissell lightweight pet carpet cleaners.
The clean tank holds the water and cleaning solution mixture used by your carpet cleaner. Ensuring it is properly installed and maintained is crucial for effective cleaning performance.
2. Compatibility
The xamily 1623828 Clean Tank with Cap is compatible with the following Bissell Lightweight Pet Carpet Cleaner models:
- Bissell Model 12987
- Bissell Model 2806
- Bissell Model 28062
- Bissell Model 28068
- Bissell Model 29878
- Bissell Model 29879
Please verify your carpet cleaner's model number before installation to ensure proper fit and function.
3. Included Components
The package includes:
- 1 x Clean Tank (Part Number 1623828)
- 1 x Tank Cap
4. Setup and Installation
Follow these steps to properly install the clean tank onto your Bissell Lightweight Pet Carpet Cleaner:
- Preparation: Ensure your carpet cleaner is unplugged from the power outlet and turned off. Place the cleaner on a flat, stable surface.
- Remove Old Tank (if applicable): If replacing an existing tank, locate the release mechanism (usually a latch or button) on your carpet cleaner that secures the clean tank. Press or lift the mechanism and carefully lift the old tank straight up and away from the unit.
- Inspect New Tank: Before installation, inspect the new xamily 1623828 clean tank and cap for any visible damage or defects.
- Position New Tank: Align the bottom of the new clean tank with the corresponding slot or base on your carpet cleaner. Ensure the tank sits flush and securely.
- Secure Tank: Gently push down on the tank until you hear or feel it click into place. Verify that the tank is firmly seated and does not wobble.
- Attach Cap: Ensure the cap is securely twisted onto the tank's opening.
The clean tank is now installed and ready for filling.
5. Operating Instructions (Filling the Clean Tank)
To prepare your carpet cleaner for use, follow these steps to fill the clean tank:
- Remove Tank: If the tank is already installed, remove it from the carpet cleaner by pressing the release mechanism and lifting it off.
- Unscrew Cap: Twist the cap counter-clockwise to remove it from the clean tank.
- Fill with Water: Fill the tank with warm tap water up to the designated "Water Fill Line" or as instructed by your carpet cleaner's main user manual. Do not use boiling water.
- Add Cleaning Solution: Pour the recommended amount of Bissell cleaning solution into the tank, up to the "Formula Fill Line" or as specified by your cleaning solution's instructions. Do not overfill.
- Secure Cap: Replace the cap and twist it clockwise until it is tightly sealed. Ensure there are no leaks.
- Reinstall Tank: Place the filled clean tank back onto your carpet cleaner, ensuring it clicks securely into place as described in the "Setup and Installation" section.
Your carpet cleaner is now ready for operation. Refer to your carpet cleaner's main user manual for specific cleaning procedures.
6. Maintenance
Regular cleaning of the clean tank ensures optimal performance and longevity.
- Empty After Use: After each cleaning session, remove the clean tank and empty any remaining water and cleaning solution.
- Rinse Thoroughly: Rinse the inside of the tank and the cap with clean, warm water. Pay attention to any residue buildup.
- Clean Cap and Seal: Inspect the cap and its rubber seal for any debris or hair. Clean them gently with a soft cloth or brush if necessary. A clean seal prevents leaks.
- Air Dry: Allow the tank and cap to air dry completely before storing to prevent mildew or odors. Store them separately or with the cap loosely attached to allow air circulation.
- Periodic Deep Clean: If mineral deposits or stubborn residue accumulate, a mild vinegar solution (diluted with water) can be used for a deeper clean. Rinse thoroughly with plain water afterward.
7. Troubleshooting
This section addresses common issues related to the clean tank. For problems with the carpet cleaner itself, refer to its main user manual.
| Problem | Possible Cause | Solution |
|---|---|---|
| Tank is leaking | Cap not secured; damaged cap seal; tank not seated correctly. | Ensure cap is tightly twisted. Inspect cap seal for damage and replace if necessary. Reinstall tank, ensuring it clicks into place. |
| Tank does not fit | Incorrect model number; obstruction in tank slot. | Verify your carpet cleaner's model number against the compatibility list. Check for any debris preventing the tank from seating properly. |
| No solution dispensing | Tank empty; cap not properly sealed; internal cleaner issue. | Refill tank with water and solution. Ensure cap is tightly sealed. If problem persists, consult your carpet cleaner's main manual. |
8. Specifications
| Feature | Detail |
|---|---|
| Model Number | 1623828 |
| Brand | xamily |
| Manufacturer | dazhibai |
| Material | Plastic |
| Product Dimensions (L x W x H) | 3 x 1 x 5 inches |
| Included Components | Clean Tank, Cap |
| Connector Type | Cap |
| UPC | 745589648822 |
9. Support Information
For further assistance or inquiries regarding the xamily 1623828 Clean Tank with Cap, please contact the manufacturer, dazhibai, or the brand, xamily, through their official support channels. Please refer to your purchase documentation for specific contact details.
For issues related to the operation or repair of your Bissell Lightweight Pet Carpet Cleaner, please consult the original manufacturer's manual or support resources.