1. Introduction
This manual provides essential information for the installation, operation, and maintenance of your TRQ Alternator 11693. Please read this manual thoroughly before proceeding with any installation or service to ensure proper function and safety.
The TRQ Alternator 11693 is designed as a direct fit, OE replacement component for compatible vehicles, ensuring reliable power generation for your vehicle's electrical system.
2. Important Safety Information
WARNING:
- Always disconnect the vehicle's battery before working on the electrical system to prevent electrical shock or damage.
- Wear appropriate personal protective equipment (PPE), including safety glasses and gloves, during installation.
- Ensure the vehicle is securely supported on jack stands before working underneath it.
- Refer to your vehicle's service manual for specific procedures and torque specifications.
- This product contains chemicals known to the State of California to cause cancer and birth defects or other reproductive harm. Wash hands after handling.
3. What's in the Box
- 1 x TRQ Alternator 11693
No additional accessories or tools are included unless specified by the product packaging.
4. Product Overview and Features
The TRQ Alternator 11693 is engineered to provide reliable electrical power for your vehicle. It is designed to meet or exceed original equipment specifications.
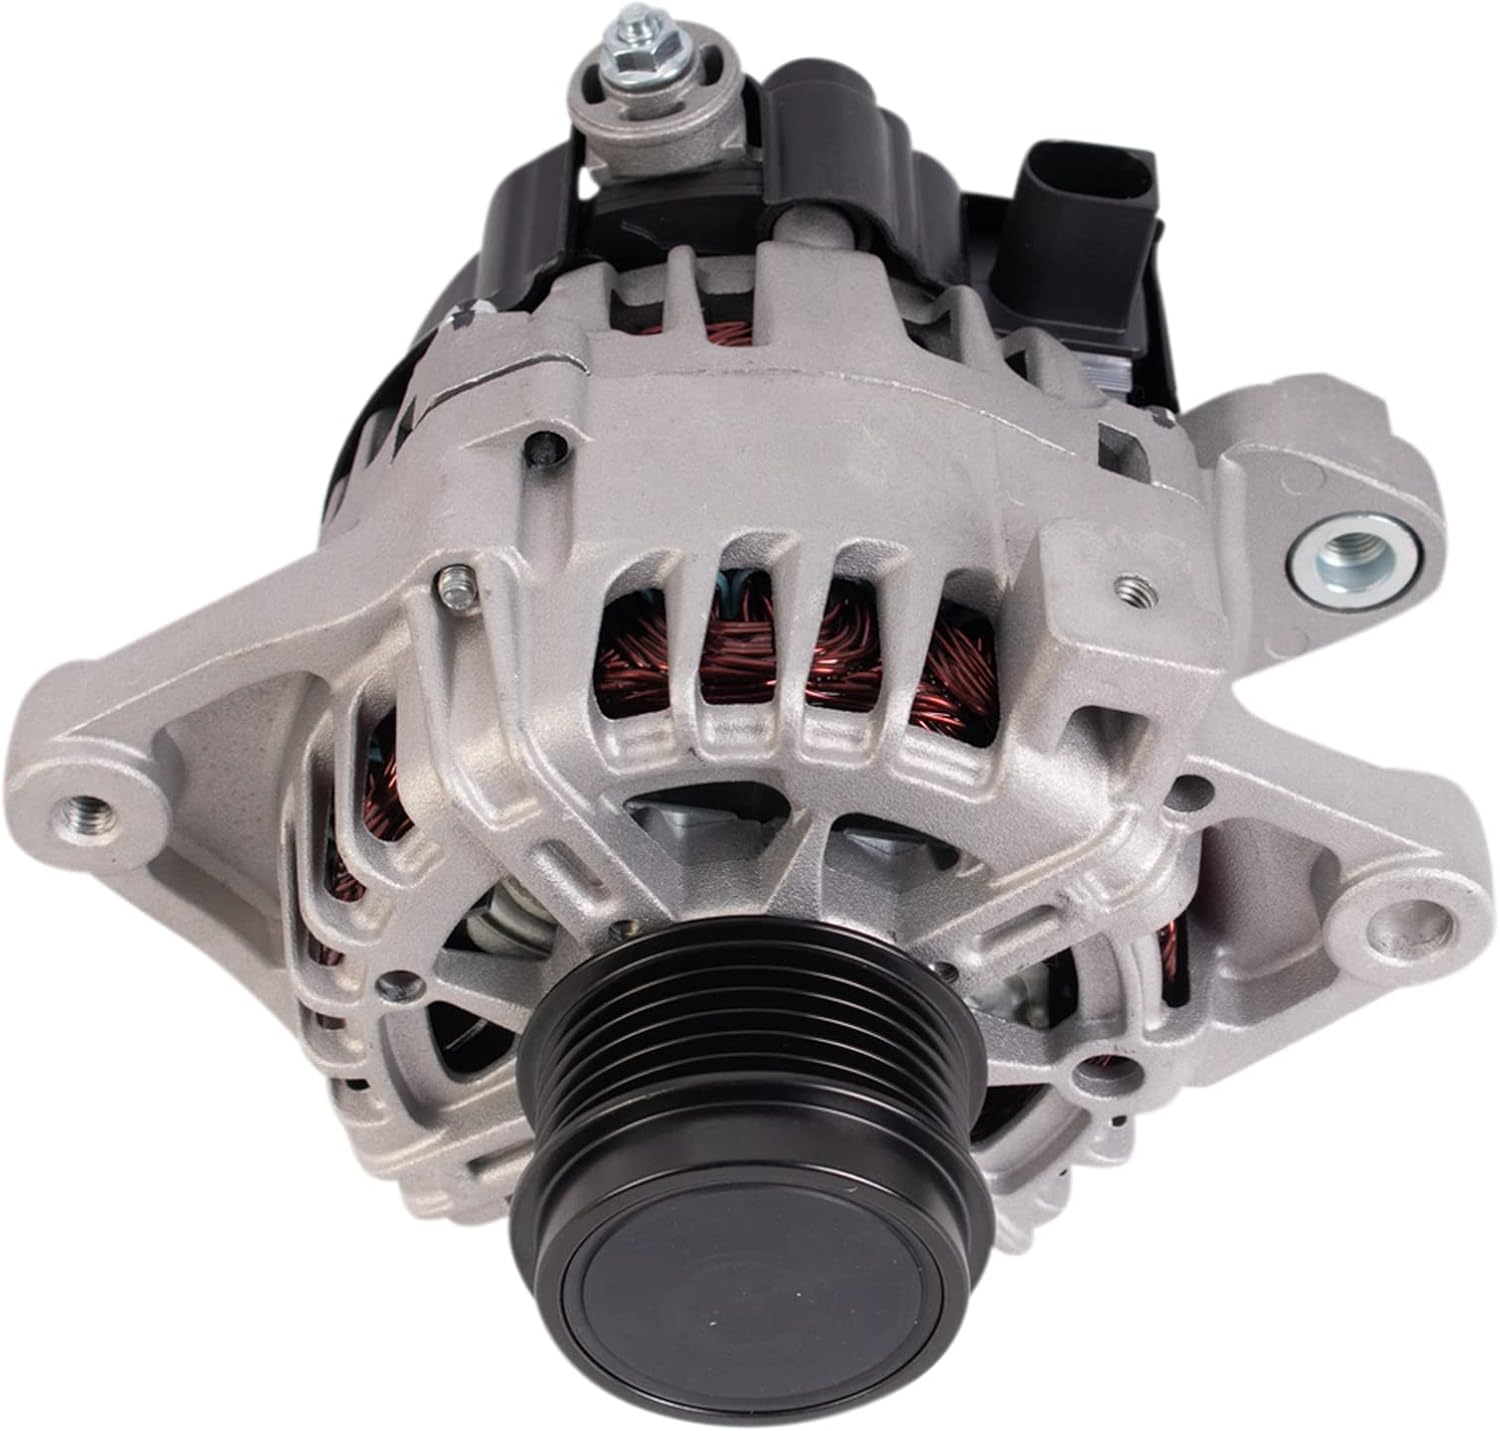

Key Features:
- Engineered to match exact vehicle specifications.
- Upgraded Service Life: Features Pressure-Fit High-Capacity Diodes for improved heat dissipation.
- Improved Reliability: Incorporates double insulated rotors and stators to reduce signal degradation.
- Direct Fit, OE Replacement Alternator.
5. Fitment Information
This TRQ Alternator 11693 is compatible with the following vehicle models:
- 2014-2018 Toyota Corolla with Valeo Style Option
- 2019 Toyota Corolla L4 1.8L with Valeo Style Option
It is crucial to verify fitment with your specific vehicle's year, make, model, and engine type before installation. Consult your vehicle's service manual or a qualified mechanic if unsure.

6. Specifications
| Attribute | Value |
|---|---|
| Amperage Rating | 115 A |
| Voltage | 12 VDC |
| Pulley Groove Quantity | 6 |
| Rotation Direction | Clockwise (Right) |
| Fan Type | Internal |
| Brushless | No |
| External Regulator Included | No |
| Pulley Belt Type | Serpentine |
| Pulley Included | Yes |
| External Fan Included | Yes |
| Decoupled Or Clutch Pulley | Yes |
| Drive End To Pulley 1st Groove Distance | 1.93 in (49 mm) |
| Distance Between Mounting Feet | 2.01 in (51 mm) |
| Item Weight | 13.32 pounds |
| Product Dimensions | 8 x 9 x 7 inches |
7. Installation (Setup)
Replacing an alternator requires mechanical aptitude and specific tools. If you are not comfortable performing this procedure, it is recommended to seek professional assistance.
General Installation Steps (Consult Vehicle Service Manual for Details):
- Preparation: Park the vehicle on a level surface, engage the parking brake, and disconnect the negative terminal of the battery.
- Access: Depending on your vehicle, you may need to remove other components (e.g., air intake, belts) to gain access to the alternator.
- Belt Removal: Loosen the tensioner and remove the serpentine belt from the alternator pulley.
- Electrical Connections: Disconnect all electrical connectors and the main power cable from the old alternator.
- Mounting Bolts: Remove the mounting bolts securing the old alternator to the engine bracket. Carefully remove the old alternator.
- Install New Alternator: Position the new TRQ Alternator 11693 into place and secure it with the mounting bolts. Tighten to vehicle manufacturer's specifications.
- Reconnect Electrical: Reattach all electrical connectors and the main power cable. Ensure connections are clean and secure.
- Belt Installation: Reinstall the serpentine belt and adjust the tensioner according to vehicle specifications.
- Final Checks: Reconnect the negative battery terminal. Start the vehicle and check for proper charging system operation (e.g., battery light off, voltage reading).
TRQ provides detailed installation videos for many products. It is highly recommended to search for an official TRQ installation video specific to your vehicle and this alternator model for step-by-step visual guidance.


8. Operation
The alternator is a critical component of your vehicle's charging system. Once installed, it operates automatically to convert mechanical energy from the engine into electrical energy. This electrical energy recharges the vehicle's battery and powers all electrical components while the engine is running.
Proper operation is indicated by:
- The battery warning light on the dashboard turning off shortly after the engine starts.
- A stable voltage reading (typically between 13.5V and 14.8V) across the battery terminals when the engine is running.
9. Maintenance
Alternators are generally low-maintenance components. However, regular checks of related systems can prolong its life and ensure optimal performance:
- Serpentine Belt: Inspect the serpentine belt regularly for cracks, fraying, or excessive wear. Ensure it has proper tension. A worn or loose belt can lead to reduced alternator output.
- Battery: Ensure your vehicle's battery is in good condition. A weak or failing battery can put undue strain on the alternator.
- Electrical Connections: Periodically check the alternator's electrical connections for corrosion or looseness. Clean any corrosion and ensure connections are tight.
- Wiring: Inspect wiring leading to and from the alternator for any signs of damage or wear.
10. Troubleshooting
If you experience issues with your vehicle's charging system, consider the following common troubleshooting steps:
- Battery Warning Light On: This typically indicates a problem with the charging system. Check the serpentine belt for proper tension and condition. Test the battery voltage with the engine off (should be ~12.6V) and with the engine running (should be 13.5V-14.8V). If the voltage does not increase with the engine running, the alternator may be faulty.
- Dim Lights or Electrical Malfunctions: This can be a symptom of low voltage due to a failing alternator. Check battery and alternator output as described above.
- Grinding or Whining Noises: Unusual noises from the alternator area could indicate worn bearings within the alternator or a failing pulley.
- Burning Smell: A burning rubber smell could indicate a slipping serpentine belt. A burning electrical smell could indicate an internal alternator fault.
If troubleshooting does not resolve the issue, it is recommended to have the vehicle inspected by a qualified automotive technician.
11. Reference Numbers
For cross-referencing and compatibility, the TRQ Alternator 11693 corresponds to the following reference numbers:
- Hollander: 601-61072
- Lester: 11693
- Toyota OE: 270600T240
- WAI: 11693N


