
1. Introduction
Thank you for choosing the NODINIHU Portable Rechargeable Work Light. This manual provides essential information for the safe and efficient operation, maintenance, and troubleshooting of your device. Please read this manual thoroughly before use and retain it for future reference.
2. Product Overview
2.1 Key Features
- 5 Lighting Modes: High white light, dim white light, top light, red light, and red flashing light.
- 360° Rotation: Adjustable head for multi-angle illumination.
- Magnetic Base: Strong magnet for secure attachment to metal surfaces.
- Hanging Hook: Integrated hook for versatile placement.
- Rechargeable Battery: Long-lasting internal lithium-ion battery.
- Compact and Portable: Foldable design for easy storage and transport.
- 800 Lumens Brightness: Provides ample illumination for various tasks.
2.2 Package Contents
- 4 x NODINIHU Work Light
- 4 x USB Charging Cable
- 4 x Lanyard (string)
2.3 Component Identification

Figure 1: Diagram illustrating the main components of the work light, including the USB charging port, charging indicator, power button, rotary adjuster, LED COB light, and top light.
- USB Charging Port: For connecting the charging cable.
- Charging Indicator: Displays charging status.
- Power Button: Controls power and cycles through lighting modes.
- Rotary Adjuster: Allows 360° rotation of the light head.
- LED COB Light: Main illumination source.
- Top Light (Dom Light): Auxiliary light source.
- Magnetic Base: Located at the bottom for attachment to metal surfaces.
- Hanging Hook: Foldable hook for suspension.
3. Setup
3.1 Initial Charging
Before first use, fully charge the work light. Connect the provided USB charging cable to the light's USB charging port and to a standard USB power adapter (not included). The charging indicator will illuminate during charging and change color or turn off when fully charged.
3.2 Attaching Lanyard
If desired, attach the included lanyard (string) to the designated loop on the work light for easier carrying or securing.
4. Operation
4.1 Power On/Off and Mode Selection
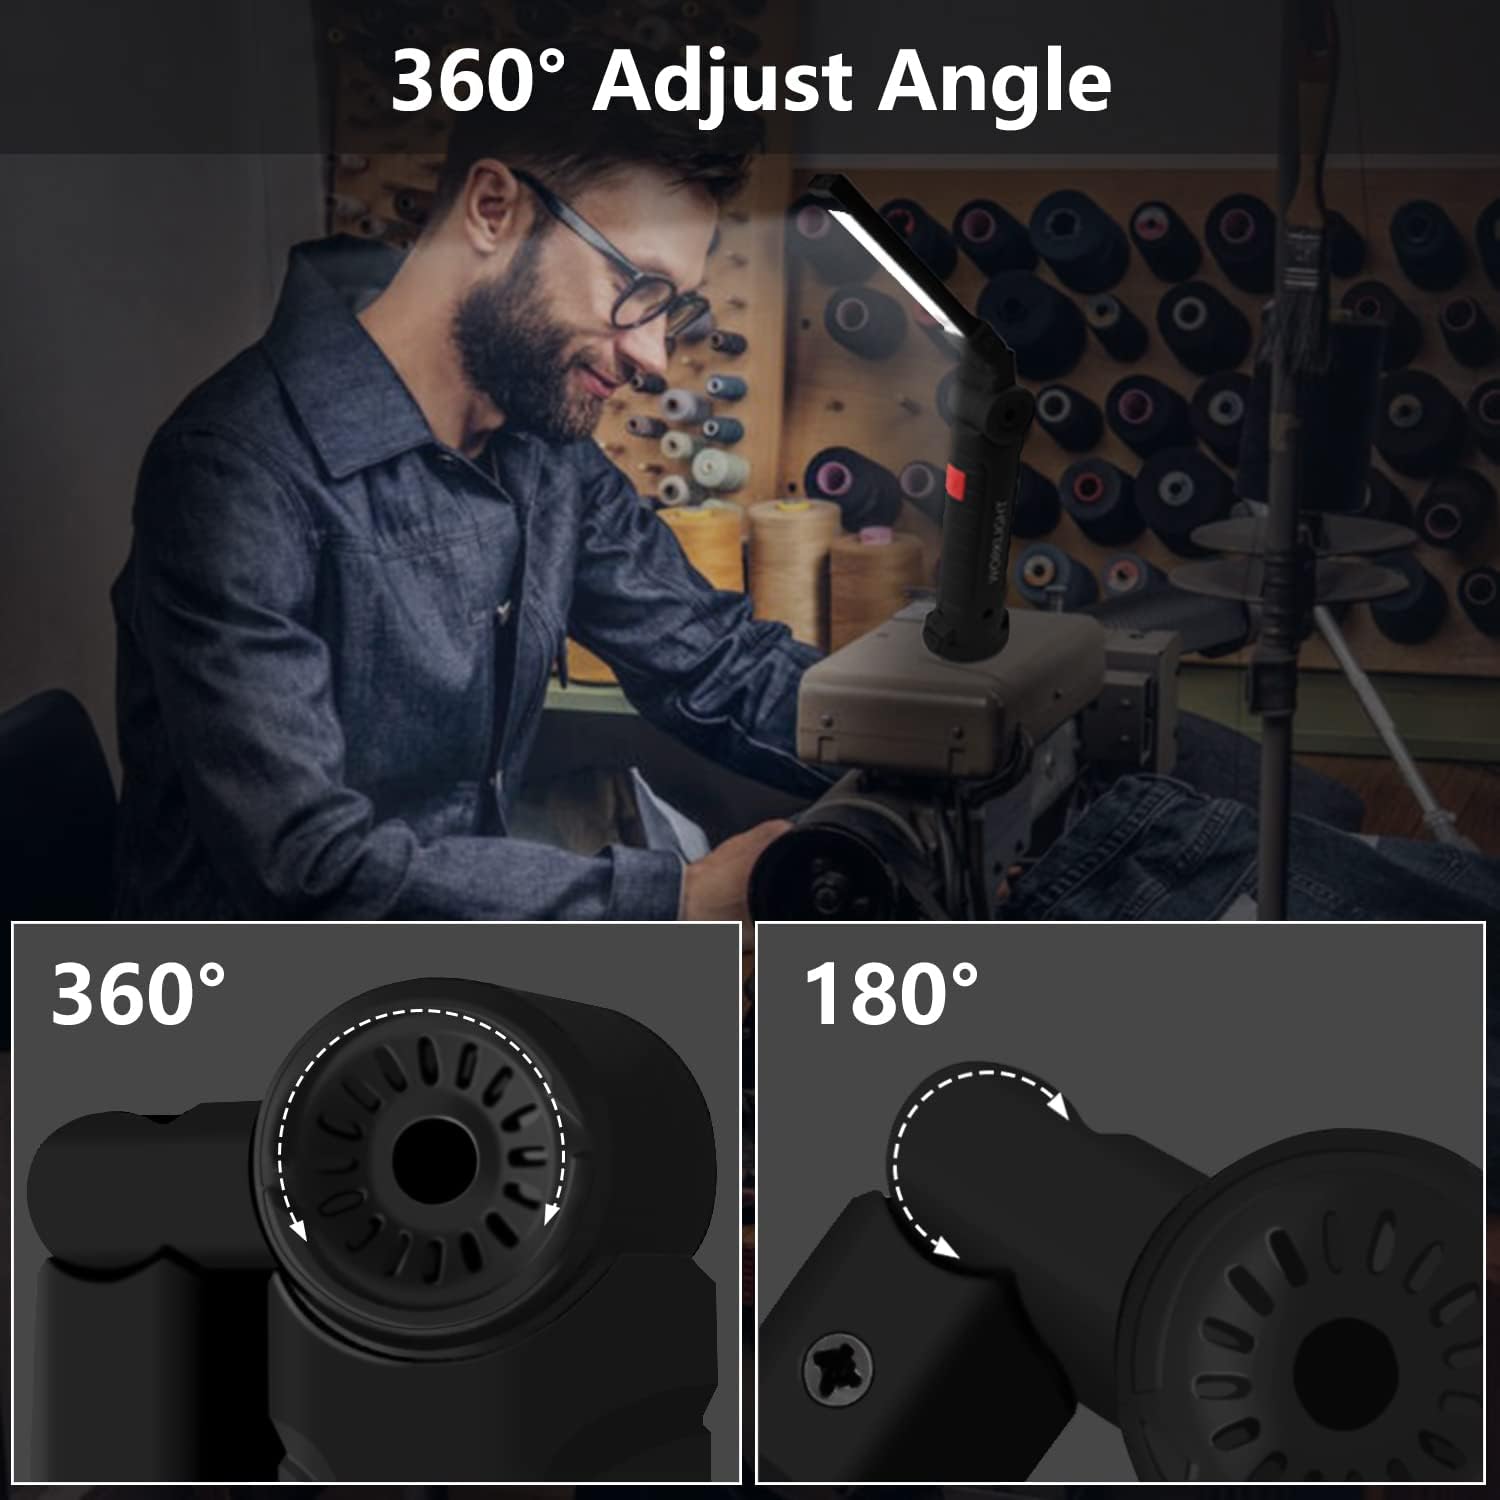
Figure 2: Visual representation of the five distinct lighting modes available on the work light.
- Press the Power Button once to turn on the light in High White Light Mode.
- Press the button again to switch to Dim White Light Mode.
- A third press activates the Top Light (Dom Light) Mode.
- A fourth press activates the Red Light Mode.
- A fifth press activates the Red Flashing Light Mode.
- Press the button a sixth time to turn the light off.
4.2 Adjusting Light Angle

Figure 3: The work light head can be rotated 360 degrees and adjusted 180 degrees for optimal illumination.
The head of the work light can be rotated 360° and adjusted 180° on its axis. Gently rotate the light head to direct illumination precisely where needed.
4.3 Using Magnetic Base and Hook
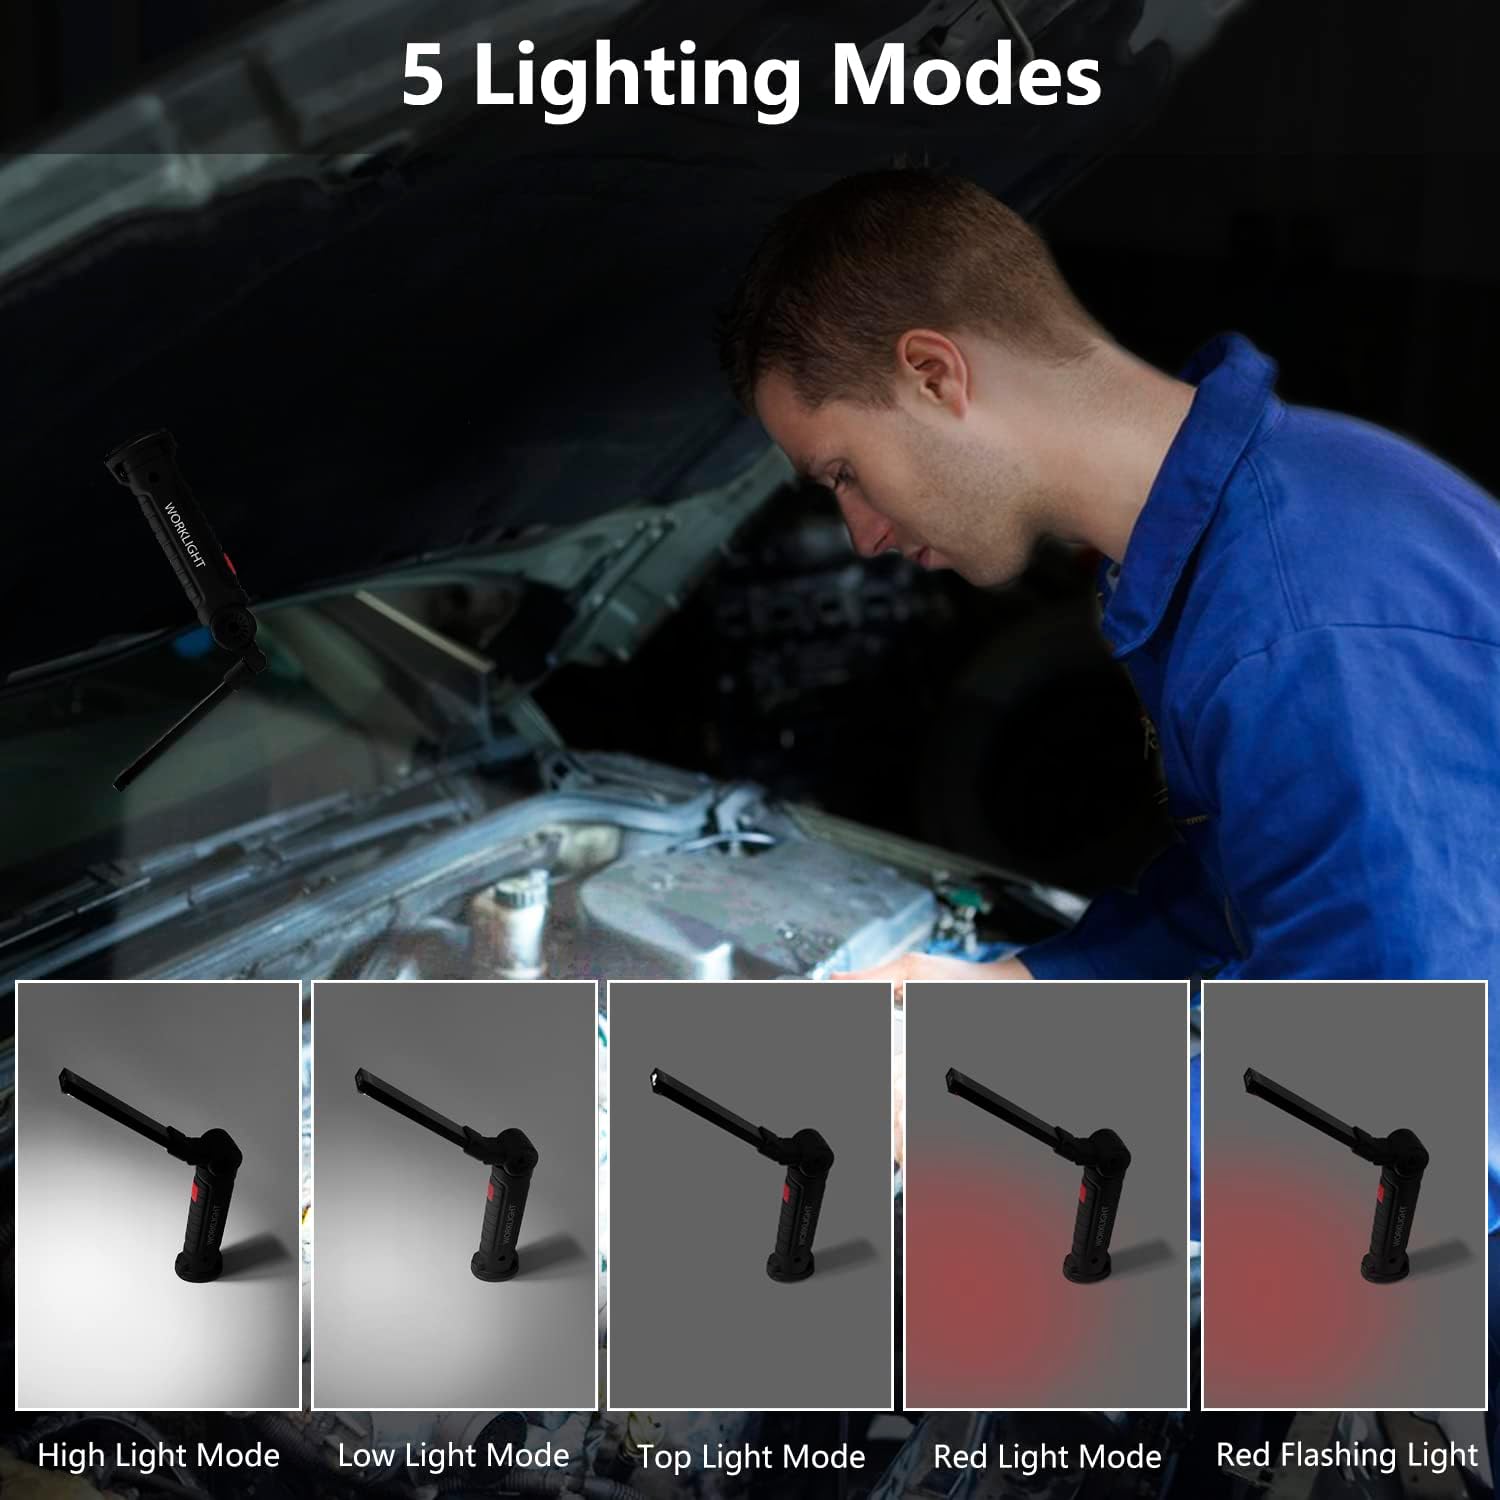
Figure 4: Examples of using the magnetic base for hands-free operation and the metal hook for hanging the light.
- Magnetic Base: Attach the magnetic base to any ferrous metal surface for hands-free operation. Ensure the surface is clean and flat for optimal adhesion.
- Hanging Hook: Unfold the integrated hook and hang the light from a suitable fixture, rope, or branch.
5. Charging
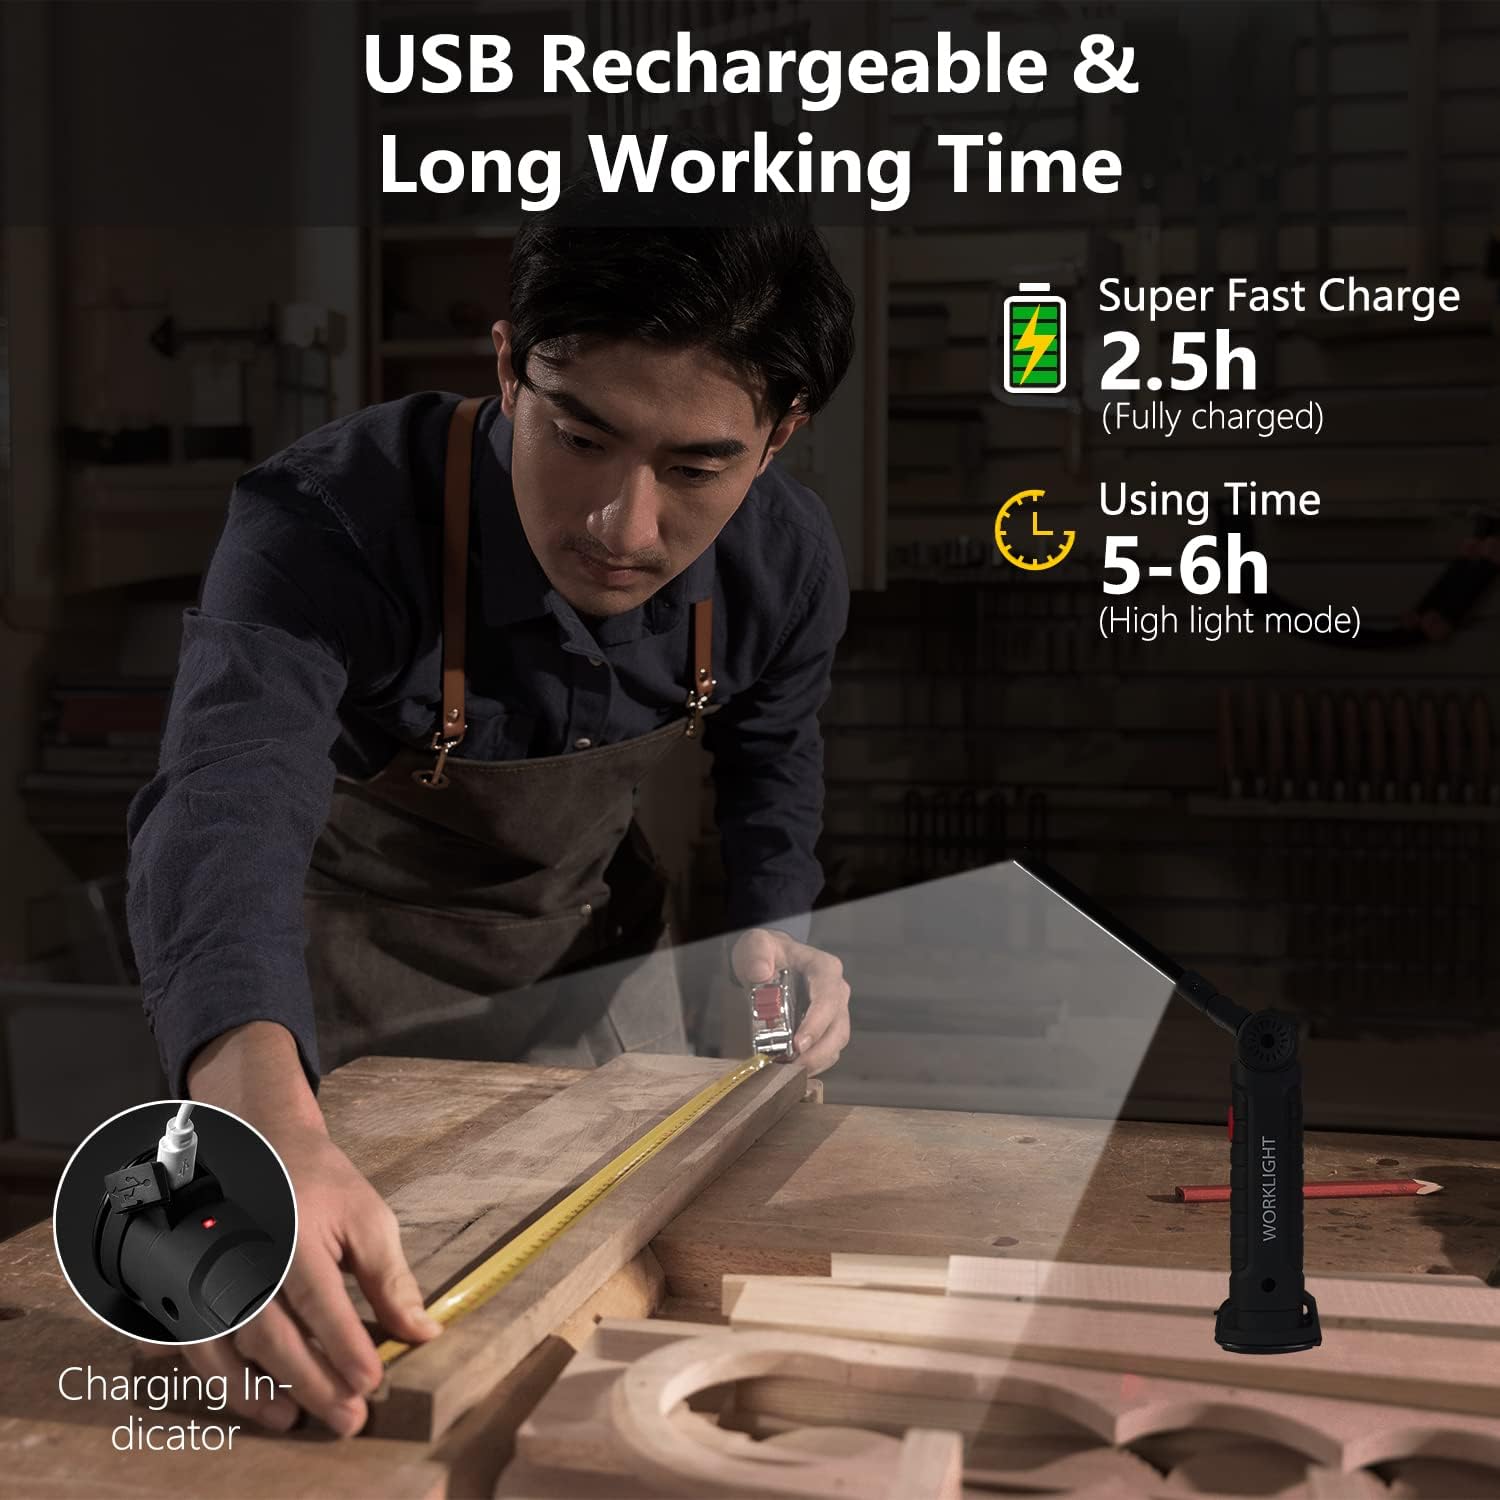
Figure 5: Information on USB charging, charging time, and usage duration for the work light.
- Charging Procedure: Connect the provided USB cable to the light's charging port and a 5V USB power source.
- Charging Indicator: The indicator light will show the charging status. Refer to the product's specific indicator behavior (e.g., red for charging, green/off for full).
- Charging Time: A full charge typically takes approximately 2.5 hours.
- Usage Time: The light provides approximately 5-6 hours of illumination in high white light mode on a full charge.
6. Maintenance
- Cleaning: Wipe the light with a soft, damp cloth. Do not use abrasive cleaners or solvents.
- Storage: Store the work light in a cool, dry place away from direct sunlight and extreme temperatures.
- Battery Care: To prolong battery life, avoid fully discharging the battery frequently. Recharge the light regularly, even if not in use, to maintain battery health.
7. Troubleshooting
| Problem | Possible Cause | Solution |
|---|---|---|
| Light does not turn on. | Battery is depleted. | Charge the light fully. |
| Light is dim. | Low battery level. | Recharge the light. |
| Light does not charge. | Faulty USB cable or power adapter. | Try a different USB cable and power adapter. Ensure connections are secure. |
| Magnetic base does not hold. | Surface is not ferrous metal or is uneven/dirty. | Ensure attachment to a clean, flat ferrous metal surface. |
If the problem persists after attempting these solutions, please contact customer support.
8. Specifications
| Feature | Detail |
|---|---|
| Model Number | XG-W52 |
| Light Source Type | COB LED |
| Brightness | 800 Lumens |
| Color Temperature | 6500 Kelvin |
| Voltage | 3.8 Volts |
| Power Source | Battery Powered (1 Lithium Ion battery included) |
| Charging Time | Approx. 2.5 hours |
| Usage Time (High White Light) | Approx. 5-6 hours |
| Material | Rubber, Metal |
| Product Dimensions | 1.89"L x 1.38"W x 5.83"H |
| Item Weight | Approx. 0.38 lbs (per light) |
| Mounting Type | Magnet Base, Hanging Hook |
9. Warranty and Support
For warranty information or technical support, please refer to the purchase documentation or contact the seller directly. Ensure you have your product model number (XG-W52) and purchase details available when seeking assistance.