PHILIPS DST8021/36
Philips Azur 8000 Series Steam Iron DST8021/36 User Manual
Model: DST8021/36
1. Introduction
Thank you for choosing the Philips Azur 8000 Series Steam Iron. This manual provides essential information for the safe and efficient use of your appliance. Please read it thoroughly before first use and retain it for future reference.

Image 1.1: The Philips Azur 8000 Series Steam Iron, showcasing its design and water tank.
2. Important Safety Information
- Always ensure the voltage indicated on the iron corresponds to your local mains voltage before connecting.
- Do not use the iron if the plug, mains cord, or the appliance itself shows visible damage, or if it has been dropped.
- Keep the iron and its cord out of reach of children when it is switched on or cooling down.
- Never immerse the iron in water or any other liquid.
- Do not leave the iron unattended while it is connected to the mains.
- The soleplate can become extremely hot and cause burns. Avoid direct contact.
- Only use the iron for its intended household purpose as described in this manual.
- Unplug the iron before filling the water tank, cleaning, or after each use.
3. Product Overview
Familiarize yourself with the components of your Philips Azur 8000 Series Steam Iron:
- Water spray nozzle
- Water filling opening with cover
- Steam trigger / Steam boost button
- Temperature control dial (OptimalTEMP technology means no manual temperature setting is needed for most fabrics)
- SteamGlide Elite soleplate
- Quick Calc Release collector
- Power cord
- Water tank (transparent purple)
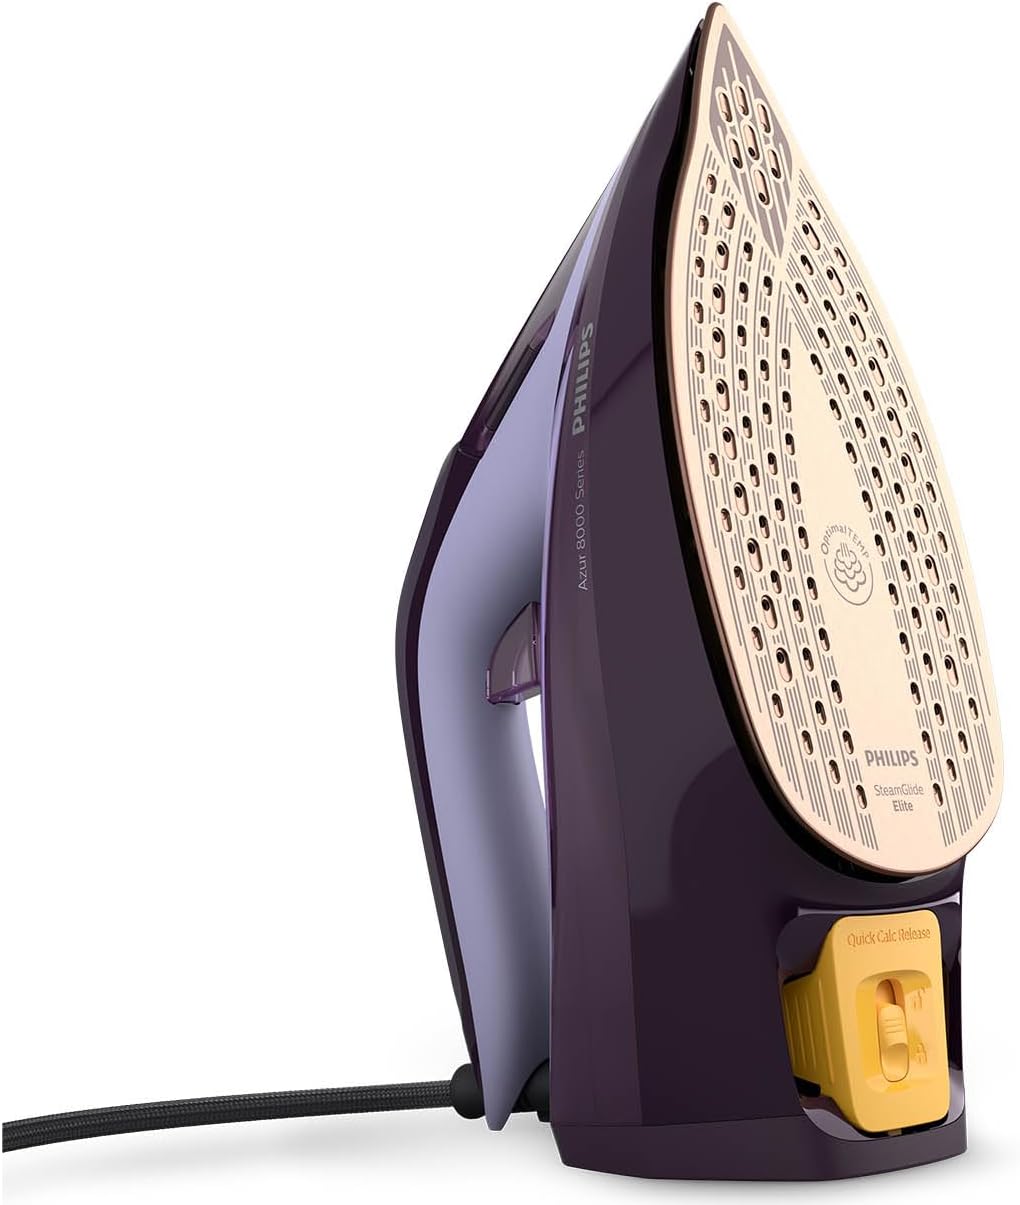
Image 3.1: The SteamGlide Elite soleplate and Quick Calc Release collector.
4. Setup and First Use
4.1 Before First Use
- Remove any stickers or protective foil from the soleplate.
- It is normal for the iron to emit a slight odor or smoke during the first use. This will stop after a short while.
4.2 Filling the Water Tank
- Ensure the iron is unplugged from the mains.
- Open the water filling opening cover.
- Hold the iron in a slightly tilted position and fill the water tank with tap water up to the 'MAX' indication. Do not overfill.
- Close the water filling opening cover securely.

Image 4.1: Filling the water tank of the iron.
5. Operating Instructions
5.1 Ironing with Steam
- Fill the water tank as described in Section 4.2.
- Plug the iron into a grounded wall socket. The iron will heat up quickly due to its 3000W power.
- The OptimalTEMP technology automatically sets the correct temperature for all ironable fabrics, eliminating the need for manual temperature adjustment.
- Press the steam trigger to release continuous steam (55 g/min). For stubborn creases, press the steam boost button for an extra burst of steam.
- Move the iron smoothly over the fabric.

Image 5.1: Ironing a garment with steam.
5.2 Vertical Steaming
The iron can also be used for vertical steaming of hanging garments, curtains, or delicate fabrics.
- Hold the iron in a vertical position, a few centimeters away from the fabric.
- Press the steam trigger or steam boost button to release steam.

Image 5.2: Using the iron for vertical steaming.
5.3 Auto Shut-off Feature
For safety and energy saving, the iron is equipped with an auto shut-off function. If the iron is left unattended on its heel rest for 8 minutes, or on its soleplate for 30 seconds, it will automatically switch off. To restart, simply pick up the iron or move it slightly.
6. Maintenance and Cleaning
6.1 Cleaning the Iron
- Always unplug the iron and allow it to cool down completely before cleaning.
- Wipe the soleplate with a damp cloth and a non-abrasive cleaner if necessary.
- Clean the upper part of the iron with a damp cloth.
- Do not use scouring pads, abrasive cleaning agents, or harsh solvents.
6.2 Quick Calc Release
The Quick Calc Release system helps to collect loose scale particles during ironing, maintaining optimal steam performance and extending the iron's lifespan. It is recommended to clean the Quick Calc Release collector every 1 to 3 months, depending on water hardness and frequency of use.
- Ensure the iron is unplugged and has cooled down completely.
- Place the iron on a flat surface.
- Pull the Quick Calc Release collector out from the back of the iron.
- Empty the collected scale particles into a sink.
- Rinse the collector under running water.
- Reinsert the collector back into the iron until it clicks into place.

Image 6.1: Removing and cleaning the Quick Calc Release collector.
7. Troubleshooting
| Problem | Possible Cause | Solution |
|---|---|---|
| Iron does not heat up. | Not plugged in, power outage, auto shut-off activated. | Check power connection. Move the iron to reactivate after auto shut-off. |
| No steam or insufficient steam. | Water tank empty, iron not hot enough, calc build-up. | Fill water tank. Allow iron to heat up. Clean Quick Calc Release collector. |
| Water drips from the soleplate. | Iron not hot enough for steam, overfilled water tank. | Allow iron to heat up fully before using steam. Do not overfill water tank. |
| White flakes coming from soleplate. | Calc build-up. | Clean the Quick Calc Release collector as described in Section 6.2. |
8. Technical Specifications
- Model: DST8021/36
- Brand: PHILIPS
- Power: 3000 W
- Continuous Steam Output: 55 g/min
- Steam Boost: Up to 240 g/min
- Soleplate: SteamGlide Elite
- Water Tank Capacity: Approximately 300 ml (estimated based on typical iron capacity)
- Weight: 1.93 Kilograms
- Dimensions (Package): 33.6 x 17.9 x 14 cm
- Special Features: OptimalTEMP Technology, Auto Shut-off, Quick Calc Release, Removable Tank

Image 8.1: Approximate dimensions of the iron.
9. Warranty and Support
This Philips appliance comes with a standard manufacturer's warranty. Please refer to the warranty card provided with your product for specific terms and conditions, including the warranty period.
For product support, frequently asked questions, or to register your product, please visit the official Philips website or contact Philips customer service in your region. You can find contact details on the Philips website or in the warranty booklet.
Online Support: www.philips.com/support
Related Documents - DST8021/36
 |
Philips Azur 8000 Series DST8030/70 Ferro a Vapor - Desempenho Potente e Seguro Descubra o ferro a vapor Philips Azur 8000 Series DST8030/70. Com 3000W de potência, vapor contínuo de 70 g/min, jato de vapor turbo de 240 g e tecnologia OptimalTEMP para engomar todos os tecidos com segurança. Conheça as suas características, especificações e benefícios. |
 |
Philips Azur Elite Steam Iron GC5037/86 with OptimalTEMP Technology - Powerful & Safe Discover the Philips Azur Elite Steam Iron (GC5037/86) featuring OptimalTEMP technology for guaranteed no burns. With 3000W power, 70g/min steam, 260g boost, and SteamGlide Advanced soleplate, achieve perfect results effortlessly. |
 |
Philips Azur 8000 Series Steam Iron User Manual and Instructions Comprehensive user guide for the Philips Azur 8000 Series steam iron. Learn about setup, operation, steam functions, descaling, auto-shutoff, and maintenance. Includes technical specifications and support information. |
 |
Philips Azur 7000 Series DST7040/80 Steam Iron: Powerful Performance & Glide Explore the Philips Azur 7000 Series DST7040/80 steam iron. Featuring a 2800W motor, 250g steam boost, 50g/min continuous steam, and the durable SteamGlide Elite soleplate for effortless wrinkle removal. |
 |
Philips Azur 8000 Series Steam Iron User Manual and Safety Information Comprehensive user manual and safety guidelines for the Philips Azur 8000 Series Steam Iron (DST8050/26, DST8030/70, DST8041/80, DST8020/20). Learn about safe operation, maintenance, and product features. |
 |
Philips PerfectCare Steam Iron GC3929/66: Features, Specifications, and Benefits Discover the Philips PerfectCare Steam Iron GC3929/66. Featuring OptimalTEMP technology for no-burns safety, 2600W power, 45g/min continuous steam, 200g steam boost, and SteamGlide Plus soleplate for effortless ironing. |
Ask a question about this manual
Ask about setup, troubleshooting, compatibility, parts, safety, or missing instructions. Manuals+ will review the question and use this page’s manual context to help answer it.