1. Introduction
This manual provides detailed instructions for the safe and effective use of your LEERCHUNAG Digital Lux Meter. This handheld device is designed for accurate measurement of light intensity (illuminance) in various environments. It features a high-accuracy silicon diode photosensitive component, a large LCD display with backlight, and functions such as data hold, MAX/MIN value recording, and relative measurement.
The meter is suitable for a wide range of applications, including photography, plant growth monitoring, aquarium lighting, office and school lighting assessments, and industrial settings.
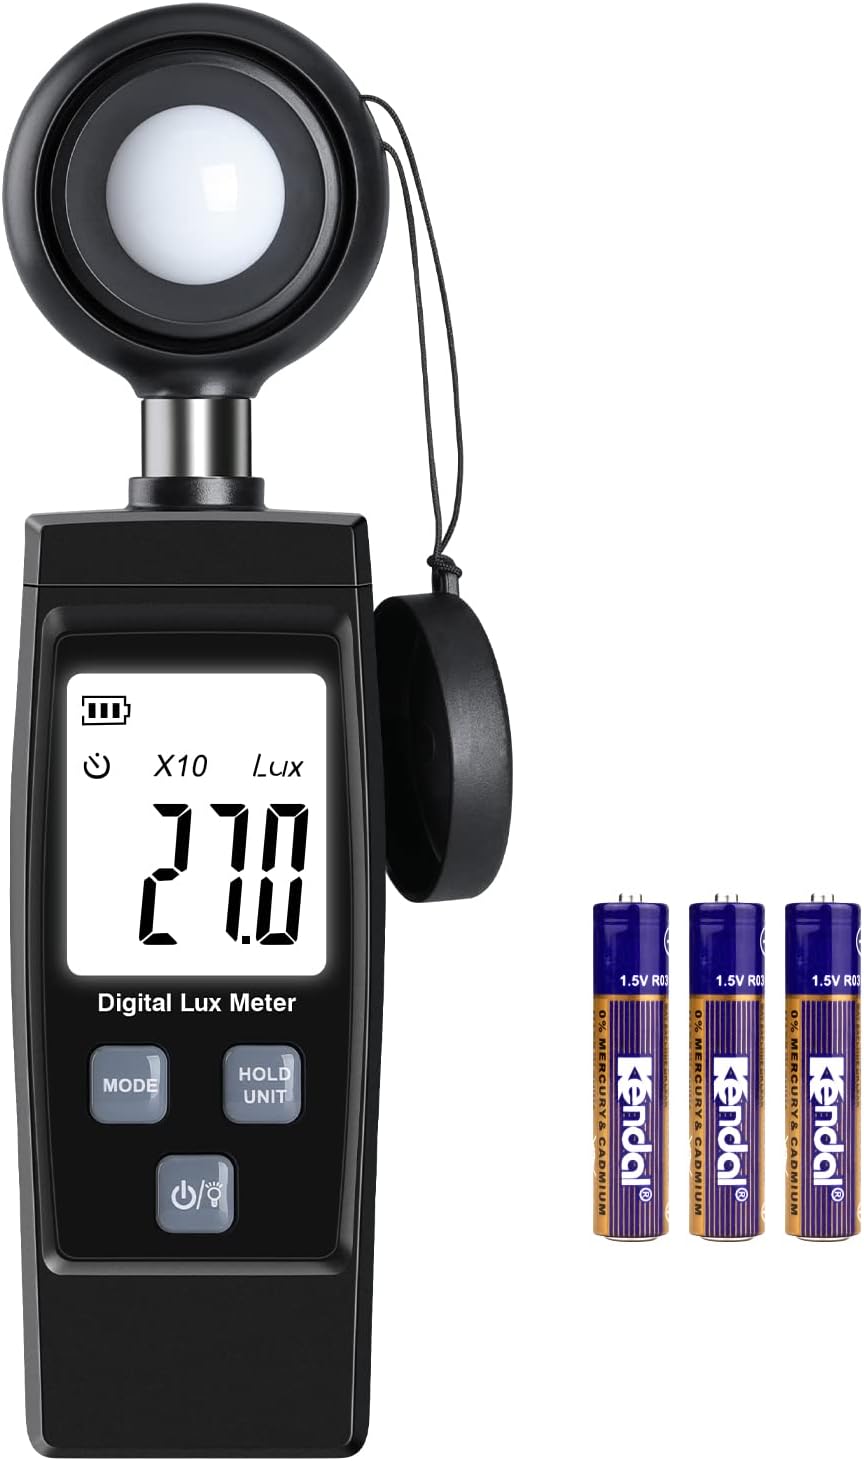
Figure 1: LEERCHUNAG Digital Lux Meter and included AA batteries.
2. Safety Information
- Read all instructions before operating the device.
- Do not expose the device to extreme temperatures, humidity, or direct sunlight for prolonged periods.
- Avoid dropping the device or subjecting it to strong impacts.
- Keep the sensor clean and free from obstructions to ensure accurate readings.
- Dispose of batteries according to local regulations.
3. Product Components and Display
Familiarize yourself with the various parts of your digital lux meter and its display indicators.

Figure 2: Key components and display indicators of the Digital Lux Meter.
- Photometer Head: The light-sensitive sensor that measures illuminance.
- Battery Level Indicator: Shows the current battery charge.
- MAX/MIN Value Indicators: Displays the maximum or minimum recorded illumination value.
- Automatic Power Off Indicator: Shows when the auto-off function is active.
- Illumination Value: The primary display showing the current light intensity.
- Data Holding Indicator (HOLD): Indicates that the current reading is frozen on the display.
- Multiply Indicator (x10, x100, x1000): Shows the multiplication factor for the displayed value in higher ranges.
- Shade Cover: Protects the photometer head when not in use.
- Illumination Unit (Lux): Indicates the unit of measurement.
- MODE Button: Cycles through measurement modes (Normal, MAX, MIN, REL).
- HOLD/UNIT Button: Toggles data hold function and switches between measurement units (if applicable, though this model appears to be Lux only).
- Power/Backlight Button: Turns the device on/off and activates/deactivates the backlight.
4. Setup
4.1 Battery Installation
The LEERCHUNAG Digital Lux Meter requires two (2) AA batteries (included). Follow these steps to install them:
- Locate the battery compartment cover on the back of the device.
- Slide the cover downwards to open the compartment. The design allows for easy battery replacement without screws.
- Insert two AA batteries, ensuring correct polarity (+ and -) as indicated inside the compartment.
- Slide the battery compartment cover back into place until it clicks securely.

Figure 3: Battery installation in the LEERCHUNAG Digital Lux Meter.
4.2 Initial Power On
After installing the batteries, press the Power/Backlight button to turn on the device. The LCD display will illuminate, and the meter will be ready for use.
5. Operating Instructions
5.1 Basic Measurement
- Ensure the photometer head's shade cover is removed.
- Turn on the meter by pressing the Power/Backlight button.
- Position the photometer head towards the light source or the area where you want to measure illuminance. Ensure the sensor is not obstructed.
- Read the illumination value directly from the LCD display in Lux.
- If the display shows "x10" or "x100" or "x1000", multiply the displayed value by the indicated factor to get the actual Lux reading. This indicates the meter is in a higher measurement range.

Figure 4: Measuring light intensity in a typical indoor setting.
5.2 Measurement Modes
Press the MODE button to cycle through different measurement modes:
- Normal Mode: Displays the current, real-time illumination value.
- MAX Value Mode: Displays the maximum illumination value recorded since the meter was turned on or the mode was reset.
- MIN Value Mode: Displays the minimum illumination value recorded since the meter was turned on or the mode was reset.
- Relative Value Mode (REL): Measures the difference between the current illumination and a set reference point. To set a reference, take a reading, then press MODE until REL appears. The display will show the difference from that initial reading.
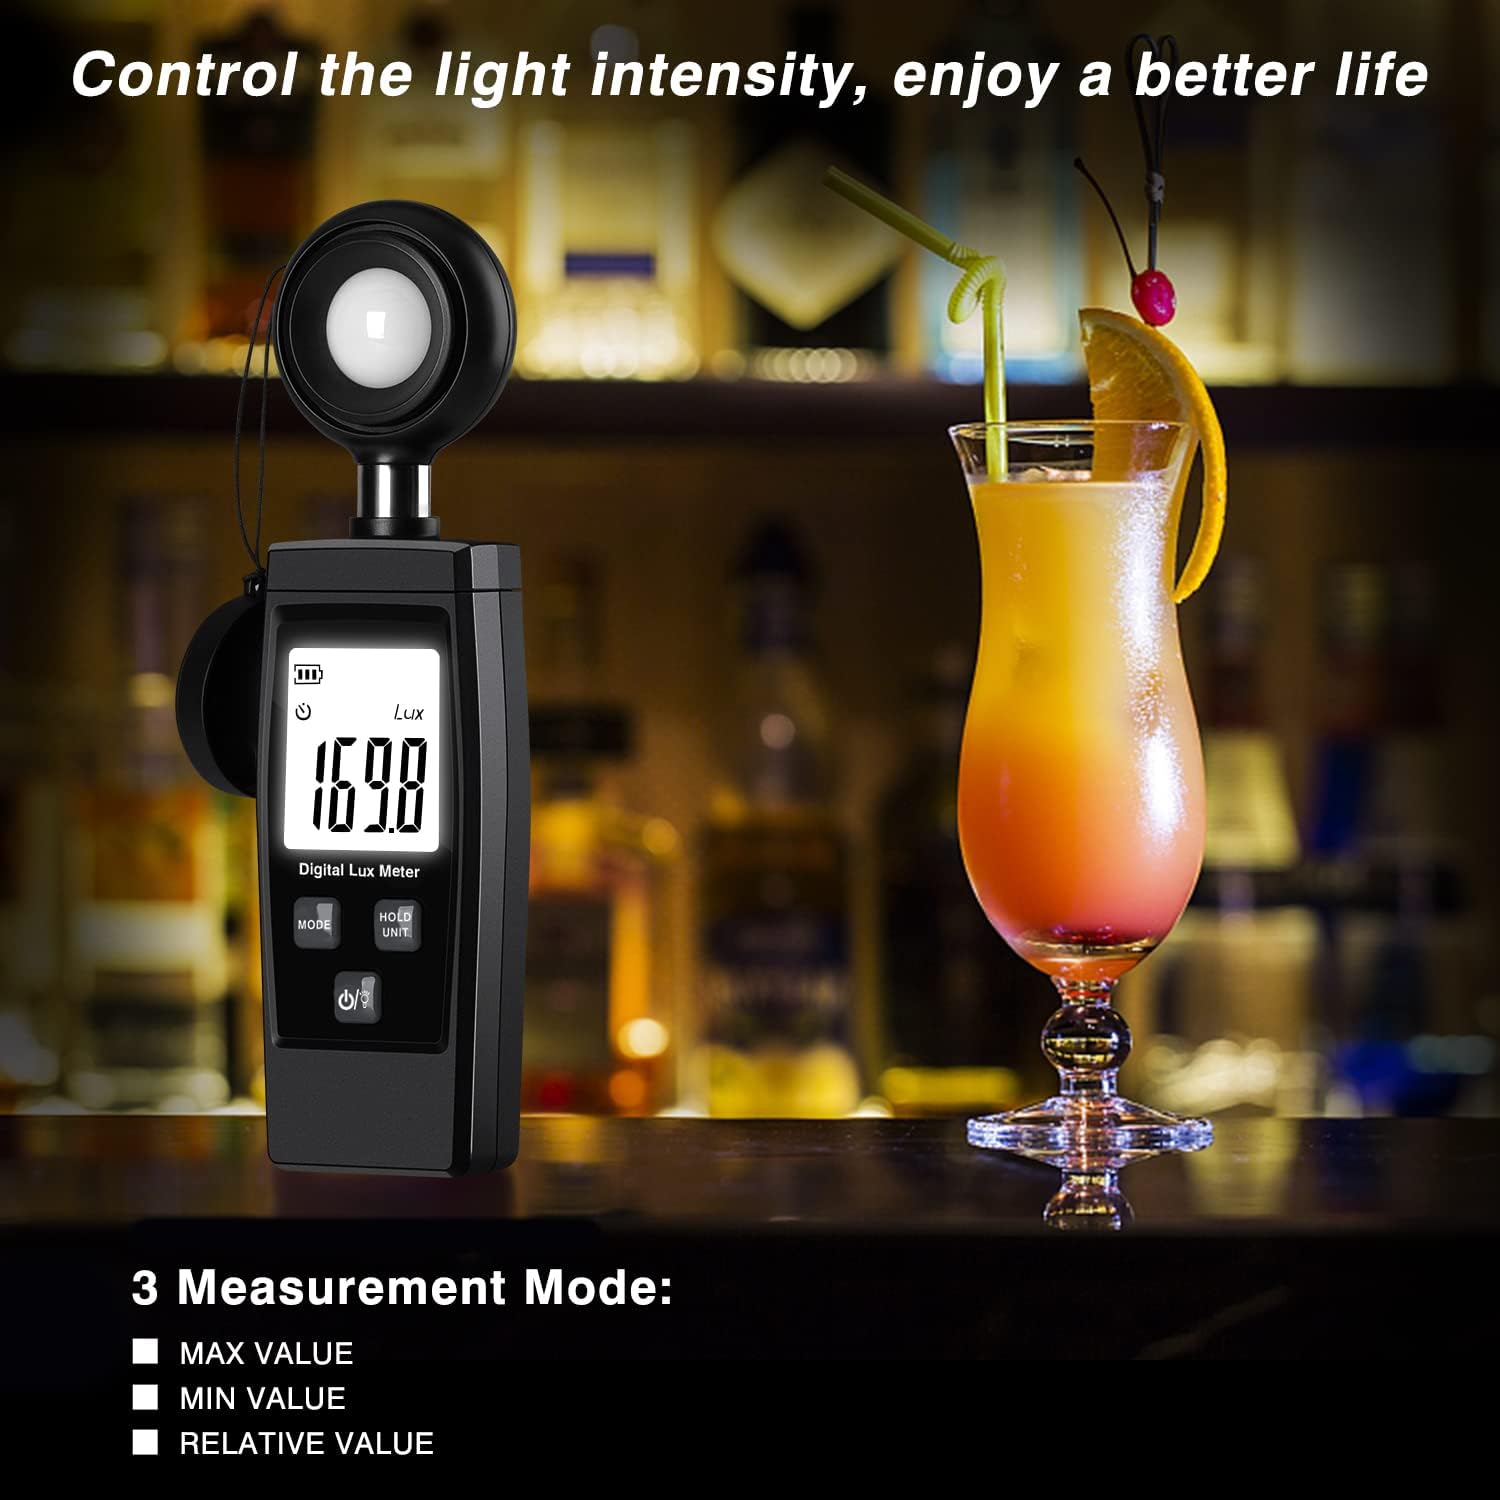
Figure 5: The meter supports MAX, MIN, and Relative measurement modes.
5.3 Data Hold Function
To freeze the current reading on the display, press the HOLD/UNIT button. The "HOLD" indicator will appear on the screen. Press the button again to release the hold and resume real-time measurements.
5.4 Backlight Control
Press and hold the Power/Backlight button briefly to toggle the display backlight on or off, improving readability in low-light conditions.
5.5 Automatic Power Off
The meter features an automatic power-off function to conserve battery life. If no buttons are pressed for a certain period (typically 15-20 minutes), the device will automatically shut down. Press the Power/Backlight button to turn it back on.
5.6 Interpreting Lux Readings
The Lux meter measures illuminance, which is the total luminous flux incident on a surface, per unit area. Different environments and activities require different levels of illumination. Refer to common luminosity value references for guidance.

Figure 6: Common luminosity value references for various settings.
For example, an office environment typically requires 100-3000 Lux for comfortable work.

Figure 7: Example of light intensity measurement in an office environment.
6. Maintenance
6.1 Cleaning
- Wipe the device with a soft, dry cloth.
- Do not use abrasive cleaners or solvents.
- Keep the photometer head (sensor) clean and free of dust or smudges to ensure accurate readings. Use a soft, lint-free cloth for cleaning the sensor.
6.2 Storage
- When not in use, place the shade cover over the photometer head to protect the sensor from scratches and damage.
- Store the meter in a cool, dry place, away from direct sunlight and extreme temperatures.
- If storing for an extended period, remove the batteries to prevent leakage.
7. Troubleshooting
| Problem | Possible Cause | Solution |
|---|---|---|
| Device does not power on. |
|
|
| Inaccurate or inconsistent readings. |
|
|
| Display is dim or flickering. | Low battery power. | Replace the batteries with new ones. |
8. Specifications
| Feature | Detail |
|---|---|
| Model Number | LEERCHUNAG |
| Illuminance Measuring Range | Up to 200,000 Lux (with auto-ranging and multipliers) |
| Sensor Type | High accuracy silicon diode photosensitive component |
| Display | Large LCD with backlight |
| Measurement Units | Lux |
| Functions | Data Hold, MAX/MIN Value, Relative Measurement, Automatic Power Off |
| Power Supply | 2 x AA 1.5V Batteries |
| Dimensions | 7.17 x 2.72 x 1.46 inches (approx.) |
| Weight | 5.6 ounces (approx.) |
9. Warranty and Support
LEERCHUNAG products are manufactured to high-quality standards. For warranty information or technical support, please refer to the product packaging or contact your retailer. You may also visit the official LEERCHUNAG brand store on Amazon for further assistance: