1. Introduction
Thank you for purchasing the Generic C10 Mini Projector. This manual provides essential information for the safe and efficient operation of your device. Please read it thoroughly before use and retain it for future reference.
2. Safety Information
- Do not block the ventilation openings. Ensure adequate space around the projector for proper airflow.
- Avoid direct exposure to the projector lens light.
- Do not place the projector in unstable locations.
- Keep the projector away from water or other liquids.
- Use only the power adapter provided with the projector.
- Unplug the projector during lightning storms or when unused for long periods.
3. Package Contents
Please check the package for the following items:
- Generic C10 Mini Projector
- Power Adapter
- Remote Control
- AV Cable
- User Manual
If any items are missing or damaged, please contact your retailer.
4. Product Overview
Familiarize yourself with the components and ports of your C10 Mini Projector.
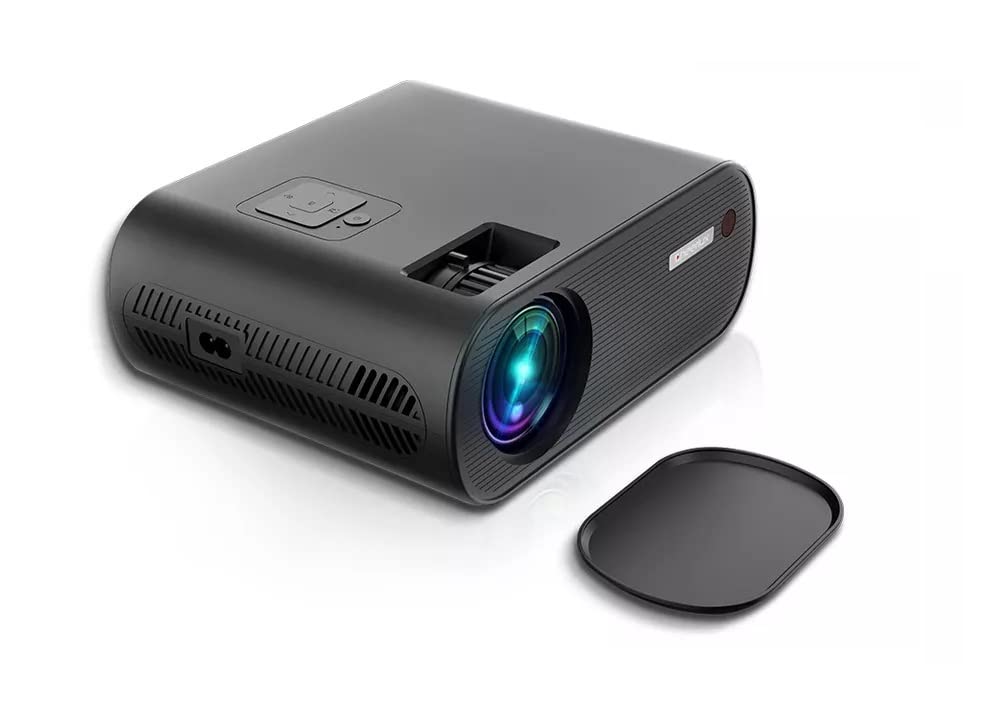
Front View
- Projection Lens: Emits the image onto the screen.
- Focus Ring: Adjusts image clarity.
Top View
- Control Panel: Buttons for power, menu navigation, and input selection.
Rear View (Connectivity Ports)
- Power Input: Connects to the power adapter.
- USB Ports (x2): Connect USB drives for media playback.
- HDMI Port (x1): Connects to HDMI-enabled devices (laptops, gaming consoles).
- AV Input: Connects to devices using an AV cable.
- VGA Port: Connects to computers with VGA output.
- Headphone Jack: Connects external audio devices or headphones.
- Antenna Port: Connects to an antenna for ATV tuner functionality.
- Built-in Hi-Fi Stereo Speaker: Provides audio output.
5. Setup
5.1 Power Connection
- Connect the power adapter to the projector's power input port.
- Plug the power adapter into a suitable electrical outlet.
5.2 Positioning the Projector
- Place the projector on a stable, flat surface.
- Ensure the projection distance is between 1 and 4 meters for an optimal image size of 50 to 120 inches.
- Adjust the projector's angle to achieve the desired screen position.
5.3 Connecting Input Sources
Choose the appropriate cable for your source device and connect it to the corresponding port on the projector.
- HDMI: Connect an HDMI cable from your device to the projector's HDMI port.
- USB: Insert a USB drive into one of the USB ports for media playback.
- AV: Use the provided AV cable to connect to devices with AV output.
- VGA: Connect a VGA cable from your computer to the projector's VGA port.
- ATV (Antenna TV): Connect an antenna to the antenna port for receiving broadcast television signals.
6. Operating Instructions
6.1 Power On/Off
- Press the power button on the projector or remote control to turn the projector on.
- Press the power button again to turn it off.
6.2 Focus Adjustment
Rotate the focus ring near the lens until the projected image is clear and sharp.
6.3 Input Source Selection
Press the 'Input' button on the projector or remote control to cycle through available input sources (HDMI, USB, AV, VGA, ATV).
6.4 Menu Navigation
Use the arrow buttons on the projector or remote control to navigate through the on-screen menu. Press 'OK' or 'Enter' to confirm selections. Press 'Menu' or 'Exit' to return to the previous screen or exit the menu.
6.5 Audio Control
Adjust the volume using the volume buttons on the remote control. You can also connect external speakers or headphones to the 3.5mm audio jack.
7. Maintenance
7.1 Cleaning the Lens
Use a soft, lint-free cloth specifically designed for optical lenses. Do not use abrasive cleaners or cloths that could scratch the lens.
7.2 Cleaning the Projector Body
Wipe the exterior of the projector with a soft, dry cloth. For stubborn dirt, a slightly damp cloth can be used, followed by a dry cloth.
7.3 Storage
When not in use, store the projector in a cool, dry place, away from direct sunlight and extreme temperatures. Cover the lens to protect it from dust.
8. Troubleshooting
8.1 No Image
- Ensure the projector is powered on.
- Check all cable connections to the input source.
- Verify that the correct input source is selected on the projector.
- Adjust the focus ring.
8.2 Blurry Image
- Adjust the focus ring until the image is clear.
- Ensure the projection distance is within the recommended range (1-4 meters).
- Clean the projector lens if it is dirty.
8.3 No Sound
- Increase the volume on the projector and the source device.
- Check audio cable connections if using external speakers.
- Ensure the source device's audio output is correctly configured.
9. Specifications
| Feature | Specification |
|---|---|
| Brand Name | Generic |
| Recommended Uses | Home Cinema |
| Special Features | Portable |
| Connectivity Technology | HDMI, USB, AV, VGA, Antenna |
| Native Resolution | 1280 x 720 |
| Maximum Display Resolution | 1920 x 1080 (1080p supported) |
| Display Type | LCD/DLP |
| Product Dimensions (L x W x H) | 21.2 cm x 17.2 cm x 8.0 cm |
| Form Factor | Portable |
| Mounting Type | Tabletop Mount |
| Contrast Ratio | 2000:1 |
| Brightness | 2200 Lumens |
| Projection Distance | 1 - 4 meters |
| Projection Image Size | 50 - 120 inches |
| Built-in Speaker | Hi-Fi Stereo Speaker |
10. Warranty and Support
This product comes with a standard manufacturer's warranty. Please refer to the warranty card included in your package for specific terms and conditions. For technical support or service inquiries, please contact your retailer or the manufacturer's customer service.
Keep your purchase receipt as proof of purchase for warranty claims.


