1. Product Overview
The Alula RE601 Door/Window Sensor is a full-featured security transmitter designed to detect the opening and closing of doors and windows. It utilizes secure encrypted wireless transmissions, offering industry-leading wireless range and extended battery life. Beyond its primary function, the RE601 also provides two external contact zones, allowing for the integration of additional wired sensors to secure other devices or areas.
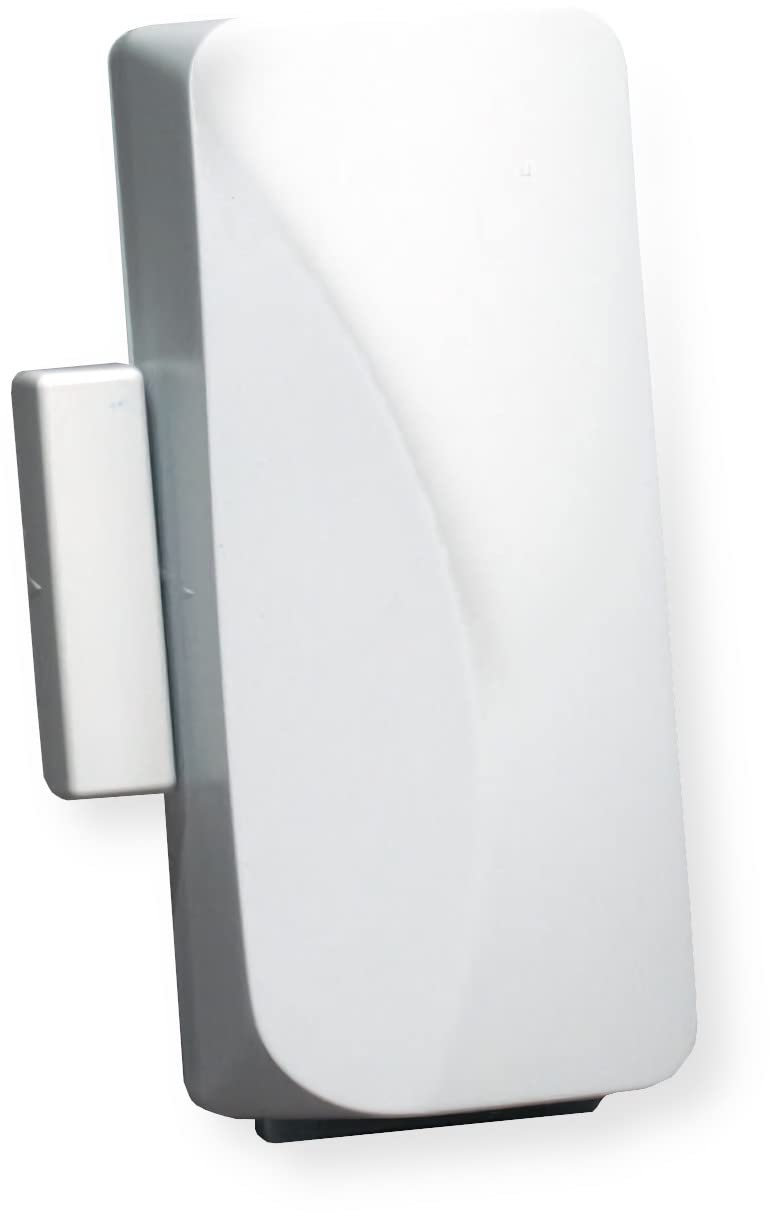
Image: The Alula RE601 Door/Window Sensor unit with its accompanying magnet, typically used for detecting open/close states.
2. Package Contents
- RE601 Door/Window Sensor Unit
- Magnet
- Mounting Hardware (screws, adhesive tape)
- CR123A Battery (may be pre-installed)
3. Setup and Installation
3.1 Battery Installation
The RE601 sensor typically comes with a CR123A battery pre-installed. If not, or if replacing, carefully open the sensor casing and insert the battery, ensuring correct polarity (+/-).
3.2 Mounting the Sensor
The sensor consists of two main parts: the primary sensor unit and a magnet. For proper operation, these parts must be mounted within 1/2 inch (1.27 cm) of each other when the door or window is in the closed position.
- Choose a suitable mounting location on the door/window frame and the moving part (door/window) where the sensor and magnet will align.
- Ensure the alignment marks on both the sensor and the magnet face each other.
- Use the provided screws or adhesive tape to securely attach the main sensor unit to the stationary frame.
- Attach the magnet to the moving part of the door or window, ensuring it aligns with the sensor unit when closed.
- Test the alignment by opening and closing the door/window to confirm the magnet separates from and returns to the sensor as expected.
3.3 Enrolling the Sensor with Connect+
To integrate the RE601 sensor with your Alula Connect+ security system, follow these general steps:
- Put your Connect+ panel into enrollment mode. Refer to your specific Connect+ system manual for detailed instructions on how to do this.
- Activate the RE601 sensor. This can typically be done by separating the magnet from the main unit or by pressing the tamper switch if present.
- The Connect+ panel should detect and enroll the sensor. Follow the on-screen prompts on your Connect+ system to assign the sensor to a specific zone and configure its settings (e.g., door, window, entry/exit delay).
3.4 Using External Contact Zones
The RE601 sensor includes two external contact zones, allowing you to connect additional wired, normally closed (NC) sensors.
- Carefully open the RE601 sensor casing to access the internal terminals for the external contact zones.
- Connect the wires from your external NC contact sensor to these terminals.
- Ensure all wiring is correct and connections are secure.
- Enrollment and configuration for these external zones will also be managed through your Connect+ system, similar to the main sensor.
4. Operation
Once properly installed and enrolled, the RE601 sensor continuously monitors the status of the door or window it is attached to, as well as any connected external contacts.
4.1 Door/Window Monitoring
When the magnet is pulled away from the sensor (indicating the door or window has been opened), the sensor transmits an "open" signal to your Connect+ system. When the magnet returns to proximity (door or window closed), a "closed" signal is sent. If your security system is armed, an "open" signal will trigger an alarm according to your system's configuration.
4.2 External Zone Monitoring
Similarly, if an external normally closed contact connected to the RE601 sensor opens, the sensor will transmit an alarm signal to the Connect+ system, indicating a breach in that specific zone.
5. Maintenance
5.1 Battery Replacement
The RE601 sensor uses a CR123A lithium battery. Your Connect+ system will typically provide a low battery warning when replacement is needed.
- Disarm your security system to prevent false alarms during the battery replacement process.
- Carefully open the sensor casing.
- Remove the old CR123A battery.
- Insert a new CR123A battery, ensuring correct polarity (+/-) as indicated inside the battery compartment.
- Close the sensor casing securely.
- Test the sensor by opening and closing the door/window to confirm it is communicating with the Connect+ system and the low battery warning has cleared.
5.2 Cleaning
Clean the exterior of the sensor with a soft, dry cloth. Avoid using abrasive cleaners, solvents, or excessive moisture, as these can damage the casing or internal components.
6. Troubleshooting
6.1 Sensor Not Responding
- Check Battery: Ensure the battery is correctly installed and has sufficient charge. Replace if necessary.
- Check Alignment: Verify that the sensor and magnet are properly aligned and within the specified 1/2 inch (1.27 cm) gap when the door/window is closed.
- Re-enroll Sensor: If the sensor was previously working, try re-enrolling it with your Connect+ system.
- System Status: Ensure your Connect+ system is powered on and functioning correctly.
6.2 False Alarms
- Secure Mounting: Ensure the sensor and magnet are securely mounted and do not shift due to vibrations or movement.
- Environmental Factors: Extreme temperature changes or high humidity can sometimes affect sensor performance.
- External Contacts: If using external contacts, check their wiring and ensure they are not faulty or experiencing intermittent connections.
6.3 Low Battery Warning Persists After Replacement
- New Battery: Confirm a new, fresh CR123A battery was installed, not an old or partially used one.
- Correct Polarity: Double-check that the battery was inserted with the correct polarity.
- System Update: Allow some time (up to a few hours) for the Connect+ system to update its battery status after replacement.
7. Specifications
| Feature | Detail |
|---|---|
| Model | RE601 |
| Brand | Alula |
| Power Source | Battery Powered (CR123A) |
| Sensor Type | Door/Window Contact Sensor |
| External Zones | 2 (Normally Closed) |
| Wireless Technology | Secure Encrypted Wireless Transmissions |
| Compatibility | Alula Connect+ Systems |
| Mounting Type | Wall Mount |
| Control Method | App, Touch (via Connect+ system) |
| UPC | 857744008096 |
8. Warranty Information
As per manufacturer specifications, this product comes with no explicit warranty. Please refer to your retailer's return policy for details regarding product returns or exchanges within their specified period.
9. Support
For technical assistance, further information, or advanced troubleshooting, please contact your authorized Alula system installer or refer to the official Alula website for comprehensive support resources and documentation.


