1. Introduction
This user manual provides detailed instructions for the safe and effective operation of your Luqeeg 3D Hologram Projector. Please read this manual thoroughly before using the device and keep it for future reference.
2. Product Overview
The Luqeeg 3D Hologram Projector is a cutting-edge display device designed for creating immersive 3D visual effects. It is ideal for advertising, exhibitions, and various display applications.
Key Features:
- Support Function: 3D holographic projector with 400x400mm display diameter, supporting mobile app, plug-in card, and computer multi-mode operations for new visual effects.
- App Control: Remotely upload images, videos, 3D words, and other desired effects via the mobile app with a single click.
- Remote Control Function: Multifunctional remote control for convenient operation, simplifying tedious steps.
- Flash-Free Screen Technology: Features self-developed flash-free screen technology to effectively reduce flicker and enhance HD display comfort.
- Multi-Scene Application: Suitable for use in shopping malls, exhibition halls, trade shows, parties, and more, presenting 3D animations for personalized events.
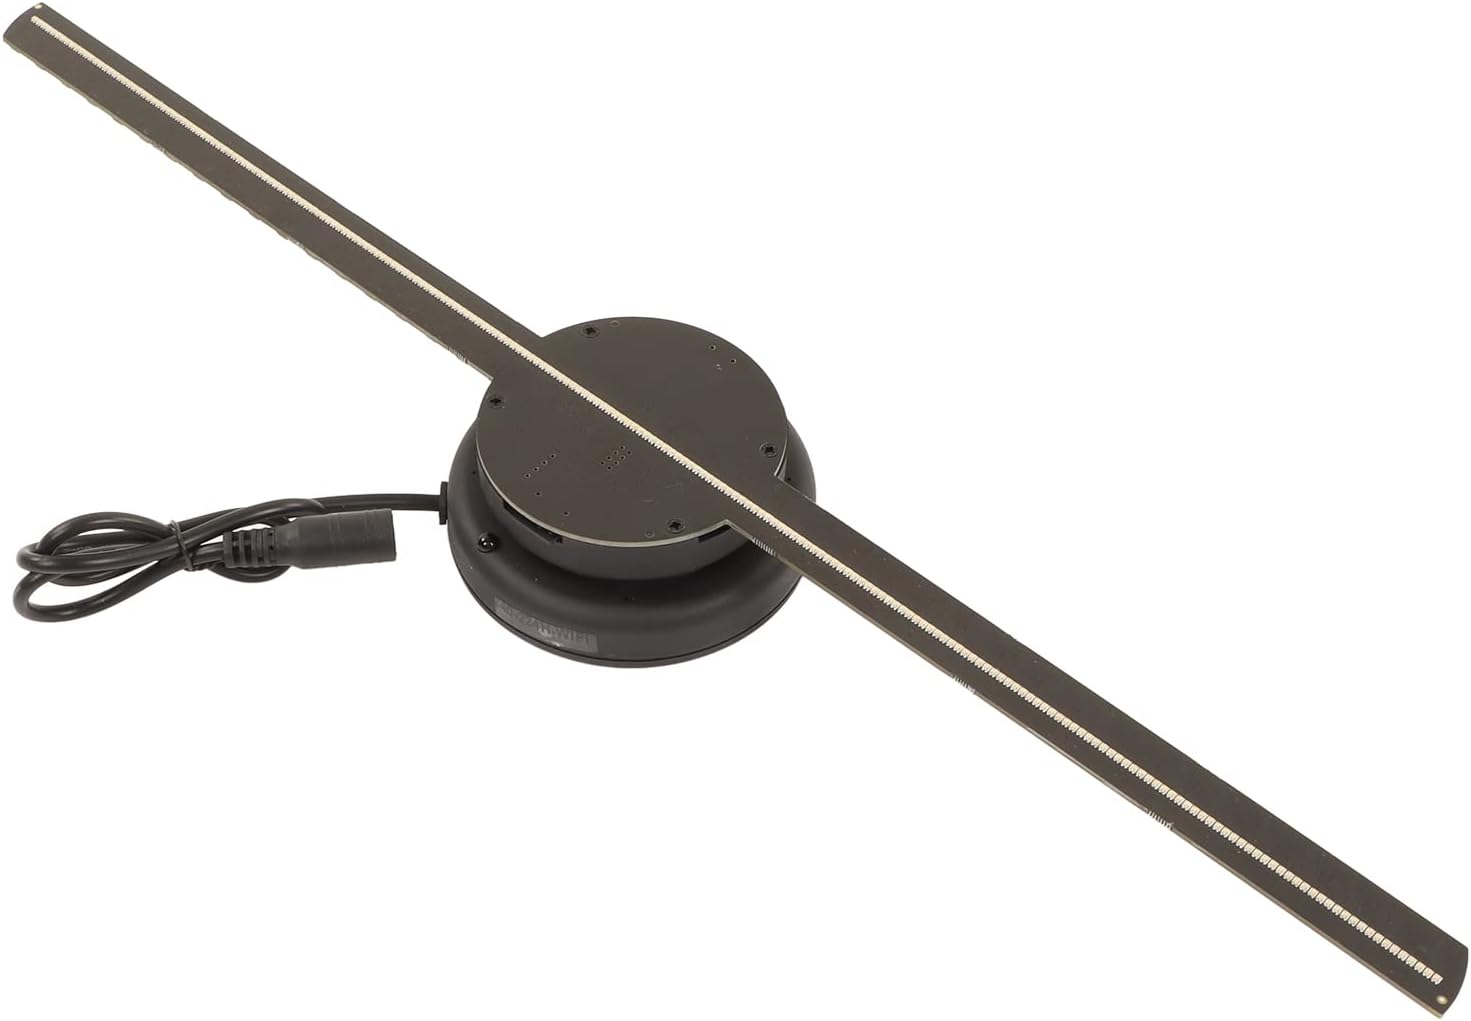
Figure 2.1: The Luqeeg 3D Hologram Projector, showcasing its fan-like structure with LED blades.

Figure 2.2: An example of holographic advertising, displaying a vibrant 3D deer image created by the projector.

Figure 2.3: Examples of diverse 3D holographic content that can be displayed, such as a hamburger, a flower, a robot head, a jellyfish, a ring, and a textured object.
3. Specifications
| Specification | Value |
|---|---|
| Display Diameter | 400 x 400 mm (15.7 x 15.7 inches) |
| Resolution | 640 x 640 |
| Number of Lamp Beads | 224 |
| Rated Power | 10-15 W |
| Input Voltage | 100-240 V AC, 50-60 Hz |
| Power Adapter Output Voltage | 12 V 2 A |
| Small Memory Card | 8 GB |
| Bluetooth Audio | Not Supported |
| Software Support System | Mobile App, Plug-in Card, Computer |
| Wireless Screen Casting | Not Supported |
| Brightness Adjustment | Supported |
| Angle Adjustment | Supported |
| Timer Playback | Not Supported |
| Multi-level Splicing | Not Supported |
| Applicable Voltage | 100-240 V |
| Remote Control Battery Type | Built-in C2025 145 mAh Button Cell Battery |
| Model Number | Cryfokt7v38egqup18805-11 |
| Item Weight | 505 g |

Figure 3.1: The projector unit with its 400mm (15.7 inch) display diameter clearly marked.
4. Package Contents
Please check the package carefully to ensure all items are present and in good condition:
- 1 x 3D Holographic Fan
- 1 x Bottom Pendant
- 1 x Connector
- 1 x Remote Control
- 1 x Memory Card Reader
- 1 x Screw Pack (8 pieces)
- 1 x User Manual

Figure 4.1: All components included in the package: the 3D holographic fan, remote control, memory card reader, power adapter, and screw pack.
5. Setup
Follow these steps to set up your 3D Hologram Projector:
- Mounting: Securely mount the 3D holographic fan in your desired location using the provided bottom pendant and screws. Ensure it is stable and has clear space around it for optimal display.
- Power Connection: Connect the power adapter to the projector's power input port.
- Plug In: Plug the power adapter into a standard 100-240V AC power outlet.
- Initial Power On: The device is ready for use upon plugging in. It should power on automatically.

Figure 5.1: Close-up view of the power input connector on the projector.
6. Operating Instructions
The Luqeeg 3D Hologram Projector can be operated via its remote control, mobile application, or by directly loading content via the memory card.
6.1 Remote Control Functions
The included remote control allows for convenient operation of the projector. Ensure the remote control has its built-in C2025 button cell battery.

Figure 6.1: Detailed layout of the remote control, showing buttons for Run, Stop, Repeat Transmission, Brightness Adjustment (25%, 50%, 100%), and Speed/Angle Adjustment modes.
- RUN: Starts the holographic display.
- STOP: Turns off the holographic display.
- Repeat Transmission (Left/Right Arrows): Switches between displayed content.
- Brightness Adjustment (-/+): Decreases or increases display brightness.
- Brightness Presets (25%, 50%, 100%): Sets brightness to predefined levels.
- Speed/Angle Adjustment: Press 5 times to enter speed regulation mode (use -/+ to adjust speed). Press 5 times to enter angle adjustment mode (use -/+ to adjust angle).
6.2 Content Upload and App Control
The projector supports content upload via mobile app, plug-in memory card, or computer.
- Mobile App Control:
- Download the dedicated mobile application (refer to the user manual for QR code or app store name).
- Connect your smartphone to the projector's Wi-Fi network (SSID and password usually found on the device or manual).
- Use the app to upload images, videos, or 3D text. The app allows for remote management of display content.
- Memory Card Upload:
- Insert the provided 8GB memory card into the memory card reader.
- Connect the card reader to your computer.
- Transfer compatible image or video files to the memory card. Supported formats are typically MP4, AVI, RMVB, GIF, JPG, PNG.
- Safely eject the memory card from your computer and insert it into the projector's memory card slot. The projector will automatically detect and play content.
- Computer Control:
- Connect the projector to your computer via the specified method (e.g., USB, if supported, or through network configuration).
- Use the provided software (if any) to manage and upload content directly from your computer.
7. Maintenance
Proper maintenance ensures the longevity and optimal performance of your 3D Hologram Projector:
- Cleaning: Gently wipe the surface of the projector and blades with a soft, dry cloth. Do not use liquid cleaners or abrasive materials.
- Dust Prevention: Keep the device in a clean, dust-free environment to prevent accumulation on the blades and internal components.
- Storage: When not in use for extended periods, store the projector in a cool, dry place, away from direct sunlight and extreme temperatures.
- Handling: Avoid touching the rotating blades when the device is in operation. Handle the device carefully to prevent damage.
8. Troubleshooting
If you encounter issues with your Luqeeg 3D Hologram Projector, please refer to the following common problems and solutions:
| Problem | Possible Cause | Solution |
|---|---|---|
| Device does not power on. | No power supply; loose connection. | Ensure the power adapter is securely connected to both the device and a working power outlet. Check the power outlet. |
| No holographic image displayed. | No content loaded; incorrect file format; device not running. | Ensure content is properly loaded onto the memory card or via the app. Verify content is in a supported format. Press the "RUN" button on the remote. |
| Image appears distorted or flickering. | Low brightness setting; environmental interference. | Adjust brightness using the remote control. Ensure the device is in a stable environment away from strong vibrations or magnetic fields. |
| Remote control not responding. | Low battery; obstruction; out of range. | Ensure the remote control battery (C2025) is not depleted. Remove any obstructions between the remote and the projector. Operate within effective range. |
| Cannot connect to mobile app. | Incorrect Wi-Fi connection; app issues. | Ensure your phone is connected to the projector's specific Wi-Fi network. Restart the app and the projector. Check app permissions. |
9. Warranty and Support
Luqeeg products are manufactured to high quality standards. For any issues or inquiries regarding your 3D Hologram Projector, please contact your retailer or Luqeeg customer support. Please retain your proof of purchase for warranty claims.