1. Introduction
This manual provides detailed instructions for the safe and effective operation of your OUSON+ CARE Contactless Multi Function Infrared Digital Thermometer, model BSX976. Please read this manual thoroughly before use and retain it for future reference. This device is designed for measuring both human body temperature and object surface temperature without physical contact.
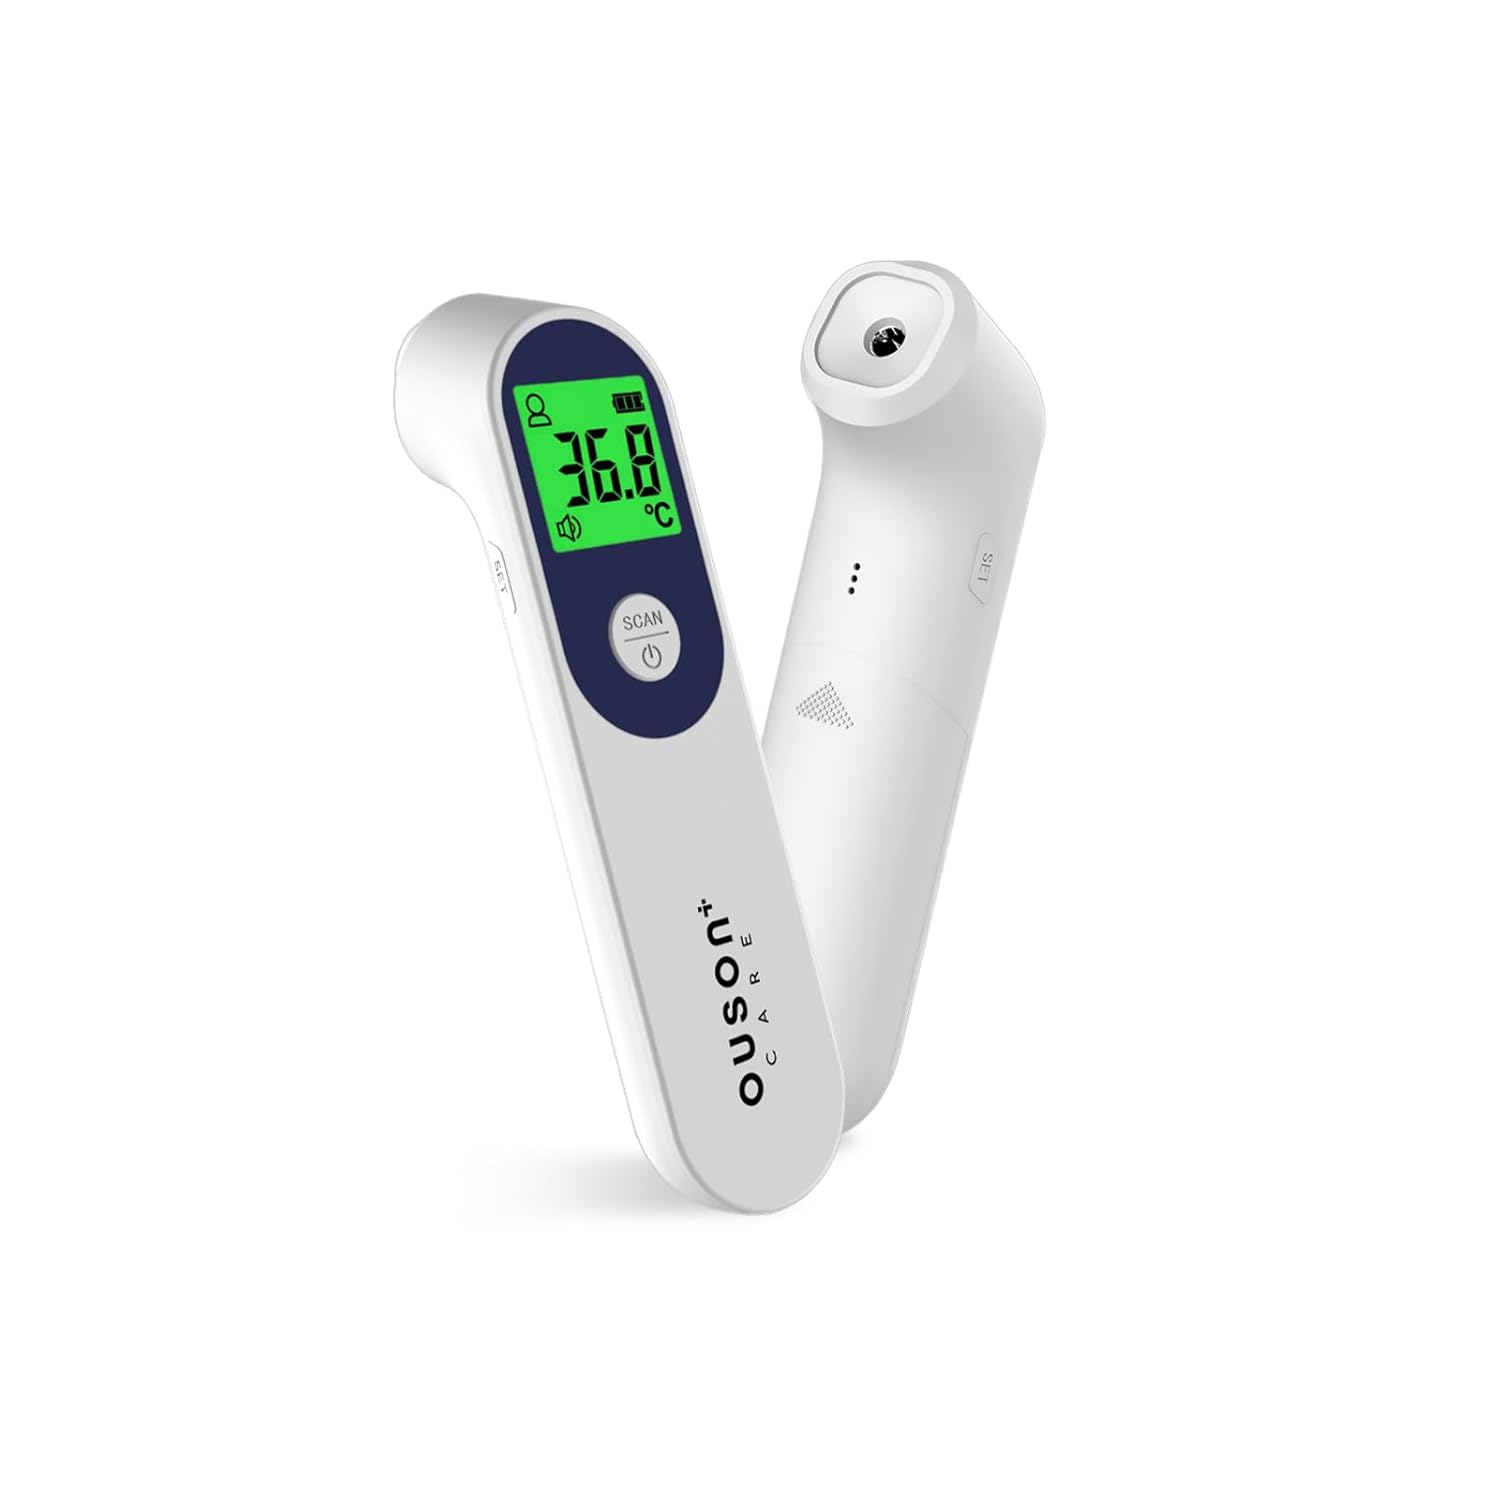
Figure 1.1: OUSON+ CARE Contactless Infrared Digital Thermometer. This image displays the front view of the thermometer, highlighting its ergonomic design and digital display.
2. Product Overview
2.1. Components
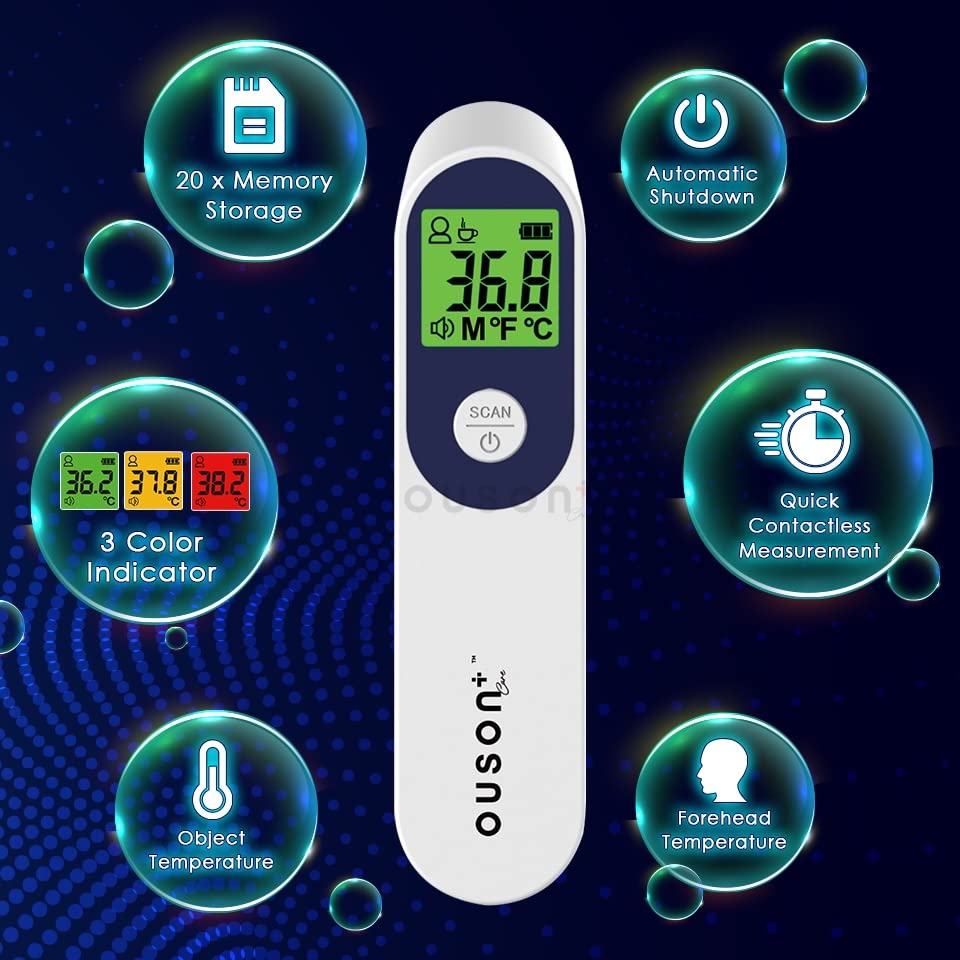
Figure 2.1: Labeled components of the OUSON+ CARE Infrared Thermometer. This diagram points out key parts including the Temperature Sensor, Setting Button, LCD, Memory Button, Scan Button, and Battery Cover.
- Temperature Sensor: Located at the front, used for infrared measurement.
- Setting Button: Used to access and adjust device settings.
- LCD Display: Shows temperature readings, mode, and other indicators.
- Memory Button: Accesses stored temperature readings.
- Scan Button: Initiates a temperature measurement.
- Battery Cover: Protects the battery compartment.
2.2. LCD Display Indicators
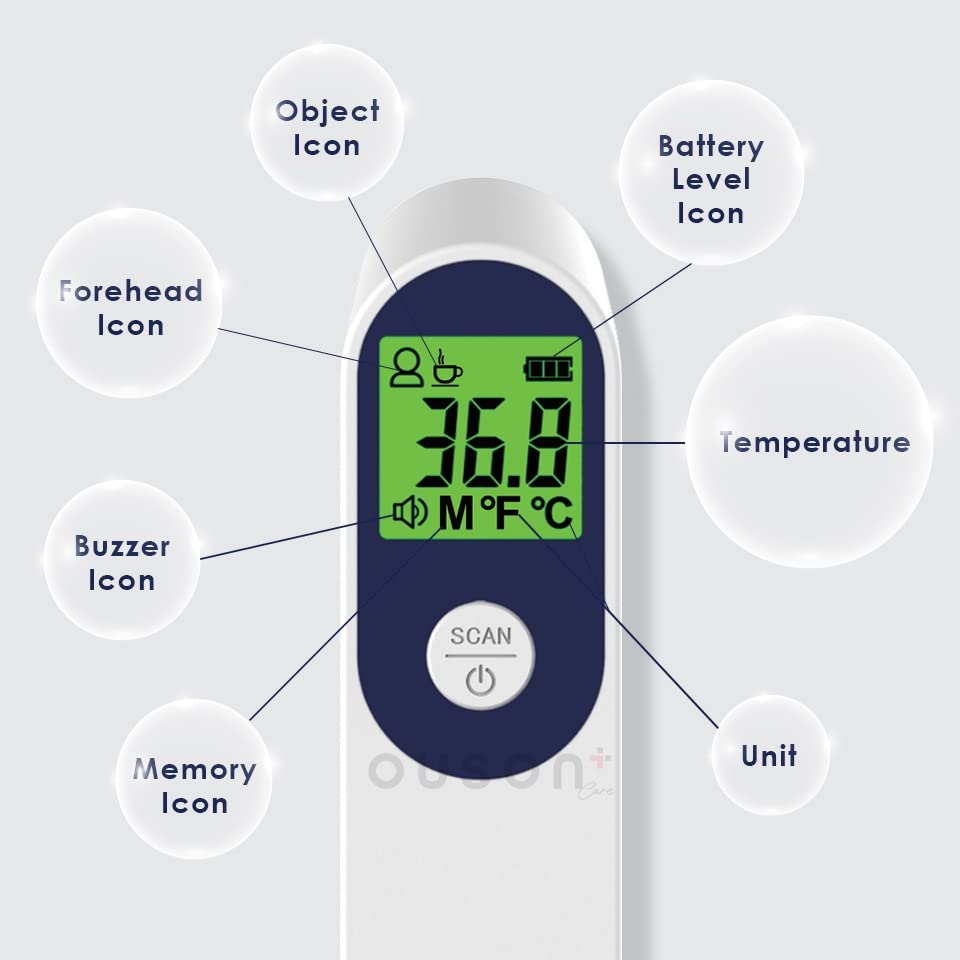
Figure 2.2: Explanation of icons on the LCD display. This image clarifies the meaning of icons such as Object Icon, Forehead Icon, Buzzer Icon, Memory Icon, Battery Level Icon, Temperature reading, and Unit indicator.
- Forehead Icon: Indicates body temperature measurement mode.
- Object Icon: Indicates object surface temperature measurement mode.
- Battery Level Icon: Shows remaining battery power.
- Temperature: Displays the measured temperature value.
- Unit: Indicates the temperature unit (Celsius or Fahrenheit).
- Buzzer Icon: Indicates if the sound alert is active or muted.
- Memory Icon: Appears when viewing stored measurements.
3. Setup
3.1. Battery Installation
The thermometer requires two (2) AAA batteries for operation. Ensure correct polarity when inserting the batteries.
- Locate the battery cover on the handle of the thermometer.
- Slide the battery cover open.
- Insert two AAA batteries, matching the positive (+) and negative (-) terminals as indicated inside the compartment.
- Close the battery cover securely.
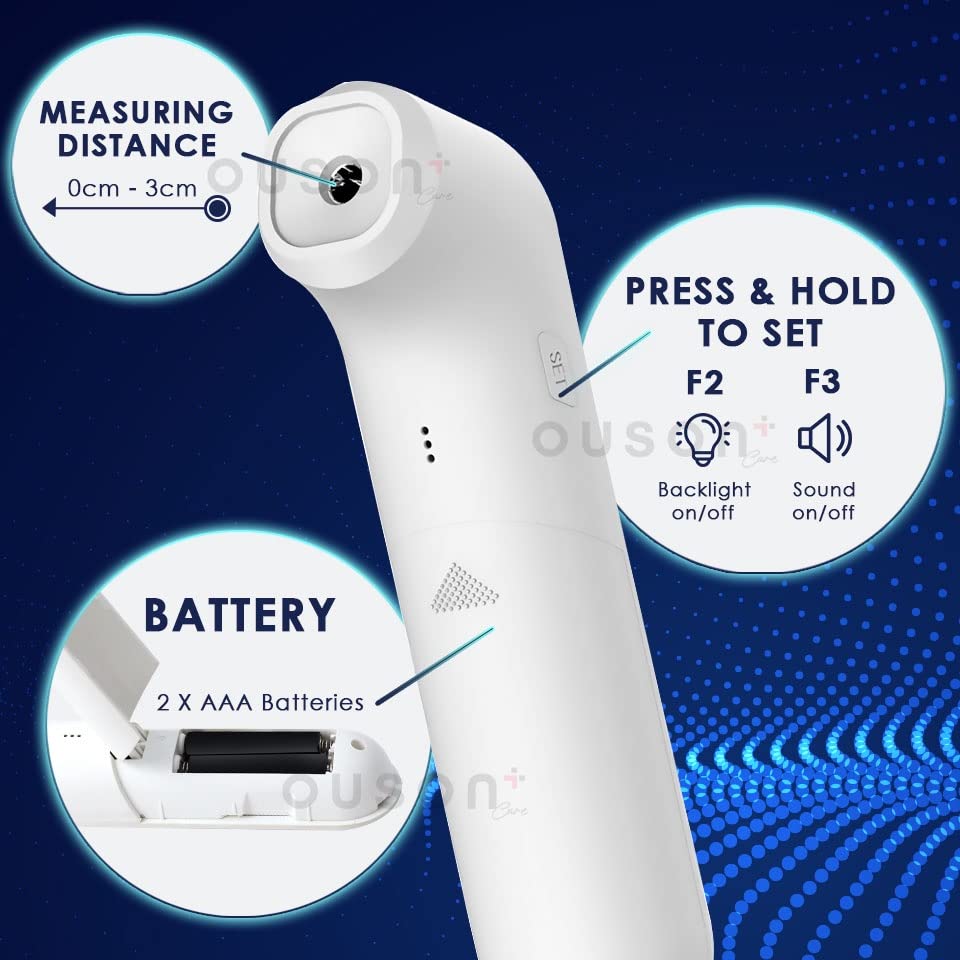
Figure 3.1: Illustration of the battery compartment and setting buttons. This image shows the location for inserting 2 AAA batteries and highlights the 'SET' button for backlight and sound options.
Note: The product typically includes 2 AAA batteries. Always use new batteries when replacing.
4. Operating Instructions
4.1. Power On/Off
- To power on, press the Scan Button (power icon). The device will perform a self-test and display the last measurement.
- The device features an automatic power-off function after 30 seconds of inactivity to conserve battery life.
4.2. Taking a Measurement
The thermometer uses contactless infrared technology. For accurate readings, ensure the measuring distance is between 0-3 cm from the target.
- Point the temperature sensor towards the forehead (for body temperature) or the object surface (for object temperature).
- Ensure the distance is within 0-3 cm.
- Press the Scan Button once.
- The temperature reading will be displayed on the LCD within approximately one second.

Figure 4.1: Temperature indication with 3-color backlit display. This image illustrates how the LCD backlight changes color based on the measured body temperature range: Green for normal (32.0°C - 37.5°C), Yellow for elevated (37.6°C - 38.0°C), and Red for high (38.1°C - 42.9°C). It also shows examples of object temperature measurement.
Temperature Indication (Body Mode):
- Green Backlight: 32.0°C - 37.5°C (Normal)
- Yellow Backlight: 37.6°C - 38.0°C (Elevated)
- Red Backlight: 38.1°C - 42.9°C (High)
4.3. Switching Measurement Modes (Body/Object)
The thermometer can measure both body temperature and object surface temperature. Refer to the manual for specific instructions on how to switch between these modes using the Setting Button.
4.4. Unit Conversion (°C/°F)
To switch between Celsius (°C) and Fahrenheit (°F):
- With the device powered on, press and hold the Setting Button (often labeled 'SET' or similar) until the unit changes on the display.
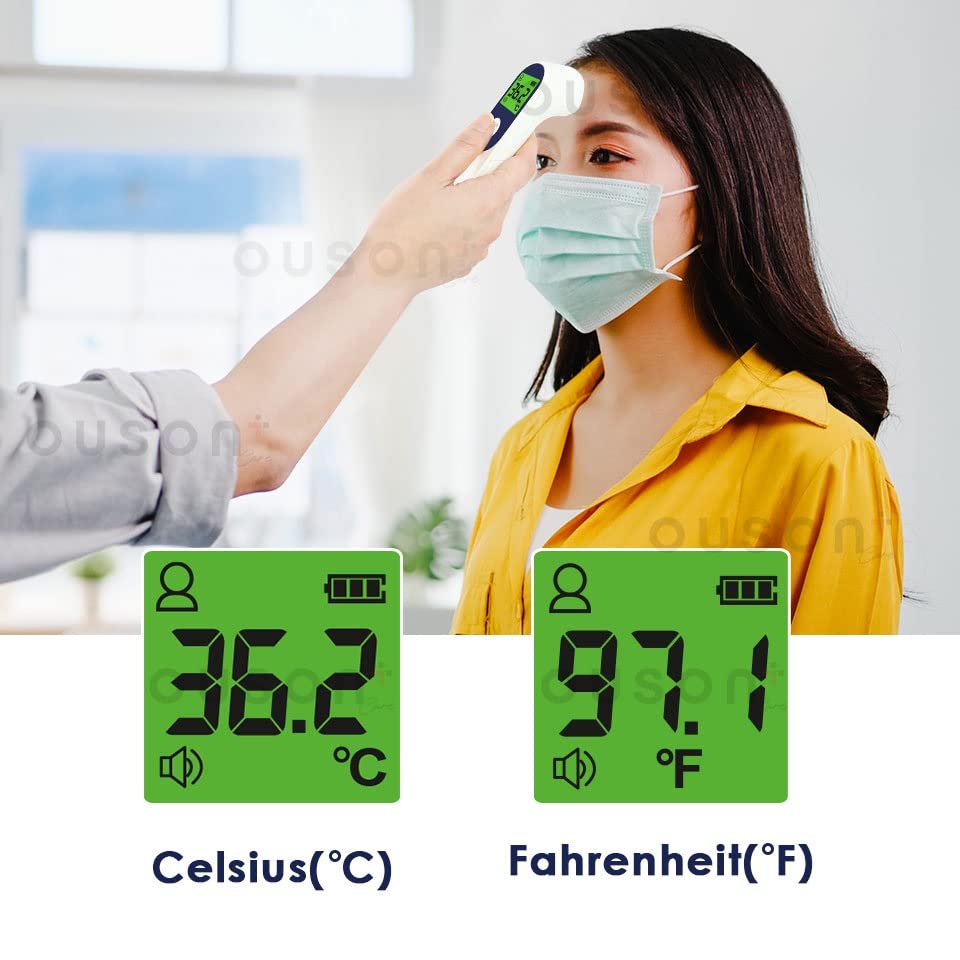
Figure 4.2: Comparison of Celsius (°C) and Fahrenheit (°F) temperature displays. This image shows the thermometer displaying a body temperature reading in both Celsius (36.2°C) and Fahrenheit (97.1°F).
4.5. Memory Function
The thermometer can store up to 20 sets of past measurements.
- To access memory, press the Memory Button (often indicated by three dots or a memory icon).
- Press the Memory Button repeatedly to cycle through stored readings.
4.6. Adjusting Backlight and Sound
You can toggle the backlight and sound (buzzer) functions:
- Press and hold the Setting Button (often labeled 'SET') to enter settings mode.
- Use the Scan Button to cycle through options (e.g., F2 for Backlight on/off, F3 for Sound on/off).
- Press the Setting Button again to confirm your selection or exit settings.
5. Maintenance and Care
- Cleaning: Wipe the thermometer clean with a soft, dry cloth. Do not use abrasive cleaners or immerse the device in water.
- Storage: Store the device in a cool, dry place, away from direct sunlight and extreme temperatures. The recommended storage environment is (-20.0°C to 55.0°C) with relative humidity ≤93%.
- Battery Replacement: Replace batteries when the low battery indicator appears on the display. Remove batteries if the device will not be used for an extended period.
6. Troubleshooting
If you encounter issues with your thermometer, please consider the following:
- No Power: Check if batteries are inserted correctly and have sufficient charge. Replace with new AAA batteries if necessary.
- Inaccurate Readings: Ensure the measuring distance is correct (0-3 cm). Avoid taking measurements in environments with strong electromagnetic interference or extreme temperature fluctuations. Allow the thermometer to acclimate to room temperature for 30 minutes before use if it has been stored in a very hot or cold environment.
- Display Errors: If an error code appears, refer to the full product manual or contact customer support for assistance.
7. Specifications
| Feature | Specification |
|---|---|
| Measurement Method | Contactless Infrared Measurement |
| Measuring Distance | 0~3 cm |
| Body Temperature Range | 32.0~43.0°C |
| Object Temperature Range | 5.0~95.0°C |
| Body Temperature Accuracy | ±0.3°C / ±0.6°F (within 32.0~43.0°C) |
| Object Temperature Accuracy | ±1.0°C |
| Resolution | 0.1°C (0.1°F) |
| Working Environment | 15.0~40.0°C, RH: 20-85%RH |
| Storage Environment | -20.0~55.0°C, RH: ≤93% |
| Power Supply | DC 1.5V x 2 (2 AAA batteries) |
| Memory Storage | 20 sets of measurements |
| Display Screen | LCD |
| Automatic Power-off | 30 seconds |
| Special Features | Fast Reading System, High Accuracy, Backlit with 3 Color Indicators |
| Certifications | CE, FDA |
8. Warranty and Support
The OUSON+ CARE Contactless Infrared Digital Thermometer (Model BSX976) comes with a 2-year warranty, which includes a 1-to-1 exchange policy for manufacturing defects.

Figure 8.1: Warranty details and included accessories. This image highlights the 2-year warranty with 1-to-1 exchange and confirms the inclusion of AAA batteries.
For warranty claims, technical support, or any inquiries, please contact Ouson+ Care customer service. Keep your purchase receipt as proof of purchase.