STEELMATE TP-S12I
STEELMATE TP-S12I Valve Type Tire Pressure Monitoring System
User Manual
1. Introduction
This manual provides instructions for the STEELMATE TP-S12I Valve Type Tire Pressure Monitoring System (TPMS). This system is designed to monitor your vehicle's tire pressure and temperature in real-time, enhancing driving safety for both the driver and passengers. The system features internal sensors for high accuracy and a solar-powered display unit with audible and visual alarms for abnormal tire conditions.
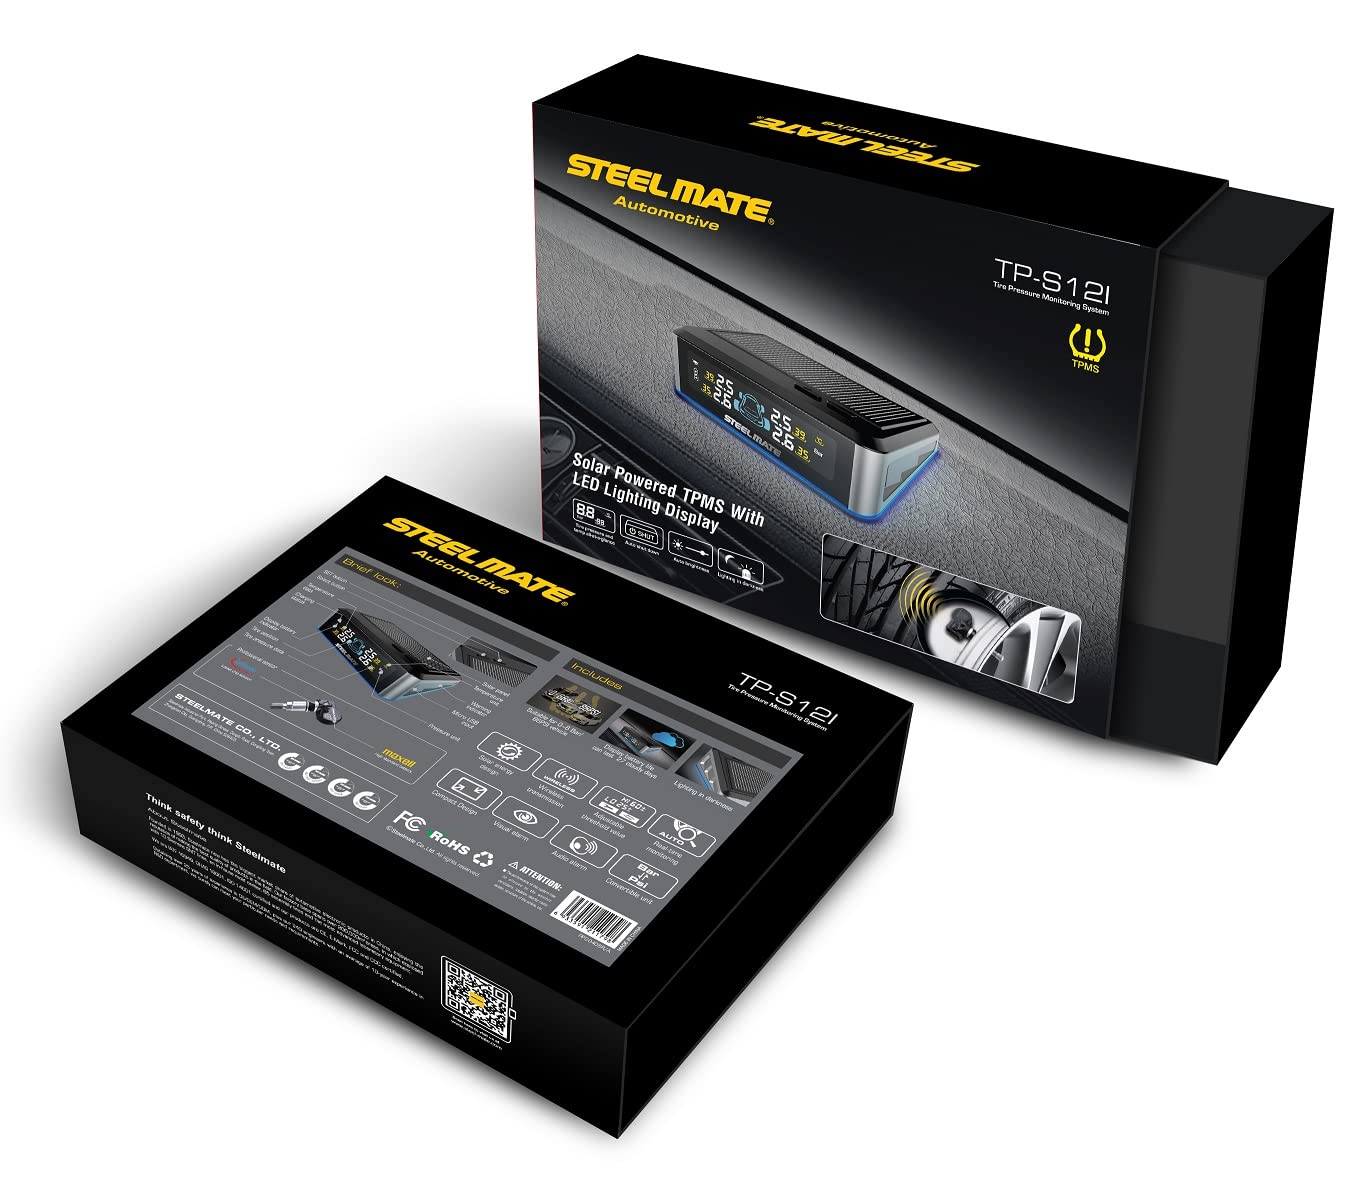
Figure 1: STEELMATE TP-S12I Display Unit
2. Package Contents
Please check the package contents upon opening to ensure all items are present:
- Display Unit (1)
- Valve Sensors (4)
- Adhesive Tape Set (1)
- Instruction Manual (Japanese)

Figure 2: Package Contents
3. Product Features
- Internal Valve Sensors: Provides higher accuracy and security compared to external sensors.
- Real-time Monitoring: Continuously displays tire pressure and temperature for all four tires.
- Audible and Visual Alarms: Notifies the driver of abnormal tire conditions (e.g., rapid air leakage, high/low pressure, high temperature) with sound and flashing display.
- IP67 Waterproof and Dustproof: Sensors are designed to withstand harsh environmental conditions.
- Solar Powered Display: The display unit charges via solar energy, simplifying installation and reducing cable clutter.
- Power-Saving Sensors: Designed for long battery life, typically exceeding 5 years under normal use.
- Three-Color LED Display: Clear and easy-to-read display with different colors for various statuses.

Figure 3: Benefits of a Tire Pressure Monitoring System
4. Setup
4.1 Sensor Installation
The valve sensors are internal and require professional installation. It is strongly recommended to have the sensors installed by a qualified specialist or car service center to ensure proper mounting and tire balancing.
4.2 Display Unit Placement
The display unit is solar-powered, making its placement straightforward. Position the display unit on your vehicle's dashboard where it can receive direct sunlight for charging and where the display is clearly visible to the driver without obstructing the view of the road. Use the provided adhesive tape to secure the unit.
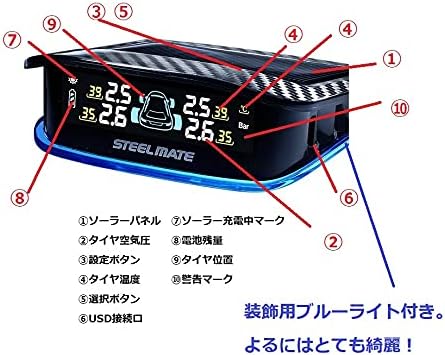
Figure 4: Recommended Display Unit Placement
5. Operating Instructions
5.1 Power On/Off
The display unit automatically powers on when it detects vibration (e.g., when the vehicle starts moving) and powers off after a period of inactivity to conserve battery. It also charges automatically via its solar panel when exposed to sunlight.
5.2 Display Overview
The display shows real-time pressure and temperature for each tire. It also indicates battery status and solar charging activity.

Figure 5: Display Unit Features
- Solar Panel: Charges the internal battery.
- Tire Pressure: Displays current tire pressure (e.g., in Bar or PSI).
- Setting Button: Used to enter settings mode and confirm selections.
- Tire Temperature: Displays current tire temperature (e.g., in °C).
- Selection Button: Used to navigate through settings options.
- USB Port: For alternative charging or firmware updates.
- Solar Charging Indicator: Lights up when the unit is charging via solar power.
- Battery Level: Indicates the display unit's internal battery charge.
- Tire Position: Graphic representation of the vehicle and tire positions.
- Warning Mark: Appears when an alarm condition is met.
5.3 Alarm Functions
The system will trigger an alarm (audible beep and flashing display) if any tire's pressure or temperature falls outside the preset safe range. The default alarm pressure range is 1.7 Bar (low pressure) to 3.3 Bar (high pressure). The display will highlight the affected tire and show the warning mark.
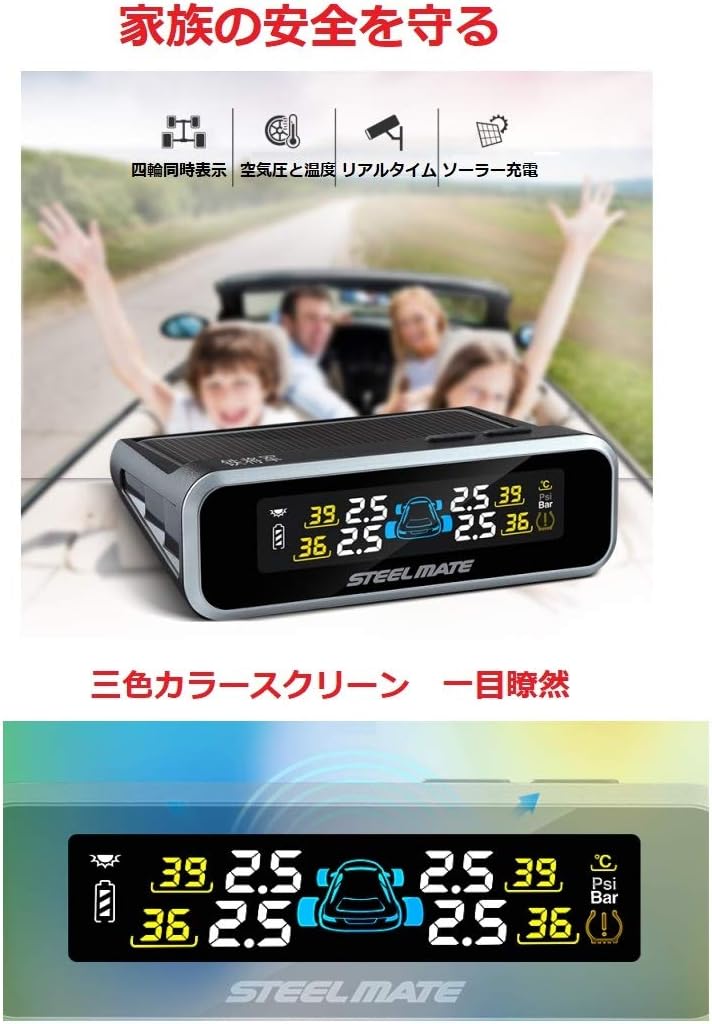
Figure 6: Three-Color Display Screen
6. Maintenance
6.1 Display Unit Care
Keep the solar panel on the display unit clean and free from dust or obstructions to ensure efficient charging. Wipe the display screen with a soft, dry cloth. Avoid using abrasive cleaners or solvents.
6.2 Sensor Battery
The internal sensors are designed for a long battery life, typically exceeding 5 years. Battery replacement for internal sensors should be performed by a professional.
7. Troubleshooting
| Problem | Possible Cause | Solution |
|---|---|---|
| Display not turning on | Low battery; No vibration detected | Place in direct sunlight for charging; Start driving to activate. |
| No tire data displayed | Sensor not transmitting; Sensor battery low; Interference | Drive for a few minutes; Check sensor battery (professional service); Relocate display unit. |
| Inaccurate readings | Incorrect sensor installation; Sensor malfunction | Consult a professional for sensor re-installation/calibration; Replace faulty sensor. |
| Alarm frequently triggers | Tire pressure/temperature genuinely outside range; Alarm thresholds set too narrow | Check and adjust tire pressure/temperature; Adjust alarm thresholds in settings (refer to detailed manual). |

Figure 7: Dangers of Abnormal Tire Pressure
8. Specifications
| Component | Specification |
|---|---|
| Display Unit Operating Voltage | 2.6 - 3.6 V |
| Display Unit Operating Temperature | -20°C to 70°C |
| Sensor Operating Voltage | 2.0 - 3.6 V |
| Sensor Operating Temperature | -30°C to 105°C |
| Alarm Pressure Range | 1.7 Bar (Low) > Pressure > 3.3 Bar (High) |
| Material | Alloy Steel |
| Product Weight | Approximately 250 g |
9. Warranty and Support
9.1 Warranty Information
This STEELMATE TP-S12I product comes with a one-year warranty from the date of purchase. This warranty covers manufacturing defects and malfunctions under normal use. Please retain your proof of purchase for warranty claims.
9.2 Customer Support
For technical assistance, troubleshooting, or warranty inquiries, please contact your retailer or the STEELMATE customer service department. Refer to the contact information provided with your purchase documentation.