SSUCA X9-01RO-FZ9P
SSUCA Solar Charge Controller 20 AMPERE User Manual
Model: X9-01RO-FZ9P
Product Overview
The SSUCA Solar Charge Controller is designed to manage the power flow from your solar panel to your battery and DC load. It features an LCD display for monitoring and setting parameters, and a USB port for charging external devices. This intelligent regulator ensures efficient charging and protection for your battery system, supporting both 12V and 24V configurations.

Figure 1: Front view of the SSUCA Solar Charge Controller 20 AMPERE.
Safety Information
- Ensure all connections are correct before powering on the controller.
- Connect the battery first, then the solar panel, and finally the load. Disconnect in reverse order.
- Avoid short circuits.
- Install in a well-ventilated area, away from flammable materials.
- This device is designed for indoor use or protected outdoor environments.
Setup and Installation
Follow these steps for proper installation of your solar charge controller:
- Prepare Wiring: Ensure all wires are correctly sized for your system's current and voltage.
- Connect Battery: Connect the battery to the charge controller's battery terminals. Observe correct polarity (+ to + and - to -). The LCD display should illuminate.
- Connect Solar Panel: Connect the solar panel to the charge controller's solar panel terminals. Observe correct polarity.
- Connect DC Load: Connect your DC load to the charge controller's load terminals. Observe correct polarity.
Important: Always connect the battery first and disconnect it last to prevent damage to the controller.
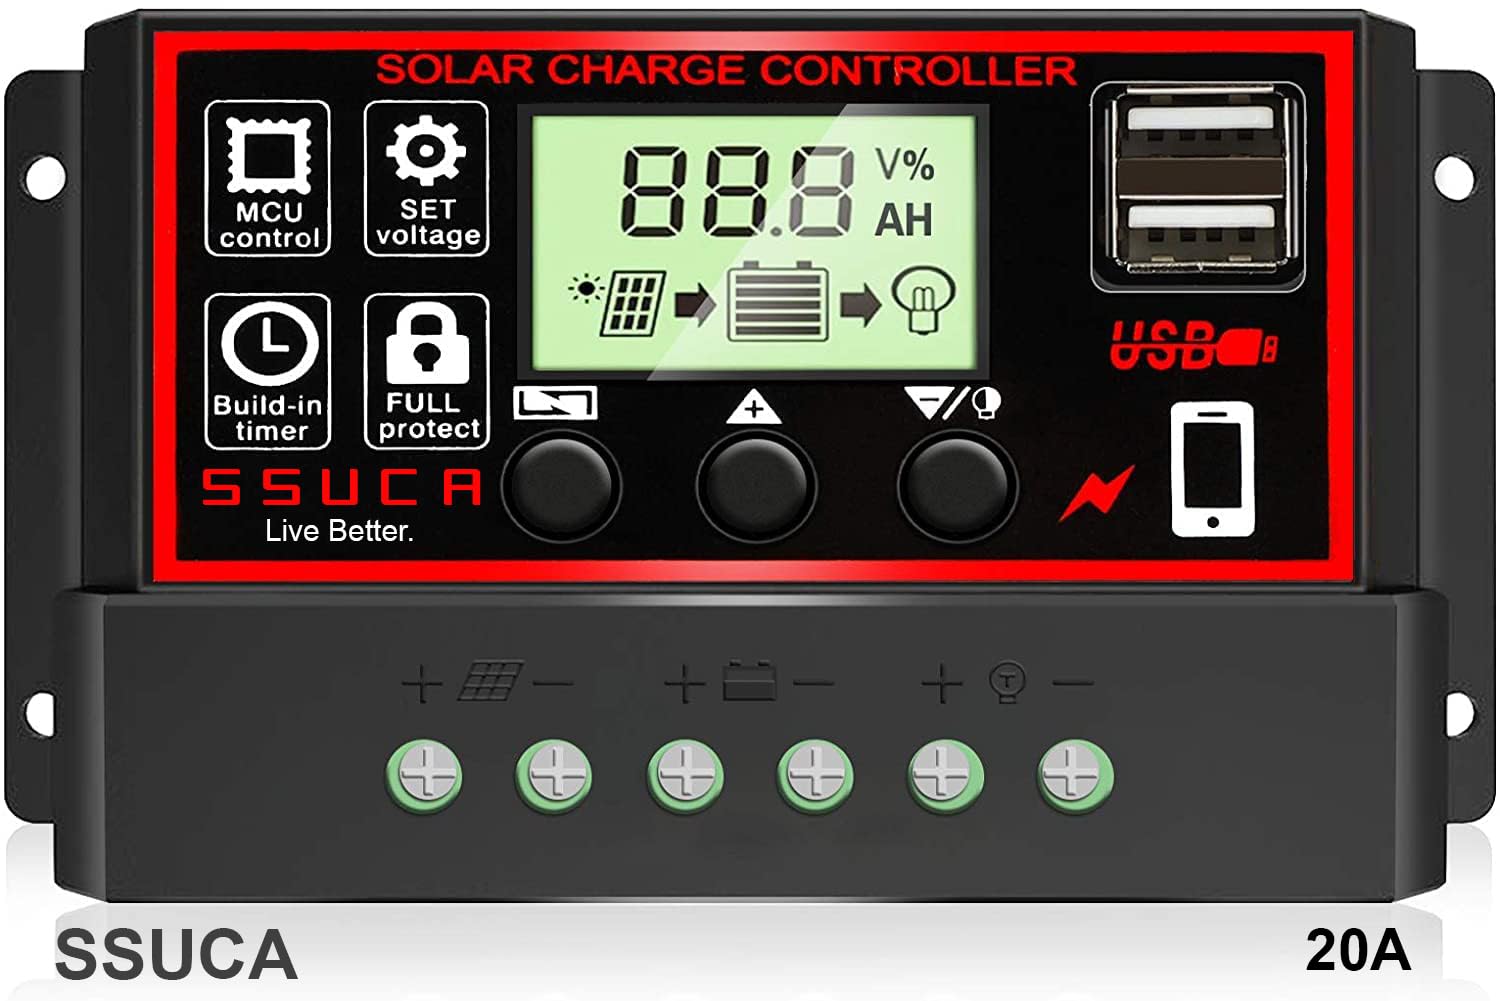
Figure 2: Rear view showing connection terminals for battery, solar panel, and load.
Operating Instructions
The controller features an LCD display and three buttons for operation: MENU, UP, and DOWN/ON/OFF.
LCD Display and Key Functions

Figure 3: Overview of the LCD display and control buttons.
- MENU Button: Press to switch between display interfaces. Long press (3-5 seconds) to enter or exit parameter settings.
- UP Button: In parameter setting interface, press to increase the parameter value.
- DOWN/ON/OFF Button: In parameter setting interface, press to decrease the parameter value. Also functions to turn the load on or off.
Parameter Setting
To set parameters such as Float Voltage, Discharge Reconnect, Discharge Stop, Work Mode, and Battery Type:
- Press the MENU button to browse through different display interfaces (2-5).
- When on the desired parameter interface, press and hold the MENU button for five seconds to enter manual settings. The displayed number will flash.
- Use the UP and DOWN buttons to adjust the parameter value.
- Once the desired value is set, press and hold the MENU button for three seconds to save the setting and exit.

Figure 4: Flowchart illustrating LCD display interfaces and parameter setting process.
USB Port Usage
The integrated USB port provides a convenient way to charge compatible devices. Simply connect your device to the USB port. The controller automatically detects voltage and provides power.
Maintenance
- Cleaning: Periodically clean the controller's exterior with a dry cloth to remove dust and debris. Ensure ventilation openings are clear.
- Connection Checks: Regularly inspect all wiring connections for tightness and corrosion. Loose connections can lead to power loss or overheating.
- Environmental Conditions: Ensure the controller is not exposed to direct sunlight, excessive heat, moisture, or corrosive environments.
Troubleshooting
| Problem | Possible Cause | Solution |
|---|---|---|
| Controller display is off. | Battery not connected or low voltage; reversed battery polarity. | Check battery connections and voltage. Ensure correct polarity. |
| Battery not charging. | Solar panel not connected; insufficient sunlight; faulty solar panel or wiring. | Verify solar panel connections and polarity. Check for adequate sunlight. Test solar panel output. |
| Load not working. | Load output disabled; load overcurrent; faulty load wiring. | Press DOWN/ON/OFF button to enable load. Check load current. Inspect load wiring. |
| Battery drains quickly. | Excessive load; battery degradation; incorrect battery type setting. | Reduce load. Test battery health. Verify battery type setting in controller. |
Specifications
| Feature | Detail |
|---|---|
| Model Number | X9-01RO-FZ9P |
| Rated Current | 20 AMPERE |
| System Voltage | 12V / 24V (Auto-sensing) |
| Display Type | LCD |
| USB Output | Yes (Dual USB ports) |
| Product Dimensions (LxWxH) | 13.4 x 3.3 x 6.8 cm |
| Item Weight | 118 g |
| Manufacturer | SSUCA TRADING |
| Country of Origin | China |

Figure 5: Detailed product dimensions.
Warranty and Support
For warranty information and technical support, please contact SSUCA Trading. The manufacturer can be reached at the following email address:
Email: SSUCATRADING@GMAIL.COM
Please refer to your purchase documentation for specific warranty terms and conditions.