1. Introduction
The RYOBI 40-Volt Lithium-Ion Quick Charger (Model OP408AVNM) is designed to efficiently charge RYOBI 40-Volt Lithium-Ion batteries. This quick charger offers significantly faster charging times compared to standard chargers, ensuring your tools are ready for use with minimal downtime. It features LED indicators to provide clear status updates on the charging process and incorporates fan-cooled technology for improved heat management, which helps protect the battery and extend its lifespan. The charger is also wall-mountable for convenient storage and accessibility.
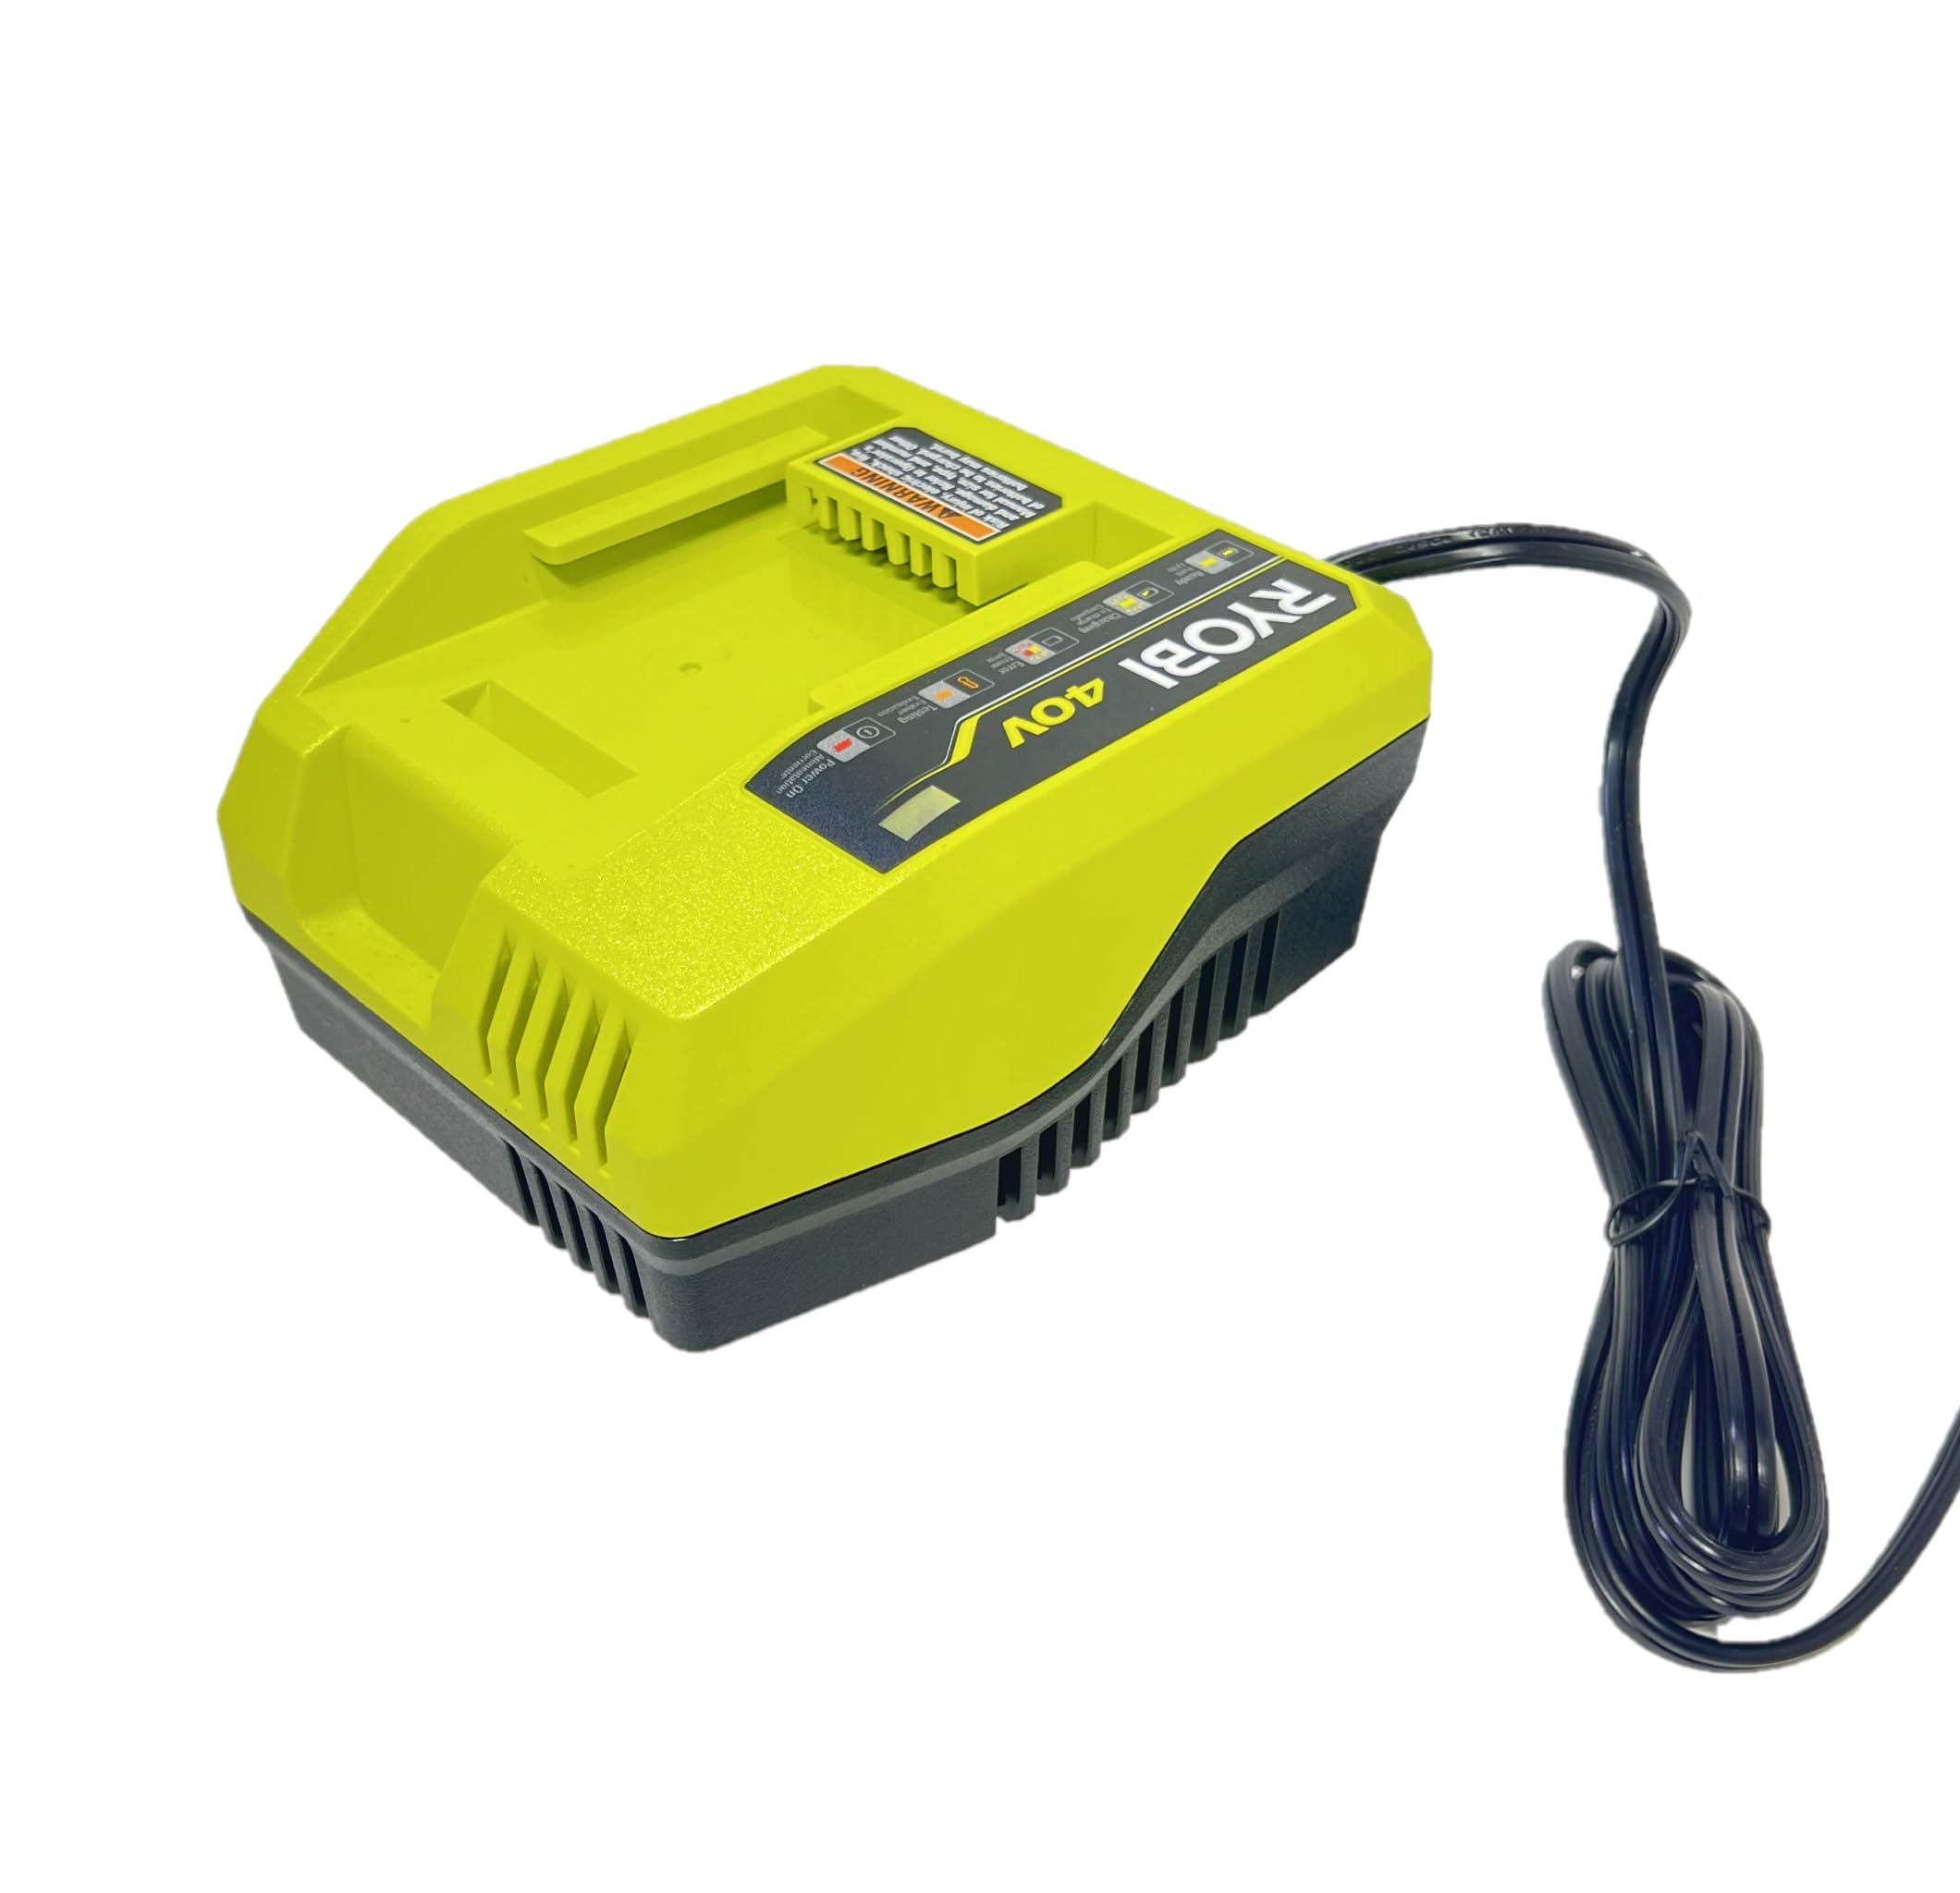
Figure 1: RYOBI 40-Volt Lithium-Ion Quick Charger (Model OP408AVNM)
2. Safety Information
WARNING: To reduce the risk of injury, electric shock, fire, and damage, always read and understand the operator's manual for the specific battery and charger model before use. Other batteries may burst, causing personal injury or damage.
- Use this charger only with RYOBI 40-Volt Lithium-Ion batteries.
- Do not expose the charger to rain or wet conditions.
- Do not charge batteries in damp or wet locations.
- Ensure proper ventilation during charging. Do not block ventilation openings.
- Do not operate the charger if it has received a sharp blow, been dropped, or otherwise damaged.
- Unplug the charger from the power supply when not in use.
3. Product Features
- Fast Charging: Provides 2X faster charging compared to standard RYOBI 40V chargers (e.g., OP403A).
- LED Indicators: Clearly displays battery status, including ready, charging, error, and testing.
- Fan-Cooled Technology: Manages heat during charging to protect the battery and prolong its life.
- Wall Mountable: Designed for convenient storage and accessibility.
- Battery Protection: Monitors charge current and temperature to optimize battery life.
4. Setup
4.1 Unpacking
Carefully remove the charger from its packaging. Inspect the charger for any signs of damage during shipping. If any damage is observed, do not use the charger and contact customer support.

Figure 2: The charger is sold separately from the battery.
4.2 Connecting to Power
- Plug the charger's power cord into a standard 120-Volt AC outlet.
- The 'Power On' indicator light on the charger will illuminate, indicating that the charger is receiving power.
4.3 Wall Mounting (Optional)
The charger can be mounted on a wall for convenient storage. Use appropriate hardware (not included) to secure the charger to a sturdy surface. Ensure the mounting location allows for adequate ventilation and easy access to the power outlet and charging port.
5. Operation
5.1 Charging a Battery
- Ensure the charger is plugged into a live power outlet. The 'Power On' indicator should be lit.
- Slide a RYOBI 40-Volt Lithium-Ion battery into the charging port on the charger. Ensure the battery is fully seated.
- The 'Charging' indicator light will illuminate, indicating that the battery is actively charging.
- Once the battery is fully charged, the 'Ready' indicator light will illuminate, and the 'Charging' light will turn off.
- Remove the fully charged battery by pressing the release latches and sliding it out of the charger.


Figure 3: Proper insertion of a RYOBI 40V battery into the quick charger.
5.2 Understanding LED Indicators
| Indicator | Status | Description |
|---|---|---|
| Ready (Green Light) | Solid Green | Battery is fully charged and ready for use. |
| Charging (Yellow Light) | Flashing Yellow | Battery is currently charging. |
| Error (Red Light) | Flashing Red | An error has occurred. Refer to the Troubleshooting section. |
| Testing (Orange Light) | Solid Orange | The charger is testing the battery's condition. |
| Power On (Red Light) | Solid Red | The charger is connected to power. |
5.3 Fan Operation
The integrated fan will activate during charging to dissipate heat, ensuring optimal battery temperature and extending battery life. It is normal for the fan to produce some noise during operation.
6. Maintenance
6.1 Cleaning
Keep the charger clean and free of debris. Use a dry cloth to wipe down the exterior. Do not use harsh chemicals or abrasive cleaners. Ensure ventilation openings are clear of obstructions.
6.2 Storage
When not in use, store the charger in a dry, cool place away from direct sunlight and moisture. Disconnect it from the power outlet. Do not store batteries on the charger for extended periods after they are fully charged.
6.3 Battery Care
For optimal battery life, avoid completely draining batteries before recharging. Store batteries in a cool, dry place. Do not store batteries in extreme temperatures.
7. Troubleshooting
If the charger is not functioning as expected, refer to the LED indicator table in Section 5.2 for initial diagnosis. Common issues and their solutions are listed below:
- No Lights On: Ensure the charger is securely plugged into a working 120-Volt AC outlet. Check the circuit breaker.
- Flashing Red (Error): This indicates a problem with the battery or charger. Try removing and reinserting the battery. If the error persists, the battery may be faulty or the charger may require service.
- Solid Orange (Testing): The charger is evaluating the battery. This is a normal part of the charging cycle, especially if the battery is very hot or cold. Charging will begin once testing is complete and the battery temperature is within an acceptable range.
- Battery Not Charging: Ensure the battery is fully seated in the charger. Check for any debris in the charging port or on the battery terminals.
If problems persist after attempting these solutions, contact RYOBI customer support.
8. Specifications
| Specification | Value |
|---|---|
| Brand | RYOBI |
| Model Number | OP408AVNM |
| Input Voltage | 240 Volts |
| Output Voltage | 120 Volts |
| Item Weight | 1.34 Pounds |
| Number of Ports | 1 |
| Connector Type | RYOBI 40V Battery Connector |
| Certifications | UL, FCC |
9. Warranty and Support
For warranty information, technical support, or service inquiries, please refer to the documentation included with your product or visit the official RYOBI website. Keep your purchase receipt as proof of purchase for warranty claims.