hosote Nightstands Set of 2 (ASIN: B0BHNZLD7Q)
Hosote Nightstands Set of 2
User Manual
Model: Nightstands Set of 2 (ASIN: B0BHNZLD7Q)
Brand: MSNOR
1. Important Safety Information
Please read all instructions carefully before assembly and use. Keep this manual for future reference.
- Do not overload the nightstand or drawers.
- Ensure all screws and fasteners are securely tightened before use. Periodically check and re-tighten if necessary.
- Keep small parts away from children during assembly to prevent choking hazards.
- Place the nightstand on a flat, stable surface to prevent tipping.
- Do not expose the charging station to liquids or excessive moisture.
- Use only with compatible devices for charging.
2. Product Overview
The Hosote Nightstands Set of 2 offers a versatile and functional addition to your bedroom or living space. Each nightstand features an integrated charging station, two storage drawers, and an open lower cabinet for convenient storage and organization.

Figure 2.1: Hosote Nightstands Set of 2
Key Features:
- Integrated Charging Station: Equipped with 2 AC outlets and 2 USB ports for convenient device charging.
- Spacious Storage: Two smooth-gliding drawers and an open lower shelf provide ample space for various items.
- Durable Construction: Made from safe and environmentally friendly particle board with aluminum alloy handles.
- Versatile Design: Suitable for use as a bedside table, end table, or sofa table in various rooms.
3. Components List
Before beginning assembly, ensure all parts are present and undamaged. If any parts are missing or damaged, please contact customer support.
| Part | Description | Quantity (per nightstand) |
|---|---|---|
| A | Top Panel | 1 |
| B | Side Panels | 2 |
| C | Bottom Panel | 1 |
| D | Drawer Fronts | 2 |
| E | Drawer Sides/Backs | Various |
| F | Drawer Bottoms | 2 |
| G | Drawer Slides | 4 sets |
| H | Handles | 2 |
| I | Charging Station Unit | 1 |
| J | Hardware Pack (screws, dowels, cam locks, etc.) | 1 |
Note: The exact quantity and type of hardware may vary slightly. Refer to the included assembly diagram for precise details.
4. Setup and Assembly
Assembly is required for this product. It is recommended to have two people for easier and safer assembly. A Phillips head screwdriver and a hammer (optional) may be needed.
- Prepare the Area: Clear a spacious, clean, and soft area (e.g., carpeted floor) to prevent scratching the furniture during assembly.
- Identify Components: Lay out all parts and hardware. Compare them with the components list and the assembly diagram provided in the packaging to ensure everything is accounted for.
- Assemble the Main Frame: Attach the side panels to the bottom panel and internal support panels using the provided hardware (dowels, screws, cam locks). Ensure all connections are snug.
- Install Drawer Slides: Secure the drawer slides to the inner side panels of the nightstand frame according to the pre-drilled holes. Ensure they are level and aligned.
- Assemble Drawers: Construct the two drawers by attaching the sides and back to the drawer fronts, then slide in the drawer bottoms. Attach the handles to the drawer fronts.
- Insert Drawers: Carefully slide the assembled drawers onto the installed drawer slides. Test for smooth operation.
- Install Top Panel: Secure the top panel to the assembled frame.
- Integrate Charging Station: Insert the charging station unit into the designated slot on the top panel. Ensure it clicks securely into place.
- Final Check: Verify that all connections are tight and the nightstand is stable.

Figure 4.1: Nightstand with drawers open, illustrating storage capacity.
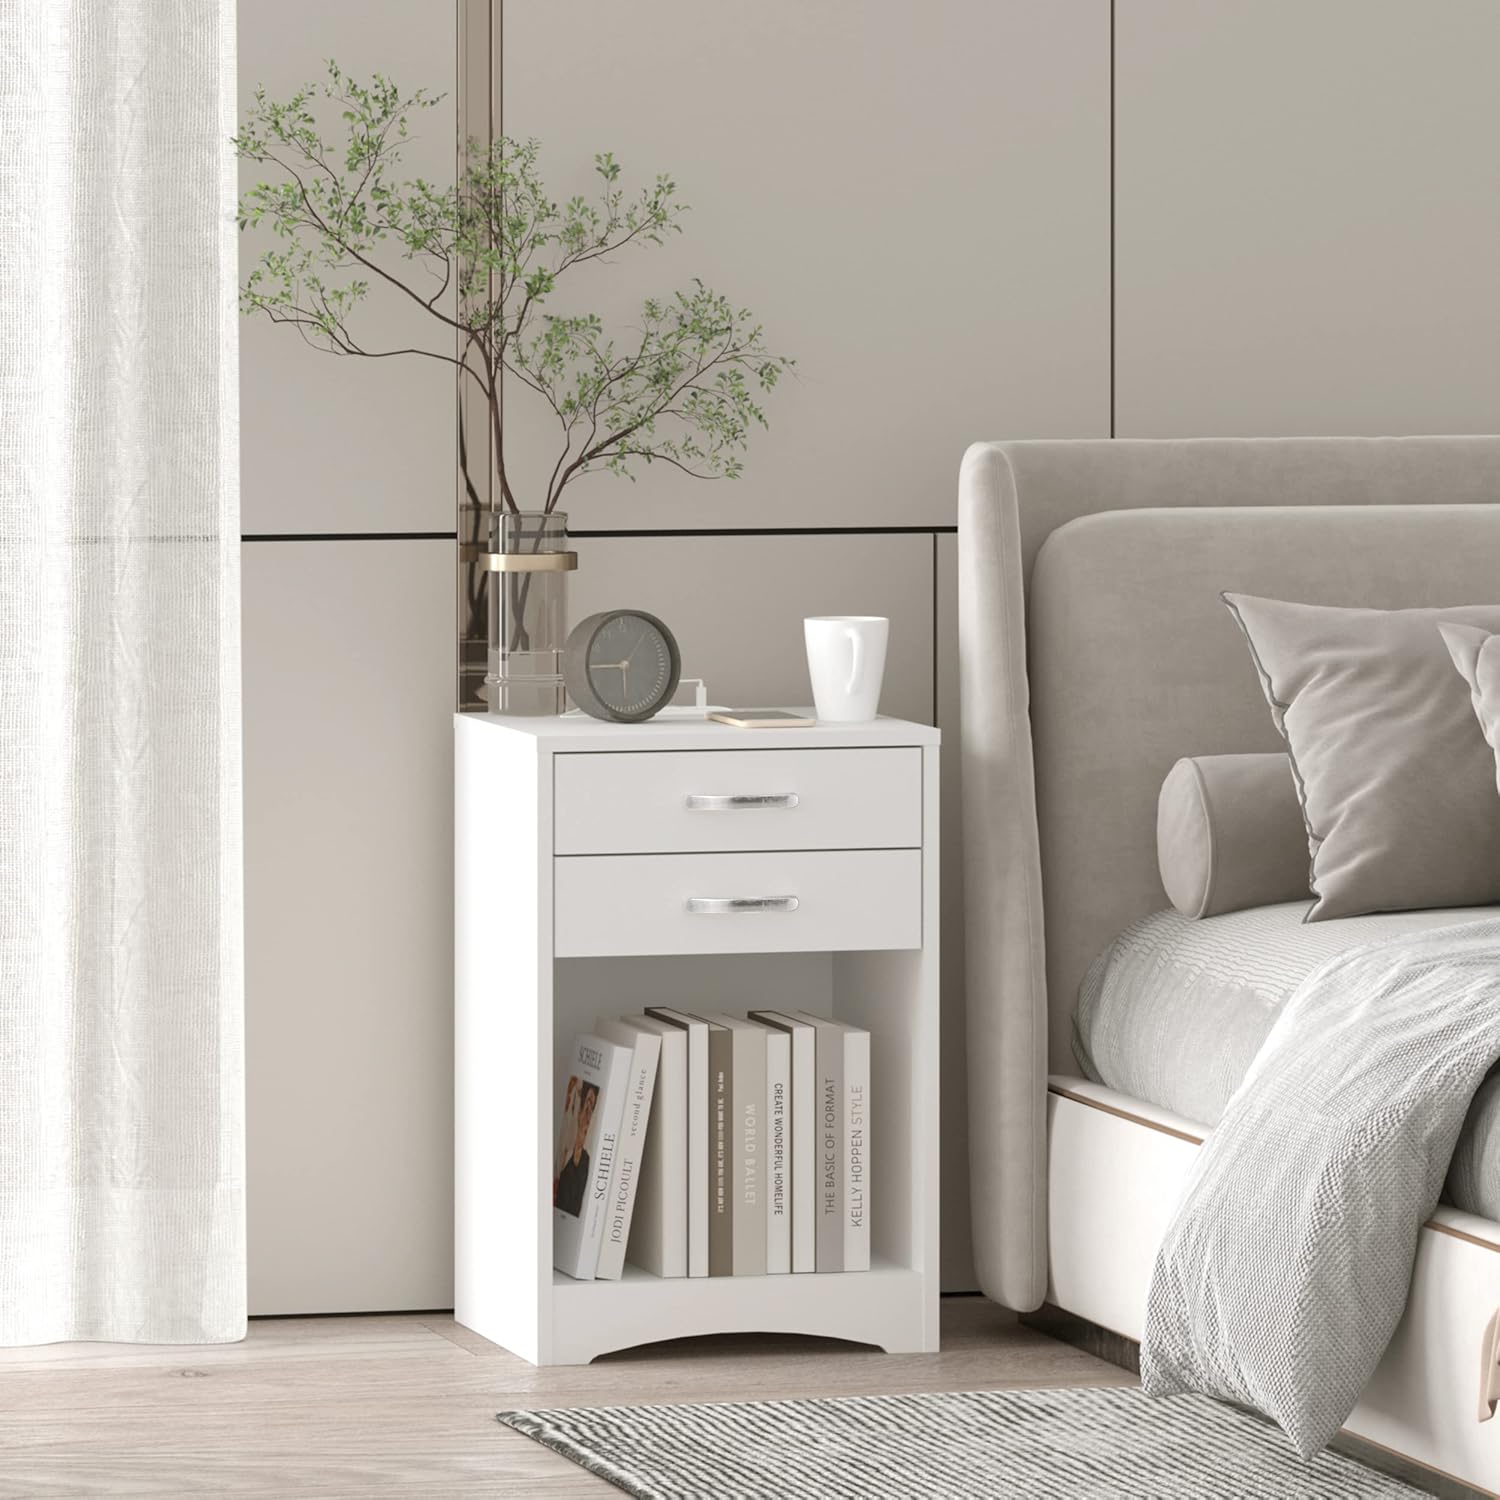
Figure 4.2: Assembled nightstand in a bedroom setting.
5. Operating Instructions
5.1 Using the Charging Station
The integrated charging station provides convenient power access for your electronic devices.
- Connect to Power: Plug the nightstand's power cord into a standard 120V AC wall outlet.
- Charge Devices:
- For AC-powered devices, plug them into the 2 AC outlets (125V/12A max).
- For USB-powered devices, connect them to the 2 USB ports (5V/2A max).
- Safety Note: Do not exceed the maximum power ratings of the outlets or USB ports. Unplug the nightstand from the wall outlet when not in use for extended periods or during electrical storms.

Figure 5.1: Detail of the charging station with specifications.
5.2 Using the Drawers and Storage Shelf
The nightstand features two drawers and an open lower shelf for organized storage.
- Drawers: Gently pull the handles to open the drawers. The smooth drawer slides ensure easy access to stored items like remote controls, glasses, or personal accessories.
- Open Shelf: Utilize the lower open shelf for larger items such as books, magazines, or decorative pieces.
- Weight Capacity: Avoid placing excessively heavy items in the drawers or on the shelves to prevent damage or instability.
6. Maintenance and Care
Proper care will help maintain the appearance and longevity of your nightstands.
- Cleaning: Wipe surfaces with a soft, damp cloth. Avoid using harsh chemicals, abrasive cleaners, or polishes that may damage the finish.
- Spills: Immediately wipe up any spills to prevent staining or damage to the particle board.
- Heat and Moisture: Avoid placing hot items directly on the surface. Use coasters for drinks to protect against moisture rings.
- Sunlight Exposure: Prolonged exposure to direct sunlight may cause fading or discoloration.
- Hardware Check: Periodically check all screws and fasteners to ensure they remain tight. Re-tighten if necessary.
7. Troubleshooting
| Problem | Possible Cause | Solution |
|---|---|---|
| Charging station not working. | Not plugged in; loose connection; power outage; faulty device. | Ensure the nightstand's power cord is securely plugged into a working wall outlet. Check if the wall outlet has power. Test with a different device. |
| Drawers are stiff or not closing smoothly. | Misaligned drawer slides; obstruction; loose hardware. | Remove the drawer and check if the slides are properly aligned and free of debris. Ensure all drawer hardware is tightened. |
| Nightstand is wobbly. | Uneven floor; loose assembly hardware. | Ensure the nightstand is on a level surface. Check and tighten all assembly screws and fasteners. |
8. Specifications
| Feature | Detail |
|---|---|
| Product Dimensions (each) | 15.7 x 13.8 x 23.6 inches (L x W x H) |
| Product Weight (each) | Approx. 25 lbs (50 lbs for the set of 2) |
| Material | Particle Board, Aluminum Alloy (handles) |
| AC Outlets | 2 (125V/12A) |
| USB Ports | 2 (5V/2A) |
| Power Cord Length | 5.9 Feet |
| Color | White |

Figure 8.1: Detailed dimensions of the nightstand.
9. Warranty and Customer Support
We are committed to providing high-quality products and excellent customer service.
- Quality Service: If you encounter any issues or have questions regarding your Hosote Nightstands, please contact our customer support team.
- We aim to resolve inquiries as soon as possible, typically within 24 hours, and provide high-quality after-sales service.
- Please have your purchase information (e.g., order number, date of purchase) ready when contacting support.
For support, please refer to the contact information provided with your purchase or visit the official Hosote website.