
1. Introduction
This manual provides comprehensive instructions for the installation, operation, and maintenance of your NORXI Universal Digital Tachometer RPM Meter. This electronic gauge is designed to accurately measure engine RPMs for various vehicles, including motorcycles, cars, bikes, boats, and other small engines. Its compact, waterproof design ensures clear visibility and reliable performance in diverse conditions.
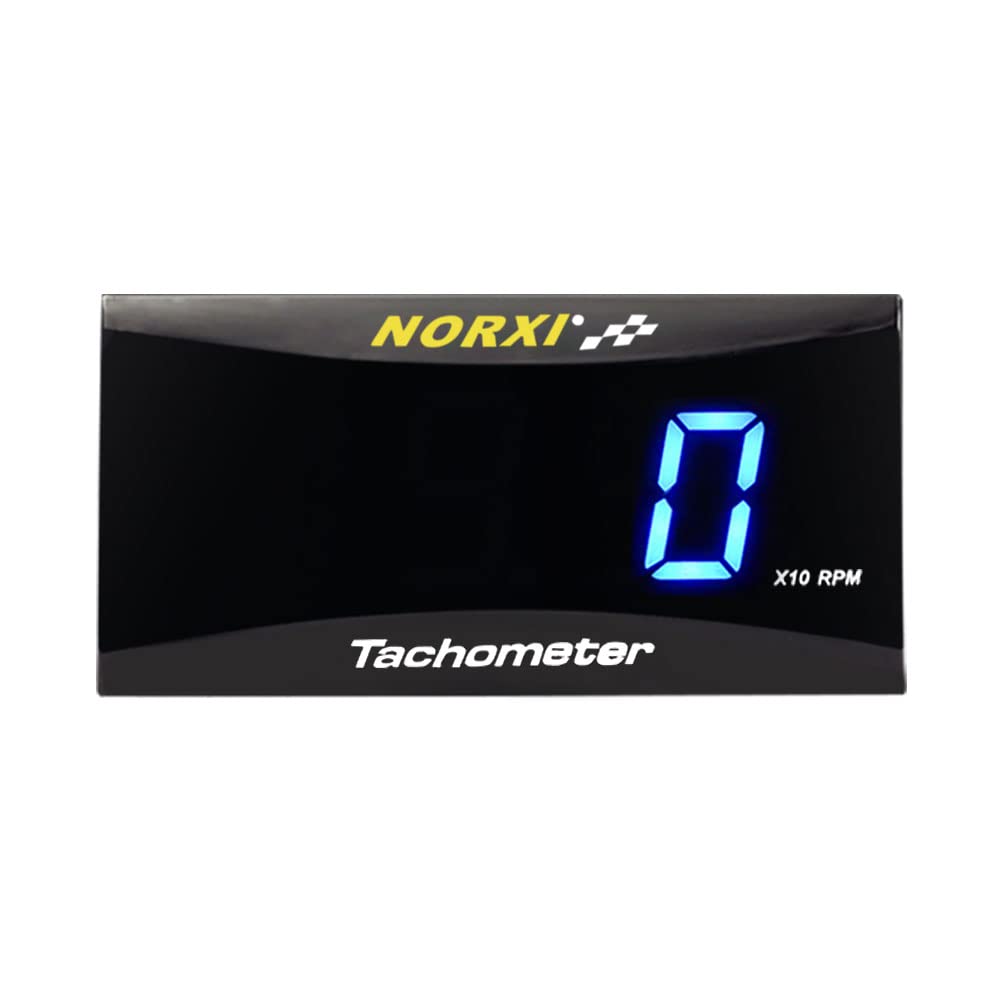
Image 1.1: The NORXI Universal Digital Tachometer with its blue digital display, showing '0' RPM. This image illustrates the compact size and clear display of the device.
2. Product Features
- Accurate RPM Measurement: Records engine RPMs from 0 to 20000rpm, assisting in engine idle adjustment.
- Programmable: Can be configured for various engine firing patterns (1-8 cylinder engines).
- Compact Design: Super slim square design (56mm x 28mm x 11mm) for easy installation without obstructing other instruments.
- High Visibility Display: Large character display ensures clear readability day or night, enhancing driving safety.
- Waterproof Construction: Designed to withstand exposure to water, suitable for outdoor and marine applications.
- Versatile Application: Suitable for cars, motorcycles, bikes, boats, lawn mowers, tractors, chainsaws, generators, ATVs, scooters, and outboard jetskis.

Image 2.1: The NORXI Digital Tachometer partially submerged in water, demonstrating its waterproof capability. The red digital display is clearly visible.
3. Package Contents
Please verify that all items listed below are present in your package:
- NORXI Digital Tachometer Unit
- Power and Signal Wiring Harness
- RPM Signal Wire (for wrapping around spark plug wire)
- Mounting Bracket (if included with your specific variant)
- Double-sided Adhesive Tape
- Wire Connectors
- Instruction Manual

Image 3.1: An overview of the NORXI Digital Tachometer package contents, including the tachometer unit, wiring, mounting accessories, and instruction manual.
4. Installation Guide
Follow these steps for proper installation of your digital tachometer:
- Power Connection: Connect the Red wire (Positive) to the DC 12V battery terminal.
- Ground Connection: Connect the Black wire (Ground) to the vehicle body or engine, ensuring a good ground connection.
- RPM Signal Wire (Method A - Standard): Wrap the RPM wire (often Pink/Black or Brown/Red) 3-10 times around the spark plug wire. This method is suitable for most engines.
- RPM Signal Wire (Method B - New Ignition Coil): For models with a new ignition coil, wrap the RPM wire at least 5 times around the spark plug wire as shown in the diagram.
- Mounting: Secure the tachometer using the provided double-sided tape on a flat surface around the dashboard, or use the mounting bracket (if included) to attach it near the rearview mirror or other suitable location.

Image 4.1: Detailed wiring diagram illustrating the connections for the NORXI Digital Tachometer. It shows positive, ground, and RPM signal wire connections, along with two methods for RPM wire wrapping.
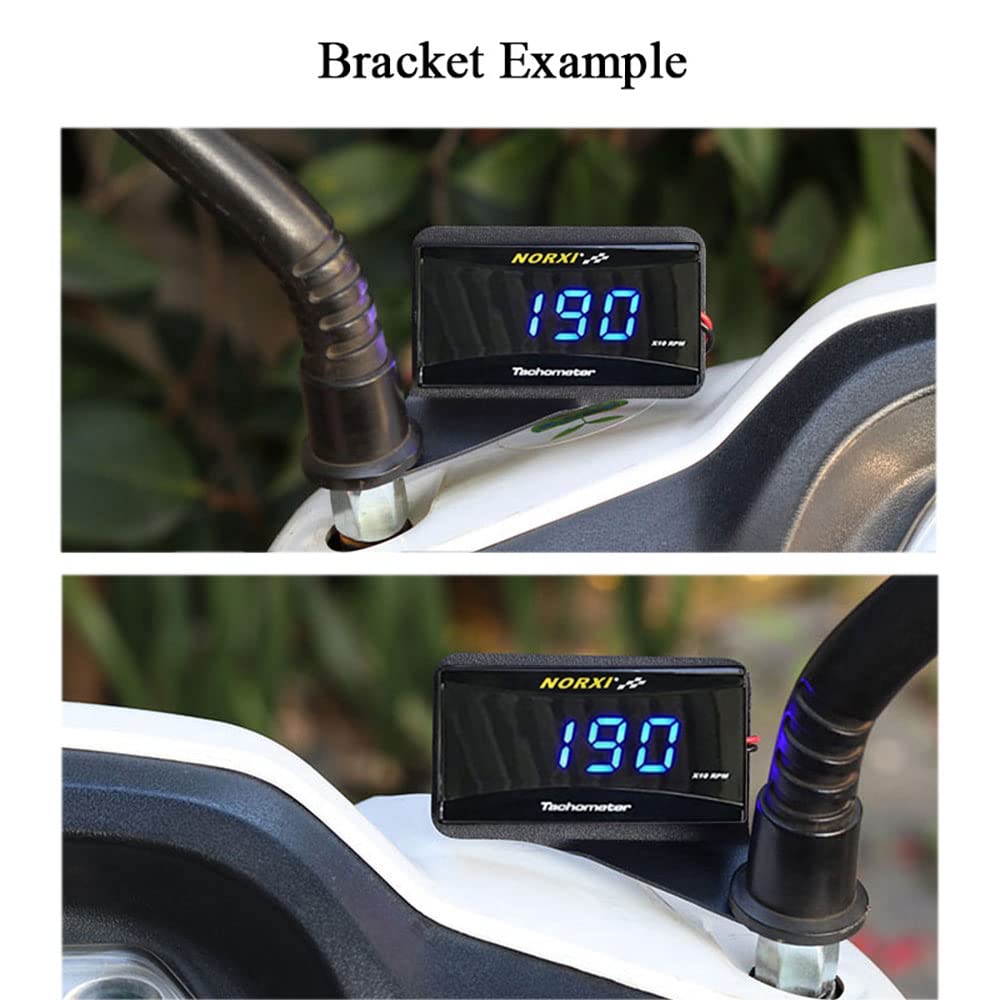
Image 4.2: An example of the tachometer mounted using a bracket on a motorcycle handlebar, displaying '190' RPM. This demonstrates a typical installation scenario.
5. Operation
Once installed, the tachometer will display the engine's RPMs. The display range is 0 to 20000 RPM. The device can be programmed to match different engine types (1-8 cylinders) to ensure accurate readings. Refer to the included detailed instructions for specific programming steps, as these may vary based on the tachometer's firmware version.
The display shows RPM values multiplied by 10 (e.g., '190' indicates 1900 RPM). This design choice prioritizes a compact display while conveying necessary information.
6. Maintenance
The NORXI Digital Tachometer is designed for durability and requires minimal maintenance. To ensure longevity and optimal performance:
- Cleaning: Wipe the display and casing with a soft, damp cloth. Avoid abrasive cleaners or solvents that could damage the unit.
- Connections: Periodically check all wiring connections to ensure they remain secure and free from corrosion.
- Environmental Protection: While waterproof, prolonged submersion or exposure to extreme temperatures should be avoided to prevent potential damage.
7. Troubleshooting
If you encounter issues with your tachometer, consider the following:
- No Display/Power:
- Check the 12V power connection to the red wire.
- Ensure the black ground wire has a solid connection to the vehicle's chassis or engine.
- Inaccurate RPM Readings:
- Verify the RPM signal wire is wrapped correctly around the spark plug wire (3-10 times for standard, 5+ times for new ignition coils).
- Ensure the tachometer is programmed for the correct number of engine cylinders. Refer to the specific programming instructions.
- For V-twin engines or engines with unusual firing patterns, this tachometer may not provide accurate readings due to signal timing differences.
- Signal interference from other electrical components or long wire runs can affect accuracy. Consider using shielded wire if experiencing significant fluctuations.
- Fluctuating Readings:
- Re-wrap the signal wire, ensuring tight contact and the recommended number of wraps.
- Check for loose connections or damaged wiring.
If problems persist after following these steps, please contact NORXI customer support.
8. Specifications
| Product Dimensions (L x W x H) | 2.2 x 1.1 x 0.43 inches (56mm x 28mm x 11mm) |
| Item Weight | 3.53 ounces (0.1 Kilograms) |
| Material | Acrylonitrile Butadiene Styrene (ABS) |
| RPM Display Range | 0 ~ 20000 RPM (displayed as X10 RPM) |
| Compatibility | 1-8 cylinder engines |
| Power Input | DC 12V |
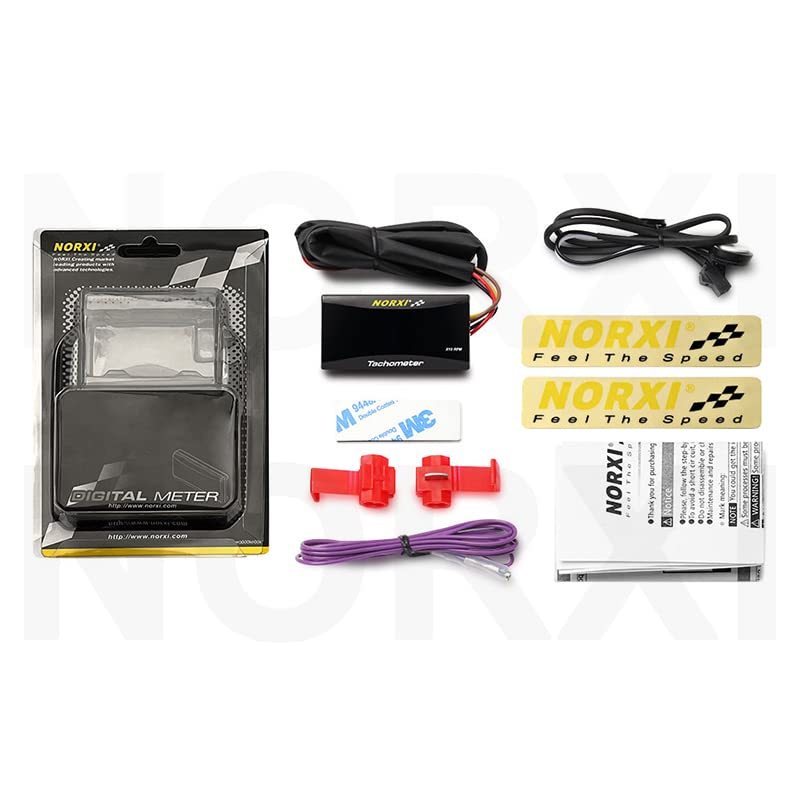
Image 8.1: A diagram illustrating the physical dimensions of the NORXI Digital Tachometer, showing its length (56mm), width (28mm), and thickness (11mm).
9. Warranty and Support
For warranty information or technical support, please refer to the documentation included with your product or contact NORXI customer service directly through their official channels. Keep your purchase receipt as proof of purchase.