1. Important Safety Instructions
When using electrical appliances, basic safety precautions should be followed, including the following:
- Read all instructions before using the appliance.
- Do not attempt to operate this oven with the door open as this can result in harmful exposure to microwave energy.
- Do not place any object between the oven front face and the door or allow soil or cleaner residue to accumulate on sealing surfaces.
- Do not operate the oven if it is damaged. It is particularly important that the oven door closes properly and that there is no damage to the: (1) door (bent), (2) hinges and latches (broken or loosened), (3) door seals and sealing surfaces.
- The oven should not be adjusted or repaired by anyone except properly qualified service personnel.
- Ensure proper ventilation around the microwave. Do not block air vents.
- Do not use corrosive chemicals or vapors in this appliance.
- Always use microwave-safe cookware.
- Liquids such as water, coffee, or tea can be overheated beyond the boiling point without appearing to boil. This can result in very hot liquids suddenly boiling over when a spoon or other utensil is inserted into the liquid.
- Do not heat whole eggs, hard-boiled eggs, or sealed containers in the microwave oven as they may explode.
- This appliance is not intended for use by persons (including children) with reduced physical, sensory or mental capabilities, or lack of experience and knowledge, unless they have been given supervision or instruction concerning use of the appliance by a person responsible for their safety.
2. Product Overview
The WINIA KOS-1N1HBB is a 1.1 cubic feet microwave oven designed for efficient heating and cooking. It features an intuitive control panel with both buttons and a rotary knob for ease of use.

Figure 2.1: Front view of the Winia KOS-1N1HBB Microwave Oven.
2.1 Components
- Oven Cavity: Interior space for food. Designed for easy cleaning.
- Glass Turntable: Rotates food for even heating.
- Control Panel: Features buttons and a rotary knob for setting functions and time.
- Oven Door: Equipped with a handle for opening and closing.
- Door Safety Lock System: Prevents microwave operation when the door is open.

Figure 2.2: Detailed view of the control panel, showing buttons and rotary knob.
3. Setup and Installation
3.1 Unpacking
- Remove all packaging materials from inside and outside the oven.
- Check the oven for any damage, such as a misaligned or bent door, damaged door seals and sealing surface, broken or loose door hinges and latches, or dents inside the cavity or on the door. If any damage is present, do not operate the oven and contact customer service.
3.2 Placement
- Place the microwave oven on a flat, stable surface that can support its weight and the heaviest food item likely to be cooked in it.
- Ensure there is adequate space for ventilation: at least 20 cm (8 inches) of space above the oven, 10 cm (4 inches) at the rear, and 5 cm (2 inches) on both sides. Do not block any air vents.
- Keep the oven away from heat sources and strong magnetic fields.
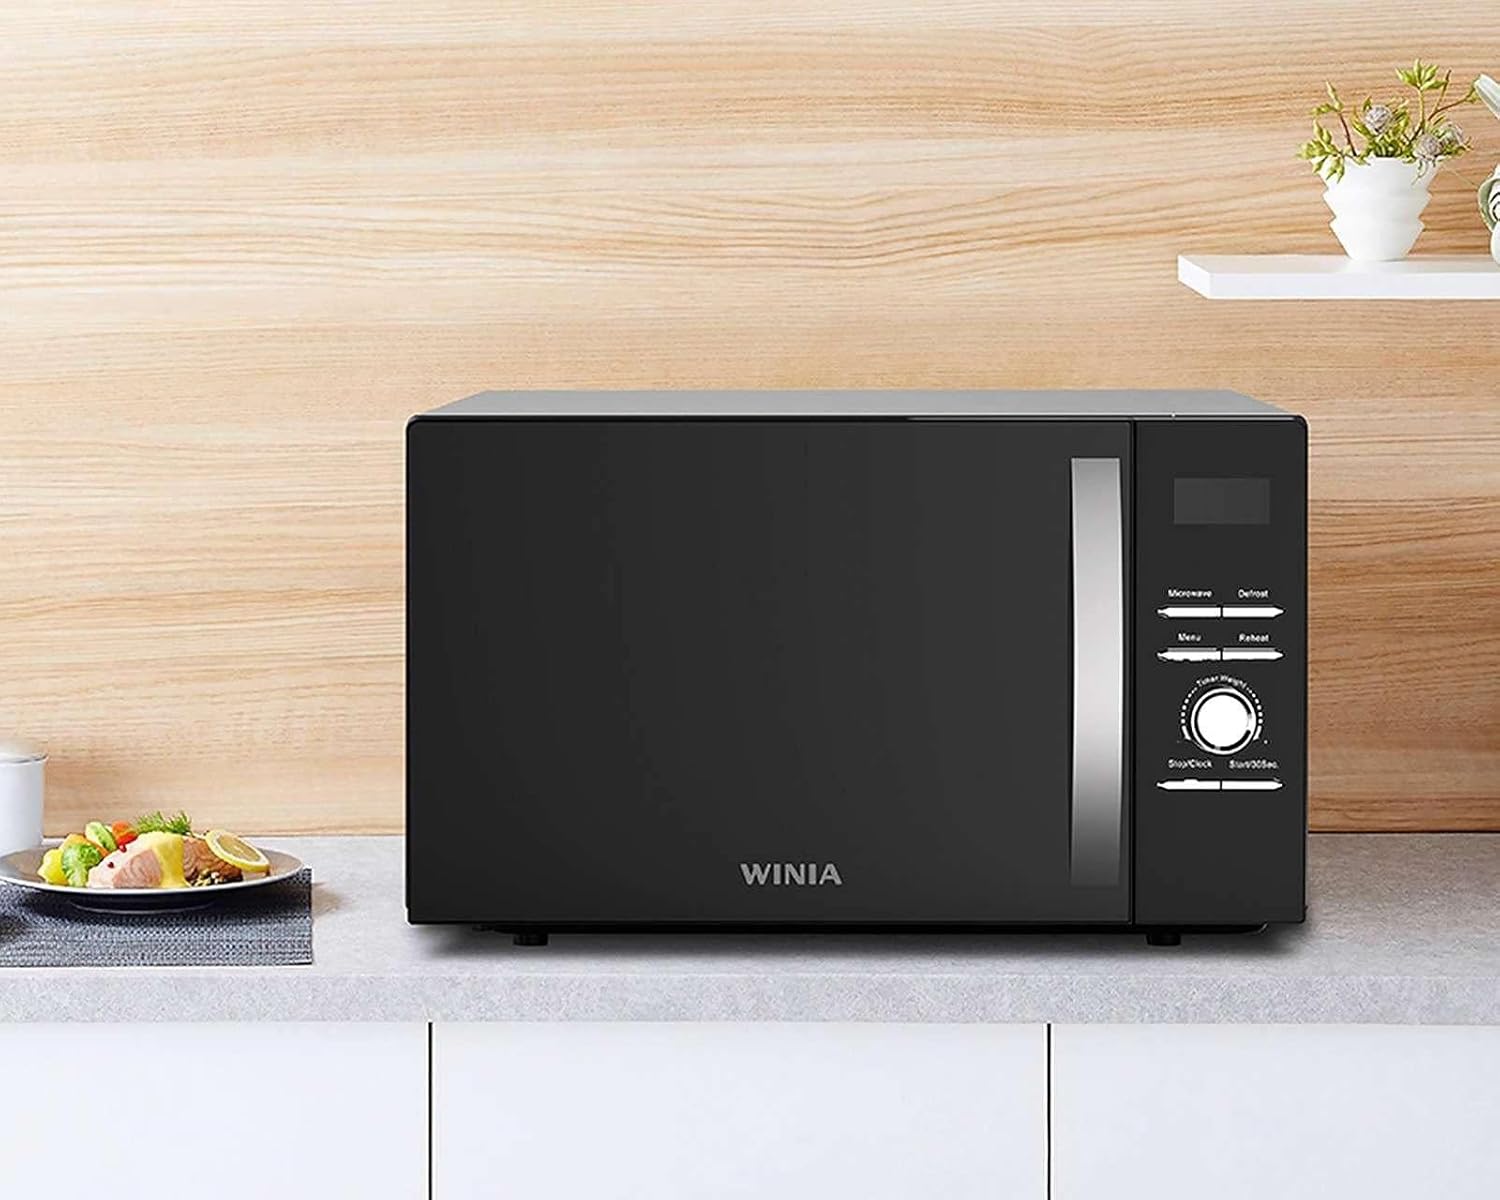
Figure 3.1: Example of proper microwave placement on a kitchen counter.
3.3 Electrical Connection
- Plug the power cord into a standard grounded electrical outlet. Ensure the voltage matches the rating label on the oven.
- Do not use extension cords or adapters.
4. Operating Instructions
4.1 Setting the Clock
- Press the Descong./Reloj button once.
- Turn the rotary knob to set the hour. Press Descong./Reloj again.
- Turn the rotary knob to set the minutes. Press Descong./Reloj to confirm.
4.2 Microwave Cooking
- Place food in a microwave-safe container on the turntable. Close the door.
- Press the Tiempo button.
- Turn the rotary knob to set the desired cooking time (up to 60 minutes).
- Press the Potencia button repeatedly to select a power level (1 to 5). Level 5 is full power.
- Press Inicio to start cooking.
4.3 Express Cooking (+30s)
For quick heating at full power:
- Press the +30s button to start cooking immediately for 30 seconds at full power. Each additional press adds 30 seconds.
4.4 Defrost Function
The oven offers defrosting by weight or by time.
Defrost by Weight:
- Press the Descong./Reloj button twice.
- Turn the rotary knob to select the weight (100g to 1500g).
- Press Inicio to start defrosting.
Defrost by Time:
- Press the Descong./Reloj button three times.
- Turn the rotary knob to set the defrosting time (up to 60 minutes).
- Press Inicio to start defrosting.
4.5 Reheat Function
- Press the Recalentar button.
- Turn the rotary knob to select the desired reheat time.
- Press Inicio to start reheating.
4.6 Automatic Menus (8 Presets)
The oven includes 8 automatic menus for common food items. Refer to the internal label or a separate quick guide for specific menu options and weights.
- Press the Menú button repeatedly to cycle through the automatic menu options.
- Once the desired menu is displayed, turn the rotary knob to select the food weight or quantity.
- Press Inicio to start cooking.
4.7 Child Lock Function
To prevent accidental operation, especially by children:
- To activate: Press and hold the Bloquear button for 3 seconds. A lock indicator will appear on the display.
- To deactivate: Press and hold the Bloquear button for 3 seconds again. The lock indicator will disappear.
4.8 Stopping Operation
- To pause cooking, open the oven door or press the Parar button once.
- To cancel cooking completely, press the Parar button twice.
5. Care and Maintenance
Regular cleaning and proper care will ensure the longevity and efficient operation of your microwave oven.
5.1 Cleaning the Oven Cavity
- Always unplug the oven before cleaning.
- Wipe the inside of the oven with a damp cloth after each use. For stubborn stains, use a mild detergent. Avoid abrasive cleaners or scouring pads.
- Clean the door seals and sealing surfaces regularly to ensure proper door closure.
- The glass turntable and roller ring can be removed and washed in warm soapy water or in a dishwasher. Ensure they are completely dry before placing them back in the oven.
5.2 Cleaning the Exterior
- Wipe the exterior surfaces with a soft, damp cloth.
- Do not allow water to drip into the ventilation openings.
6. Troubleshooting Guide
If you encounter any issues with your microwave oven, refer to the following table for common problems and solutions.
| Problem | Possible Cause | Solution |
|---|---|---|
| Oven will not start | Power cord not plugged in; Door not closed properly; Child lock activated. | Ensure power cord is securely plugged in; Close door firmly; Deactivate child lock by holding the Bloquear button for 3 seconds. |
| Food not heating | Incorrect cooking time/power level; Microwave-safe cookware not used. | Adjust cooking time and power level; Use only microwave-safe dishes. |
| Turntable not rotating | Turntable not placed correctly; Obstruction under turntable. | Ensure turntable and roller ring are correctly positioned; Remove any debris. |
| Unusual noise during operation | Food container touching oven walls; Turntable not seated properly. | Reposition food container; Re-seat turntable and roller ring. |
| Display shows an error code | Internal malfunction. | Unplug the oven for 1 minute, then plug it back in. If the error persists, contact customer service. |
If the problem persists after trying these solutions, please contact WINIA customer service for assistance.
7. Product Specifications
Detailed technical specifications for the WINIA KOS-1N1HBB Microwave Oven.

Figure 7.1: Dimensions of the microwave oven.
| Feature | Specification |
|---|---|
| Brand | WINIA |
| Model Number | KOS-1N1HBB |
| Capacity | 1.1 cubic feet |
| Power Output | 1100 watts |
| Material | Stainless Steel (interior/exterior details) |
| Color | Black Crystal with Handle |
| Product Dimensions (D x W x H) | 30.3 cm x 51.5 cm x 36.8 cm (approx. 11.9 in x 20.3 in x 14.5 in) |
| Product Weight | 11 Kilograms (approx. 24.25 lbs) |
| Special Features | Control panel lock (Child Lock), 5 Power Levels, 8 Auto Menus, Defrost by Weight/Time, Reheat Function, Express Cook, Clock Function |
8. Warranty and Support
For information regarding the product warranty, please refer to the warranty card included with your purchase or visit the official WINIA website. For technical support or service inquiries, please contact WINIA customer service through their official channels.