Introduction
The TechniSat IMETEO Q1 is a versatile weather station designed to provide comprehensive weather data for both indoor and outdoor environments. It measures temperature, air humidity, and atmospheric pressure, and offers a weather forecast based on these readings. Additionally, it features an alarm clock, snooze function, and a wireless charging pad for compatible devices. The base station includes an internal sensor, while an external radio sensor transmits outdoor measurements.
Package Contents
- IMETEO Q1 Base Station
- Wireless Outdoor Sensor
- USB Power Cable
- Instruction Manual
- Note: 2 x LR03 AA batteries for the base station and 2 x LR06 AA batteries for the outdoor sensor are not included.
Product Overview

The IMETEO Q1 base station features a large, color LCD display showing time, indoor/outdoor temperature, humidity, and weather forecast icons. It also includes a wireless charging pad and adjustable LED mood lighting.

The wireless outdoor sensor measures external temperature and humidity. It transmits data to the base station up to 60 meters away in open areas. The sensor can be wall-mounted.
Setup
1. Battery Installation
Install batteries in both the base station and the outdoor sensor. Ensure correct polarity.
- For the Outdoor Sensor: Open the battery compartment and insert 2 x LR06 AA batteries.
- For the Base Station: Open the battery compartment and insert 2 x LR03 AA batteries. These are optional if using USB power, but recommended for backup.
2. Powering the Base Station
The base station can be powered via USB or batteries.
- USB Power: Connect the provided USB cable to the base station and a suitable USB power adapter (not included).
- Battery Power: If using batteries, ensure they are correctly installed. The display will illuminate upon power-up.
3. Pairing the Outdoor Sensor
Upon initial power-up, the base station will automatically attempt to connect with the outdoor sensor. This process typically takes a few seconds to a few minutes. Ensure the sensor is within range.
- If pairing does not occur automatically, refer to the "Troubleshooting" section or manually initiate pairing via the base station's settings.
- The base station supports up to three external sensors. Channel switching is possible on both the base unit and the external sensor.
4. Initial Settings
Use the buttons on the back of the base station to set the following:
- Time and Date: Adjust to your current local time and date.
- Temperature Units: Select between Celsius (°C) and Fahrenheit (°F).
- Weather Forecast Style: The station determines weather trends and forecasts based on measured data.
5. Placement of Outdoor Sensor
Mount the outdoor sensor in a location that is protected from direct sunlight and precipitation for accurate readings. Ensure it is within the 60-meter transmission range of the base station.
Operation
1. Display Overview
The color display shows indoor and outdoor temperature, humidity, time, date, and weather forecast icons. Three backlight modes are available.
The large, color display provides a clear overview of all important measurement values and functions. You can adjust the backlight intensity using the dedicated button (often labeled "SNOOZE/LIGHT").
2. Reading Measurements
- Temperature: Displays indoor and outdoor temperature in your selected unit (°C or °F).
- Humidity: Shows indoor and outdoor air humidity as a percentage.
- Pressure: The station monitors atmospheric pressure trends.
- UV Index: The station may display an estimated UV index based on its internal calculations.
The station records maximum and minimum values for temperature and humidity. These can typically be accessed by pressing a specific button (refer to the device's physical buttons for labels like "MAX/MIN").
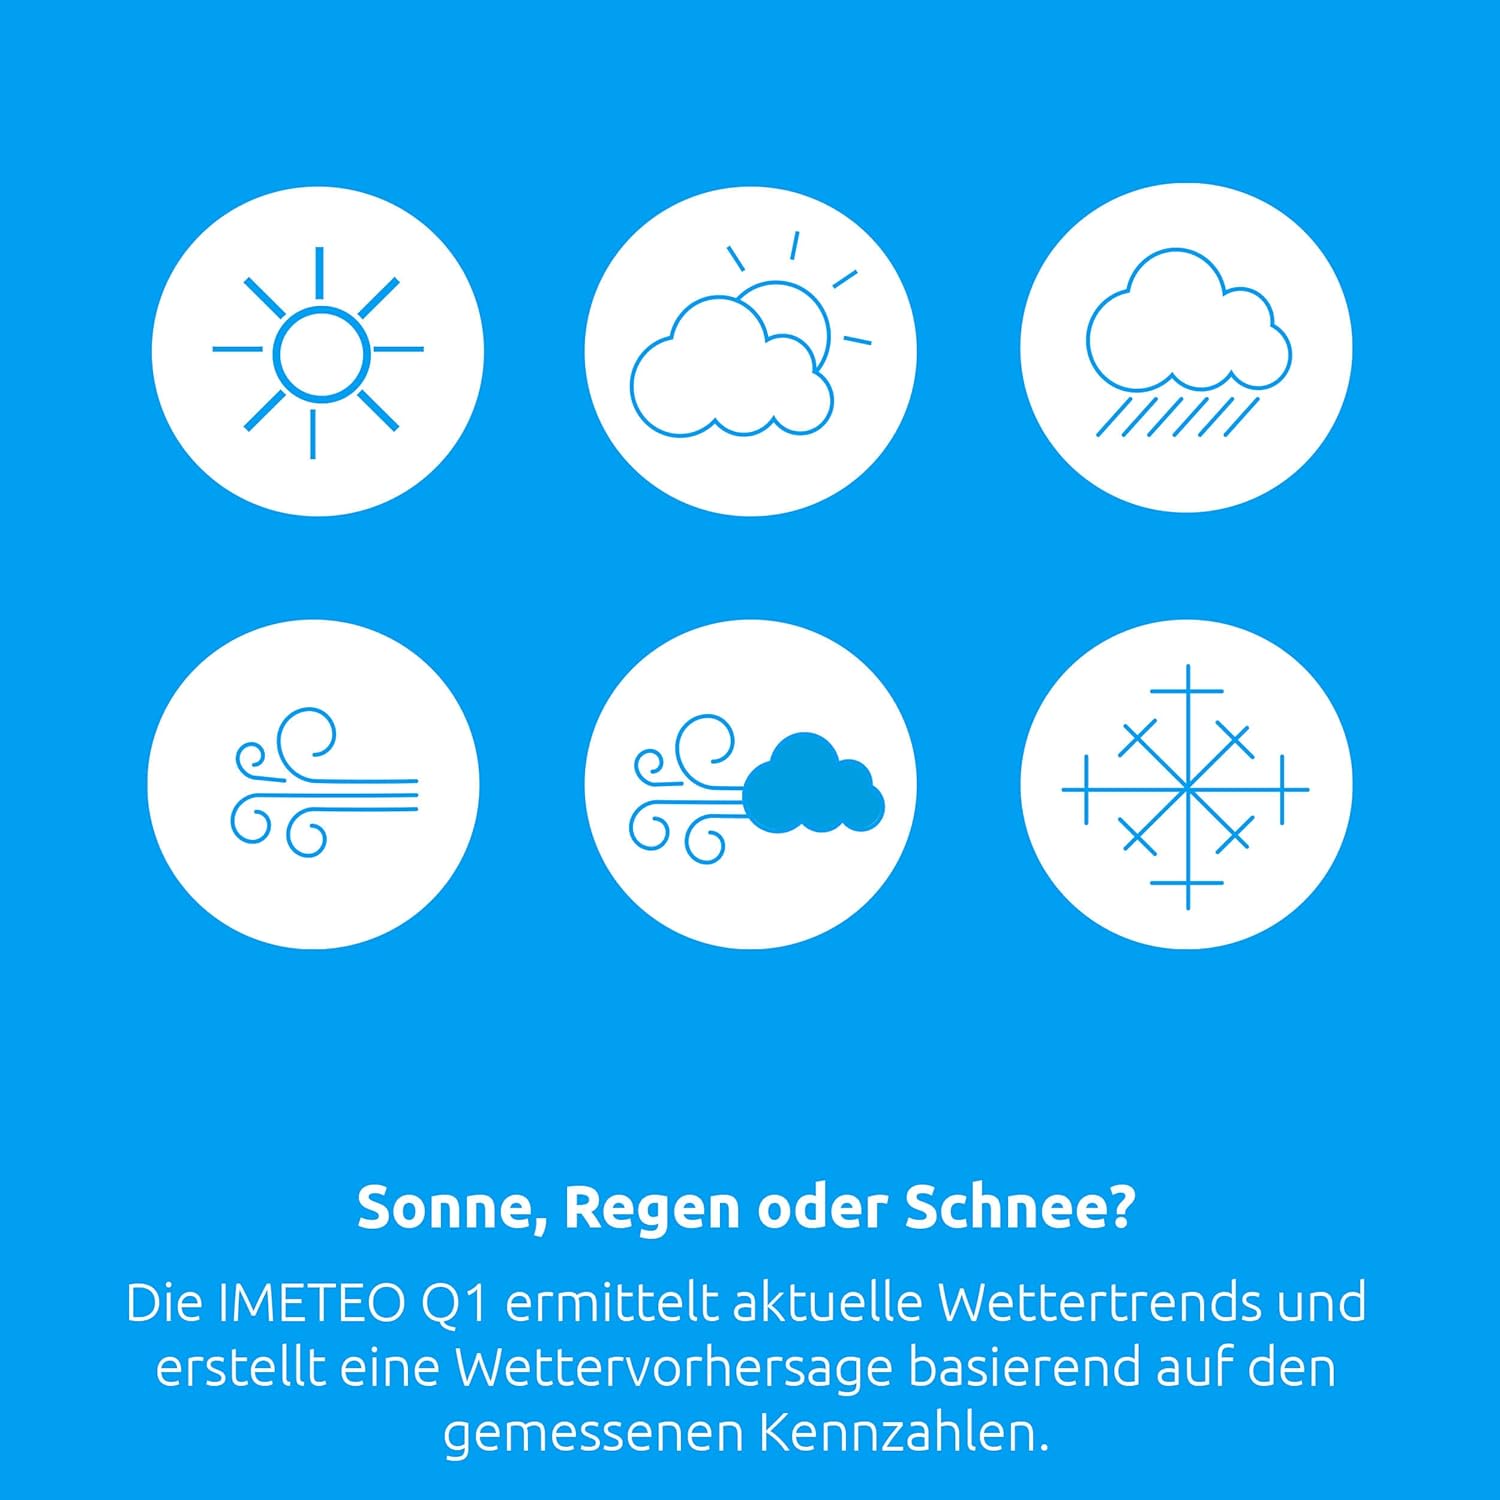
3. Weather Forecast Interpretation

The IMETEO Q1 generates weather forecasts using various icons such as sunny, partly cloudy, cloudy, windy, and snowy, based on measured atmospheric data.
The IMETEO Q1 analyzes changes in atmospheric pressure and other data to predict upcoming weather conditions. Icons on the display will indicate the forecast (e.g., sunny, partly cloudy, cloudy, rainy, snowy).
4. Alarm and Snooze Functions
The IMETEO Q1 includes practical alarm and snooze functions, making it suitable for use as a bedside clock.
To set the alarm, navigate to the alarm settings using the control buttons. Once the alarm is set, it will sound at the designated time. Press the "SNOOZE" button to temporarily silence the alarm for a short period.
5. Wireless Charging Function
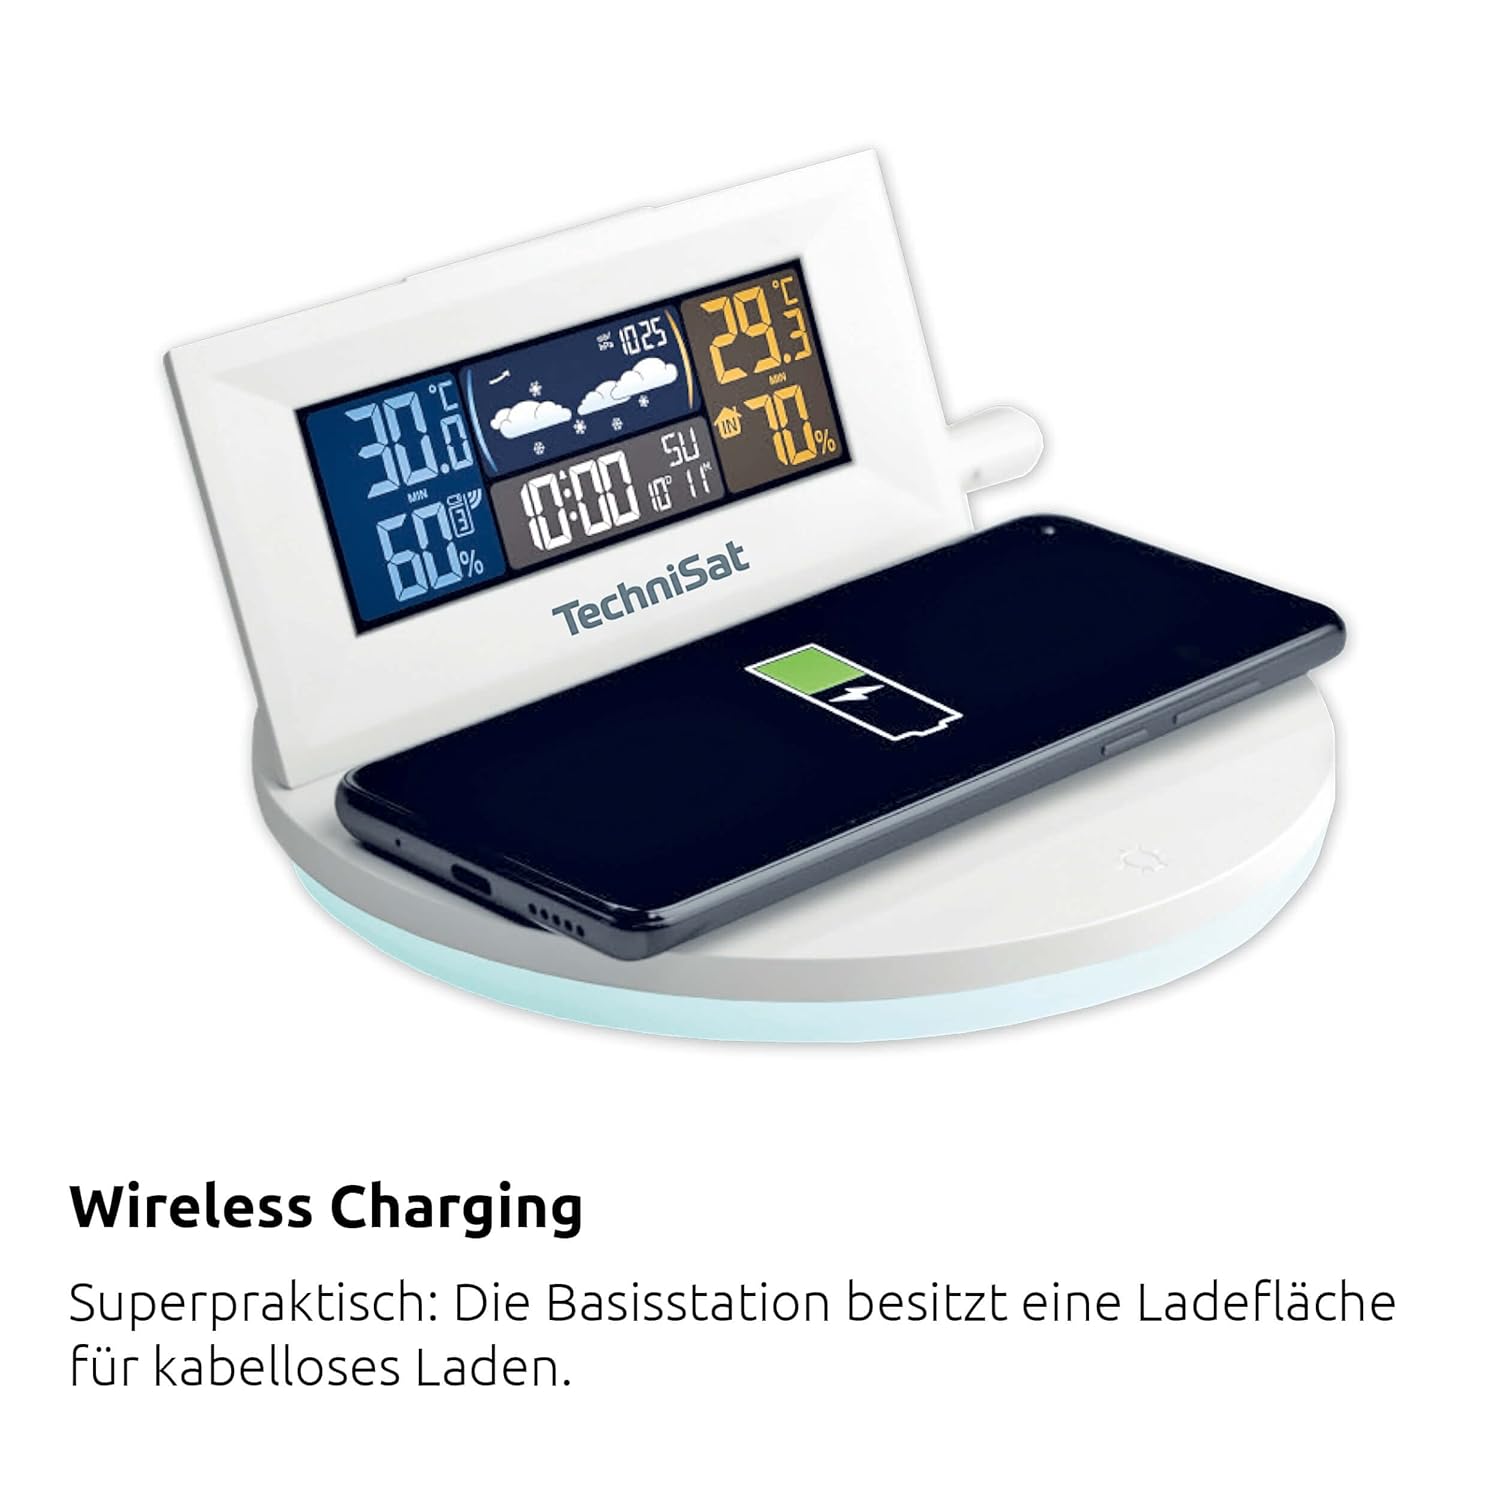
The base station features a wireless charging surface for compatible smartphones and smartwatches.
Place your Qi-compatible smartphone or smartwatch on the designated charging area on the base station. The device will begin charging automatically. Ensure the base station is powered via USB for this function.
6. LED Mood Light
The base station features an atmospheric LED light with adjustable colors. Use the dedicated button (often a lightbulb icon) to cycle through colors or turn the light on/off.
Maintenance
1. Battery Replacement
When the battery indicator appears on the display, replace the batteries in the respective unit (base station or outdoor sensor). Use fresh batteries of the specified type (LR03 AA for base, LR06 AA for sensor).
2. Cleaning
Wipe the units with a soft, damp cloth. Do not use abrasive cleaners or immerse the devices in water.
Troubleshooting
| Problem | Possible Cause | Solution |
|---|---|---|
| No outdoor sensor signal |
|
|
| Incorrect temperature/humidity readings |
|
|
| Display is dim or blank |
|
|
| Wireless charging not working |
|
|
Specifications
| Feature | Detail |
|---|---|
| Model Number | 76-5031-00 |
| Dimensions (Base Station) | 17 x 17 x 8.4 cm (Width x Height x Depth) |
| Weight | 340 g |
| Temperature Range | -10 to 50°C (Accuracy: +/- 1.6°C) |
| Humidity Range | 20 to 95% (Accuracy: +/- 6%) |
| Outdoor Sensor Range | Up to 60 meters (open area) |
| Power Source (Base Station) | USB or 2 x LR03 AA batteries |
| Power Source (Outdoor Sensor) | 2 x LR06 AA batteries |
| Connectivity | Wireless (Radio frequency) |
| Special Features | Alarm, Snooze, Wireless Charging Pad, Adjustable LED Mood Light, Max/Min Value Recording, Weather Forecast |
| Material | Plastic |
| Color | White |
Safety Information
Please read and follow these safety guidelines to ensure safe operation and prevent damage:
- Do not expose the devices to extreme temperatures, direct sunlight, or high humidity.
- Avoid dropping or subjecting the units to strong impacts.
- Do not attempt to disassemble or repair the devices yourself. Refer to qualified service personnel.
- Keep batteries out of reach of children. Dispose of used batteries properly according to local regulations.
- Ensure the outdoor sensor is mounted securely to prevent it from falling.
- Only use the specified battery types.
Warranty and Support
Specific warranty information and customer support details are typically provided with your purchase documentation or on the manufacturer's official website. Please refer to those resources for assistance.