Introduction
Thank you for choosing the Roxicosly Digital Wooden Alarm Clock. This manual provides detailed instructions for setting up, operating, and maintaining your new alarm clock. Please read this manual thoroughly before use to ensure proper functionality and to maximize your experience with its features, including dual alarms, USB charging ports, and temperature/humidity display.
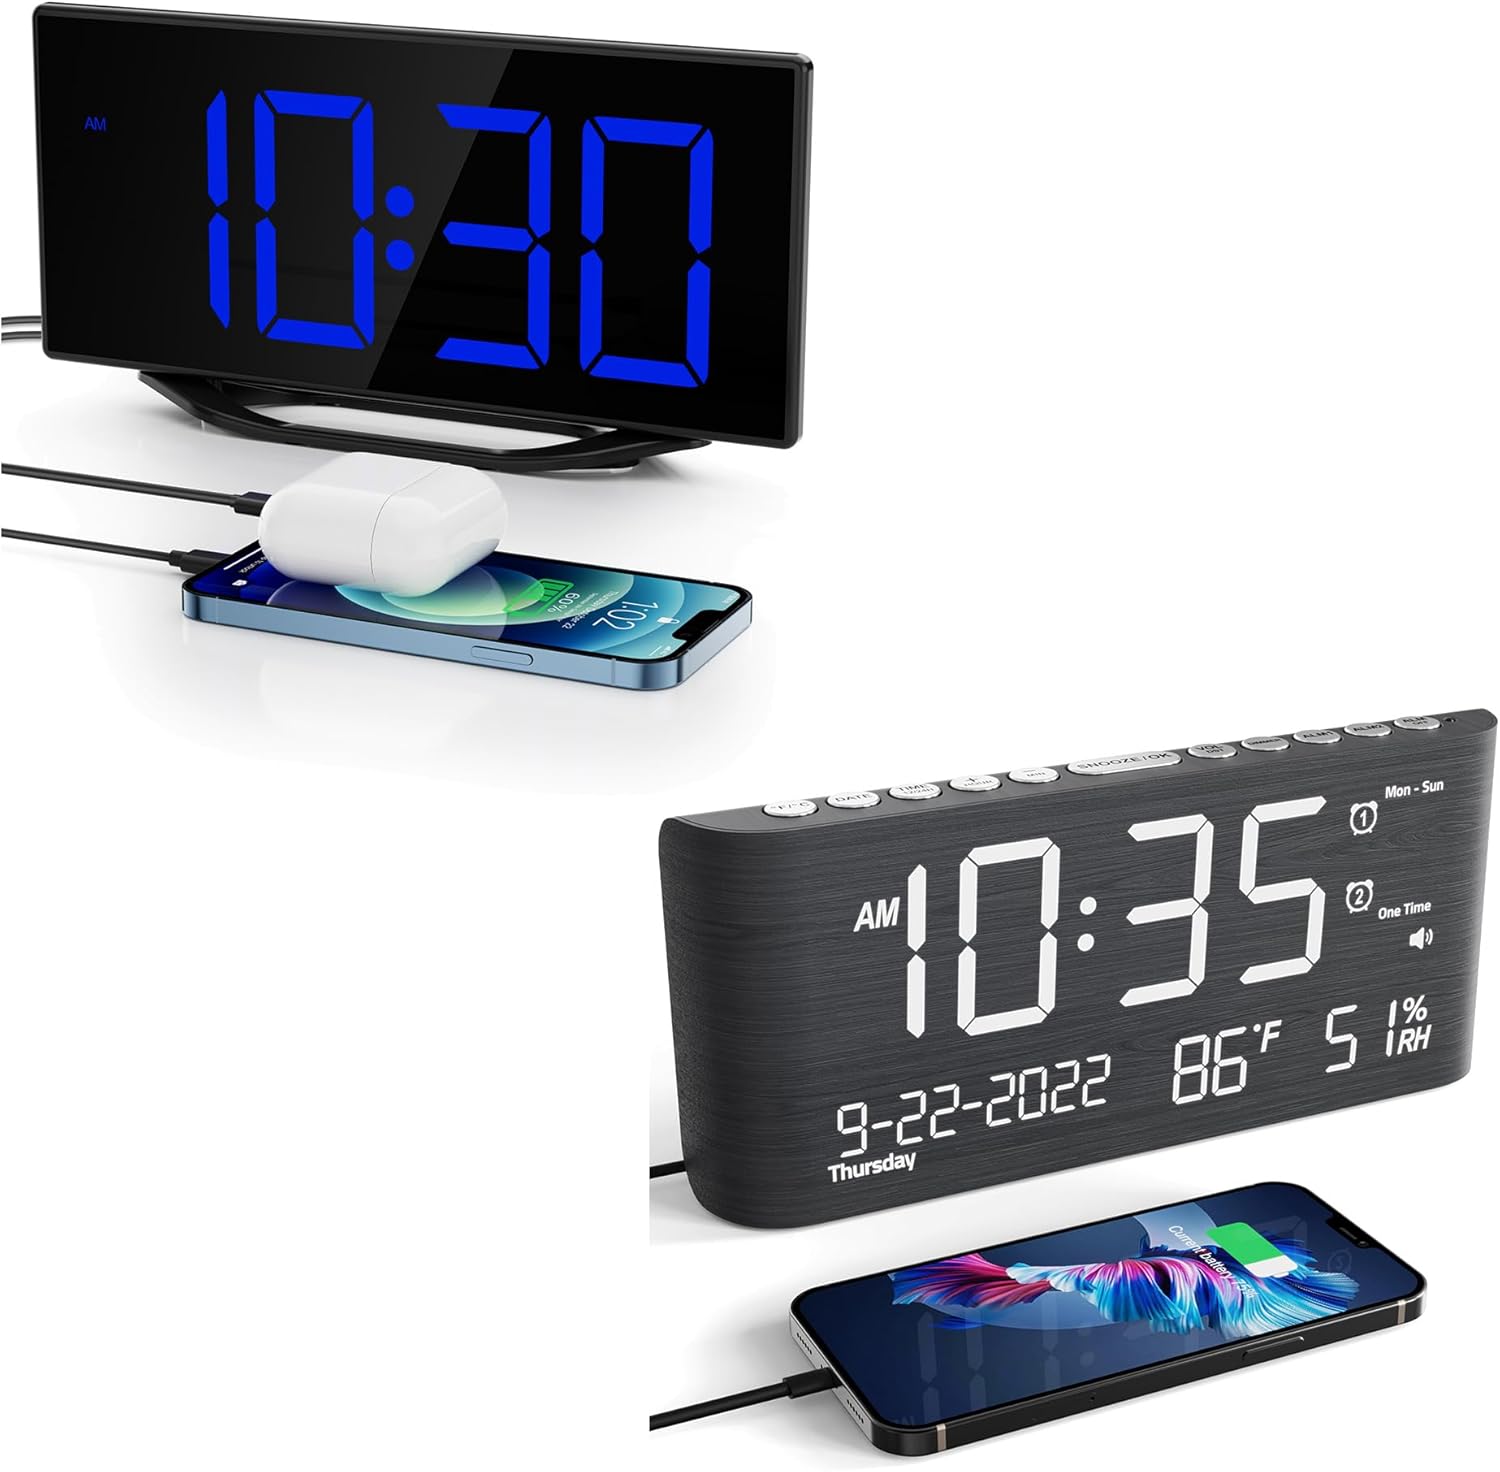
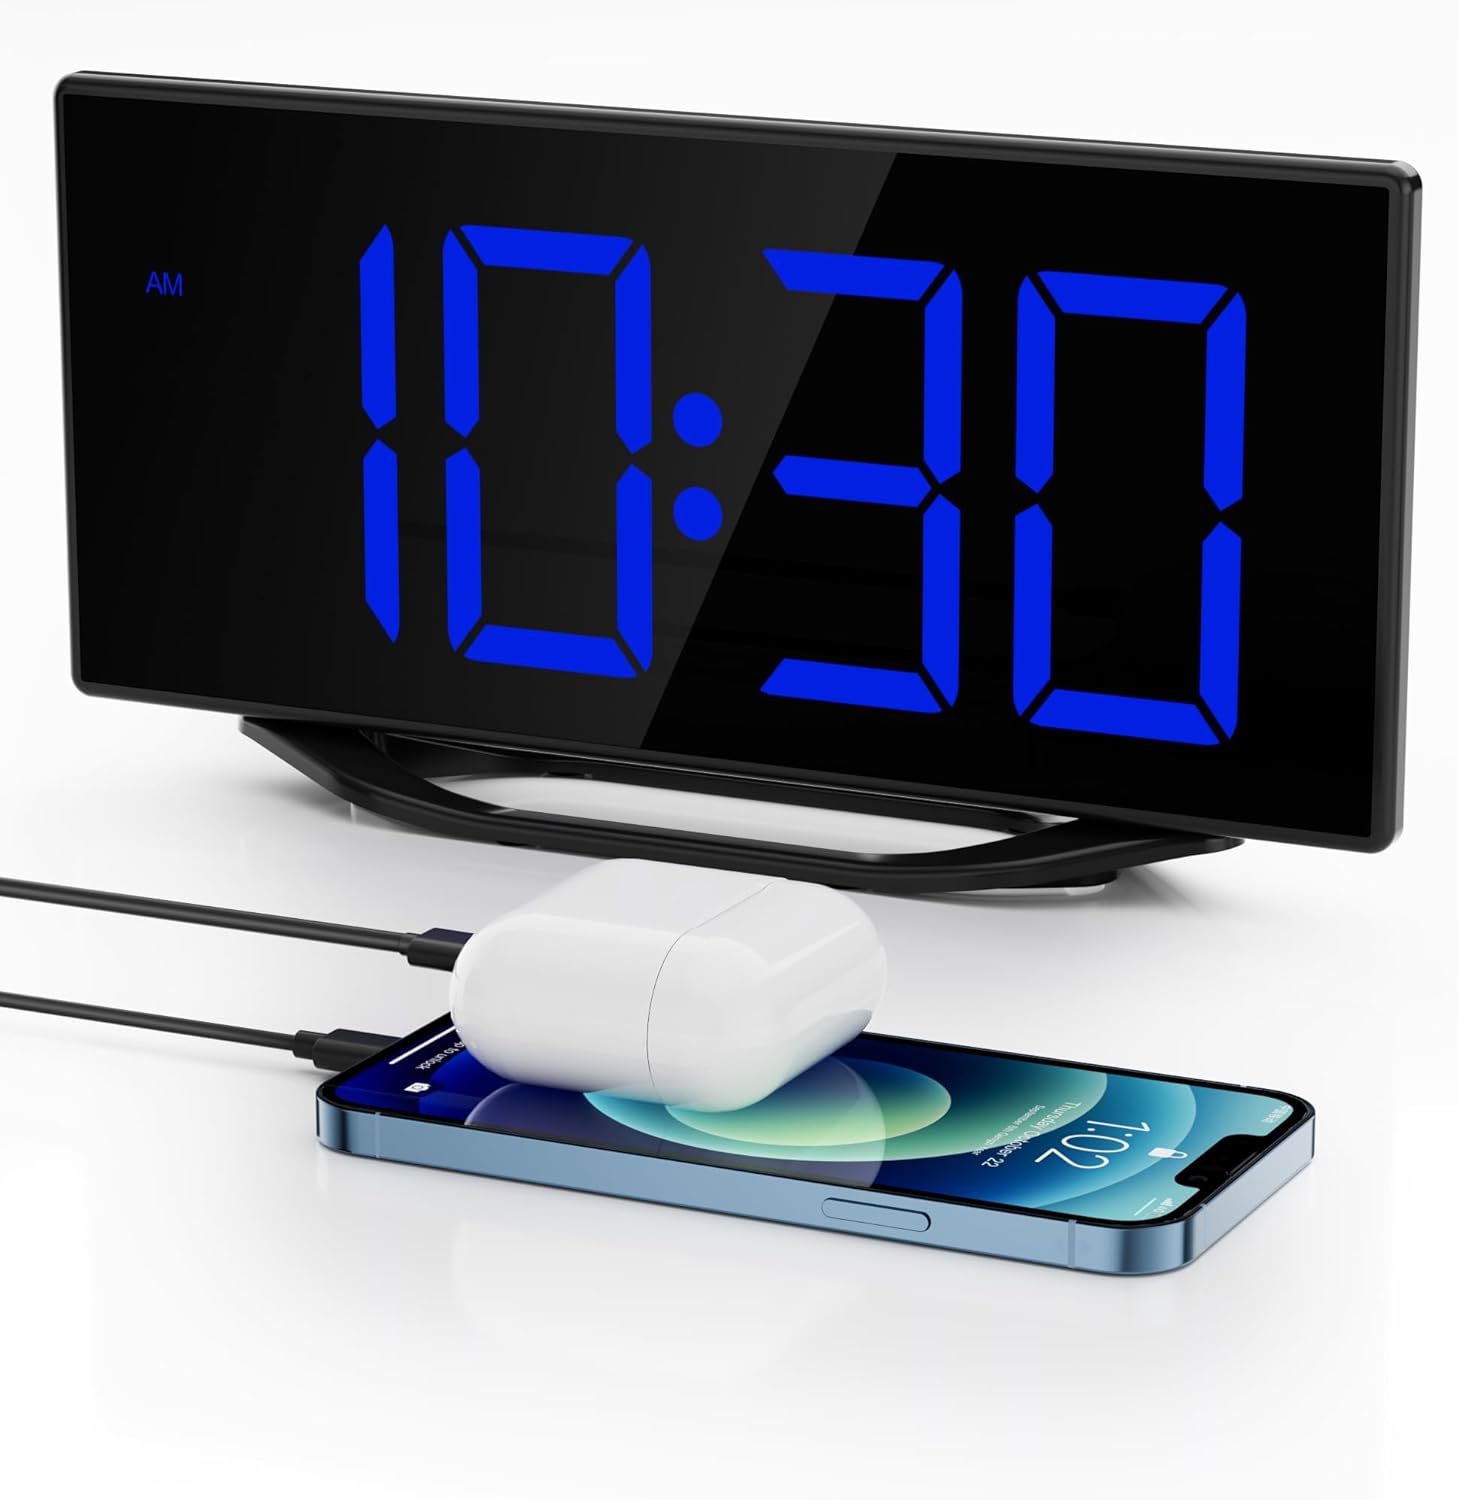
This image displays the Roxicosly Digital Wooden Alarm Clock, highlighting its prominent blue LED time display and the convenience of its integrated USB charging port, shown actively charging a smartphone.
Setup
1. Power Connection
Connect the provided AC adapter to the DC/Type-C power input port on the back of the alarm clock, then plug the adapter into a standard electrical outlet. The clock will power on and the display will illuminate.
2. Battery Backup Installation
For backup power during outages, install two (2) AAA batteries (not included) into the battery compartment located on the back of the clock. The battery backup preserves time and alarm settings but does not power the display or USB charging ports.

The image details the power options for the clock, including the DC/Type-C power input and the battery backup compartment, where two AAA batteries (not included) can be installed to preserve settings during power outages.
Operating Instructions
1. Setting Time and Date
- Press the TIME SET button to enter time setting mode. The hour digits will flash.
- Use the HOUR and MINUTE buttons to adjust the hour and minute.
- Press TIME SET again to confirm and move to the 12/24-hour format setting. Use HOUR or MINUTE to select.
- Continue pressing TIME SET to cycle through year, month, and day settings, adjusting each with HOUR or MINUTE.
- Press TIME SET one last time to exit time and date setting mode.
2. Setting Alarms (Alarm 1 & Alarm 2)
The clock supports two independent alarms.
- Press the ALARM 1 button to enter Alarm 1 setting mode. The hour digits for Alarm 1 will flash.
- Use the HOUR and MINUTE buttons to set the desired alarm time.
- Press ALARM 1 again to confirm. The alarm icon will appear on the display, indicating Alarm 1 is active.
- Repeat the process using the ALARM 2 button to set and activate Alarm 2.
- To deactivate an alarm, press its corresponding ALARM button until the alarm icon disappears from the display.

This image visually explains the dual alarm clock settings and the 9-minute snooze feature. A hand is shown pressing the large snooze button located on the top of the clock.
3. Snooze Function
When an alarm sounds, press the large SNOOZE/LIGHT button on the top of the clock. The alarm will pause for 9 minutes and then sound again. This can be repeated multiple times.
4. Display Brightness Adjustment
The LED display has 7 adjustable brightness levels. Press the DIMMER button repeatedly to cycle through the brightness levels (Level 1 being the dimmest, Level 7 the brightest) to suit your preference.

This visual guide illustrates the seven distinct brightness levels of the clock's LED display, allowing users to customize visibility from very dim to bright, suitable for various lighting conditions.
5. Alarm Volume Adjustment
The alarm volume can be adjusted to 5 different levels, ranging from 65dB to 120dB. While an alarm is sounding, or during alarm setup, press the VOLUME button repeatedly to select your desired volume level.

The image demonstrates the adjustable alarm volume feature, contrasting a lower volume setting (92dB) with a higher one (110dB), indicating the range from gentle to loud for different user preferences.
6. USB Charging Ports
The clock features two USB charging ports on its side. Connect your USB-powered devices (e.g., smartphones, tablets, earbuds) to these ports for convenient charging. These ports are active when the clock is connected to AC power.
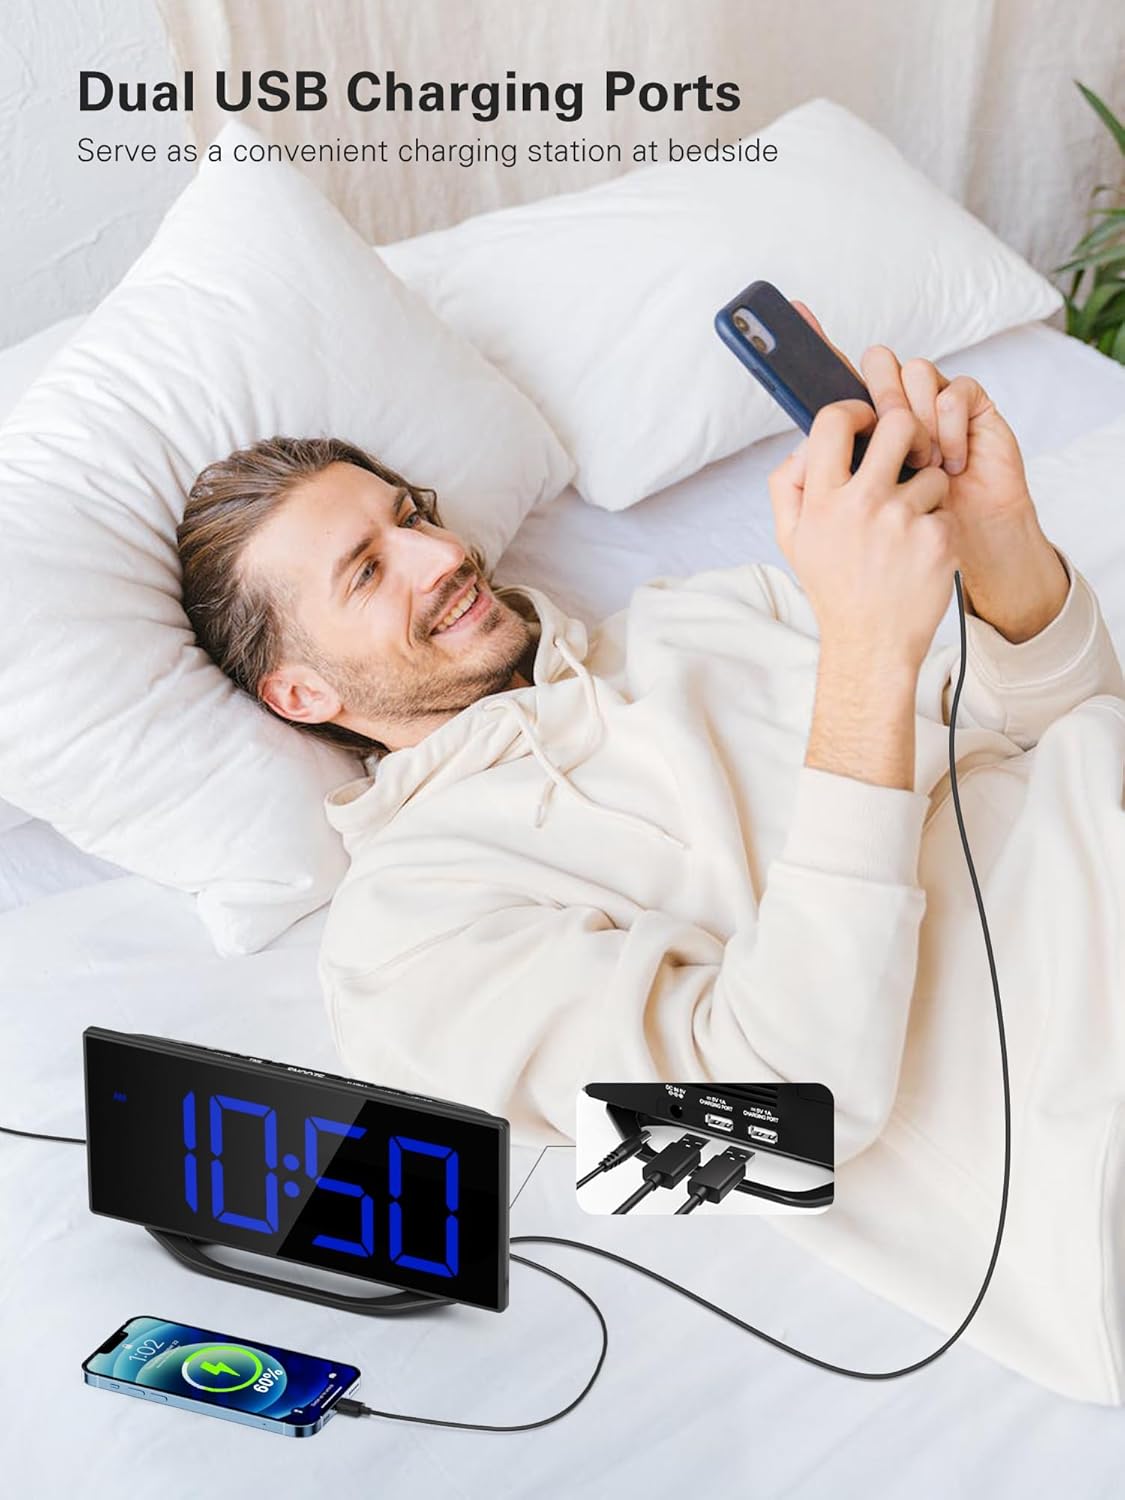
A user is depicted utilizing the dual USB charging ports on the side of the alarm clock to conveniently charge their smartphone, highlighting the clock's functionality as a bedside charging hub.
The image illustrates the clock's dual USB charging capability, with a smartphone and a pair of wireless earbuds connected and charging, demonstrating its utility as a bedside charging station.
7. Temperature and Humidity Display
The clock continuously monitors and displays indoor temperature and humidity. To switch between Celsius (C°) and Fahrenheit (F°) for temperature, press the C/F button.
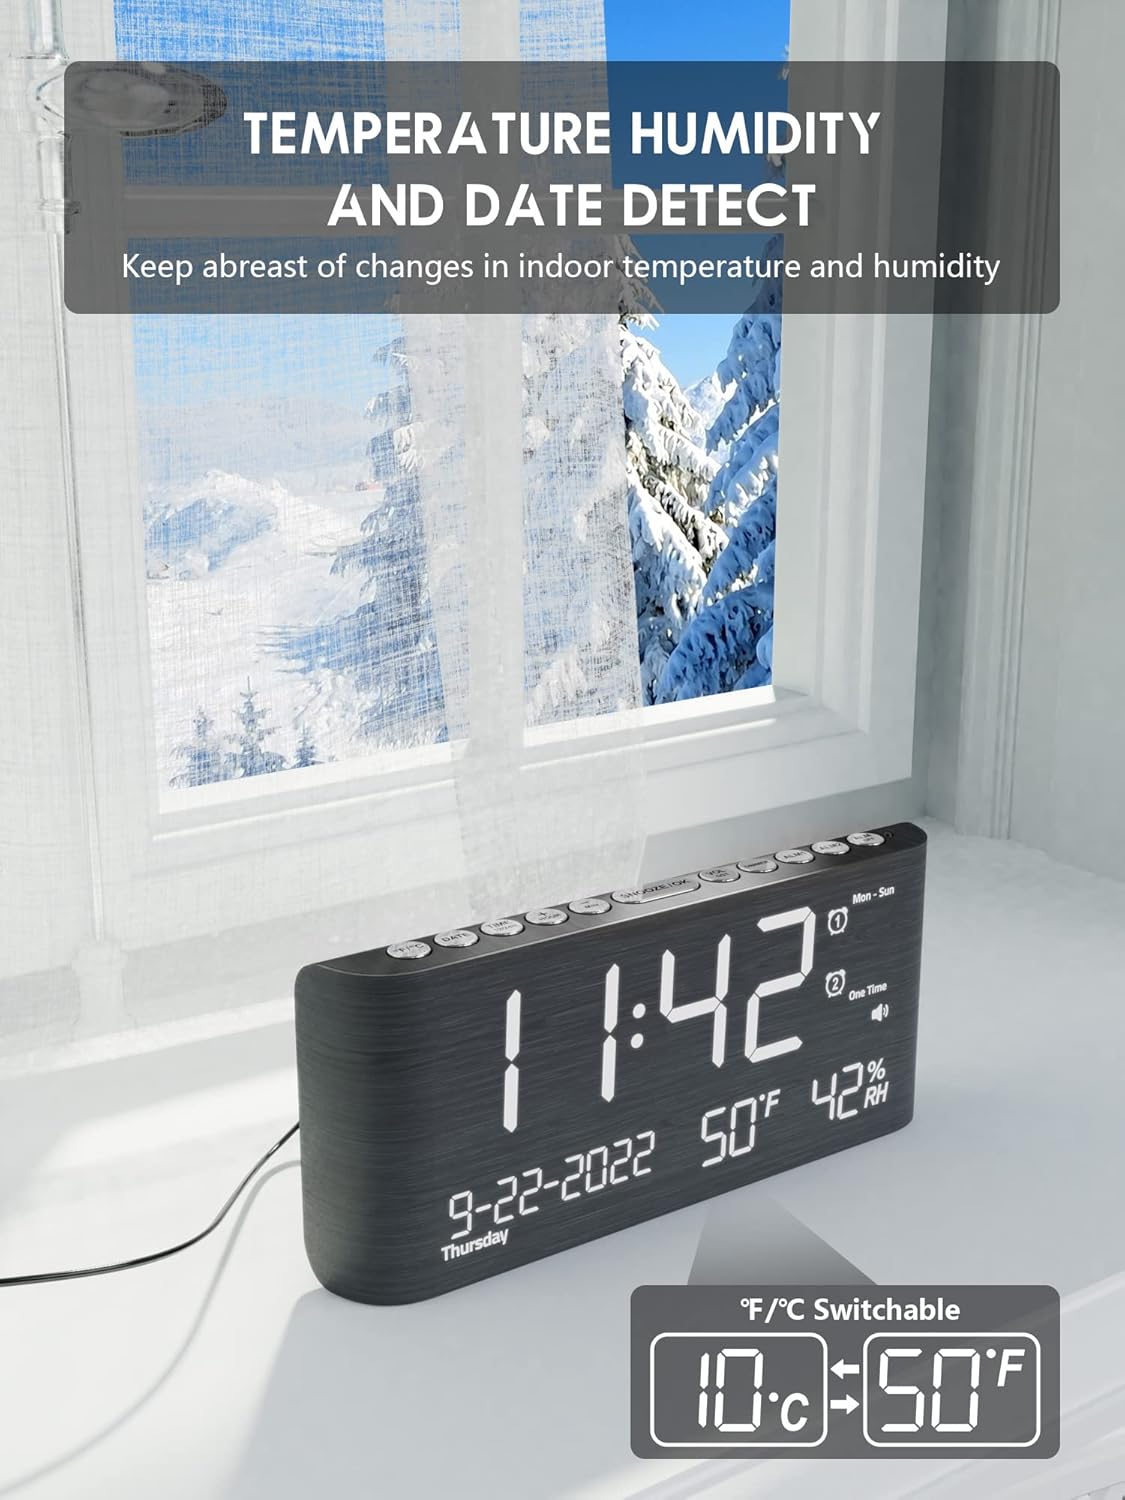
This image emphasizes the clock's built-in temperature and humidity sensors, showing the display with current indoor conditions against a backdrop of an outdoor winter scene, suggesting its utility for monitoring indoor climate.

This view shows the alarm clock's comprehensive display, including the current time, date, indoor temperature, and humidity. A smartphone is also visible, connected for charging.
8. Daylight Saving Time (DST)
To activate or deactivate Daylight Saving Time, press and hold the DST button. The time will adjust by one hour forward or backward, and a DST indicator will appear/disappear on the display.
Maintenance
To ensure the longevity and optimal performance of your Roxicosly Digital Wooden Alarm Clock, follow these maintenance guidelines:
- Cleaning: Wipe the clock's surface with a soft, dry cloth. Avoid using abrasive cleaners, solvents, or chemical sprays, as these can damage the finish and electronic components.
- Placement: Place the clock on a stable, flat surface away from direct sunlight, excessive heat, moisture, or strong magnetic fields.
- Power: Always use the provided AC adapter. If the clock will not be used for an extended period, disconnect it from the power outlet and remove the backup batteries.
Troubleshooting
If you encounter any issues with your alarm clock, please refer to the following common problems and solutions:
- Display is blank:
- Ensure the AC adapter is securely plugged into both the clock and a working power outlet.
- Check if the power outlet is functional by plugging in another device.
- Alarm does not sound:
- Verify that the alarm (Alarm 1 or Alarm 2) is activated (its icon should be visible on the display).
- Check the alarm time to ensure it is set correctly (AM/PM).
- Ensure the alarm volume is not set to the lowest level or muted.
- USB charging not working:
- Confirm the clock is connected to AC power, as USB charging does not operate on battery backup.
- Ensure your USB cable is properly connected and not damaged.
- Try charging a different device to rule out an issue with the device or cable.
- Time/settings reset after power outage:
- Ensure fresh AAA batteries are installed in the battery backup compartment. The battery backup preserves settings during power interruptions.
- Incorrect temperature/humidity reading:
- Ensure the clock is placed in an area with good air circulation, away from direct heat sources or vents.
- Allow some time for the sensors to stabilize after initial setup or relocation.
Specifications
| Brand | Roxicosly |
| Model | Digital Wooden Alarm Clock |
| Display Type | Digital LED (8.7 inches) |
| Display Brightness | 7 Levels (Dimmable) |
| Alarm Volume | 5 Levels (65dB-120dB) |
| Alarms | Dual Alarms |
| Snooze Duration | 9 Minutes |
| Charging Ports | 2 USB Charging Ports |
| Special Features | Temperature & Humidity Detection, DST Function, 12/24h Format |
| Power Source | Corded Electric (AC Adapter included), Battery Backup (2x AAA, not included) |
| Material | Wood |
| Color | Black |
Warranty and Support
This Roxicosly Digital Wooden Alarm Clock comes with a standard manufacturer's warranty. For specific warranty details, please refer to the product packaging or contact your retailer. For technical support, troubleshooting assistance beyond this manual, or inquiries regarding your product, please contact Roxicosly customer service through the retailer's platform or the official brand website.
Please retain your purchase receipt as proof of purchase for any warranty claims.


