Introduction
This manual provides instructions for the KAIHENG Upper Gasket Replacement kit, designed for various vacuum sealer models. These gaskets are crucial for maintaining the vacuum and sealing performance of your appliance. Regular replacement ensures optimal operation and extends the life of your vacuum sealer.
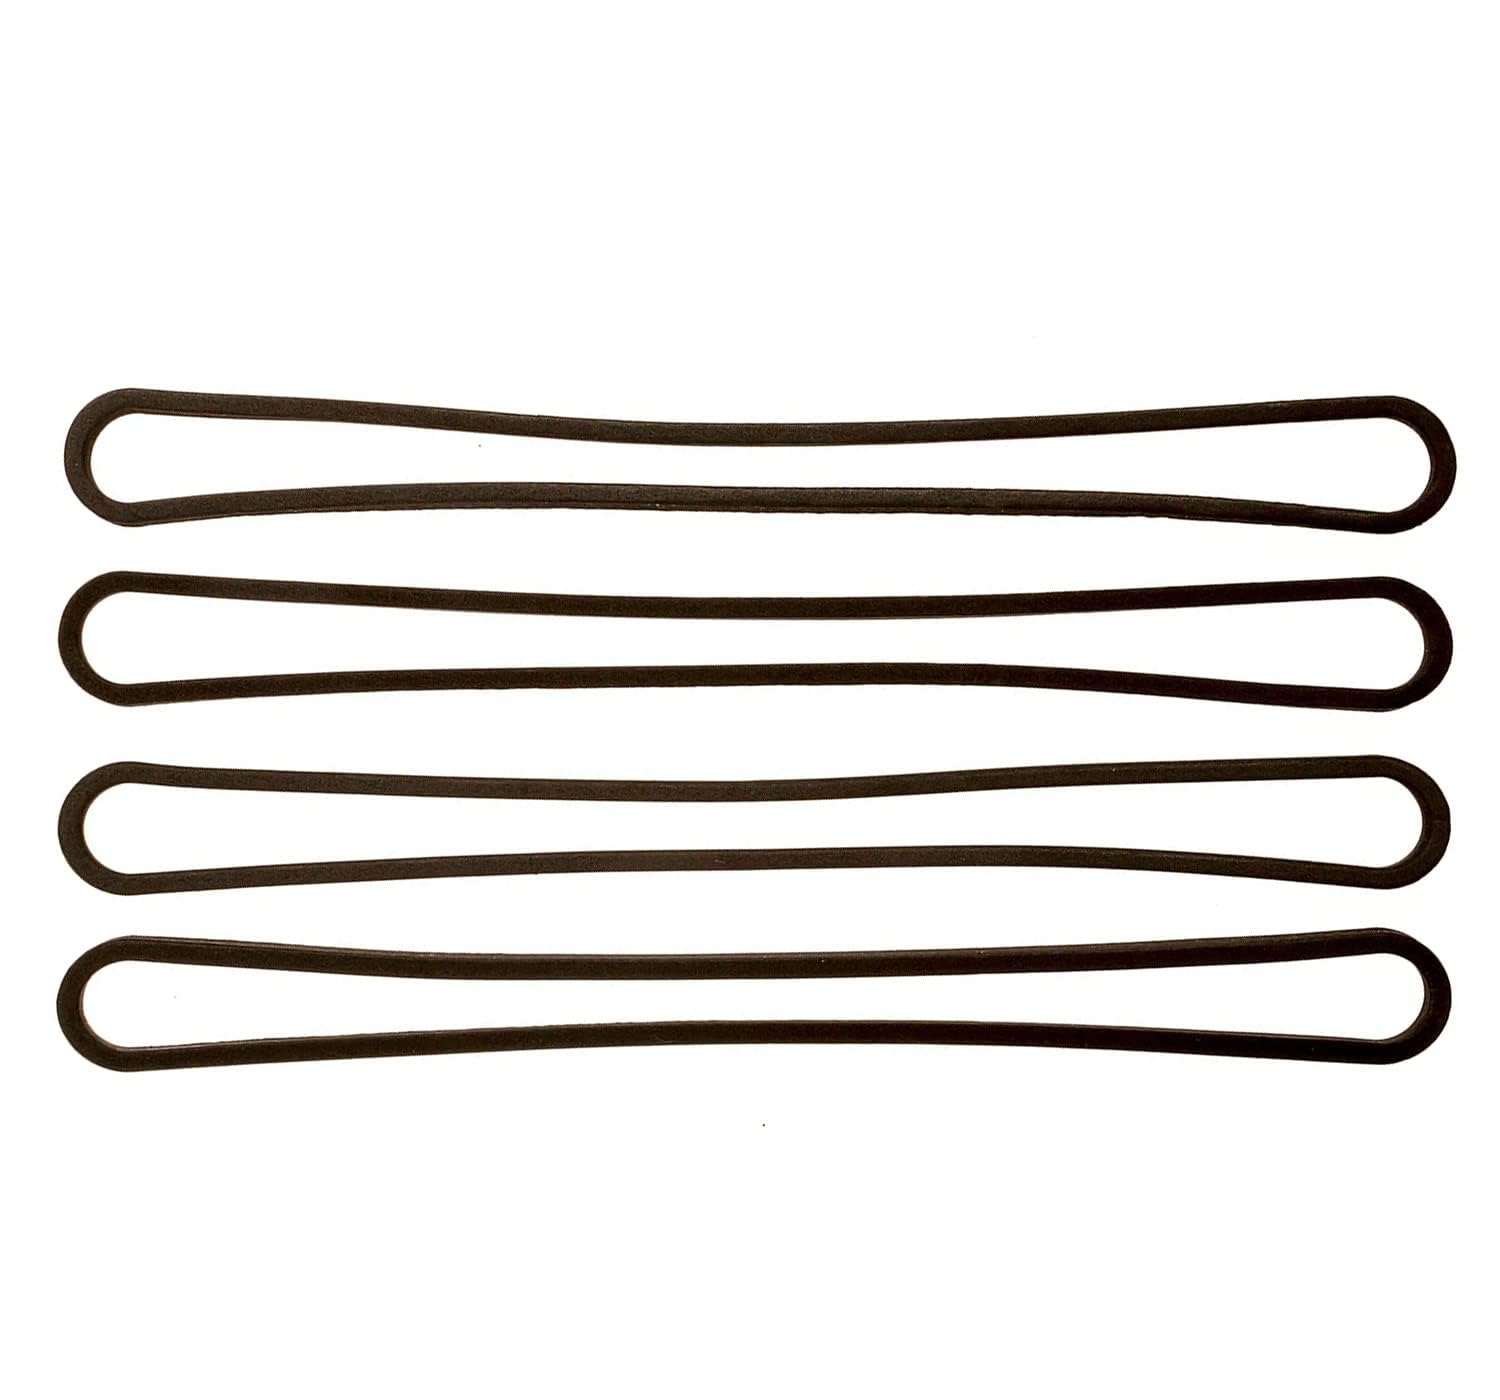
The kit includes four replacement gaskets, ensuring you have spares for future maintenance. Please verify your vacuum sealer model compatibility and the gasket dimensions before installation.
Product Overview

The KAIHENG replacement gaskets are designed to restore the sealing efficiency of your vacuum sealer. They are made from high-temperature resistant material to ensure durability and a reliable seal.
- Product Size: Each gasket measures approximately 32.7 cm in length, 0.87 cm in width, and 0.5 cm in thickness. These dimensions allow for slight stretching to fit various compatible models.
- Quantity: This package contains 4 individual gaskets. For models requiring two gaskets, it is recommended to replace both simultaneously for optimal performance.
- Material: High-temperature resistant cotton.
Compatibility
These replacement gaskets are compatible with the following vacuum sealer series:
- V2200 Series: V2220, V2222, V2240, V2244, V2250, etc.
- V2400 Series: V2420, V2430, V2461, V2432, V2433, V2440, V2450, V2440
- V2800 Series: V2830, V2835, V2840, V2841, V2860, V2865
- V3000 Series: V3020, V3040, etc.
- V3200 Series: V3240, V3250, etc.
- V3400 Series: V3425, V3440
- V3800 Series: V3810, V3815, V3816, V3817, V3820, V3825, V3835, V3840, V3845, V3850, V3860, V3880
Please confirm your specific model number to ensure proper fitment.
Installation Instructions
- Power Off: Ensure your vacuum sealer is unplugged from the power outlet before beginning any maintenance.
- Locate Old Gaskets: Open the lid of your vacuum sealer. The upper gaskets are typically located around the vacuum channel and sealing strip. Carefully observe their current placement.
- Remove Old Gaskets: Gently pull out the old gaskets. They may be slightly adhered or seated in a groove. If your model uses two gaskets (upper and lower), it is recommended to replace both at the same time.
- Clean Area: Clean the gasket channels and surrounding areas with a damp cloth to remove any food debris or residue. Ensure the area is dry before installing new gaskets.
- Install New Gaskets: Carefully place the new KAIHENG gaskets into the designated grooves. Ensure they are seated evenly and completely, without any twists or kinks. The gaskets should fit snugly.


After installation, close the lid of your vacuum sealer and perform a test seal to ensure proper function.
Operating with New Gaskets
Once the new gaskets are installed, your vacuum sealer should operate with restored efficiency. The primary function of these gaskets is to create an airtight seal, allowing the machine to effectively remove air from bags and then seal them.
- Ensure Proper Placement: Always ensure the vacuum bag is correctly positioned over the sealing strip and within the vacuum channel.
- Close Lid Firmly: Close the vacuum sealer lid firmly until it latches. The new gaskets will compress to form a tight seal.
- Monitor Vacuum Process: Observe the vacuum process. With new gaskets, the machine should quickly and efficiently remove air from the bag.
- Check Seal: After sealing, inspect the bag to confirm a complete and airtight seal.


Maintenance
Proper maintenance of your vacuum sealer gaskets is essential for consistent performance:
- Regular Cleaning: After each use, inspect the gaskets for any food particles or moisture. Wipe them clean with a damp cloth. Ensure they are completely dry before closing the lid for storage.
- Inspection for Wear: Periodically inspect the gaskets for signs of wear, cracks, or deformation. Worn gaskets can lead to poor vacuum performance.
- Storage: When not in use, it is often recommended to store the vacuum sealer with the lid unlatched to prevent excessive compression of the gaskets, which can prolong their lifespan.
- Replacement Schedule: Replace gaskets as soon as you notice a decrease in vacuum strength or sealing quality. The included 4-pack provides convenient replacements.
Troubleshooting
If you experience issues with your vacuum sealer after replacing the gaskets, consider the following:
- Loss of Vacuum: If the machine fails to create a strong vacuum or loses vacuum during operation, the most common cause is an improperly seated or damaged gasket.
- Re-check that the new gaskets are installed correctly and are fully seated in their channels.
- Ensure there are no food particles or debris on the gaskets or sealing area that could break the seal.
- If your model uses two gaskets, ensure both have been replaced and are in good condition.
- Inconsistent Sealing: If seals are weak or incomplete, verify that the sealing strip is clean and that the bag is positioned correctly. Ensure the gaskets are providing adequate pressure.
- Machine Not Latching: If the lid does not latch properly, check for any obstructions or if the gaskets are incorrectly installed, preventing the lid from closing completely.
If problems persist after checking the gaskets, refer to your vacuum sealer's original instruction manual for further troubleshooting specific to your appliance model.
Specifications
| Brand | KAIHENG |
| Model Number | 4-PACK (Replacement Gaskets) |
| Material | High-temperature cotton |
| Dimensions (each gasket) | Approx. 32.7 cm x 0.87 cm x 0.5 cm |
| Quantity | 4 gaskets per pack |
| Shape | Round (referring to the loop shape of the gasket) |
Warranty Information
Specific warranty information for this replacement part is not provided in the product details. For any concerns regarding defects or performance, please refer to the retailer's return policy or contact KAIHENG customer service if available.
Customer Support
For further assistance or inquiries regarding the KAIHENG Vacuum Sealer Upper Gasket Replacement, please contact the seller or refer to the support channels provided by your original vacuum sealer manufacturer for machine-specific issues.