
1. Introduction
The MiiElAOD Rock Pi E is a compact Single Board Computer (SBC) powered by the Rockchip RK3328 processor. Designed for Internet of Things (IoT) and network applications, it features a 64-bit quad-core processor, USB 3.0, dual Ethernet ports, and wireless connectivity. This model includes 1GB of DDR3 RAM and comes with an acrylic shell for protection.
This manual provides essential information for setting up, operating, maintaining, and troubleshooting your Rock Pi E SBC.

Figure 1: The Rock Pi E Single Board Computer alongside its assembled acrylic shell. This image provides an overview of the product package.
2. Setup Guide
2.1 Package Contents
Verify that your package contains the following items:
- 1x Rock Pi E 1GB RAM Single Board Computer
- 1x Acrylic Case (for assembly)
- 1x Antenna (for wireless connectivity)
- 1x IO Adapter Board
2.2 Acrylic Shell Assembly
The acrylic shell provides protection for your Rock Pi E. Follow these general steps for assembly:
- Carefully remove all protective films from the acrylic pieces.
- Align the bottom acrylic piece with the Rock Pi E board, ensuring all ports and mounting holes match.
- Secure the board to the bottom piece using the provided standoffs and screws.
- Attach the side panels and top piece, ensuring proper alignment for ports and connectors.
- Mount the antenna to the designated connector on the board or shell, if applicable.
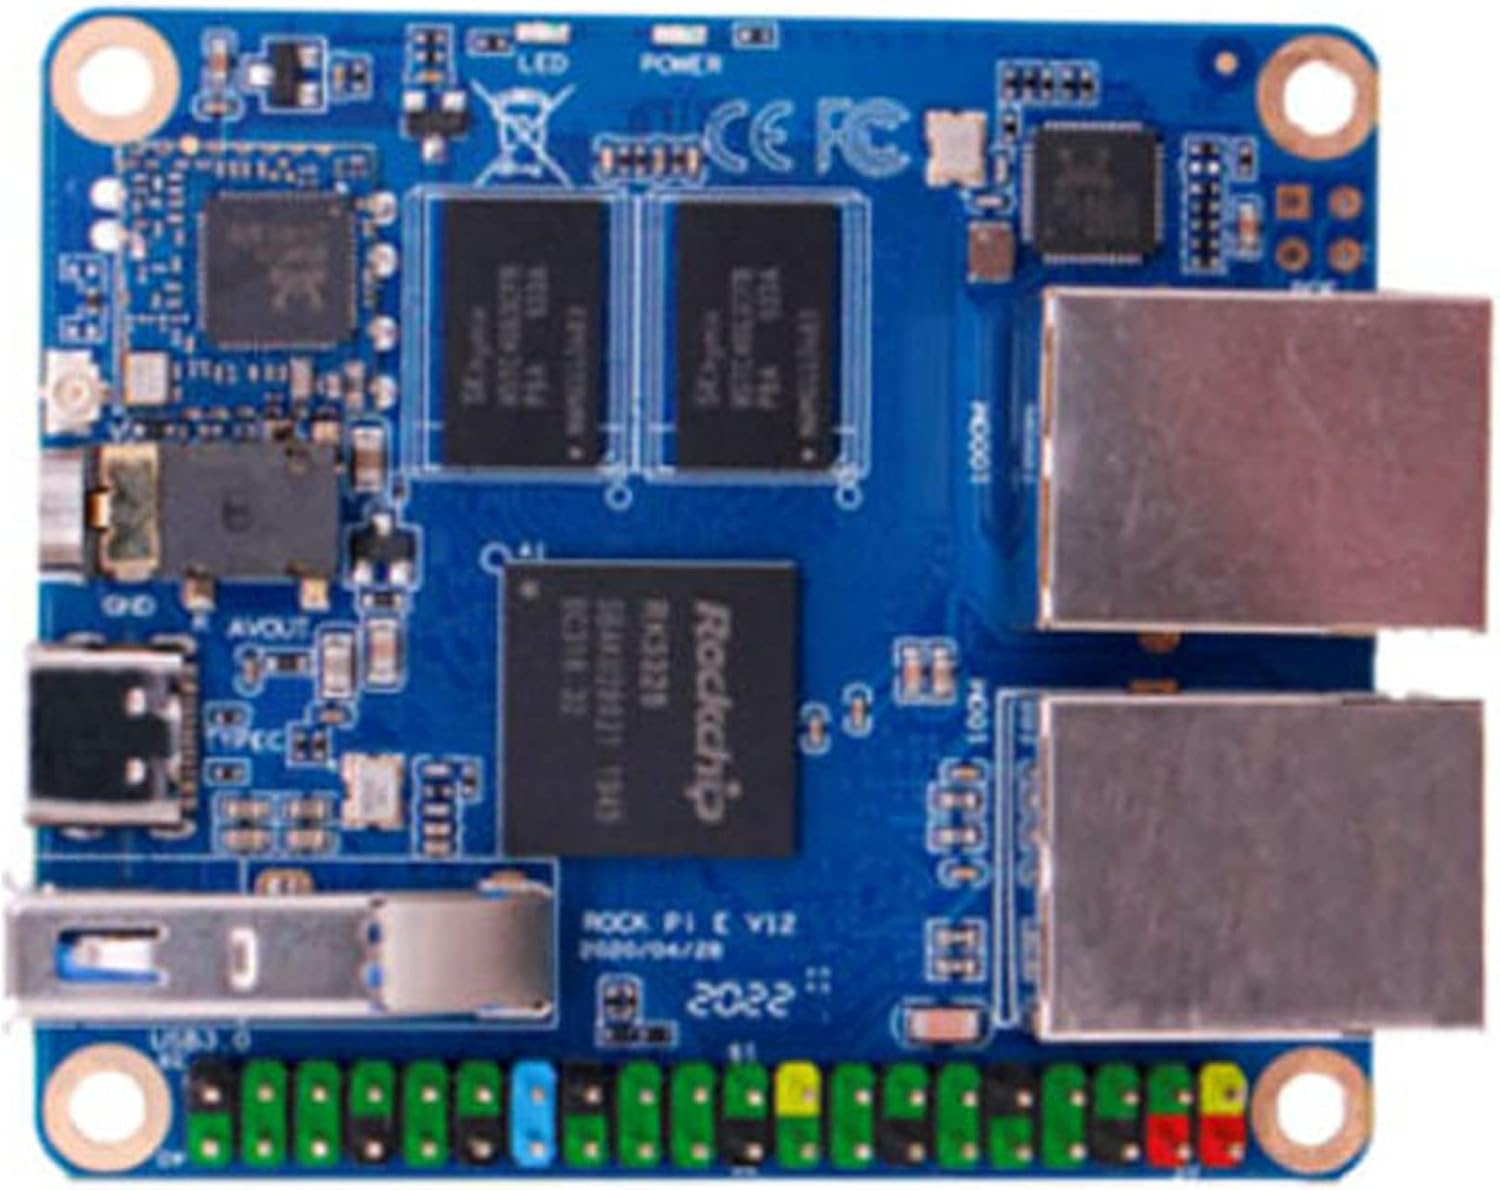
Figure 2: Top view of the Rock Pi E circuit board, showing the main components and layout before shell assembly.
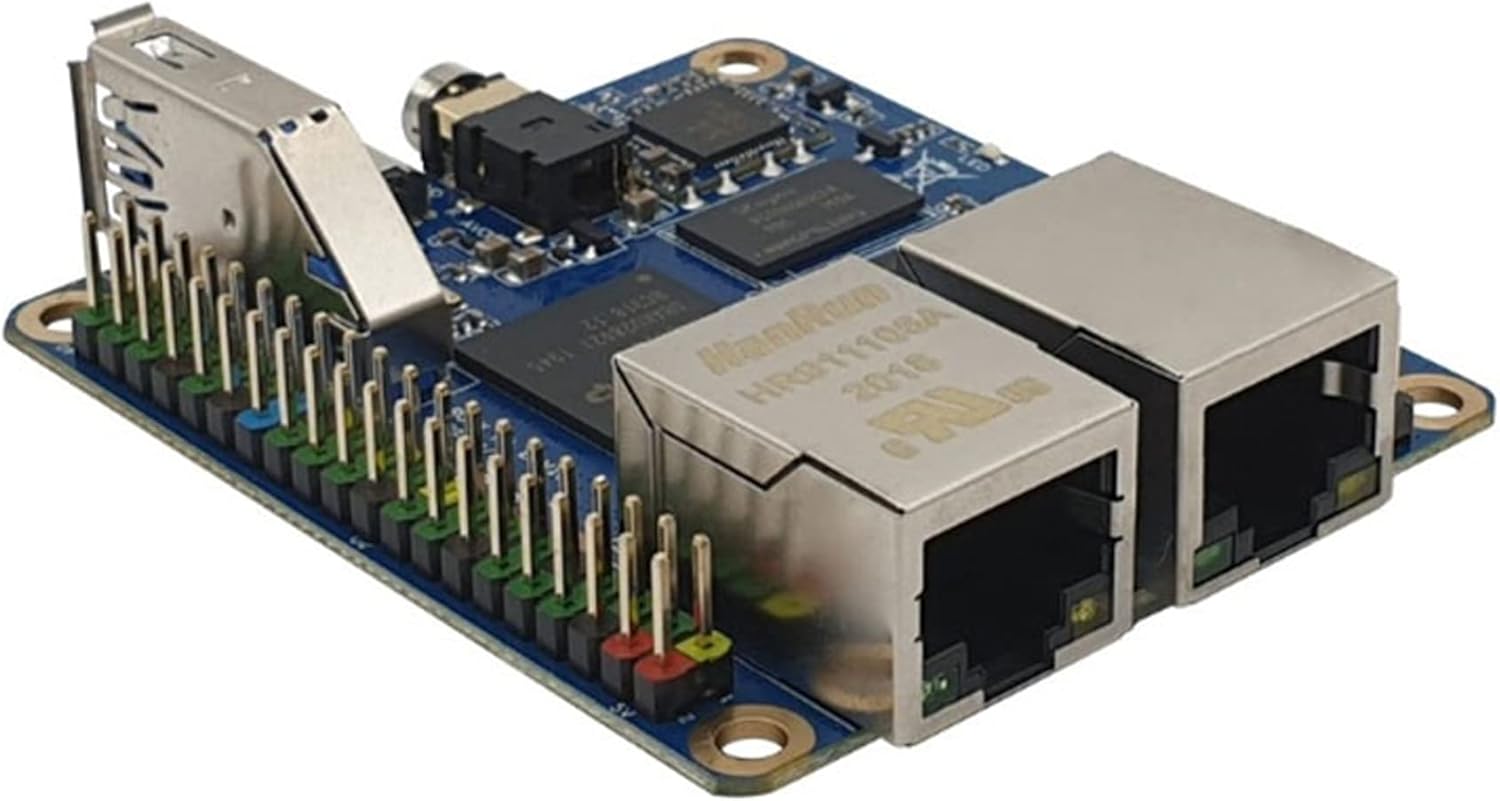
Figure 3: Side perspective of the Rock Pi E board, highlighting the 40-pin expansion header for connecting peripherals.
2.3 Initial Connections
Before powering on your Rock Pi E, make the necessary connections:
- Storage: Insert a microSD card (TF card) with a compatible operating system image (e.g., Debian, Ubuntu, OpenWRT) into the microSD slot. Alternatively, connect an eMMC module if you are using one.
- Network: Connect an Ethernet cable to either the 1000Mbit or 100Mbit Ethernet port for wired network access.
- Peripherals: Connect any necessary USB peripherals (e.g., keyboard, mouse) to the USB 3.0 Type-A host port.
- Power: Connect a 5V DC power supply to the USB Type-C power input. Ensure the power supply provides sufficient current for stable operation.

Figure 4: Detailed diagram illustrating the various ports and components on the Rock Pi E board, including USB 3.0, Ethernet, power input, and expansion headers.
2.4 Operating System Installation
The Rock Pi E supports various operating systems, including Debian, Ubuntu, and OpenWRT. You will need to flash an appropriate OS image onto a microSD card or eMMC module. Refer to the official Radxa documentation or community resources for detailed instructions on preparing your storage medium and installing the operating system.
3. Operating Instructions
3.1 Powering On and Initial Boot
Once all connections are made and the OS is installed on your storage medium, connect the 5V USB Type-C power supply. The board should power on automatically, and the power LED will illuminate. The user LED may blink during boot-up. If a display is connected (via an adapter, if available), you should see the boot process.
3.2 Network Connectivity
- Wired Ethernet: If an Ethernet cable is connected, the system should automatically detect the network. Configure network settings within your chosen operating system if necessary.
- Wireless (Wi-Fi/Bluetooth): The Rock Pi E includes 802.11 b/g/n Wi-Fi and Bluetooth 4.0. Ensure the external antenna is connected. Configure wireless networks and Bluetooth devices through your operating system's network manager or command-line tools.
3.3 USB and I/O Expansion
The USB 3.0 port can be used for various peripherals such as external storage, keyboards, or mice. The 40-pin expansion header provides access to GPIO, I2C, SPI, UART, and I2S interfaces, allowing for connection to a wide range of sensors, actuators, and custom hardware. Consult the Rock Pi E pinout documentation for detailed information on the header functions.
4. Maintenance
4.1 Software Updates
Regularly update your operating system and installed software packages to ensure optimal performance, security, and access to the latest features. Use the package manager provided by your OS (e.g., apt for Debian/Ubuntu) to perform updates.
4.2 Physical Care
- Keep the Rock Pi E in a clean, dry environment.
- Avoid exposing the board to extreme temperatures or humidity.
- Ensure adequate ventilation, especially if operating under heavy load, to prevent overheating.
- Periodically clean the acrylic shell and ports with a soft, dry cloth.
4.3 Safe Shutdown
Always perform a proper software shutdown of your operating system before disconnecting power to prevent data corruption on your microSD card or eMMC module.
5. Troubleshooting
5.1 Power and Boot Issues
- No Power LED:
- Check if the 5V USB Type-C power supply is correctly connected and functional.
- Ensure the power supply provides sufficient current (recommended 5V/2A or higher).
- No Boot:
- Verify that the microSD card or eMMC module contains a valid and correctly flashed operating system image.
- Try a different microSD card or eMMC module.
- Use the Reset key to restart the board.
- If flashing issues persist, the Maskrom key can be used to force the device into Maskrom mode for re-flashing. Refer to advanced recovery guides for this procedure.
5.2 Network Connectivity Problems
- Wired Ethernet:
- Check Ethernet cable connections.
- Verify router/switch status.
- Ensure network drivers are installed and configured in the OS.
- Wireless (Wi-Fi/Bluetooth):
- Confirm the external antenna is securely attached.
- Check Wi-Fi/Bluetooth settings within the operating system.
- Ensure correct network credentials are entered.
6. Technical Specifications
The following table details the technical specifications of the Rock Pi E (1GB DDR3 variant):

Figure 5: Official technical specifications table for the Rock Pi E, detailing processor, memory, storage, and connectivity options.
| Feature | Detail |
|---|---|
| Model | Rock Pi E |
| Processor (SoC) | Rockchip RK3328, Quad Cortex-A53 ARM 64-bit processor, up to 1.3GHz |
| Memory | 1GB DDR3 |
| Storage | MicroSD (TF) up to 128GB, High performance eMMC module support (16GB / 32GB / 64GB / 128GB) |
| Wireless | 802.11 b/g/n Wi-Fi, Bluetooth 4.0 (rtl8723du/rtl8821cu), External antenna |
| USB | 1x USB 3.0 Type-A HOST |
| Keys | 1x Reset key, 1x Maskrom key |
| Ethernet | 1x 1000Mbit Ethernet (optional PoE with additional HAT), 1x 100Mbit Ethernet |
| I/O | 40-pin expansion header (USB 2.0 x1, I2C x1, SPI x1, UART x2, I2S x1), 5V DC power in x2, 3.3V DC power in x2 |
| Other Features | LEDs (Power, User) |
| Power Input | USB Type-C DC 5V |
| Dimensions | 2.5 x 2.2 inches (56 x 65mm) |
| Operating System Support | Debian, Ubuntu, OpenWRT |
7. Warranty and Support
For warranty information and technical support, please refer to the official MiiElAOD website or contact your retailer. Keep your proof of purchase for warranty claims.
Online resources and community forums for Rock Pi E are also available for additional support and project ideas.