Introduction
This manual provides instructions for the assembly, operation, and maintenance of your YMDK ID75 Ortholinear Mechanical Keyboard Kit. This kit is designed for users who wish to build a customizable 75-key ortholinear keyboard with hot-swappable switches and RGB lighting.
Package Contents
Please verify that all components are present before beginning assembly:
- CNC Acrylic Case
- Aluminum Plate
- Hot-swappable RGB PCB (Printed Circuit Board) with underglow and switch LEDs pre-installed
- CNC High Feet (for adjustable keyboard angle)
- Switch Puller
- Type-C USB Cable
- Screws and Rubber Feet

Image 1: Complete YMDK ID75 Ortholinear Mechanical Keyboard Kit with RGB lighting.
Setup and Assembly
Follow these steps to assemble your keyboard kit:
- Prepare the PCB and Plate: Carefully align the hot-swappable PCB with the aluminum plate. Ensure all screw holes match.
- Install Switches: Insert your desired mechanical switches into the hot-swappable sockets on the PCB through the plate. Ensure the pins are straight and the switch clicks firmly into place. No soldering is required.
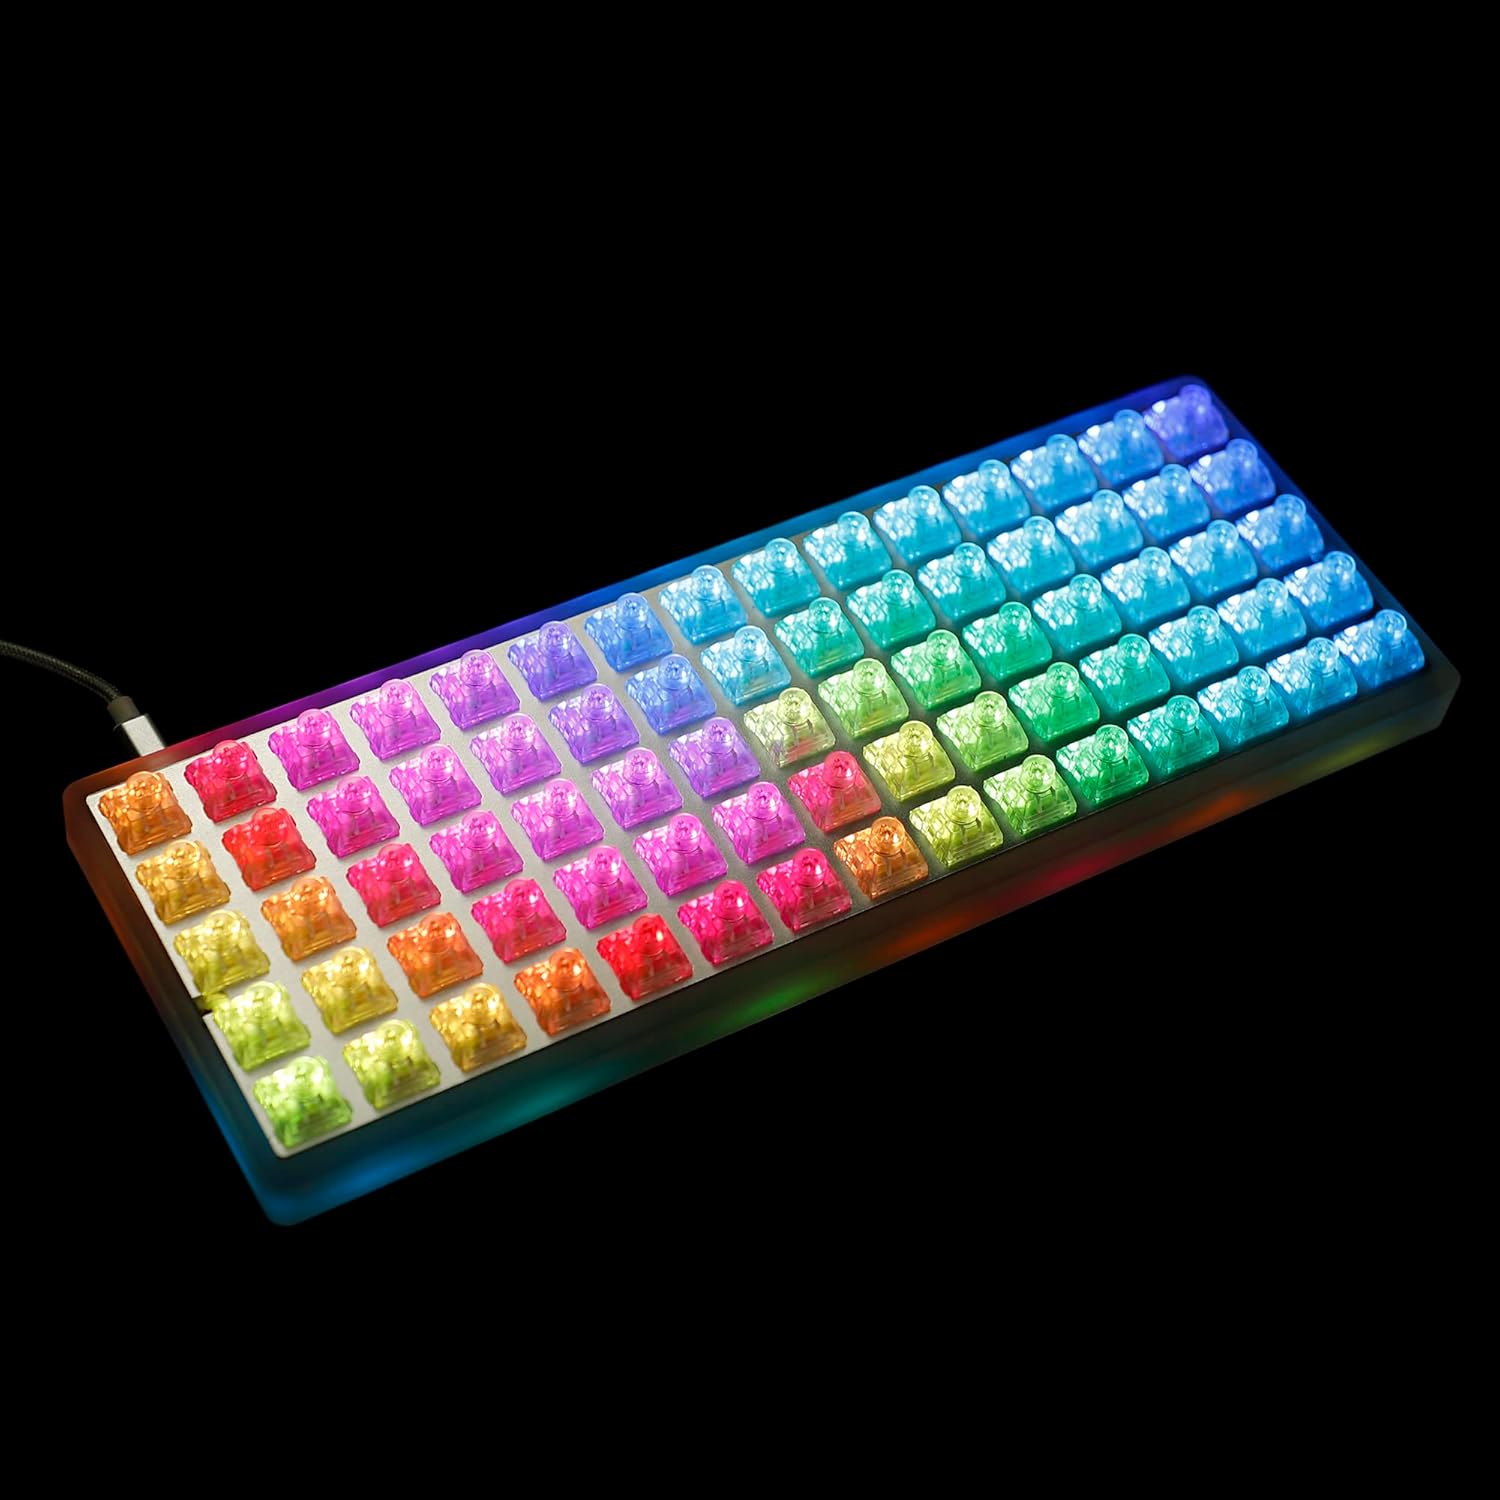
Image 2: Hot-swappable PCB with mechanical switches installed.
- Mount PCB/Plate Assembly into Case: Place the assembled PCB and plate into the CNC acrylic case. Secure it using the provided screws.

Image 3: Detail of the acrylic case and PCB mounting area.
- Attach Keycaps: Press your chosen keycaps onto the switches.
- Install Feet: If desired, screw the CNC high feet into the designated holes on the bottom of the case. Apply the rubber feet for stability.
- Connect USB Cable: Connect the Type-C USB cable to the keyboard's port and to your computer.

Image 4: USB-C port for connecting the keyboard to a computer.
Operating Instructions
Basic Operation
Once connected, your YMDK ID75 keyboard should be recognized by your operating system. It functions as a standard USB keyboard. The ortholinear layout is designed for efficient typing with reduced finger travel.
RGB Lighting Control
The keyboard features pre-installed underglow and per-switch RGB LEDs. Lighting effects and colors can be customized using VIA or VIAL software. Refer to the software documentation for detailed instructions on changing lighting modes, brightness, and colors.

Image 5: Keyboard showcasing various RGB lighting effects.

Image 6: View of the keyboard's underglow RGB lighting.
Key Remapping and Customization (VIA/VIAL)
The YMDK ID75 PCB supports VIA and VIAL software for advanced key remapping, macro creation, and layer management. These tools allow you to fully customize the keyboard layout to your preferences.
- VIA/VIAL Compatibility: The PCB is directly recognized by VIA/VIAL.
- Layers: The PCB supports multiple programmable layers (e.g., 6 layers in this edition).
- Software Download: Download the latest VIA or VIAL software from their official websites.
- Custom Firmware: For highly specialized functions, custom QMK firmware can be compiled. This requires knowledge of MSYS and VS Code.
Video 1: Demonstration of RGB lighting effects and customization on the YMDK ID75 keyboard. This video illustrates various dynamic lighting patterns and color options available through the keyboard's programmable features.
Maintenance
Cleaning
To clean your keyboard, disconnect it from your computer. Use a soft, dry cloth to wipe the case. For keycaps, remove them using the provided keycap puller and clean with a mild soap solution if necessary, then dry thoroughly before reattaching. Avoid spraying liquids directly onto the keyboard.
Switch Replacement
Thanks to the hot-swappable sockets, switches can be replaced without soldering. Use the provided switch puller to gently remove a switch. Align the pins of the new switch with the sockets and press firmly until it clicks into place. Ensure pins are not bent during insertion.
Troubleshooting
- Keyboard Not Recognized:
Ensure the USB-C cable is securely connected to both the keyboard and your computer. Try a different USB port or cable. Restart your computer.
- RGB Lighting Not Working/Incorrect:
Check VIA/VIAL software settings for lighting configuration. Ensure the firmware is correctly flashed. If issues persist, try reflashing the official VIA firmware.
- Keys Not Registering:
Remove the keycap and switch. Inspect the switch pins for bends. Reinsert the switch carefully. If the issue persists, try a different switch in the same socket or the same switch in a different socket to isolate the problem.
- Loose USB Port:
Some users have reported a loose USB port. If this occurs, carefully disconnect the PCB and gently bend the top and bottom of the USB port casing slightly inward with needle-nose pliers to create a tighter connection. Reassemble with care.
- Firmware Flashing Issues:
If you encounter problems flashing firmware, ensure you are using the correct firmware for your PCB (F103 or RP2040). For QMK, use the QMK Toolkit. If the keyboard does not enter boot mode, you may need to access the physical reset button on the PCB. It is recommended to configure a "KC_BOOT" key on a secondary layer for easier access to boot mode.
Specifications
| Model | ID75 |
| Layout | 75 Keys Ortholinear |
| Case Material | CNC Acrylic |
| Plate Material | Aluminum |
| Switch Compatibility | Hot-swappable (no soldering required) |
| Lighting | Per-switch RGB and Underglow RGB |
| Connectivity | USB-C |
| Firmware Support | VIA, VIAL, QMK |
| Product Dimensions | 13.78 x 7.09 x 2.36 inches |
| Item Weight | 7 ounces |
Warranty and Support
For warranty information and technical support, please refer to the official YMDK website or contact your retailer. Keep your purchase receipt for warranty claims.
