REVODATA IPIR-P-A-HS
REVODATA 5MP HD POE IP Camera User Manual
Model: IPIR-P-A-HS
1. Introduction
Welcome to the user manual for your REVODATA 5MP HD POE IP Camera. This guide provides detailed instructions to help you set up, operate, and maintain your security camera effectively. Please read this manual thoroughly before using the product to ensure proper installation and functionality.
2. Product Overview
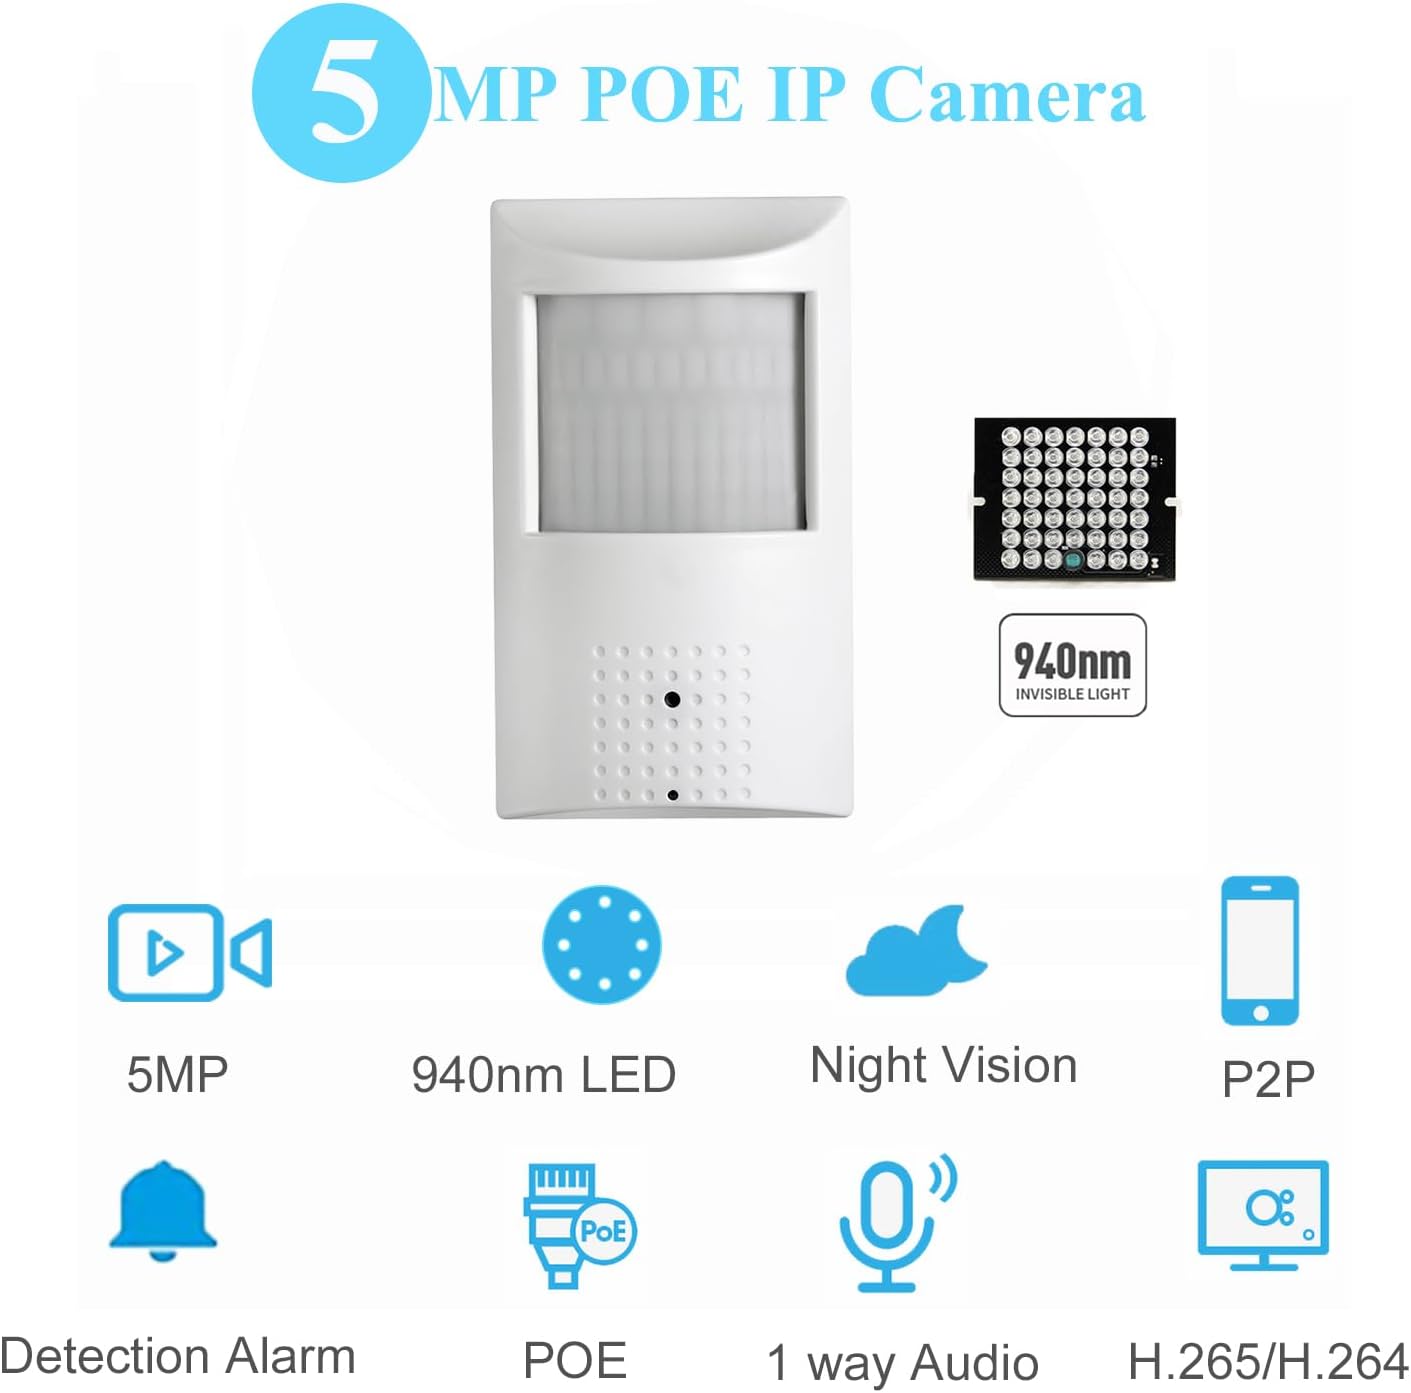
The REVODATA IPIR-P-A-HS is a high-resolution 5MP IP camera designed for indoor security surveillance. It features a 940nm invisible LED for discreet night vision, a built-in microphone for audio recording, and supports Power Over Ethernet (POE) for simplified installation.
Key Features:
- 5.0 Megapixel HD Image: Utilizes a 1/3" 5.0 megapixel CMOS sensor for clear and fluid images/videos up to 20 frames per second.
- 940nm Invisible LED & Built-in Microphone: Features 940nm LEDs that are invisible to the naked eye, providing discreet night vision without a red glow. The integrated microphone captures audio around the camera.
- POE 48V 802.3af Support: Simplifies wiring by allowing power and data transmission over a single Ethernet cable. Also supports conventional 12V 2A power supply for non-POE setups.
- Dual H.265/H.264 Encoding: Offers efficient video compression, reducing bandwidth and storage requirements compared to H.264.
- Wide Range of Applications: Supports remote viewing and playback via the free "Linklemo" mobile app (iOS, Android) and VMS software for Windows computers.
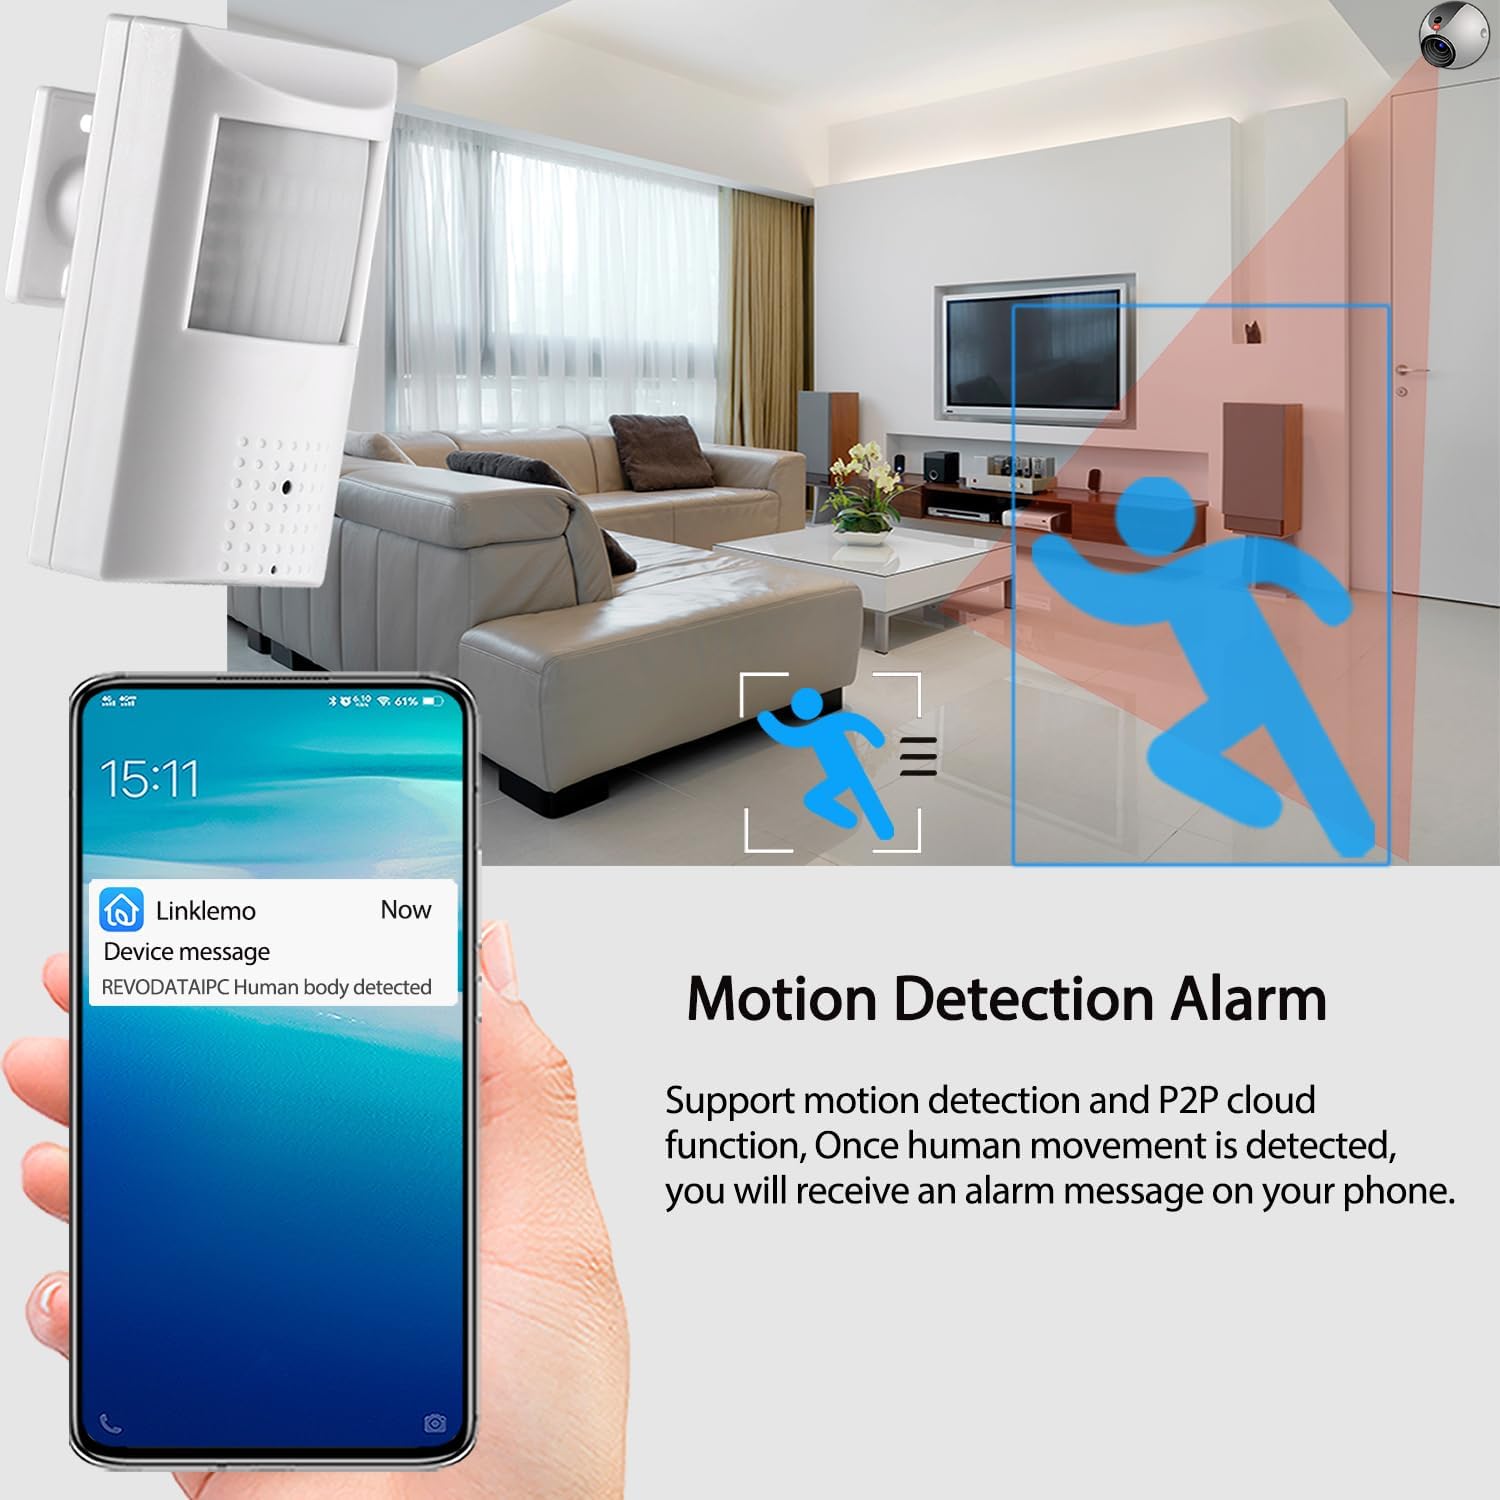
- Motion Detection & Email Alarm: Provides smart alarm functions including motion detection and email notifications.
Product Views:


3. Specifications
| Feature | Description |
|---|---|
| Model | IPIR-P-A-HS |
| Resolution | 2880 x 1616P (5.0 Megapixel) |
| Sensor | FH8852V200+GC5053 |
| Minimum Illumination | 0.01Lux @(F1.2,AGC ON) |
| Frame Rate | 5MP/25fps |
| NVR or ONVIF Port | 80 |
| Lens Interface Type | M12 |
| Day and Night Conversion | Auto |
| Shutter | 1/25 seconds - 1/100,000 seconds |
| Compression Format | H.265/H.264 |
| Storage | NVR or Computer |
| IP Address | Dynamic (default) / Static |
| Smart Alarm | Motion Detection, Email Alarm |
| Supported Protocols | HTTP, TCP/IP, RTSP, RTP, UPNP, SMTP, DHCP, DDNS, DNS, FTP, NTP |
| Ethernet | 10M/100M Mbps (RJ-45) |
| Operating Temperature | -25°C ~ 60°C |
| Operating Humidity | 10% to 90% |
| Power Supply | POE |
| PoE Standard | 802.3af |
| Infrared Lamp | 48 Invisible LEDs |
| Night Vision Distance | 5 to 10 m |
| Dimensions (L x W x H) | 7 x 4.7 x 12 cm |
| Weight | 0.17 kg |
| Mounting Type | Wall Mount |
| Material | Plastic (ABS) |
| Voltage | 12 Volts, 48 Volts |
| Power Consumption | 10 Watts |
| Viewing Angle | 80 degrees |
| Compatible Devices | Computer (Windows), iOS, Android |
4. Package Contents
Please check the package contents upon unboxing to ensure all items are present and in good condition.
- 1 x REVODATA IP Camera (Model: IPIR-P-A-HS)
- 1 x User Manual
- 1 x Screws Set for mounting

5. Setup
Follow these steps to set up your REVODATA IP Camera:
- Power Supply:
- This camera is primarily designed for POE (Power Over Ethernet). Connect the camera to a standard 802.3af 48V POE switch using an Ethernet cable.
- Alternatively, if POE is not available, you can power the camera using a conventional 12V 2A DC power adapter (not included). Connect the adapter to the DC power port on the camera.
- Network Connection: Connect the camera to your network router or POE switch using an RJ-45 Ethernet cable.
- NVR Compatibility (Optional):
- The camera defaults to 5MP resolution and H.265 compression.
- If your Network Video Recorder (NVR) does not support 5MP or H.265, you may need to change the camera's settings to 1080P (2MP) and H.264. Refer to the operating section for software access.
- Software Installation:
- For mobile viewing, download the free "Linklemo" app from your device's app store (iOS or Android).
- For PC viewing and management, install the VMS software for Windows computers. (Note: VMS software is not available for MAC OS or Linux).
- Mounting: Use the included screws set to mount the camera securely on a wall or desired surface. Ensure the camera's viewing angle covers the desired surveillance area.
6. Operating
Once the camera is set up and connected, you can begin operating it using the provided software:
- Accessing the Camera:
- Mobile App (Linklemo): Open the Linklemo app, register an account if necessary, and add your camera by scanning the QR code or manually entering its details.
- PC Software (VMS): Launch the VMS software on your Windows computer. The software should automatically detect the camera on your local network, or you can add it manually using its IP address.
- Web Interface: The camera supports an IE6.0 and above browser web interface. Enter the camera's IP address into your browser to access its settings and live view.
- Live View and Playback:
- From the app or VMS software, select your camera to view the live feed.
- Access recorded footage through the playback function. Recordings are typically stored on a connected NVR or computer.
- Day and Night Vision: The camera automatically switches between day (color) and night (black and white) modes based on ambient light conditions. The 940nm invisible LEDs activate automatically in low light.
- Audio Recording: The built-in microphone continuously records audio along with video. Ensure audio recording is enabled in the camera settings if desired.
- Motion Detection and Alarms:
- Configure motion detection zones and sensitivity within the camera's settings via the VMS software or web interface.
- Enable email alarm notifications to receive alerts when motion is detected.
- Compression Settings (H.265/H.264): If your NVR or storage system requires H.264, you can switch the compression format in the camera's advanced settings. This may also involve reducing the resolution to 1080P (2MP) for compatibility.
7. Maintenance
Proper maintenance ensures the longevity and optimal performance of your camera:
- Cleaning: Gently wipe the camera lens and body with a soft, dry cloth. Avoid using harsh chemicals or abrasive materials that could damage the surface or lens.
- Environmental Conditions: Ensure the camera operates within the specified temperature range of -25°C to 60°C and humidity range of 10% to 90%. Avoid exposing the camera to extreme temperatures, direct sunlight for prolonged periods, or high humidity.
- Firmware Updates: Periodically check the manufacturer's website for any available firmware updates. Updating the firmware can improve performance, add new features, or fix bugs.
- Network Security: Regularly change your camera's password and ensure your network is secure to prevent unauthorized access.
8. Troubleshooting
If you encounter issues with your camera, refer to the following common problems and solutions:
- Camera Not Powering On:
- Ensure the POE switch is providing 48V 802.3af power and the Ethernet cable is securely connected.
- If using a DC adapter, verify it is a 12V 2A adapter and properly connected to a working power outlet.
- No Video Feed / Offline:
- Check the network cable connection to both the camera and the router/switch.
- Verify that the camera has obtained an IP address (check your router's connected devices list).
- Ensure your NVR or viewing software (Linklemo/VMS) is correctly configured to connect to the camera's IP address or P2P ID.
- If your NVR does not support 5MP or H.265, adjust the camera's resolution to 1080P (2MP) and compression to H.264 via the web interface or VMS software.
- Poor Image Quality / Choppy Video:
- Check your network bandwidth. High-resolution video requires sufficient network capacity.
- Ensure the camera lens is clean and free from obstructions.
- If using H.265, ensure your NVR/software fully supports it. Otherwise, switch to H.264.
- Motion Detection Not Working:
- Verify that motion detection is enabled in the camera's settings.
- Adjust the sensitivity and detection zones to suit your environment.
- Cannot Access Web Interface:
- Ensure you are using Internet Explorer 6.0 or a higher version, or a compatible browser with necessary plugins.
- Verify the camera's IP address is correct.
9. Warranty and Support
For warranty information or technical support, please contact REVODATA customer service. Refer to the product packaging or the official REVODATA website for contact details. Please have your model number (IPIR-P-A-HS) and purchase information ready when contacting support.