1. Introduction
Thank you for choosing the SOBO AQ-500F Internal Aquarium Filter Pump. This compact and efficient filter is designed to provide optimal water quality for small to very small aquariums, suitable for both fresh and saltwater environments. It features a fully submersible design and a filter sponge to effectively remove impurities, ensuring a clean and healthy habitat for your aquatic life.
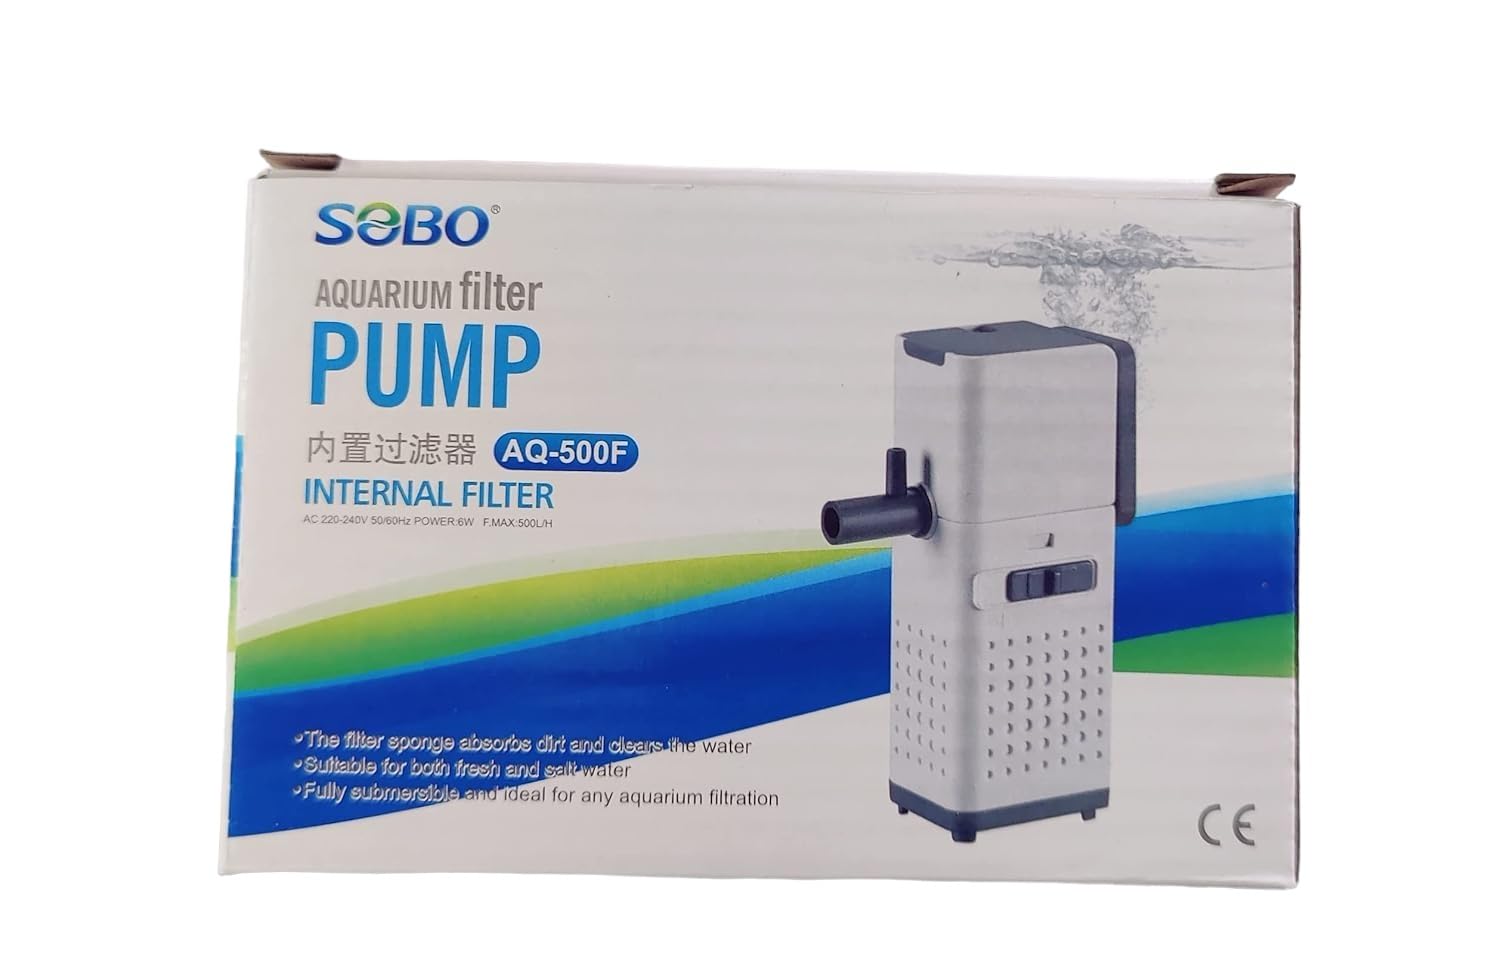
Image 1.1: SOBO AQ-500F Internal Aquarium Filter Pump with its packaging, showing approximate dimensions of 11cm height, 3.4cm width, and 4.1cm depth.
2. Safety Instructions
Please read all safety instructions carefully before operating this appliance. Failure to follow these instructions may result in electric shock, fire, or serious injury.
- Electrical Safety: Ensure the voltage and frequency of your power supply match the specifications of the pump (AC 220-240V, 50/60Hz). Always unplug the filter from the power outlet before performing any maintenance, cleaning, or when handling the aquarium water. Do not operate the pump if the power cord or plug is damaged.
- Submersion: This filter is designed to be fully submersible. Ensure it is completely submerged in water during operation to prevent overheating and damage.
- Placement: Position the filter securely within the aquarium using the provided suction cups. Ensure it is not obstructed by decorations or substrate.
- Children and Pets: Keep this appliance out of reach of children and pets.
- Intended Use: Use this filter only for its intended purpose in aquariums. Do not use it for other liquids or applications.
3. Package Contents
Verify that all items are present in the package:
- SOBO AQ-500F Internal Filter Pump Unit
- Power Cord with Plug
- Air Control Valve
- Air Plastic Pipe
- Suction Cups (pre-attached or separate)
- Filter Sponge (pre-installed)

Image 3.1: The SOBO AQ-500F filter pump unit, power cord, air control valve, and air plastic pipe.
4. Specifications
| Feature | Specification |
|---|---|
| Model | AQ-500F |
| Power | 6W |
| Max Flow Rate (F.MAX) | 500 L/H |
| Voltage | AC 220-240V |
| Frequency | 50/60Hz |
| Dimensions (Approx.) | 11 cm (Height) |
| Water Type | Fresh and Salt Water |
| Features | Fully submersible, Filter sponge, Silent design, High lift, Large flow, Acid/alkali/salt resistant materials |
5. Setup Instructions
Follow these steps to properly install your SOBO AQ-500F filter:
- Unpack: Carefully remove all components from the packaging and inspect for any damage.
- Assemble Air Components: Attach the air plastic pipe to the air intake nozzle on the filter unit. Then, connect the air control valve to the other end of the air plastic pipe. This allows for aeration in your aquarium.
- Position Suction Cups: Ensure the suction cups on the back of the filter are clean and securely attached to the filter body.
- Placement in Aquarium: Submerge the filter completely in your aquarium water. Press the suction cups firmly against the inside glass wall of the aquarium to secure the filter in place. Ensure the filter is positioned vertically and is fully underwater.
- Connect Power: Once the filter is securely placed and fully submerged, plug the power cord into a suitable electrical outlet.
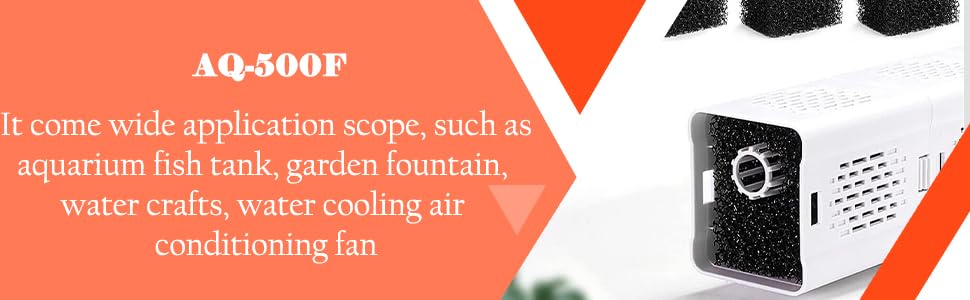
Image 5.1: Key components for setup, including the air control valve, air plastic pipe, and suction cups.

Image 5.2: The AQ-500F filter installed and operating in an aquarium, demonstrating proper submersion and water flow.
6. Operating Instructions
The SOBO AQ-500F filter is designed for continuous operation to maintain water quality.
- Power On: After plugging in, the pump will start immediately, circulating and filtering the aquarium water.
- Air Flow Adjustment: Use the air control valve attached to the air pipe to adjust the amount of air introduced into the aquarium. Rotate the valve to increase or decrease the airflow as desired.
- Continuous Use: For optimal water quality, it is recommended to operate the filter continuously.
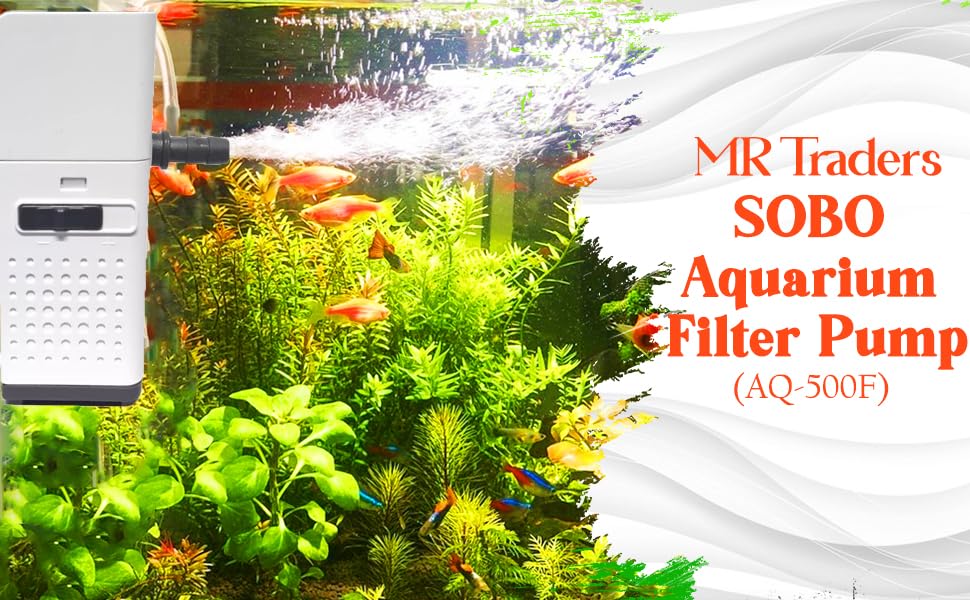
Image 6.1: A close-up view of the filter unit, showing the outlet and general design.
7. Maintenance
Regular maintenance is crucial for the longevity and efficient operation of your filter. Always unplug the filter before performing any maintenance.
- Filter Sponge Cleaning: The internal filter sponge should be cleaned regularly, typically every 2-4 weeks, depending on the aquarium's bioload. To clean, unplug the filter, remove it from the aquarium, and detach the filter casing. Rinse the sponge thoroughly in old aquarium water (not tap water, as chlorine can kill beneficial bacteria) to remove accumulated debris. Do not use soap or detergents.
- Impeller Cleaning: Periodically, check and clean the impeller and its chamber. Unplug the filter, remove the filter casing, and gently pull out the impeller. Clean any debris or mineral buildup from the impeller and its shaft using a small brush.
- Reassembly: After cleaning, reassemble the filter components, ensuring the filter sponge and impeller are correctly seated. Secure the filter casing.
- Reinstallation: Place the filter back into the aquarium, ensuring it is fully submerged before plugging it back in.
8. Troubleshooting
If you encounter issues with your SOBO AQ-500F filter, refer to the following common problems and solutions:
| Problem | Possible Cause | Solution |
|---|---|---|
| Filter not starting or running | No power; Impeller jammed; Not fully submerged | Check power connection; Unplug and clean impeller; Ensure filter is fully submerged |
| Reduced water flow | Clogged filter sponge; Impeller dirty or worn; Air intake blocked | Clean filter sponge; Clean or replace impeller; Check and clear air intake |
| Excessive noise or vibration | Impeller not seated correctly; Debris in impeller chamber; Filter not securely mounted | Unplug and re-seat impeller; Clean impeller chamber; Re-secure filter with suction cups |
| No air bubbles | Air pipe or valve blocked; Air control valve closed | Check and clear air pipe/valve; Open air control valve |
9. Warranty and Support
This product is covered by a standard manufacturer's warranty against defects in materials and workmanship. Please refer to your purchase documentation for specific warranty terms and duration. For technical support, spare parts, or warranty claims, please contact the retailer or manufacturer directly with your purchase details.