Introduction
Thank you for choosing the Abbyson Living Leather Power Recliner and Power Headrest. This manual provides essential information for the safe and efficient operation, assembly, and maintenance of your new recliner. Please read this manual thoroughly before use and retain it for future reference.
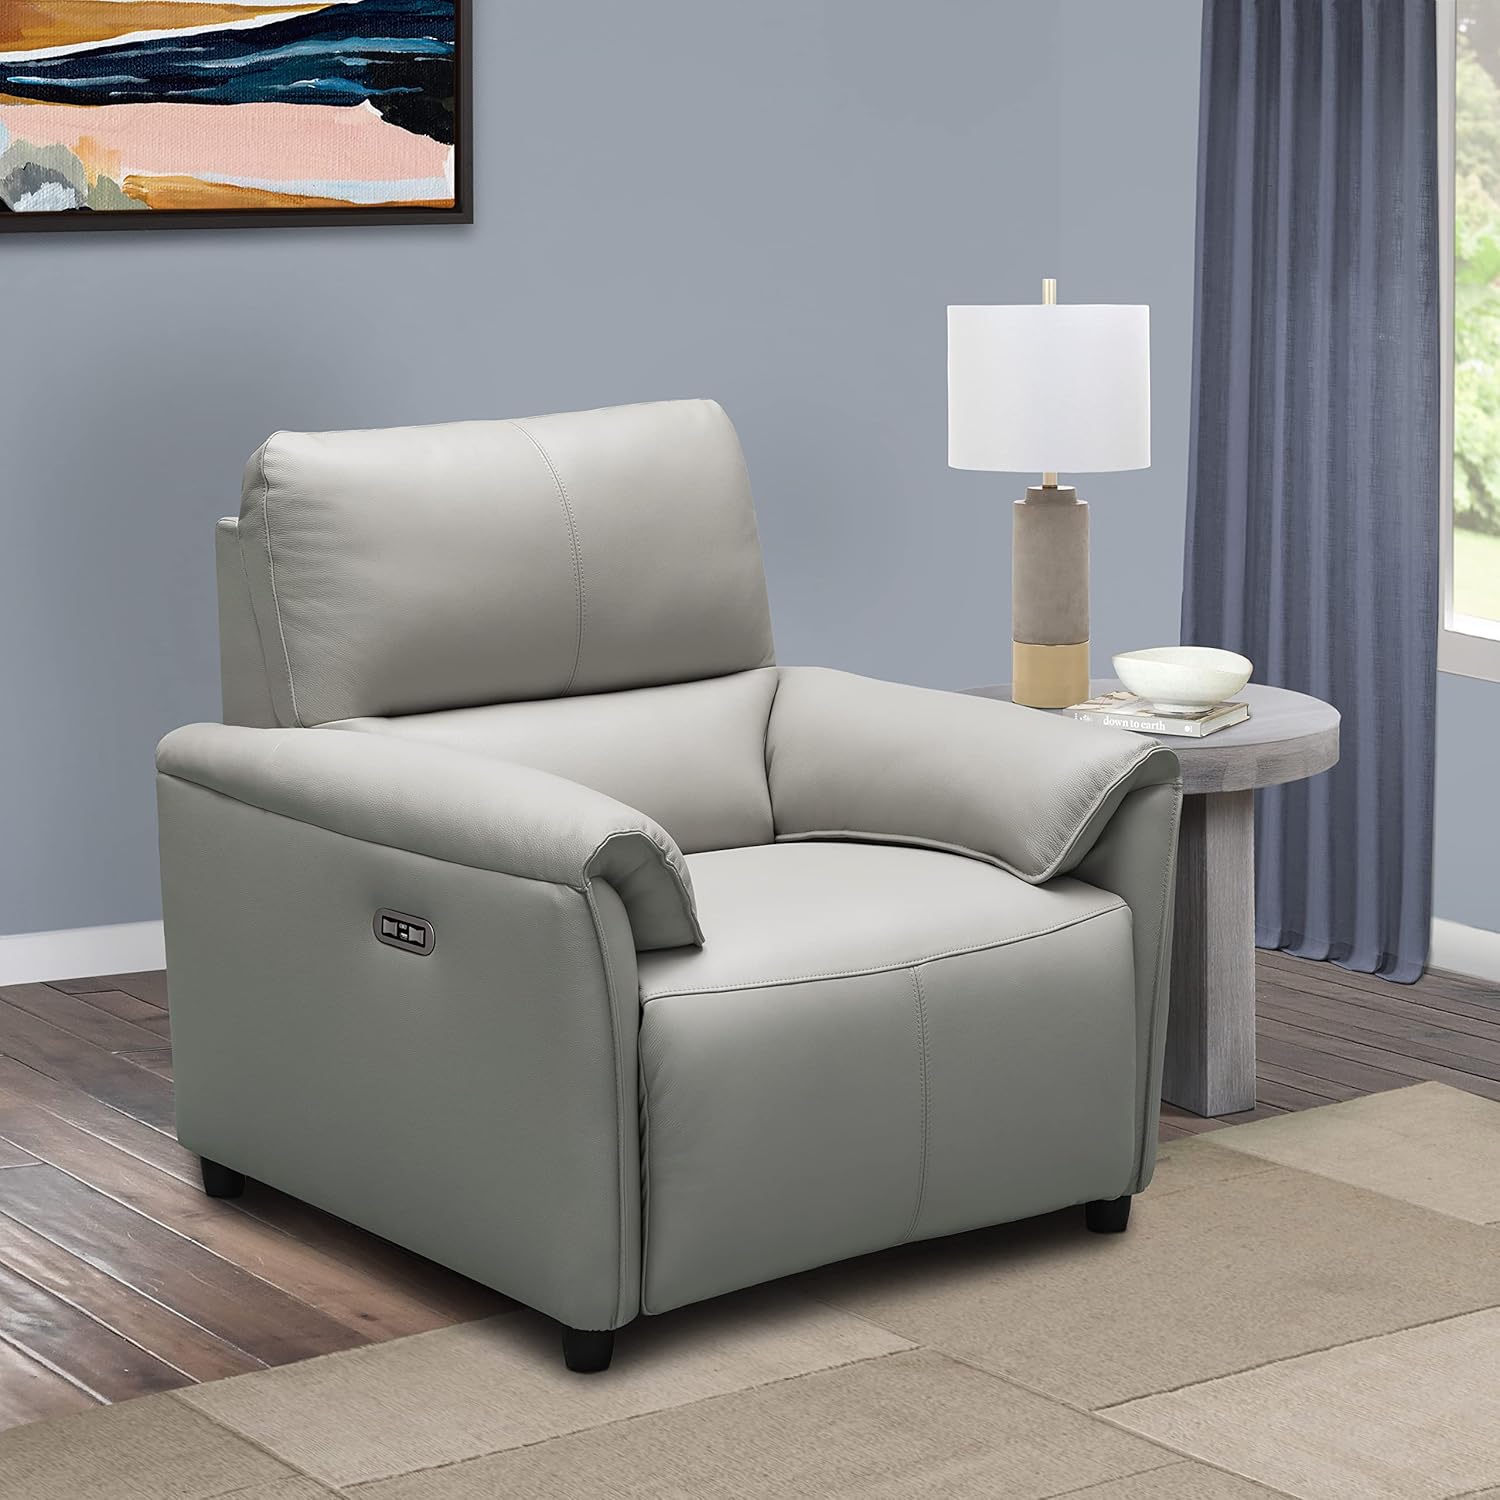
Image: The Abbyson Living Leather Power Recliner in Grey, positioned in a modern living room with a side table and lamp.
Important Safety Information
To reduce the risk of electric shock, fire, and injury, please adhere to the following safety precautions:
- Always unplug the recliner from the power outlet before cleaning or servicing.
- Keep children and pets away from the recliner's moving parts, especially during operation.
- Do not allow children to play on or with the recliner.
- Ensure the power cord is not pinched or placed under the recliner.
- Do not operate the recliner if the power cord or plug is damaged.
- Avoid spilling liquids on the recliner, especially near electrical components.
- This recliner is designed for indoor use only.
- Do not sit on the footrest when it is extended.
Package Contents
Please verify that all components are present before beginning assembly:
- Recliner Base
- Backrest
- Power Adapter and Cord
- User Manual (this document)
Setup and Assembly
Assembly is straightforward and typically requires two people. No tools are required.
Step 1: Unpack Components
Carefully remove all components from the packaging. Place them on a soft, clean surface to prevent damage.
Step 2: Attach Backrest
Align the metal brackets on the backrest with the corresponding receivers on the recliner base. Slide the backrest down firmly until it clicks securely into place. Ensure both sides are fully engaged.

Image: Rear view of the recliner, illustrating the connection point for the power cord at the bottom right.
Step 3: Connect Power
Locate the power cord connection point at the rear bottom of the recliner. Connect the power adapter to the recliner, then plug the power cord into a standard electrical outlet. Ensure the connection is secure.
Step 4: Verify Dimensions and Placement
Before final placement, ensure adequate space for full recline. The recliner dimensions are approximately 39"D x 38"W x 39"H.

Image: Diagram showing the approximate dimensions of the recliner: 39.37 inches high, 38.97 inches deep, and 37.8 inches wide.
Operating Instructions
Your recliner features power recline and power headrest functions, along with a convenient USB charging port.
Power Recline Operation
Locate the control panel on the side of the recliner armrest. Press and hold the forward button (usually indicated by an arrow pointing away from the seat) to extend the footrest and recline the backrest. Release the button when you reach your desired position. Press and hold the backward button (usually indicated by an arrow pointing towards the seat) to return to the upright position.

Image: The recliner with its footrest partially extended, demonstrating the recline function.
Power Headrest Operation
The control panel also includes buttons for adjusting the power headrest. Use these buttons to tilt the headrest forward or backward to find your optimal comfort angle.
USB Charging Port
A USB charging port is integrated into the control panel. Use this port to charge compatible electronic devices while relaxing in your recliner.

Image: A detailed view of the recliner's control panel, showing the recline buttons and the integrated USB charging port.
Care and Maintenance
Proper care will extend the life and appearance of your leather recliner.
- Cleaning: Wipe clean with a dry cloth. For spills, blot immediately with a clean, dry cloth. Do not rub. For stubborn stains, consult a professional leather cleaning service.
- Avoid Direct Sunlight: Prolonged exposure to direct sunlight can cause leather to fade or crack. Position your recliner away from direct sunlight.
- Avoid Heat Sources: Keep the recliner away from heat sources like radiators or fireplaces, which can dry out the leather.
- Regular Dusting: Dust the leather regularly with a soft, dry cloth to prevent dust buildup.
- Leather Conditioner: Periodically apply a high-quality leather conditioner to keep the leather supple and prevent drying. Follow the conditioner manufacturer's instructions.

Image: A close-up view of the grey top-grain leather upholstery, highlighting its texture and quality.
Troubleshooting
If you encounter issues with your recliner, refer to the following table for common problems and solutions.
| Problem | Possible Cause | Solution |
|---|---|---|
| Recliner does not operate | No power connection | Ensure power cord is securely plugged into the recliner and a working electrical outlet. Check circuit breaker. |
| USB port not charging | Recliner not powered on or device incompatibility | Ensure recliner is plugged in. Try a different USB cable or device. |
| Backrest not locking into place | Backrest not fully engaged | Remove backrest and re-insert, ensuring it clicks firmly into both receivers. |
| Unusual noises during operation | Loose components or obstruction | Inspect for any loose screws or foreign objects. If noise persists, contact customer support. |
Product Specifications
| Feature | Detail |
|---|---|
| Brand | Abbyson Living |
| Model Name | Tamera |
| Item Model Number | SK-B2022-GRY-1 |
| Color | Grey |
| Upholstery Material | Top Grain Leather (front), PU Match (back) |
| Frame Construction | Kiln-dried Hardwood |
| Recline Mechanism | Power Recline Steel Mechanism |
| Product Dimensions (D x W x H) | 39" x 38" x 39" |
| Item Weight | 120 pounds |
| Special Features | Power Headrest, USB Port, Arm Rest |
| Care Instructions | Wipe Clean with Dry Cloth |
| UPC | 843449146911 |
Warranty and Customer Support
Abbyson Living products are manufactured with quality and care. For specific warranty details regarding your recliner, please refer to the warranty card included with your purchase or visit the official Abbyson Living website. For customer support, parts, or service inquiries, please contact Abbyson Living directly through their official channels. Please have your model number (SK-B2022-GRY-1) and purchase information ready when contacting support.
No official product videos from the seller were found to be included in this manual.