Introduction
This manual provides essential information for the proper installation, use, and maintenance of your Snow Joe 24V-SS10-HP Hardware Pack. This pack contains replacement bolts specifically designed for the Snow Joe 24V-SS10 Snow Shovel, ensuring secure assembly and continued functionality of your equipment. Please read these instructions carefully before proceeding.
Safety Information
- Always ensure the snow shovel is powered off and the battery is removed before performing any maintenance or part replacement.
- Wear appropriate personal protective equipment, such as gloves, when handling tools and parts.
- Keep small parts away from children and pets to prevent choking hazards.
- Use only genuine Snow Joe replacement parts to ensure compatibility and maintain product integrity.
- If you are unsure about any step, consult a qualified service technician or contact Snow Joe customer support.
Setup: Installing the Hardware Pack
The 24V-SS10-HP Hardware Pack includes bolts necessary for securing components of your Snow Joe 24V-SS10 Snow Shovel, typically for the handle assembly. Follow these steps for proper installation:
- Prepare the Snow Shovel: Ensure the Snow Joe 24V-SS10 Snow Shovel is turned off and the battery is removed. Place the shovel on a stable, flat surface.
- Identify Bolt Locations: Locate the areas on your snow shovel where the bolts are missing or need replacement. These are typically used to secure the upper and lower handle sections together, or to attach the handle to the main body of the shovel.
- Insert Bolts: Align the threaded shaft of a new bolt from the hardware pack with the corresponding hole on the snow shovel.
- Secure the Knob: Thread the black knob onto the bolt. Turn clockwise until it is finger-tight.
- Tighten Securely: Once finger-tight, continue to tighten the knob firmly to ensure a secure connection. Do not overtighten, as this may strip the threads or damage the components. The connection should be snug, preventing any wobble in the handle.
- Repeat for all Bolts: Install all necessary bolts from the hardware pack following the same procedure.
- Verify Assembly: After all bolts are installed, gently test the handle and other secured components to ensure they are firm and stable before reinserting the battery and operating the snow shovel.
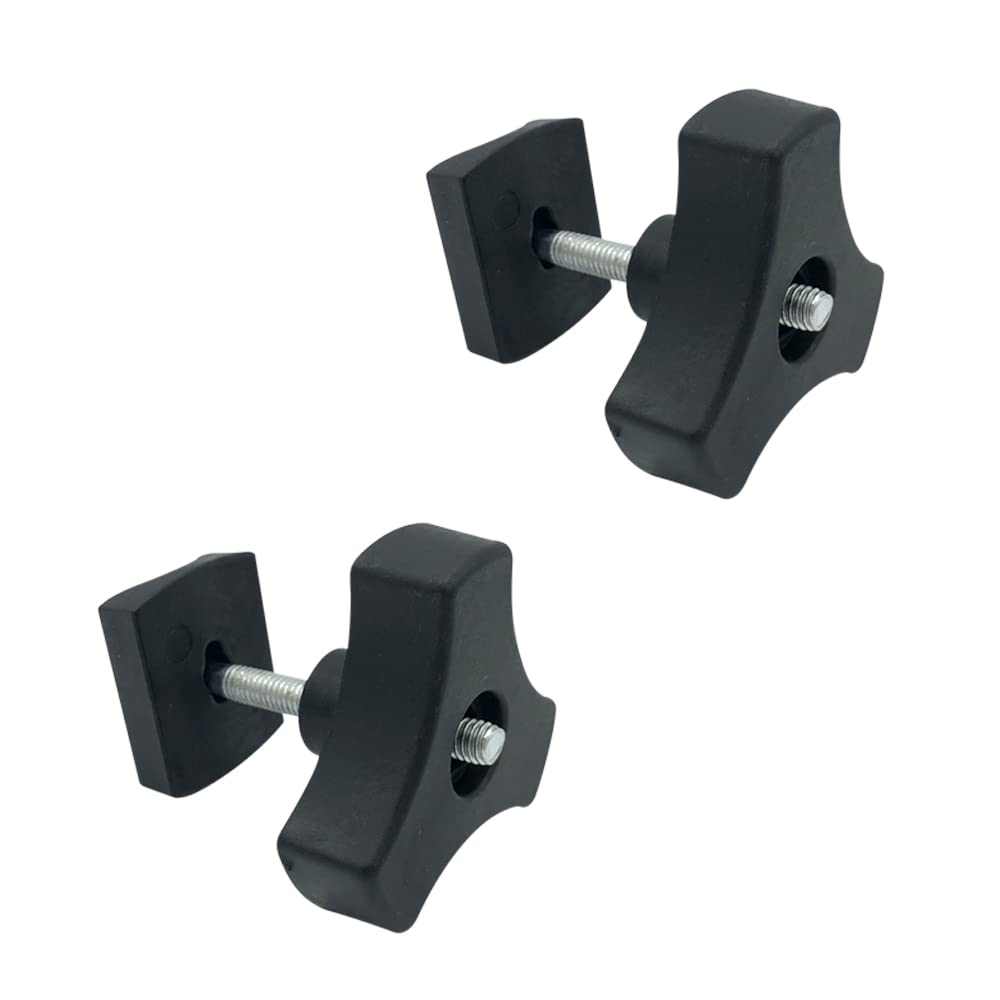
Image: Two black knob-style bolts with threaded shafts and silver washers, as included in the hardware pack. These bolts are used to secure various components of the Snow Joe 24V-SS10 Snow Shovel.
Operating
The 24V-SS10-HP Hardware Pack consists of replacement bolts that are integral to the structural integrity of your Snow Joe 24V-SS10 Snow Shovel. Once properly installed, these bolts ensure that the handle and other connected parts remain securely fastened during operation. There are no specific operational steps for the hardware pack itself beyond ensuring its correct installation. The snow shovel's operation remains as described in its primary instruction manual.
Maintenance
Regular maintenance of the hardware pack components helps prolong the life of your snow shovel and ensures safe operation:
- Check Tightness: Periodically inspect all bolts on your Snow Joe 24V-SS10 Snow Shovel to ensure they remain securely tightened. Vibrations during use can sometimes cause bolts to loosen.
- Inspect for Damage: Before each use, visually inspect the bolts for any signs of wear, cracks, or damage. Damaged bolts should be replaced immediately.
- Cleaning: Keep the bolts and surrounding areas clean from dirt, ice, and debris. A damp cloth can be used for cleaning.
- Storage: If storing the hardware pack separately, keep it in a dry, safe place away from extreme temperatures and moisture.
Troubleshooting
If you encounter issues related to the hardware pack, consider the following:
- Loose Handle/Components: If the snow shovel's handle or other parts feel loose, check the tightness of all installed bolts. Retighten as necessary.
- Missing Bolt: If a bolt is missing, use a replacement from the 24V-SS10-HP Hardware Pack. Do not operate the snow shovel with missing or improperly secured hardware.
- Damaged Bolt: If a bolt is stripped, cracked, or otherwise damaged, replace it with a new one from the hardware pack. Do not attempt to repair damaged bolts.
- Difficulty Tightening: Ensure the bolt is correctly aligned with the threaded hole. Do not force the bolt, as this can cross-thread and damage the components. If issues persist, inspect the threads on both the bolt and the shovel for damage.
Specifications
| Model Number | 24V-SS10-HP |
| Product Type | Hardware Pack for Snow Joe 24V-SS10 Snow Shovel |
| Item Package Quantity | 1 |
| Item Package Weight | 0.17 Pounds (approx. 77 grams) |
| Item Package Dimensions (L x W x H) | 7.87 x 5.94 x 2.75 inches |
| UPC | 842470113305 |
Warranty
Specific warranty information for the 24V-SS10-HP Hardware Pack is typically covered under the warranty of the main Snow Joe 24V-SS10 Snow Shovel. For detailed warranty terms and conditions, please refer to the original product manual for your Snow Joe 24V-SS10 Snow Shovel or visit the official Snow Joe website.
Support
For further assistance, questions, or to purchase additional replacement parts, please contact Snow Joe customer support:
- Website: www.snowjoe.com
- Customer Service: Refer to the contact information provided on the Snow Joe website or in your original product manual for the 24V-SS10 Snow Shovel.