Introduction
Thank you for choosing the Calhome Chevron Arrow Fully Assembled Sliding Barn Door. This manual provides essential information for the safe and proper installation, operation, and maintenance of your new barn door system. Please read all instructions carefully before beginning installation and retain this manual for future reference.
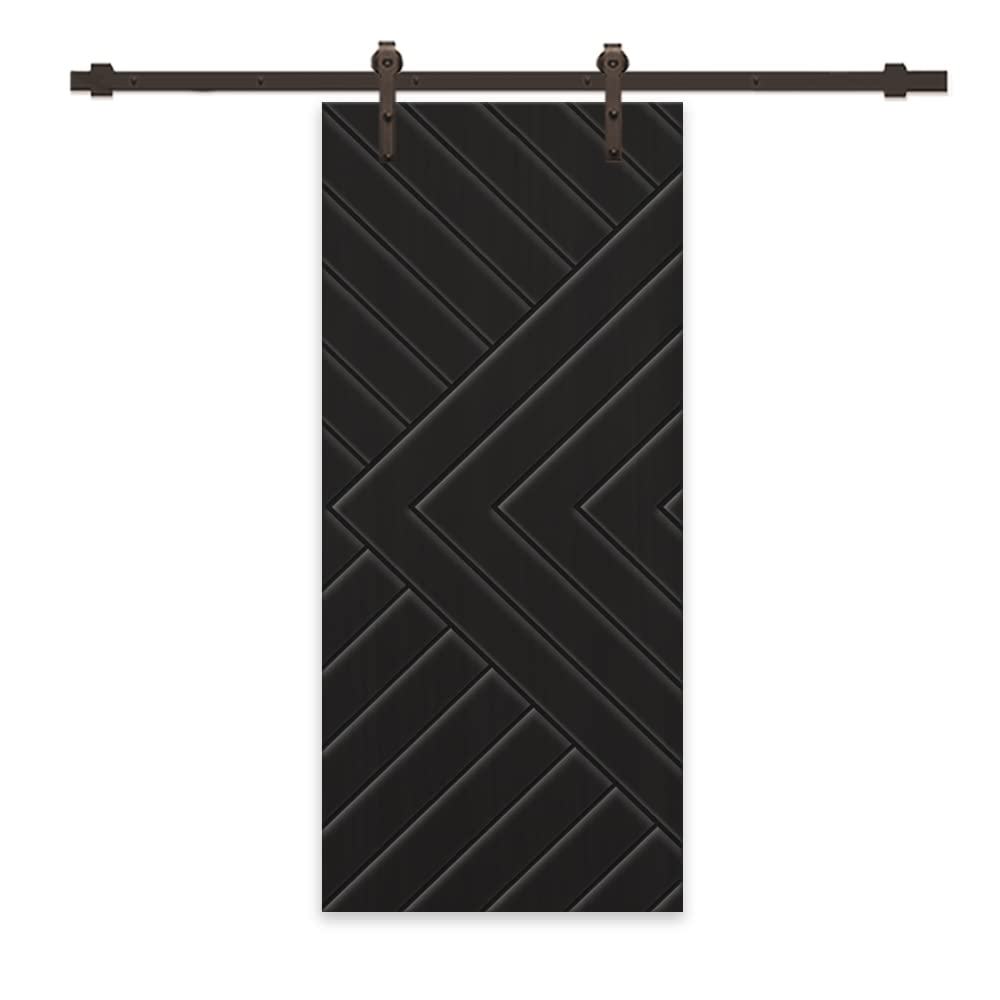
Image: The Calhome Chevron Arrow Black Sliding Barn Door, 42 x 80 inches, installed in a room, showcasing its modern design and black stained finish.
Product Features
- Fully Assembled Design: The door arrives pre-assembled, simplifying the installation process.
- Durable Construction: Crafted from high-quality MDF (medium-density fiberboard) for lasting performance.
- Modern Aesthetic: Features a Chevron Arrow pattern with a black stained finish on both sides, offering a contemporary look.
- Complete Hardware Kit: Includes a sliding installation hardware set with matching finish bolts.
- Versatile Application: Suitable for various interior spaces such as closets, bathrooms, pantries, laundry rooms, bedrooms, kitchens, and offices.
- Fade-Resistant Finish: The door is finished with a multi-step stain and seal process designed for durability and color retention.
Package Contents
Verify that all components are present and undamaged before beginning installation. If any parts are missing or damaged, contact customer support.
- One (1) Calhome Chevron Arrow MDF Barn Door (42 x 80 inches, Black Stained)
- One (1) Front-Mount Sliding Track Hardware Set (includes track, rollers, stoppers, floor guide, anti-jump pads, and all necessary fasteners)

Image: A detailed view of the hardware kit components, including the sliding track, rollers, bolts, and various mounting accessories.
Safety Information
- Always wear appropriate safety gear, including safety glasses and gloves, during installation.
- Ensure the wall structure can support the weight of the door and hardware (approximately 100 lbs). Reinforcement may be necessary.
- Use a stud finder to locate wall studs for secure track mounting. Do not mount the track directly into drywall without proper anchoring or a header board.
- Keep children and pets away from the installation area.
- Exercise caution when handling the door to prevent injury or damage. It is recommended to have at least two people for lifting and positioning the door.
- Ensure all fasteners are tightened securely before operating the door.
Setup and Installation
While the door is fully assembled, installation of the track and hardware is required. This process involves precise measurements and secure mounting.
Tools Required:
- Measuring Tape
- Pencil
- Level
- Stud Finder
- Drill with appropriate drill bits (wood and/or masonry, depending on wall type)
- Wrench or Socket Set
- Screwdriver
- Optional: Router (for floor guide channel, if desired)
- Optional: Header Board (if wall studs do not align with track mounting points)
Installation Steps:
- Prepare the Opening: Measure the width and height of your door opening. Ensure the area above the opening is clear for track installation. The track should be mounted at a height that allows the door to clear the floor by approximately 1/2 inch.
- Install Header Board (if needed): If your wall studs do not align with the pre-drilled holes on the track, or if your wall requires additional support, install a sturdy wooden header board (e.g., 1x4 or 1x6) above the door opening. Secure the header board into wall studs.
- Mount the Track: Position the sliding track on the wall or header board. Use a level to ensure it is perfectly horizontal. Mark the drilling locations for the lag bolts. Drill pilot holes at these marks. Securely fasten the track to the wall/header board using the provided lag bolts and spacers.
- Attach Rollers to Door: The door is pre-assembled, but the rollers need to be attached. Align the roller hangers with the pre-drilled holes on the top edge of the door. Secure them firmly with the provided bolts.

Image: A close-up view of the barn door roller mechanism, showing how it connects to the track and the top of the door.
- Hang the Door: With assistance, carefully lift the door and hook the rollers onto the track. Gently slide the door back and forth to ensure smooth movement.
- Install Anti-Jump Pads: Attach the anti-jump pads to the top edge of the door, above the rollers. These prevent the door from lifting off the track.
- Install Door Stoppers: Slide the door stoppers onto the track at both ends. Adjust their positions to control the door's travel distance and prevent it from hitting the wall or sliding off the track. Tighten them securely.
- Install Floor Guide: Position the floor guide on the floor directly below the track, ensuring it aligns with the bottom edge of the door. Mark the drilling locations. Drill pilot holes and secure the floor guide. For optimal stability, a channel can be routed into the bottom of the door to engage with the floor guide, though this requires a router and is optional.
- Final Adjustments: Check all bolts and fasteners for tightness. Ensure the door slides smoothly and quietly. Make any necessary adjustments to the stoppers or floor guide.
Note: Some customer feedback indicates that additional drilling for rollers and routing for a floor guide channel may be required for certain installations or preferences. While the door is designed for ease of installation, specific site conditions may necessitate these steps for optimal performance and stability.
Operating Instructions
To operate your Calhome sliding barn door, simply grasp the door handle (if installed) or the edge of the door and gently slide it along the track. The door should move smoothly and quietly. Avoid forcing the door or allowing it to slam into the stoppers.
- Always slide the door with controlled motion.
- Do not hang heavy objects on the door or track, as this can damage the system or cause injury.
- Ensure the path of the door is clear of obstructions before sliding.
Maintenance
Regular maintenance will ensure the longevity and smooth operation of your barn door.
- Cleaning: Wipe the door surface with a soft, damp cloth. Avoid abrasive cleaners or harsh chemicals that could damage the finish. For the hardware, use a dry or slightly damp cloth.
- Track and Rollers: Periodically inspect the track for any debris or dust accumulation. Clean the track with a dry cloth or vacuum. If the rollers begin to squeak or stick, a small amount of silicone-based lubricant can be applied to the roller bearings (avoid oil-based lubricants which can attract dust).
- Fasteners: Annually check all mounting bolts and screws for tightness. Re-tighten if necessary to prevent sagging or instability.
- Door Condition: Inspect the door for any signs of wear, damage, or warping. Address any issues promptly to prevent further damage.
Troubleshooting
| Problem | Possible Cause | Solution |
|---|---|---|
| Door does not slide smoothly or gets stuck. |
|
|
| Door wobbles or feels unstable. |
|
|
| Door does not cover the opening completely. |
|
|
Specifications
| Brand | Calhome |
| Model | Chevron Arrow Fully Assembled |
| Door Dimensions (H x W x D) | 80 x 42 x 1.5 inches |
| Material | MDF (Medium-Density Fiberboard), Steel (Hardware) |
| Color | Black Stained |
| Item Weight | Approximately 100 lbs |
| Assembly Required | No (Door is pre-assembled; hardware installation required) |
| Included Components | MDF door, sliding track hardware set |
Warranty Information
Calhome products are manufactured to high-quality standards. This product comes with a limited warranty against defects in materials and workmanship under normal use and service. The warranty period typically covers one (1) year from the date of purchase. Please retain your proof of purchase for warranty claims. For specific warranty terms and conditions, please refer to the official Calhome website or contact customer support.
Customer Support
If you have any questions, require assistance with installation, or need to report missing/damaged parts, please contact Calhome customer support:
- Website: Visit the official Calhome website for FAQs, product registration, and additional resources.
- Email: Refer to your product packaging or the Calhome website for customer service email contact.
- Phone: Refer to your product packaging or the Calhome website for customer service phone numbers.
When contacting support, please have your product model number (Chevron Arrow Fully Assembled) and proof of purchase readily available.