1. Introduction
This manual provides essential instructions for the safe and efficient installation, operation, and maintenance of your forimo 20L Portable Propane Tankless Water Heater. Please read this manual thoroughly before using the appliance and retain it for future reference. Proper installation and adherence to safety guidelines are crucial for optimal performance and user safety.

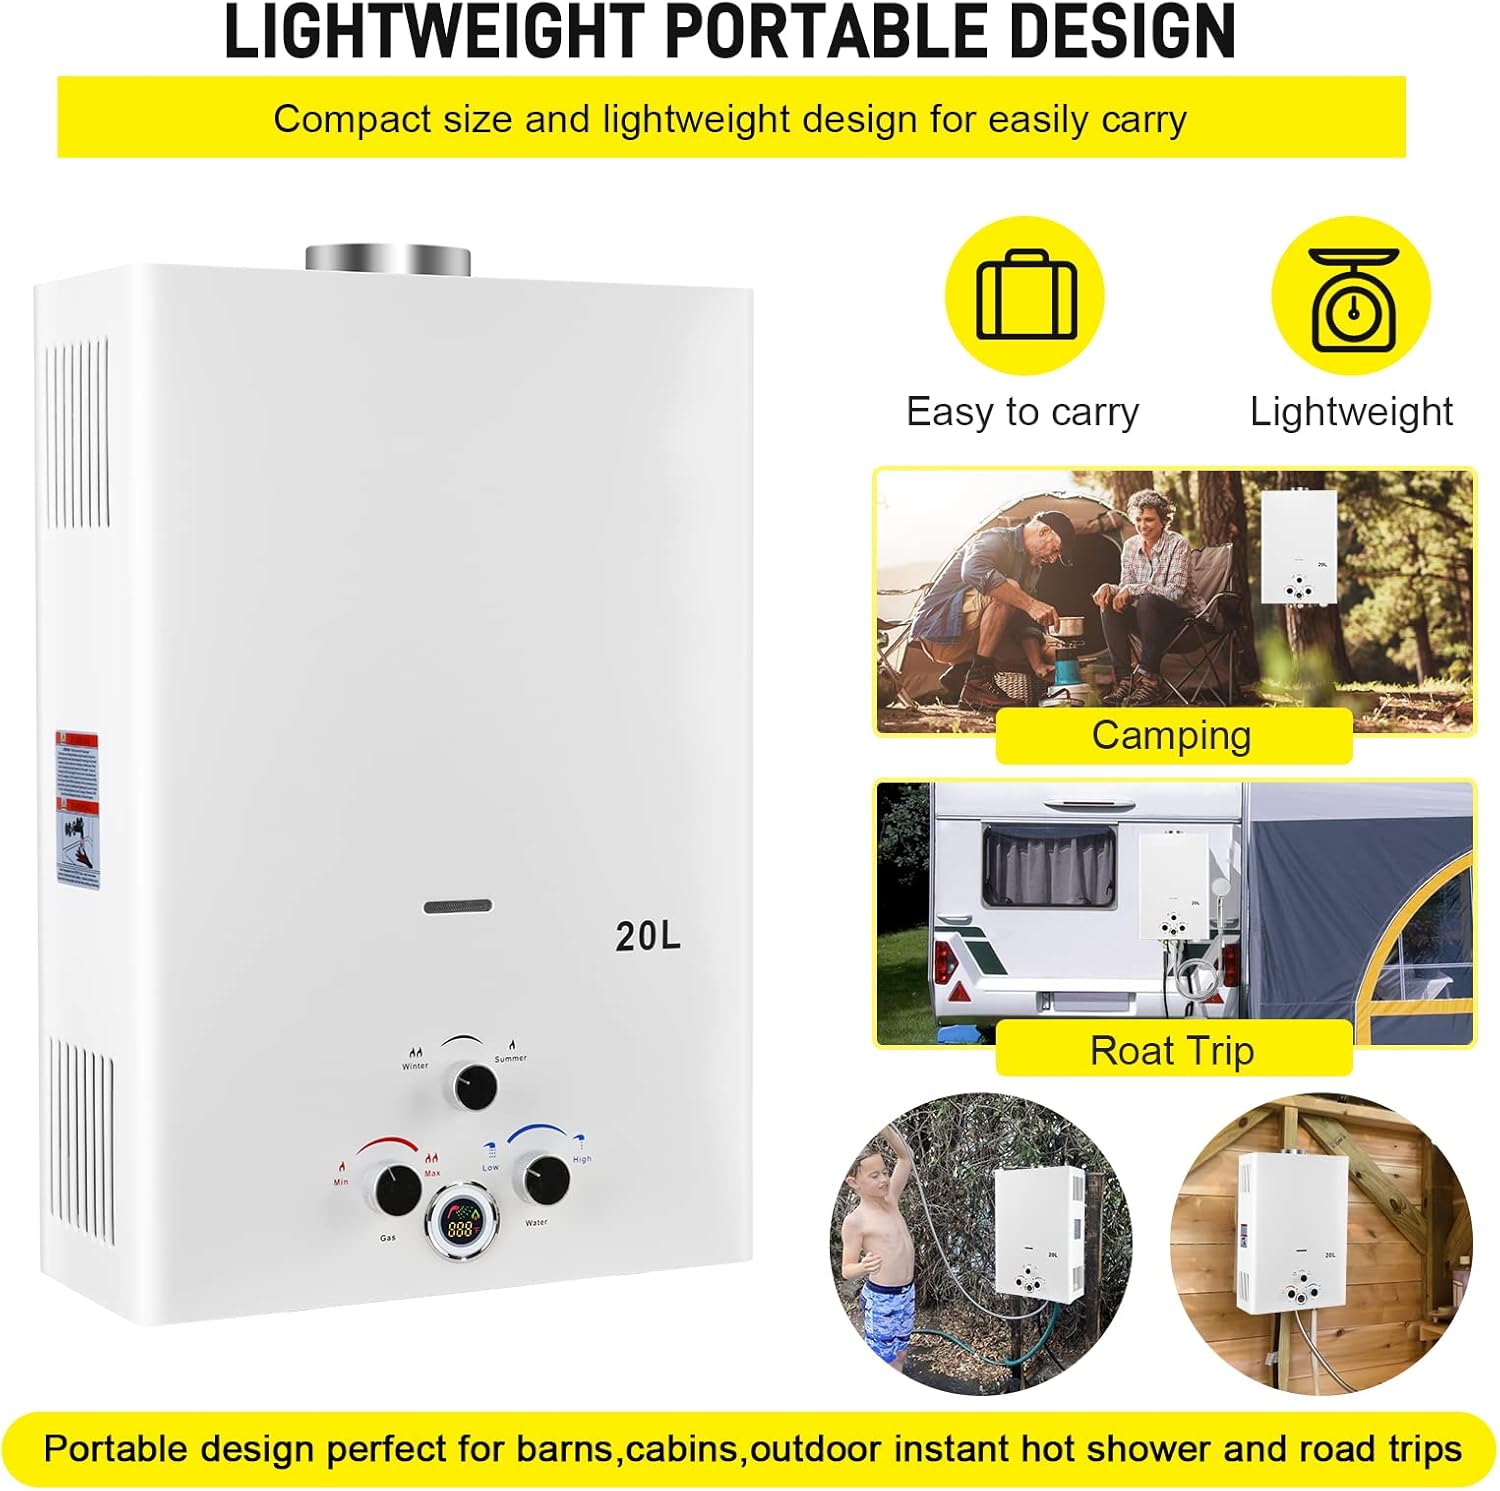
The forimo 20L Portable Propane Tankless Water Heater is designed for outdoor use, providing instant hot water for various applications.
2. Safety Information
WARNING: Failure to follow these safety instructions could result in serious injury, death, or property damage.
- This water heater is designed for outdoor use only. Do not operate indoors or in enclosed spaces.
- Use only propane (LPG) gas with this appliance. Ensure the gas regulator is CSA approved and correctly installed.
- Always check for gas leaks before operation using a soapy water solution. Never use an open flame to check for leaks.
- Ensure adequate ventilation around the unit during operation.
- Maintain a minimum water pressure of 3.6 PSI for proper function.
- Do not block the exhaust vent.
- Protect the unit from freezing temperatures by draining all water when not in use.
- Keep flammable materials away from the water heater.
- The unit is powered by 2 D-cell batteries (not included) for ignition. Do not attempt to plug it into an electrical outlet.

The water heater incorporates multiple safety features for user protection.
3. Product Components
Familiarize yourself with the main components of your forimo tankless water heater:

Internal components of the water heater.
- Back Shell: Rear casing of the unit.
- Heat Exchanger: Component where water is heated by the burner.
- Induction Needle: Detects flame presence.
- Ignition Pin: Generates spark for ignition.
- Gas/Water Valve Assembly: Controls gas and water flow.
- Water Valve: Regulates water flow.
- Micro Switch: Activates ignition when water flow is detected.
- Drain Plug: Allows for complete draining of water from the unit.
- Water Inlet Pipe: Connects to the cold water supply.
- Battery Box: Holds 2 D-cell batteries for ignition.
- Gas Inlet Pipe: Connects to the propane gas supply.
- Water Outlet Pipe: Delivers hot water to the shower head or other fixture.
- Solenoid Valve: Controls gas flow to the burner.
- Ignition Device: Manages the ignition sequence.
- Gas Valve: Manual control for gas supply.
- Burner: Where propane gas is combusted to heat the water.
- Thermostat: Monitors and helps regulate water temperature.
- Cover: Outer casing of the unit.

External view with dimensions and control panel details.
4. Specifications
| Feature | Specification |
|---|---|
| Brand | forimo |
| Model Number | LPG-20 L |
| Product Dimensions (W x H x D) | 17.12" x 26.77" x 7.87" |
| Item Weight | 26.7 pounds |
| Capacity | 20 Liters (5.26 Gallons Per Minute) |
| Power Source | Propane, Battery Powered (2 D-cell batteries for ignition) |
| Gas Type | Propane (LPG) |
| Maximum Temperature | 167 Degrees Fahrenheit |
| Minimum Water Pressure Required | 3.6 PSI |
| Maximum Operating Pressure | 110 PSI |
| Maximum Power Output | 68,000 BTU/hour |
| Special Feature | Lightweight, Digital Display, Multi-Protection |
| Included Components | Water Heater, CSA approved 5FT Gas Regulator, 5 Spray Modes Shower Head with 59in (1.5m) Stainless Steel Hose and Shower Holder |
5. Setup & Installation
The forimo tankless water heater is designed for easy installation. Follow these steps carefully:

Visual guide for the installation process.
- Mounting: Hang the water heater vertically on a stable wall or caravan surface. Ensure it is securely fastened and in an outdoor, well-ventilated area.
- Water Connections:
- Connect the cold water inlet (rightmost port, typically blue) to your water supply.
- Connect the hot water outlet (middle port, typically red) to the shower hose.
- Ensure connections are tight. It is recommended to wrap anti-leakage tape on threads before connecting to prevent dripping.
- Do not connect the water inlet and outlet inversely or incorrectly.
- Battery Installation: Open the battery compartment (usually at the bottom right) and insert two D-cell batteries. Ensure correct polarity.
- Gas Connection: Connect the CSA-approved 5FT gas regulator to the gas inlet (leftmost port) and then to your propane tank. Ensure all gas connections are secure and leak-free.

Overview of the inlet, outlet, and gas inlet connections.
6. Operation
Operating your tankless water heater involves a few simple steps:

Control panel for adjusting temperature and water flow.
- Ensure Gas and Water Supply: Open the propane tank valve and ensure water is flowing to the unit.
- Turn On Unit: Flip the ON/OFF switch (if present) or ensure the unit is ready for operation.
- Adjust Water Flow: Turn on the water faucet or shower head. The unit will automatically ignite when water flow is detected (minimum 3.6 PSI).
- Set Temperature: Use the control knobs on the front panel:
- Season Control Center (Winter/Summer): Adjusts the overall heating power based on ambient temperature. Use 'Winter' for colder conditions and 'Summer' for warmer conditions.
- Gas Control Center (Min/Max): Regulates the gas flow to the burner, directly impacting the heat output.
- Water Control Center (Low/High): Adjusts the water flow rate. Lower flow generally results in hotter water, while higher flow results in cooler water.
- Monitor Digital Display: The digital display shows the current water temperature. Adjust controls as needed to achieve your desired temperature.
- Shower Head Operation: The included shower head features multiple spray modes and a stop button.
The shower head offers five spray modes and a stop button to conserve water.
- Press the button on the shower head once to stop the water flow and prevent waste. Press again to resume.
- Select your preferred spray mode (Fog, Blend, Rain, Pulse) by rotating the shower head face.
- Shutting Down: Turn off the water flow at the faucet or shower head. The unit will automatically shut off. Close the propane tank valve.
7. Maintenance
Regular maintenance ensures the longevity and safe operation of your water heater:

Key steps for proper maintenance and storage.
- Draining for Storage/Freezing Conditions: When not in use, especially in freezing temperatures, it is critical to drain all water from the unit to prevent damage.
- Disconnect the propane supply.
- Disconnect the water supply.
- Open the hot water faucet/shower head.
- Open the drain plug at the bottom of the unit to allow all water to escape.
- Once drained, close the drain plug.
- Cleaning: Periodically clean the exterior of the unit with a damp cloth. Do not use abrasive cleaners.
- Check Connections: Regularly inspect all gas and water connections for leaks or wear.
- Battery Replacement: Replace D-cell batteries when the ignition becomes weak or fails.
- Storage: Store the unit in a dry, warm place when not in use for extended periods.
8. Troubleshooting
If you encounter issues with your water heater, refer to the following common problems and solutions:
| Problem | Possible Cause | Solution |
|---|---|---|
| No hot water / Unit does not ignite | Low water pressure, no gas, dead batteries, clogged water inlet filter, faulty micro switch. | Ensure water pressure is above 3.6 PSI. Check propane tank level and valve. Replace D-cell batteries. Clean water inlet filter. Contact support if micro switch is suspected. |
| Water is not hot enough | Gas flow too low, water flow too high, season setting incorrect, cold ambient temperature. | Increase gas knob setting. Decrease water flow knob setting. Adjust season control to 'Winter' if applicable. Allow more time for heating in very cold conditions. |
| Unit cycles on and off rapidly | Inconsistent water flow, overheating protection activated, low gas pressure. | Ensure stable water flow. Check for kinks in hoses. Verify gas pressure. If overheating, reduce gas setting or increase water flow. |
| Water leaks from unit | Loose connections, damaged seals, internal component damage (e.g., from freezing). | Tighten all water connections. Inspect seals and replace if damaged. If internal damage is suspected, discontinue use and contact support. Ensure proper draining in cold weather. |
| Error codes (e.g., E1, E5) | Specific internal fault (e.g., ignition failure, solenoid valve issue, wind sensor issue). | Refer to the specific error code in the full product manual (if available) or contact forimo customer support for diagnosis and resolution. |
9. Warranty & Support
For specific warranty information, please refer to the documentation included with your purchase or contact forimo customer service. If you require technical assistance, replacement parts, or have questions not covered in this manual, please reach out to forimo support through their official channels.
Contact Information: Please refer to the contact details provided on the product packaging or the official forimo website.


